Hey Friends!
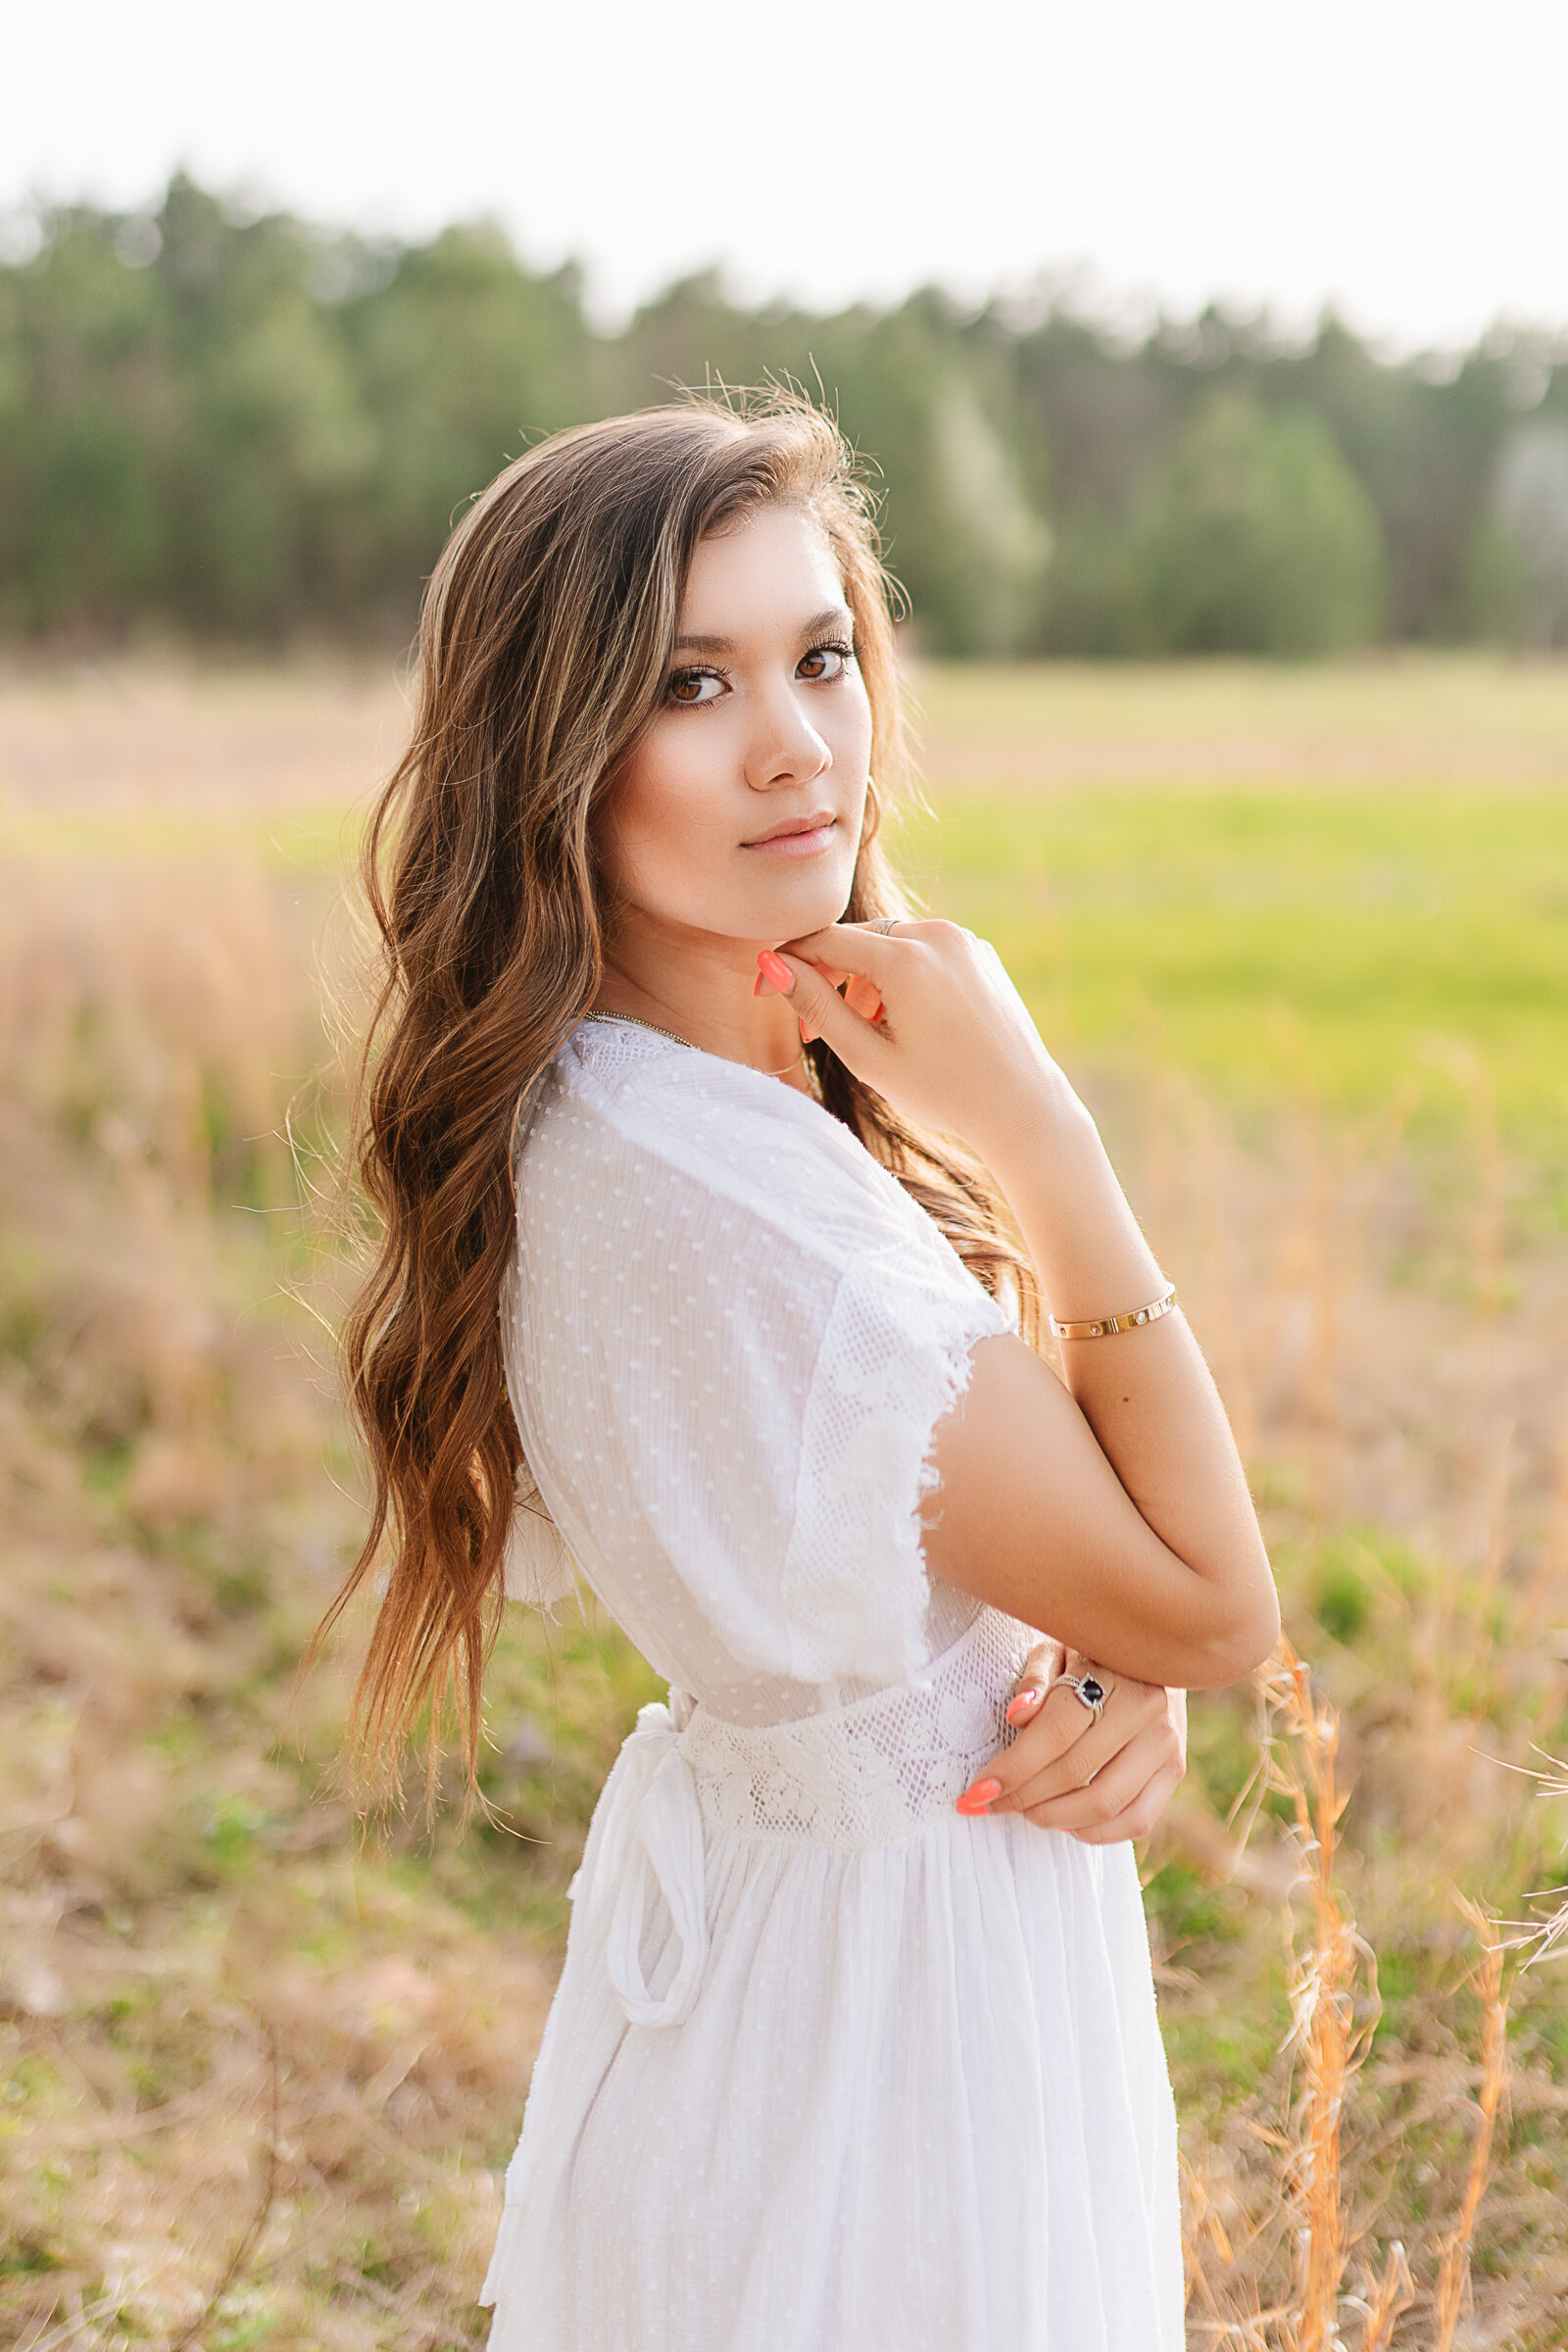
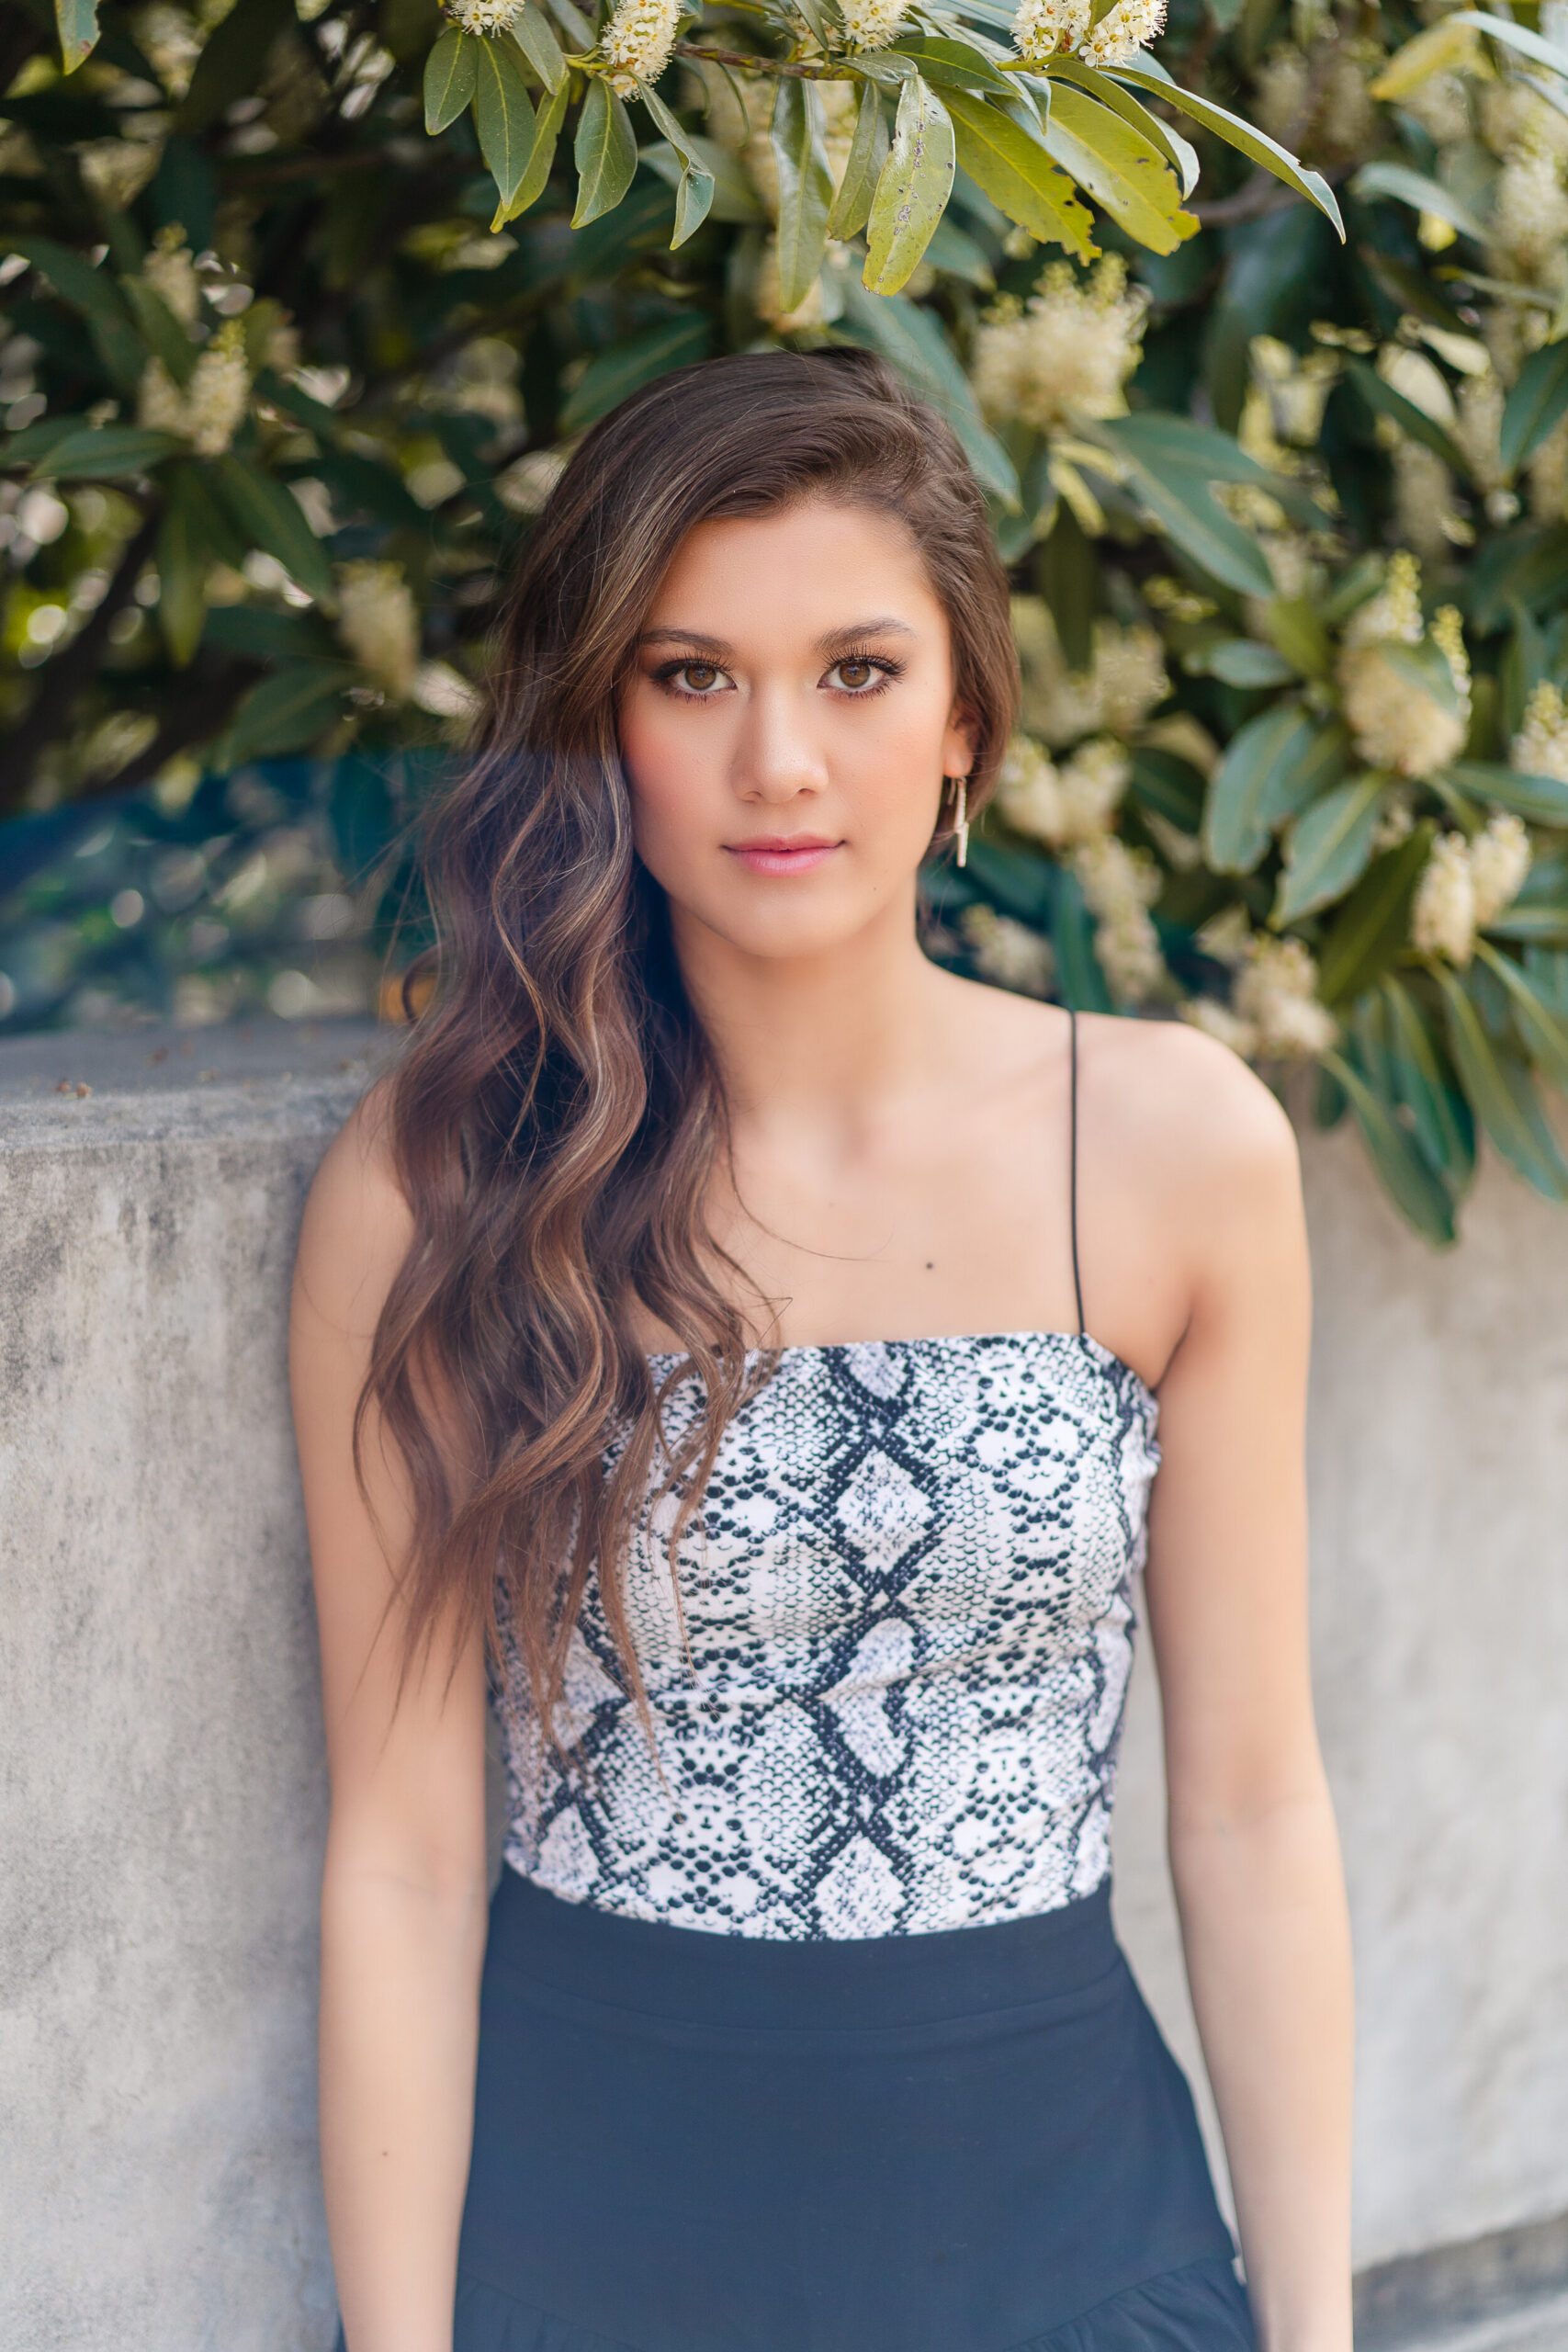
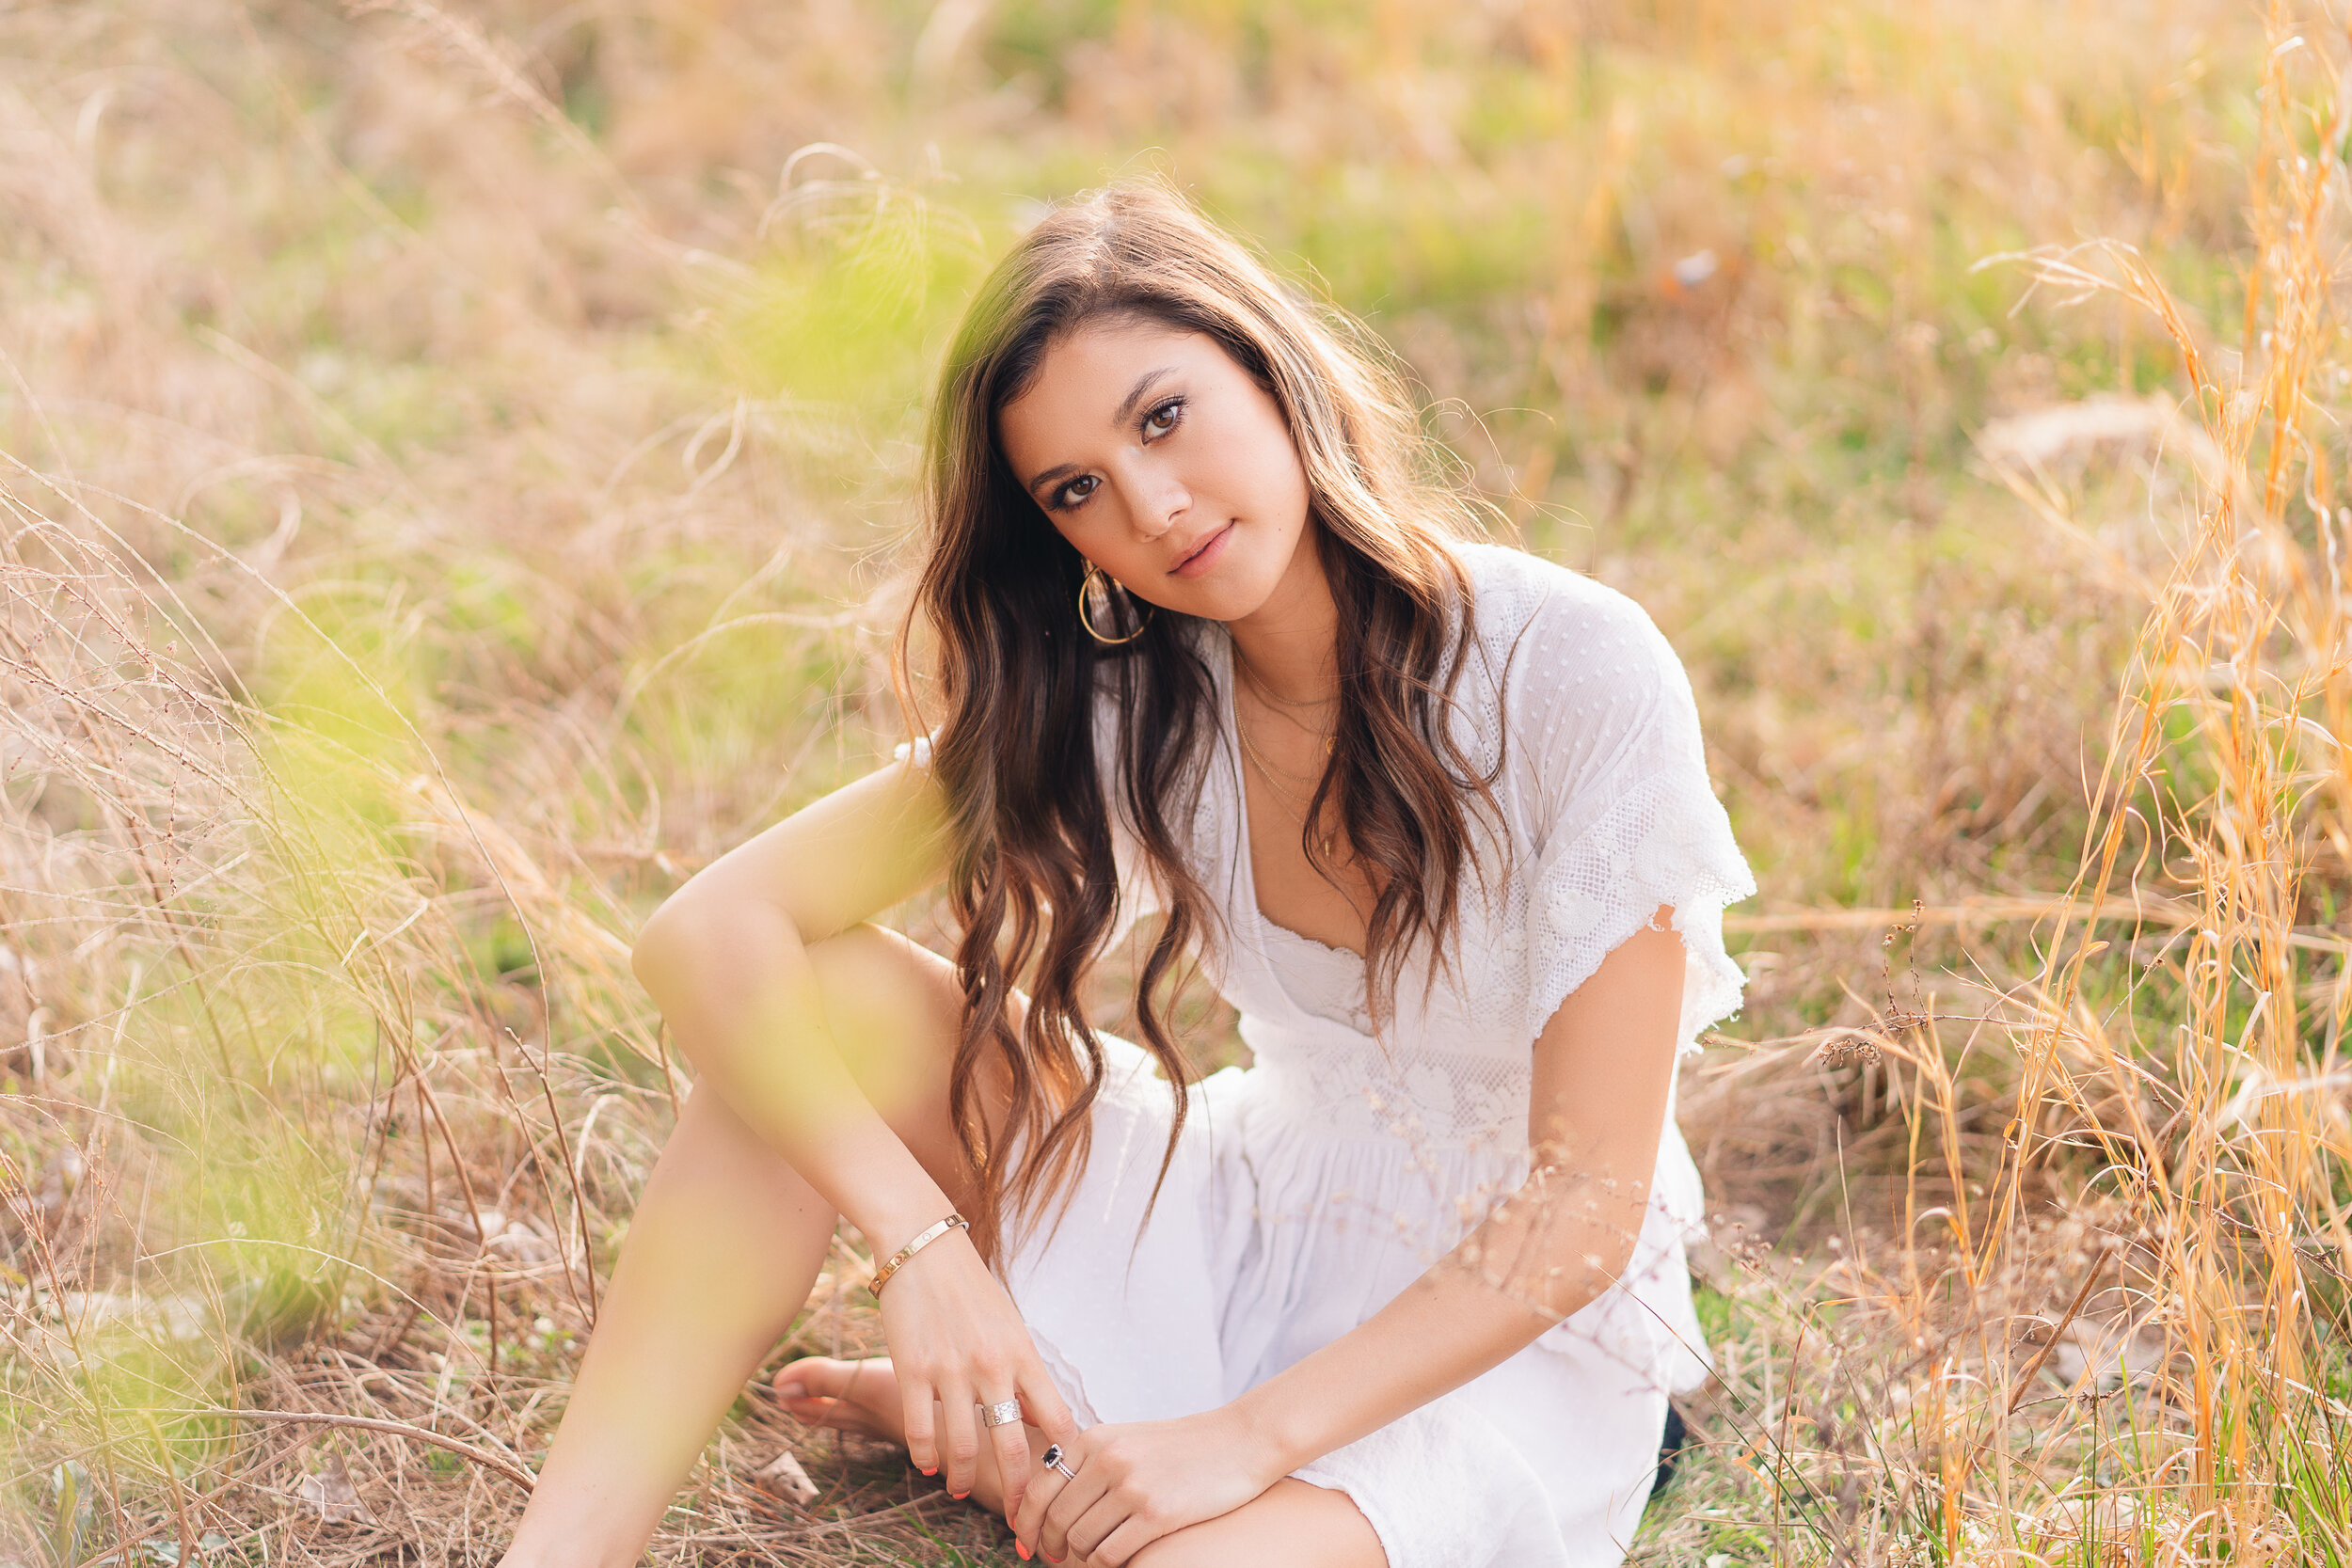
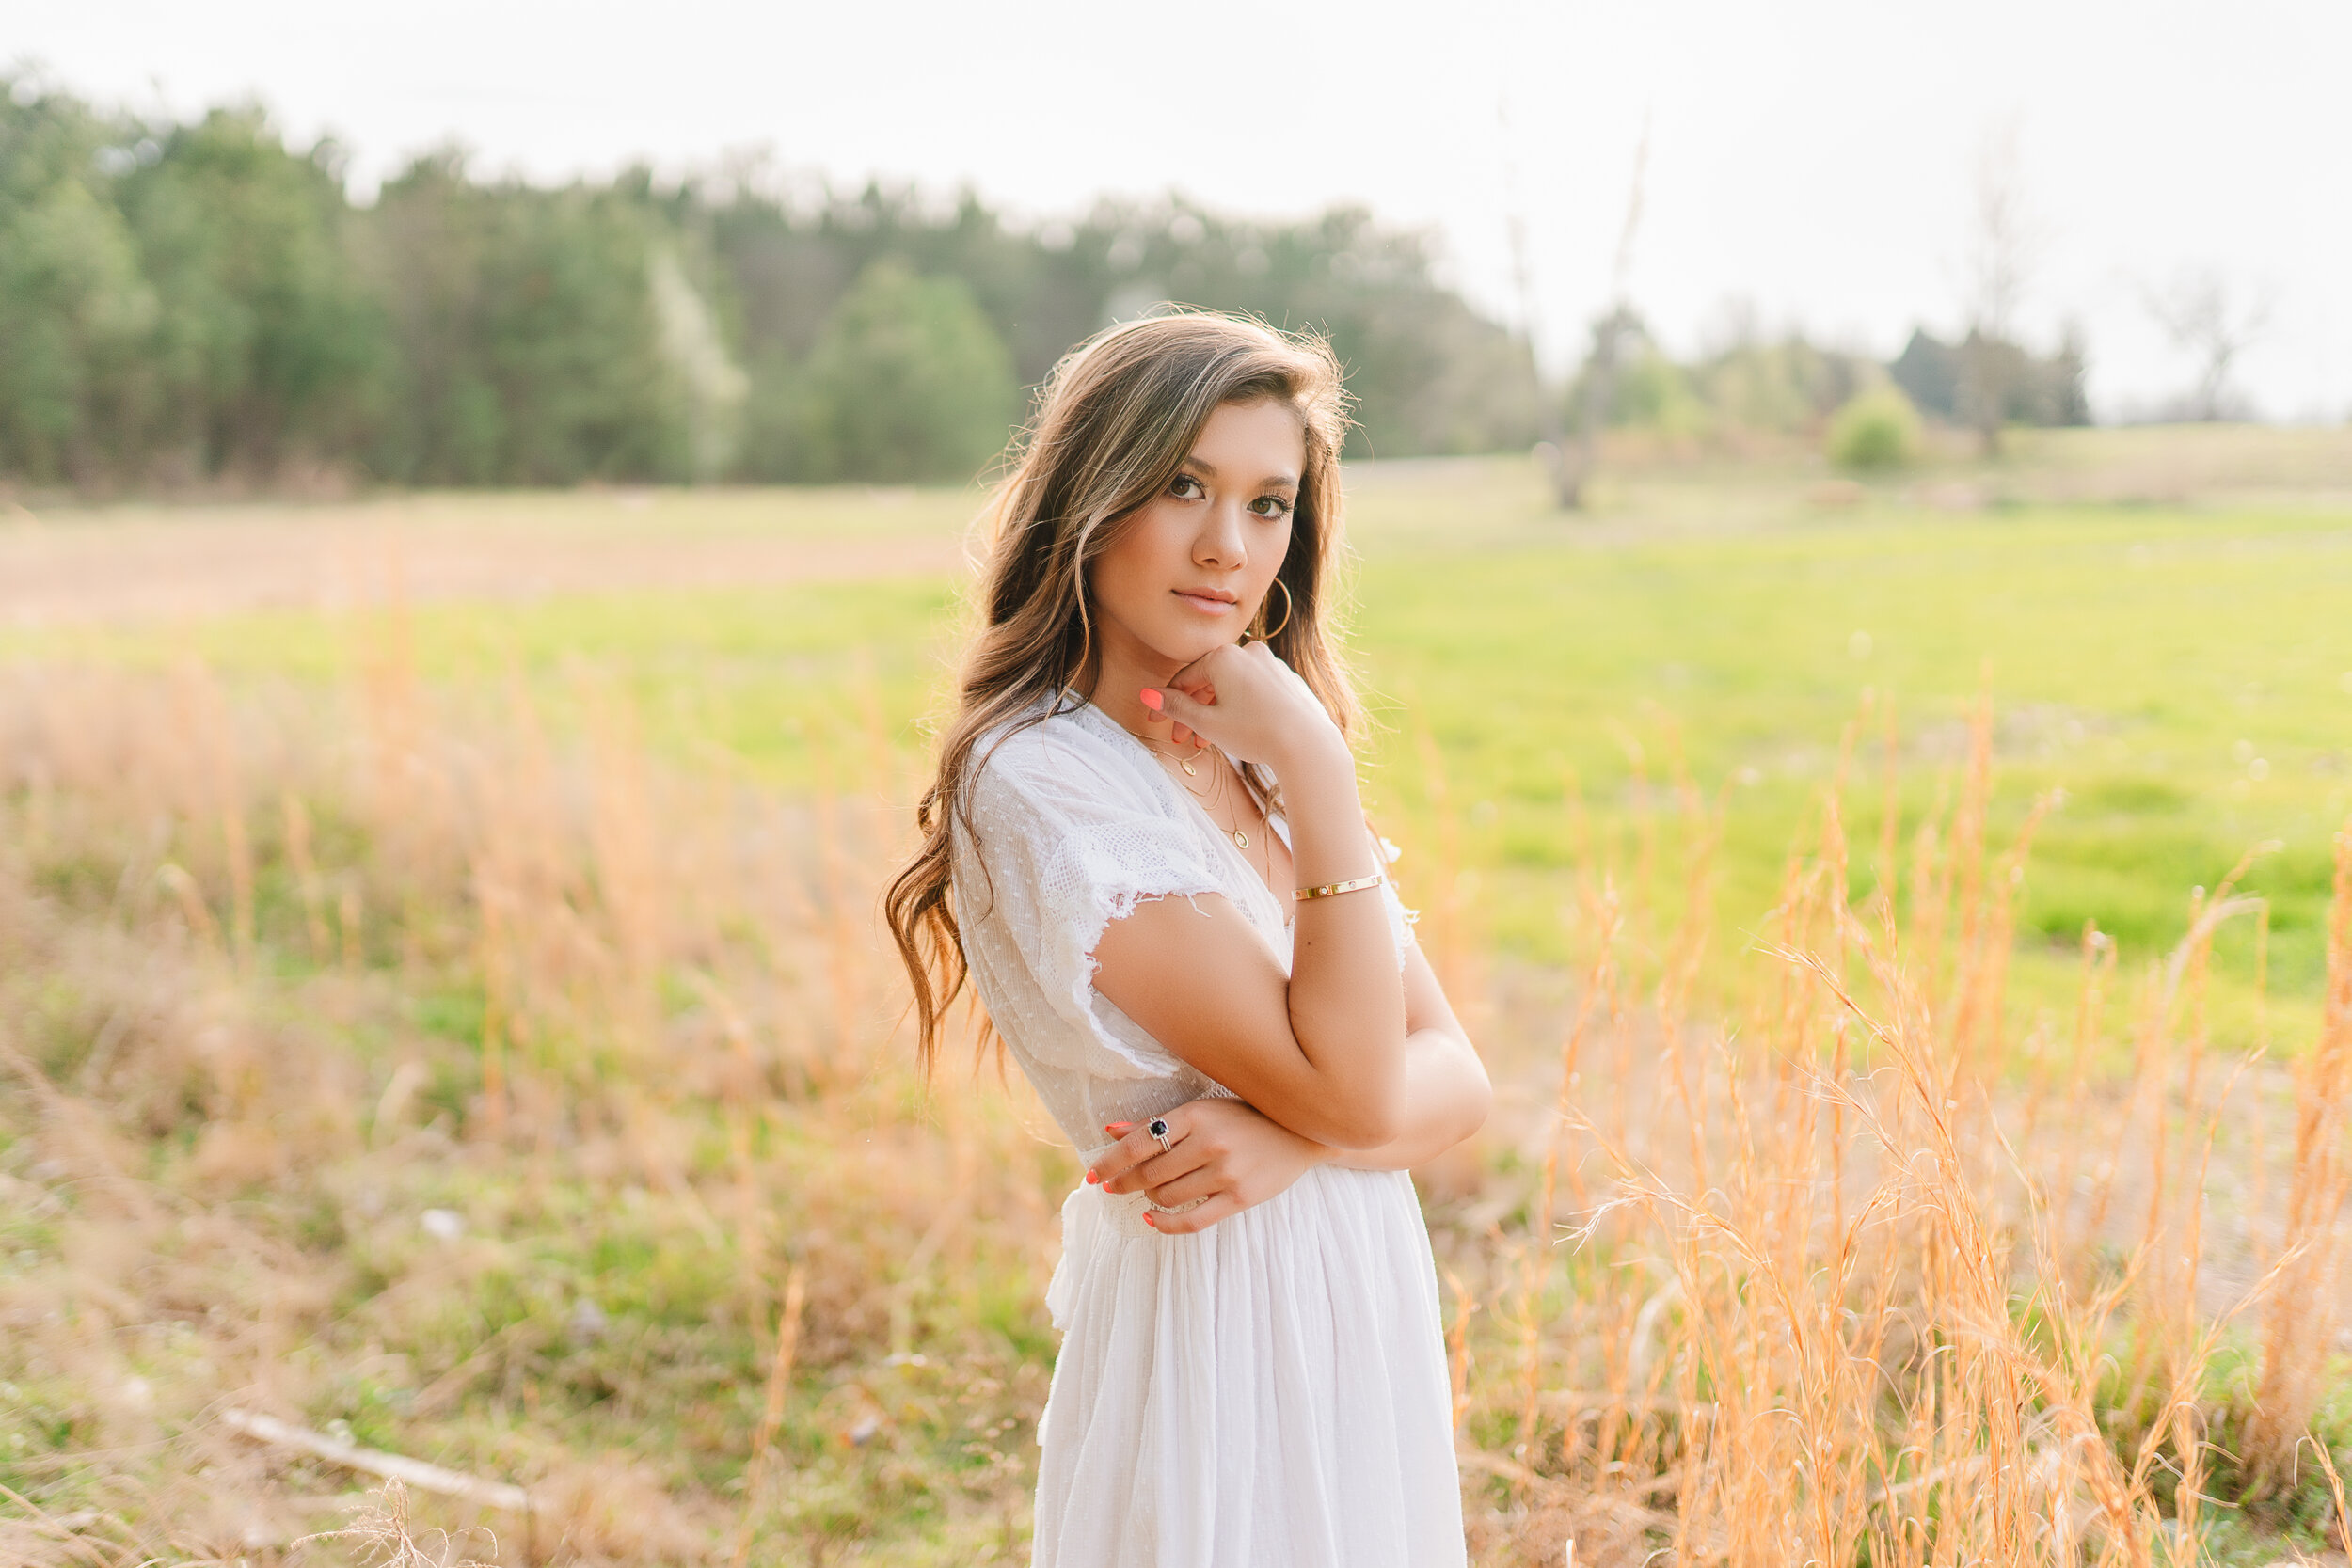
How gorgeous is this portrait? Long story short, when I first started shooting it took me forever to get my edits looking the way I wanted! While trial and error is a great way to learn, I thought I would share these five easy edits you can make to improve your portraits and make your work look as strong as possible.
Let’s be honest, there are a million and one things to learn about photography and editing. But today the steps I am showing you should help any aspiring photographer take their editing to the next level! SO are you ready? Because I’m about to spill ALL my editing secrets!
The editing software I use is Adobe Lightroom, however you should be able to make these type of adjustments in almost any editing software or app!
This image was shot with a Sony A9 using the 35mm art lens. 1/2500 sec at f / 1.4, ISO 125
Hair & Makeup by: Selah Beauty
#1. Make Sure your Image is exposed correctly
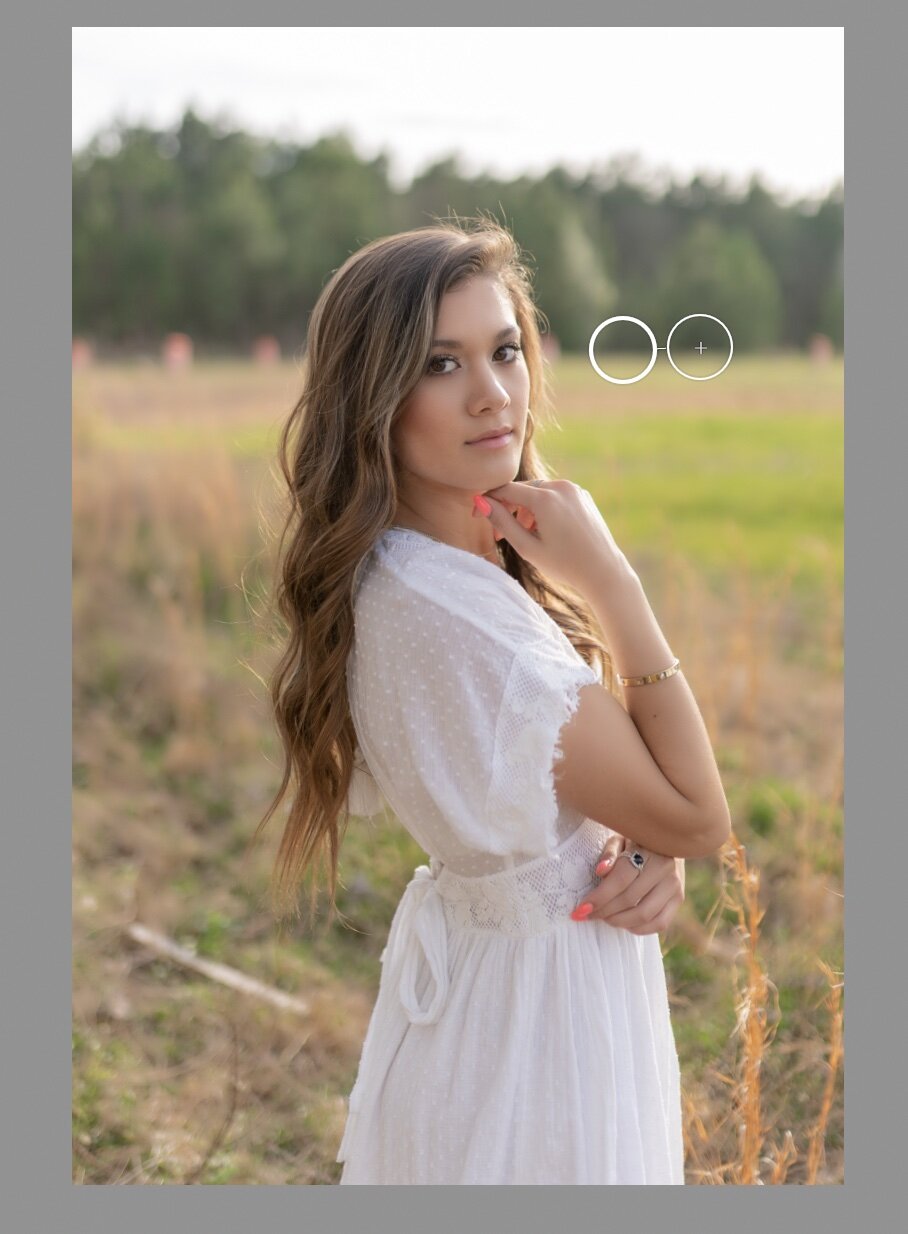
I see SO many photographers shooting overexposed, this just means the image is WAY too bright. When you shoot with a ton of light hitting your camera sensor, the image quickly loses detail in things like blue skies, water, highlights on the face or arms and these parts of the image will be completely white/colorless. Using these images as an example I exposed the light for Eliza’s face but this left the sky a little blown out! The good news is, if you are shooting in RAW you can usually correct this with no problem! The red spots in this next image show the parts of the image that are blown out and that need to be corrected. The second image has been corrected by lowering the highlights.

THE RED HIGHLIGHT SHOWING WHERE THE IMAGE IS BLOWn OUT AND OVER EXPOSED
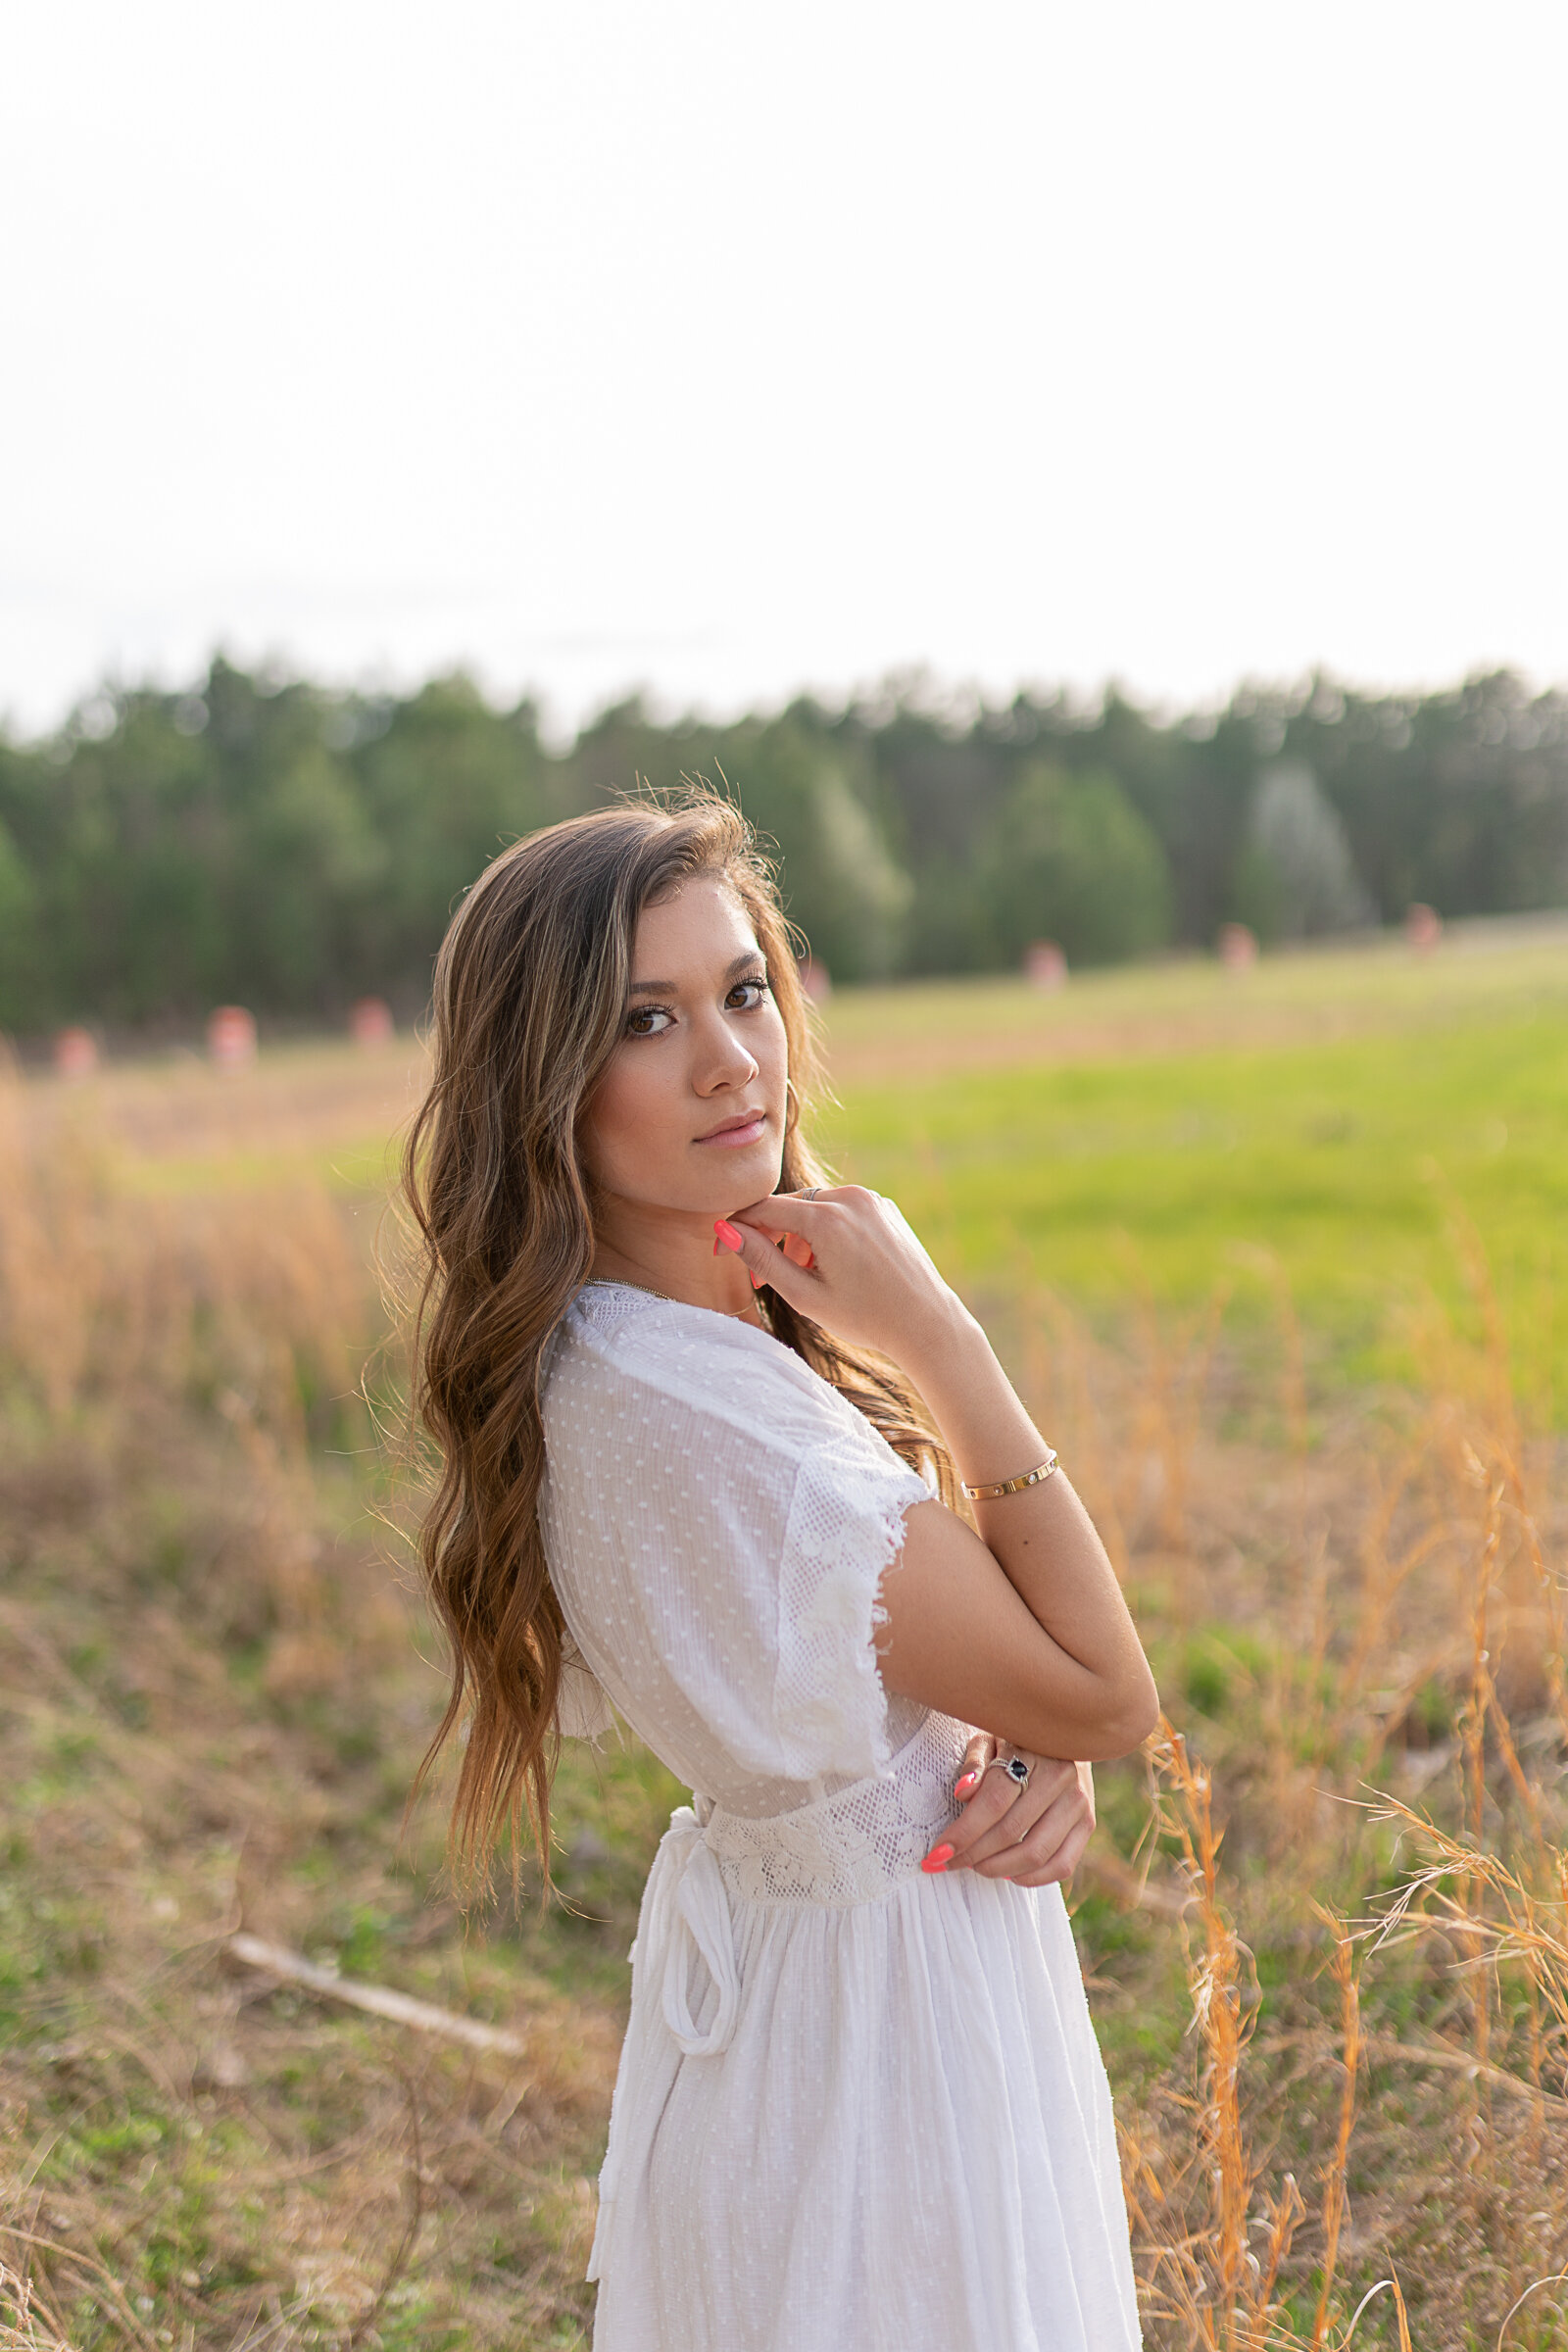
HIGHLIGHTS HAVE BEEN ADJUSTED AND this brought back texture and color the the image
#2 CROPPING AND HORIZON LINE
Always check the horizon line, if the tree or sky lines are slanting off to the left that is where your eyes will follow! We want to always keep the focus of our image on the subject! When possible keep your subject’s head below the tree or skyline! Cropping is an easy way to correct this and help move the focus to your subject and not the trees!
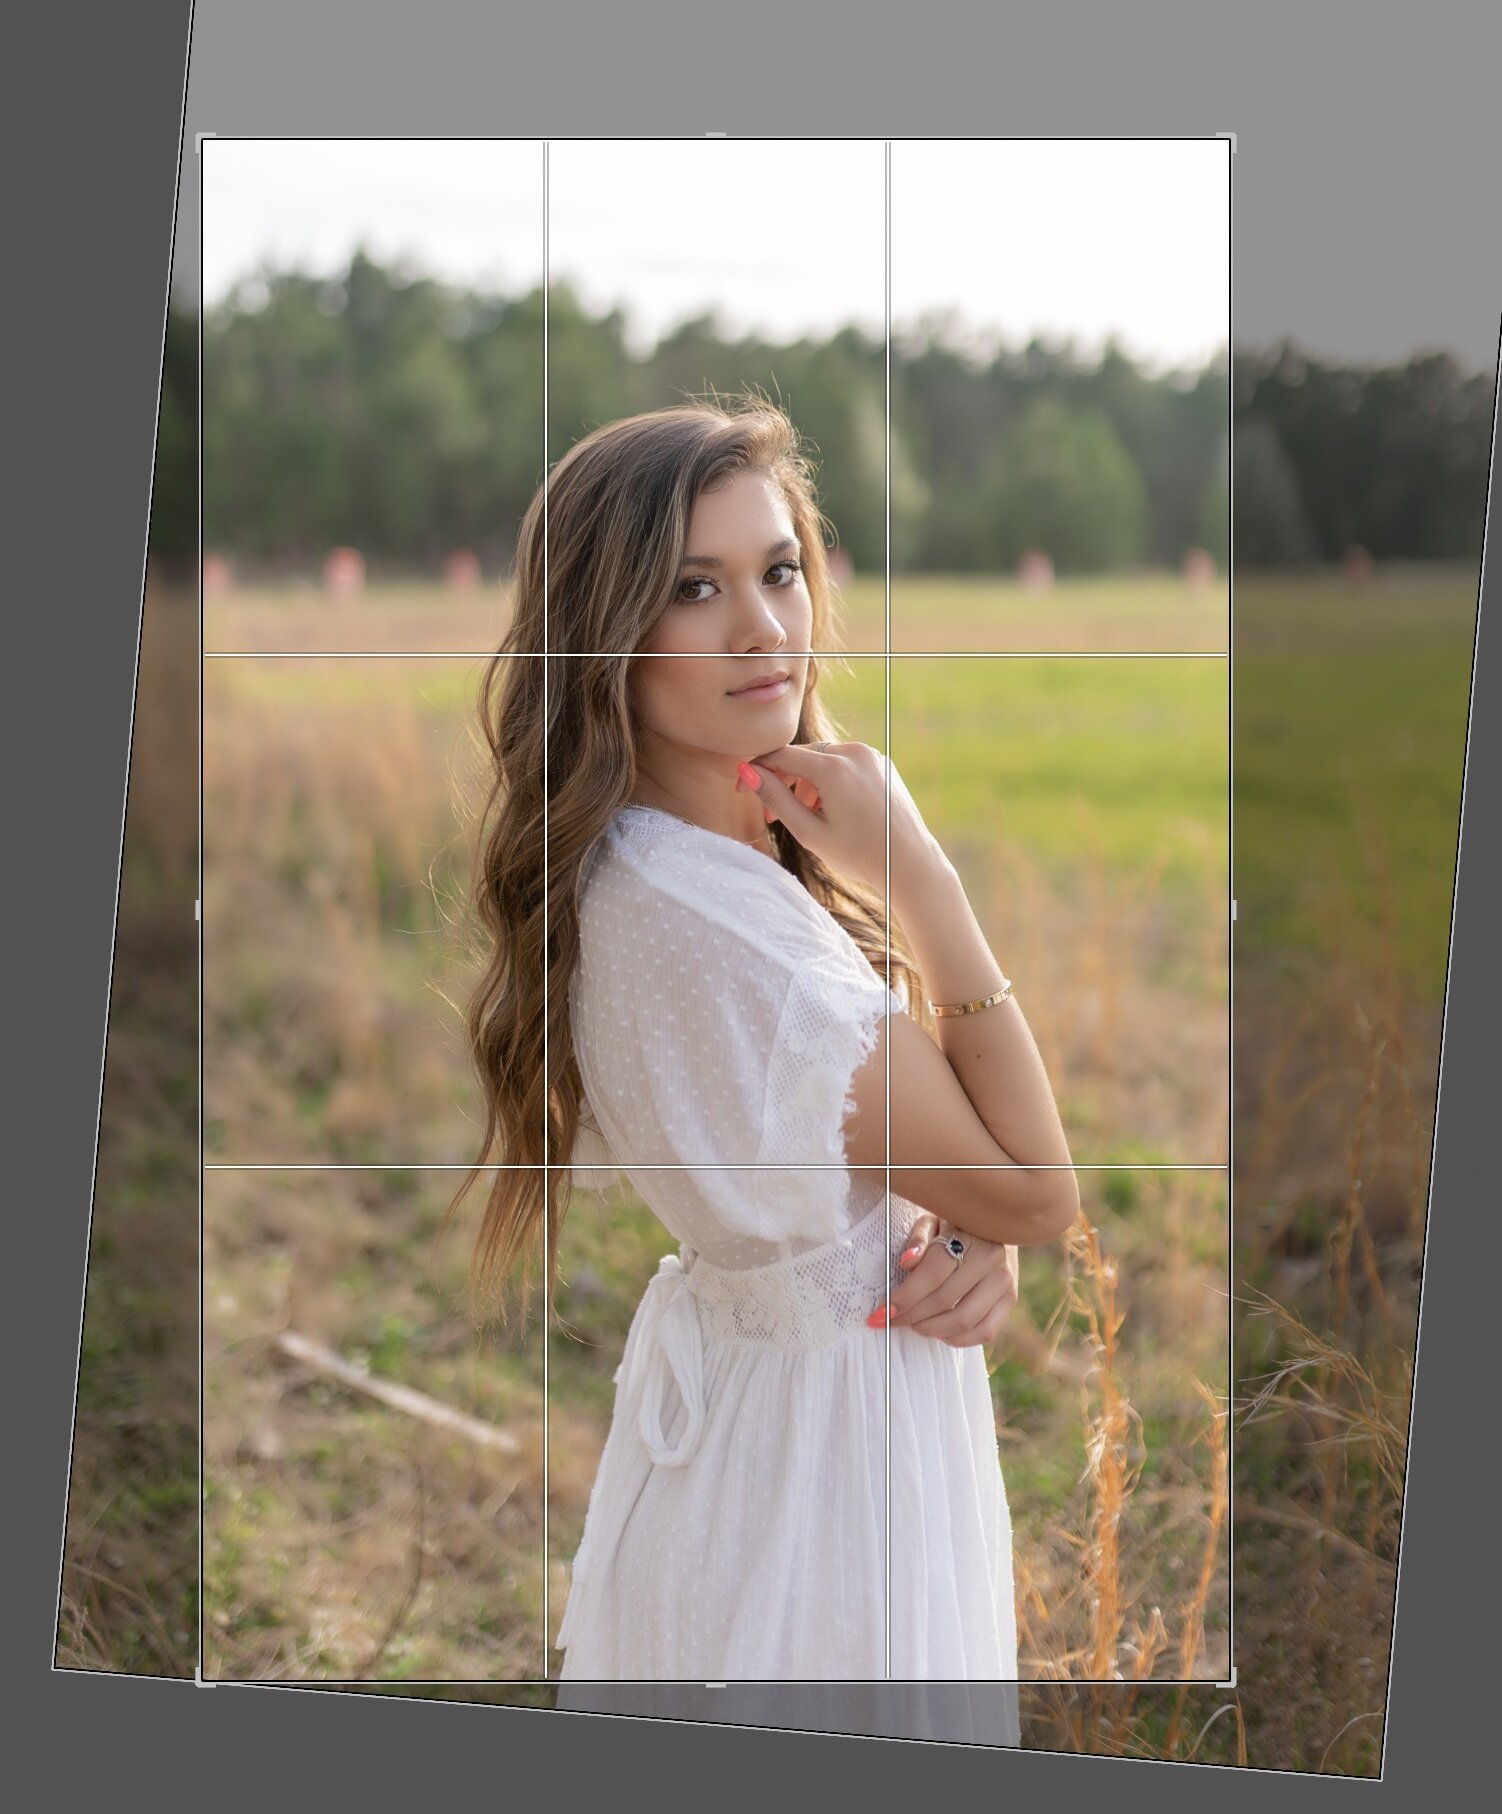
OUR CROP
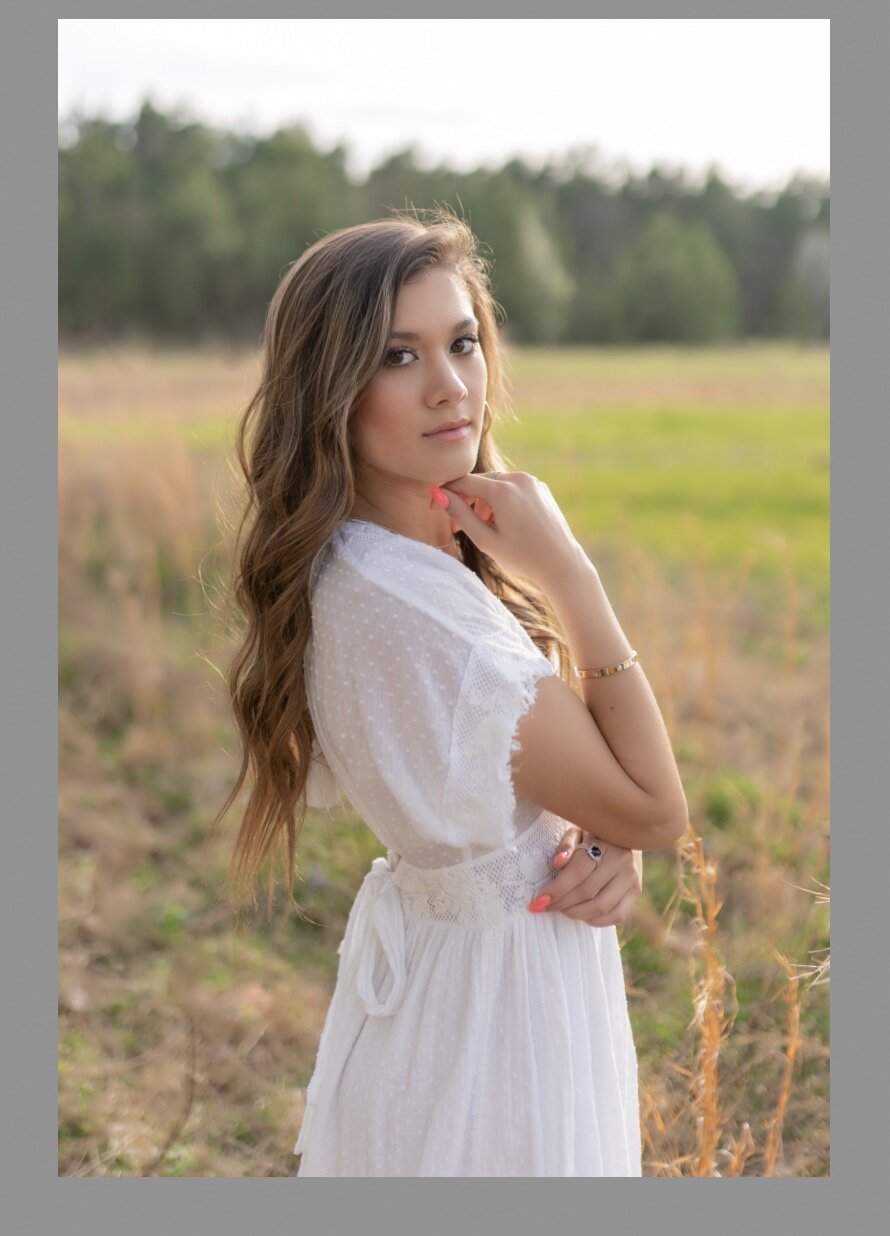
FINAL CROP
#3 Remove distractions
When possible I like to move trash or odd objects before I start shooting! However many times I don’t have time or I come across objects I can’t move. In this image there was a row of orange construction barrels as well as a large stick laying on the ground. It took less then 5 minutes to use the spot removal tool, for objects like this I use the “Heal” mode and you can easily brush over and heal these objects without having to open up photoshop! This tool is also great for healing spot on the skin and removing fly aways.
BEFORE REMOVING DISTRACTING OBJETS

AFTER BRUSHING OVER DISTRACTIONS
#4 Check the Skin tone
At this point, you already have a pretty great-looking photo! A small detail many editors don’t check is the hands/feet. Because hands and feet are the furthest things from your heart, they tend to have blue or purple hues, especially obvious when placed against a face or an arm! This photo is not too bad but I am still going to warm up these areas with the adjustment brush in “warm” mode.
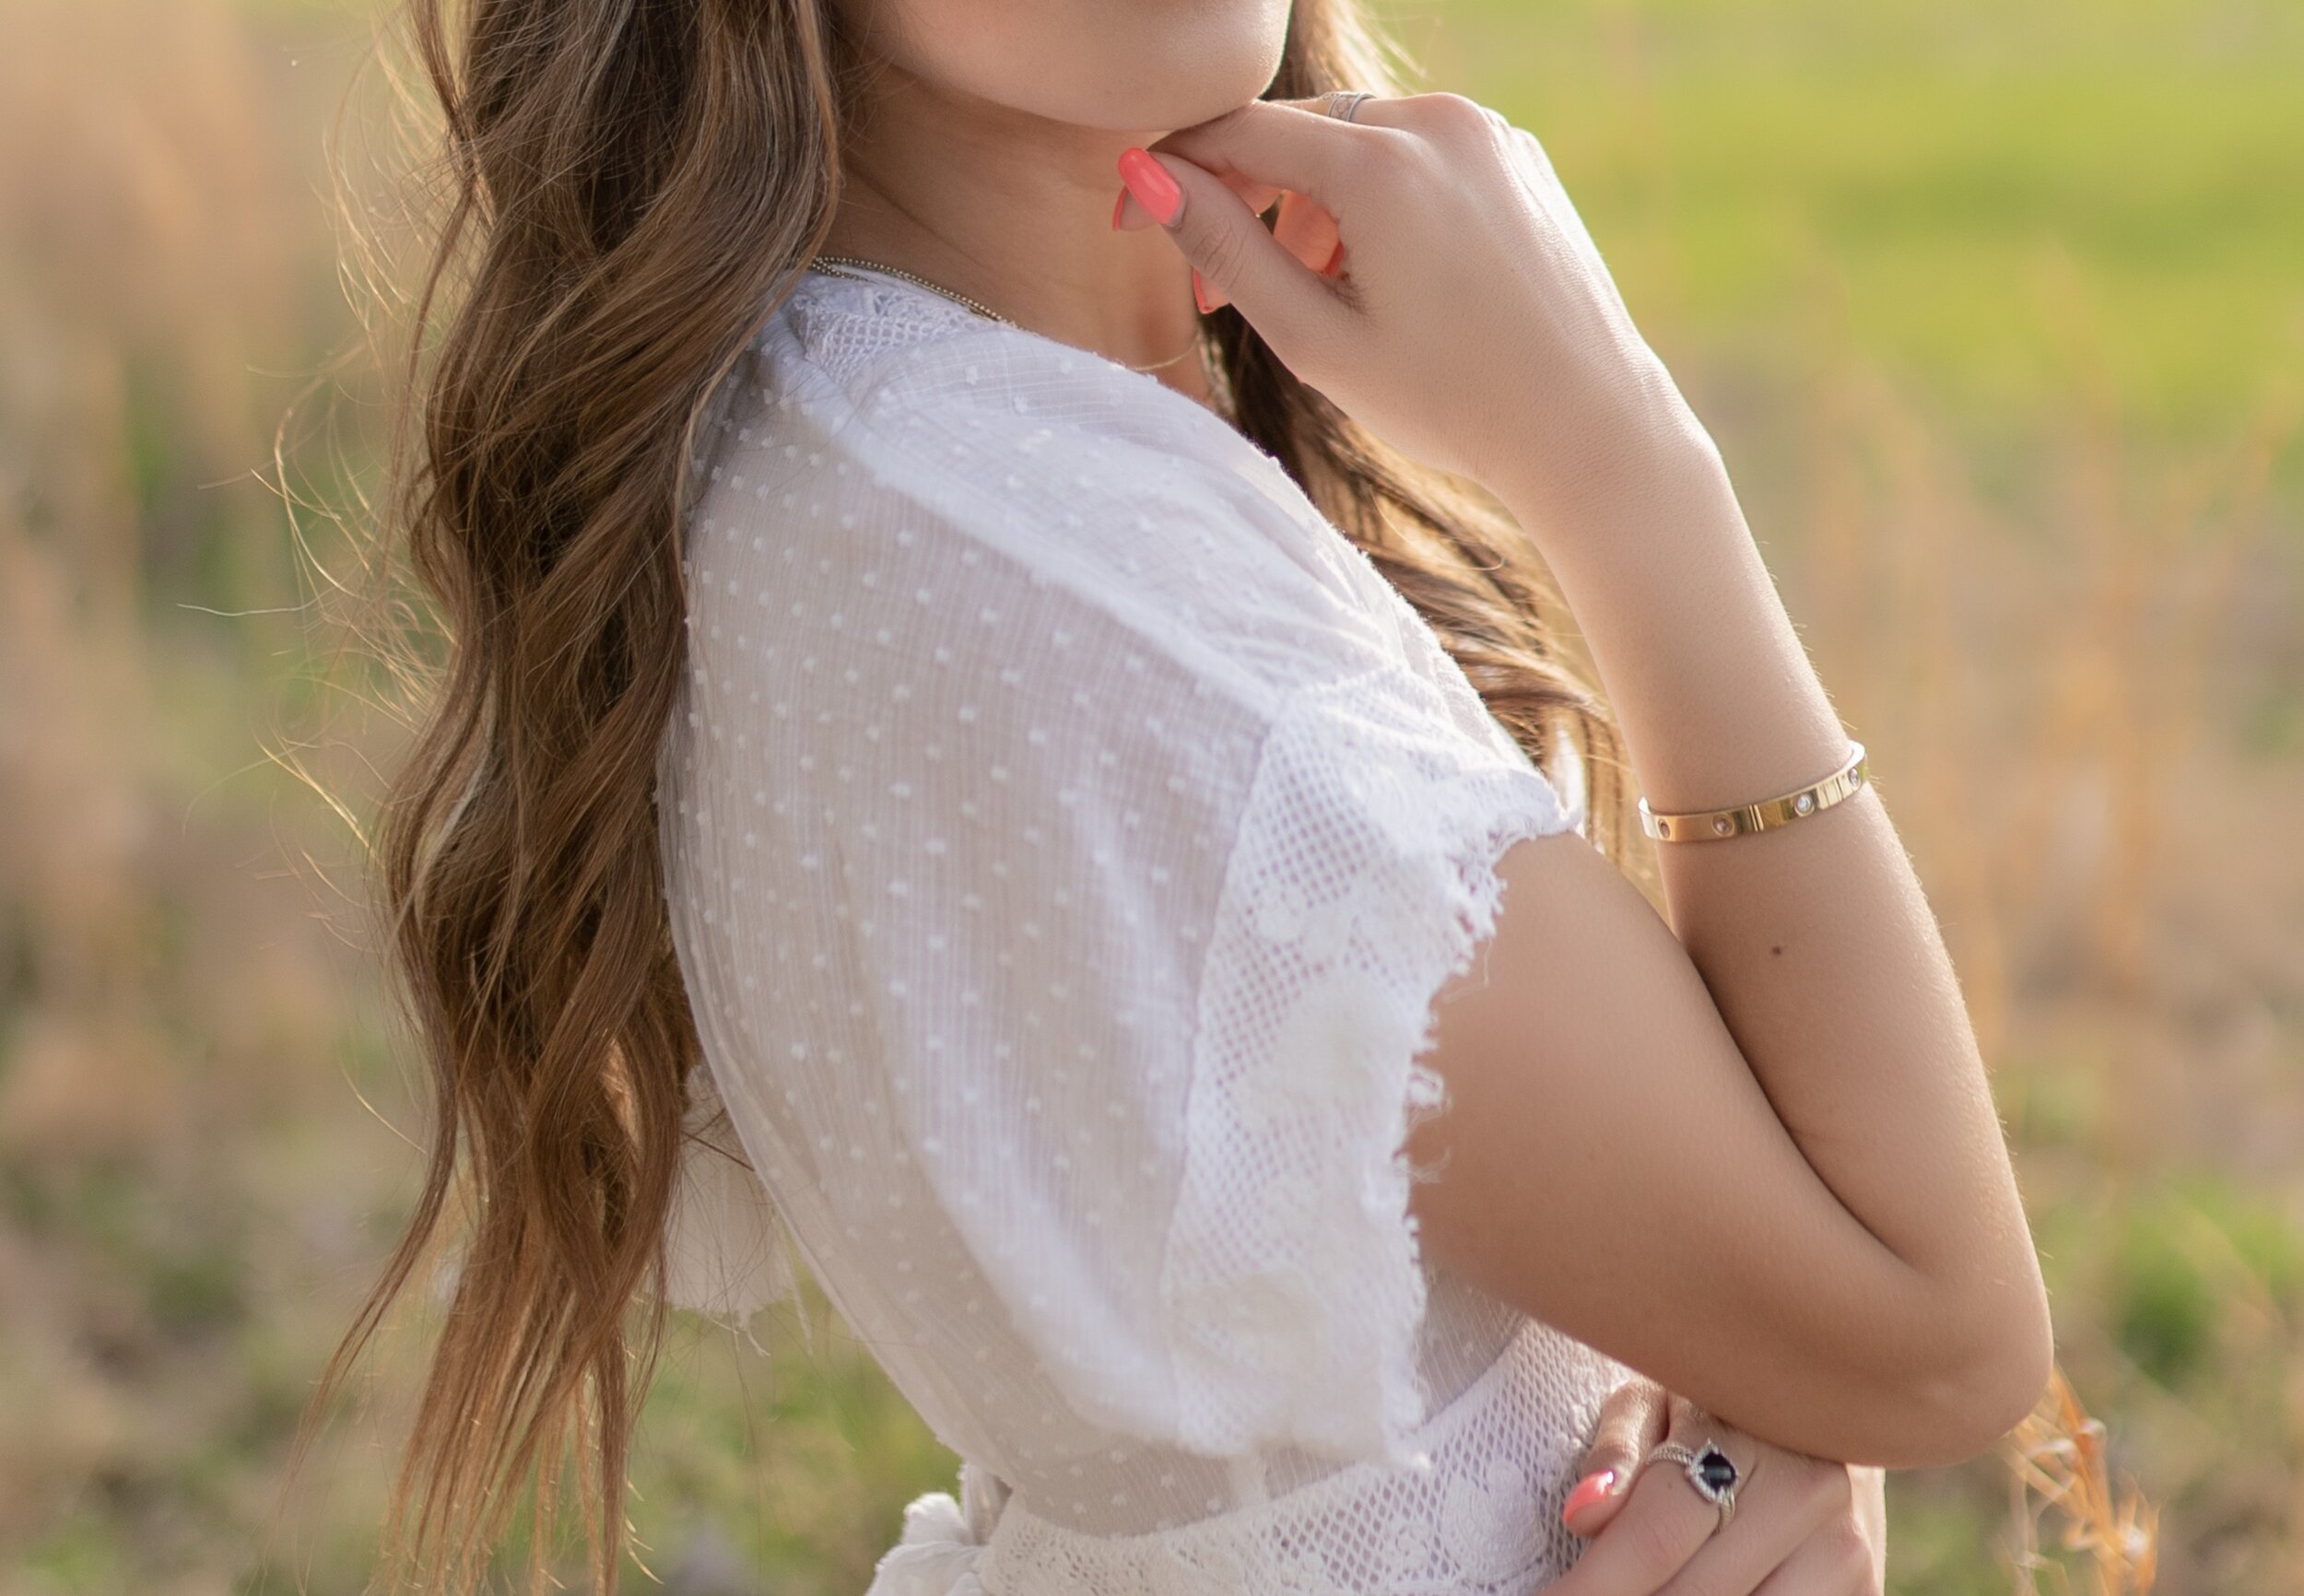
COOL SHADOWS ON HANDS AND ARM
AFTER WE WARMED UP THE SHADOWS
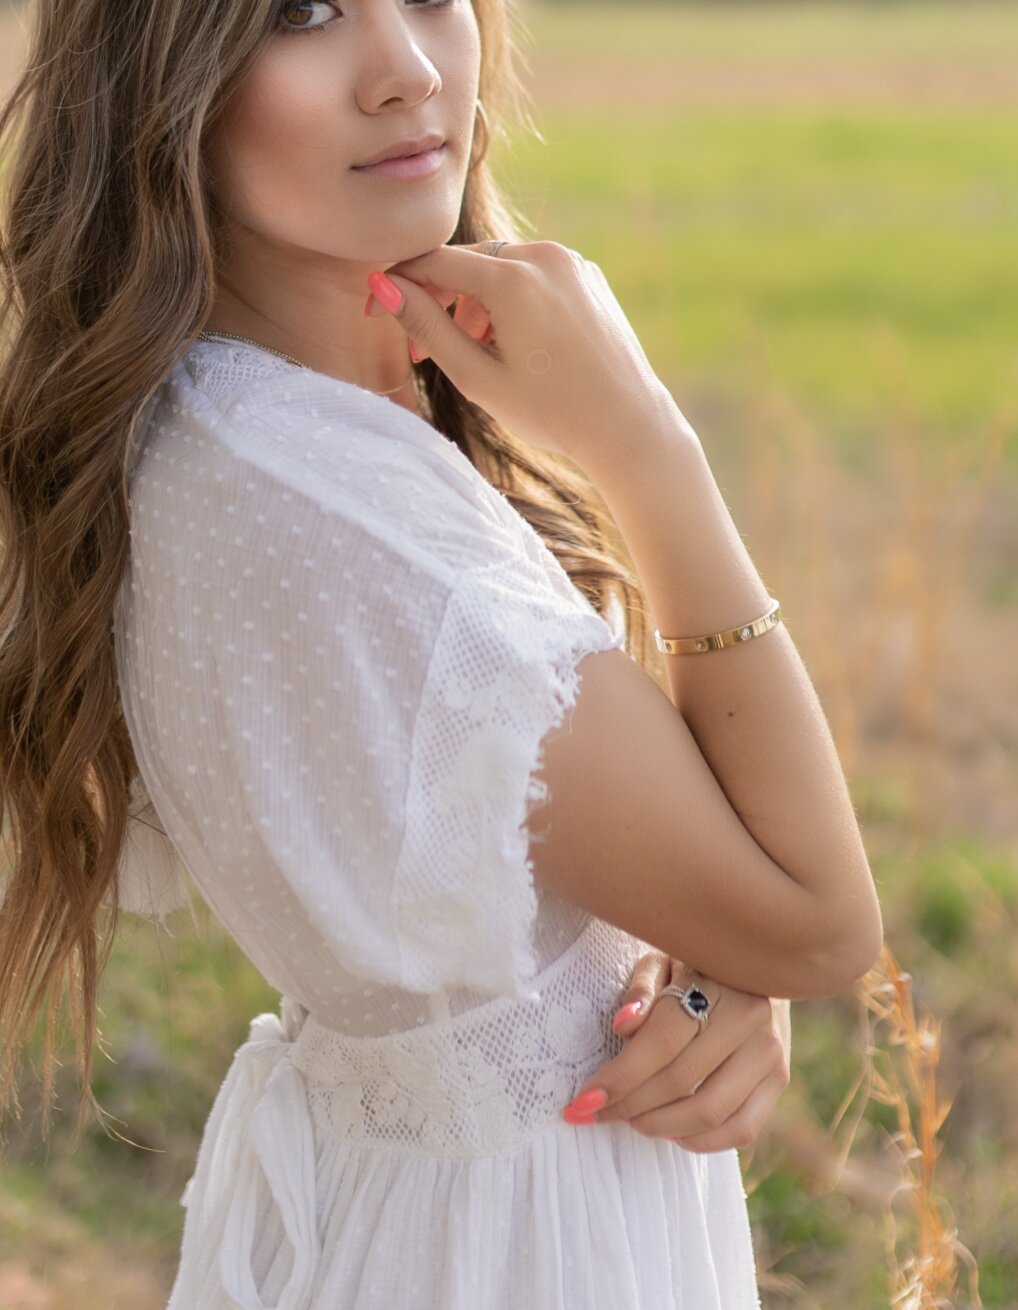
#5 Apply your creative edit
Once you have made these basic adjustments you can just have fun with it! Adding one of my saved presets or going in and starting from scratch by adjusting the color, tone curve, saturation and more! Everyone has a unique editing style and (for the most part) you can’t mess that up!

OUR RAW CAMERA SHOT

OUR FINAL EDIT!
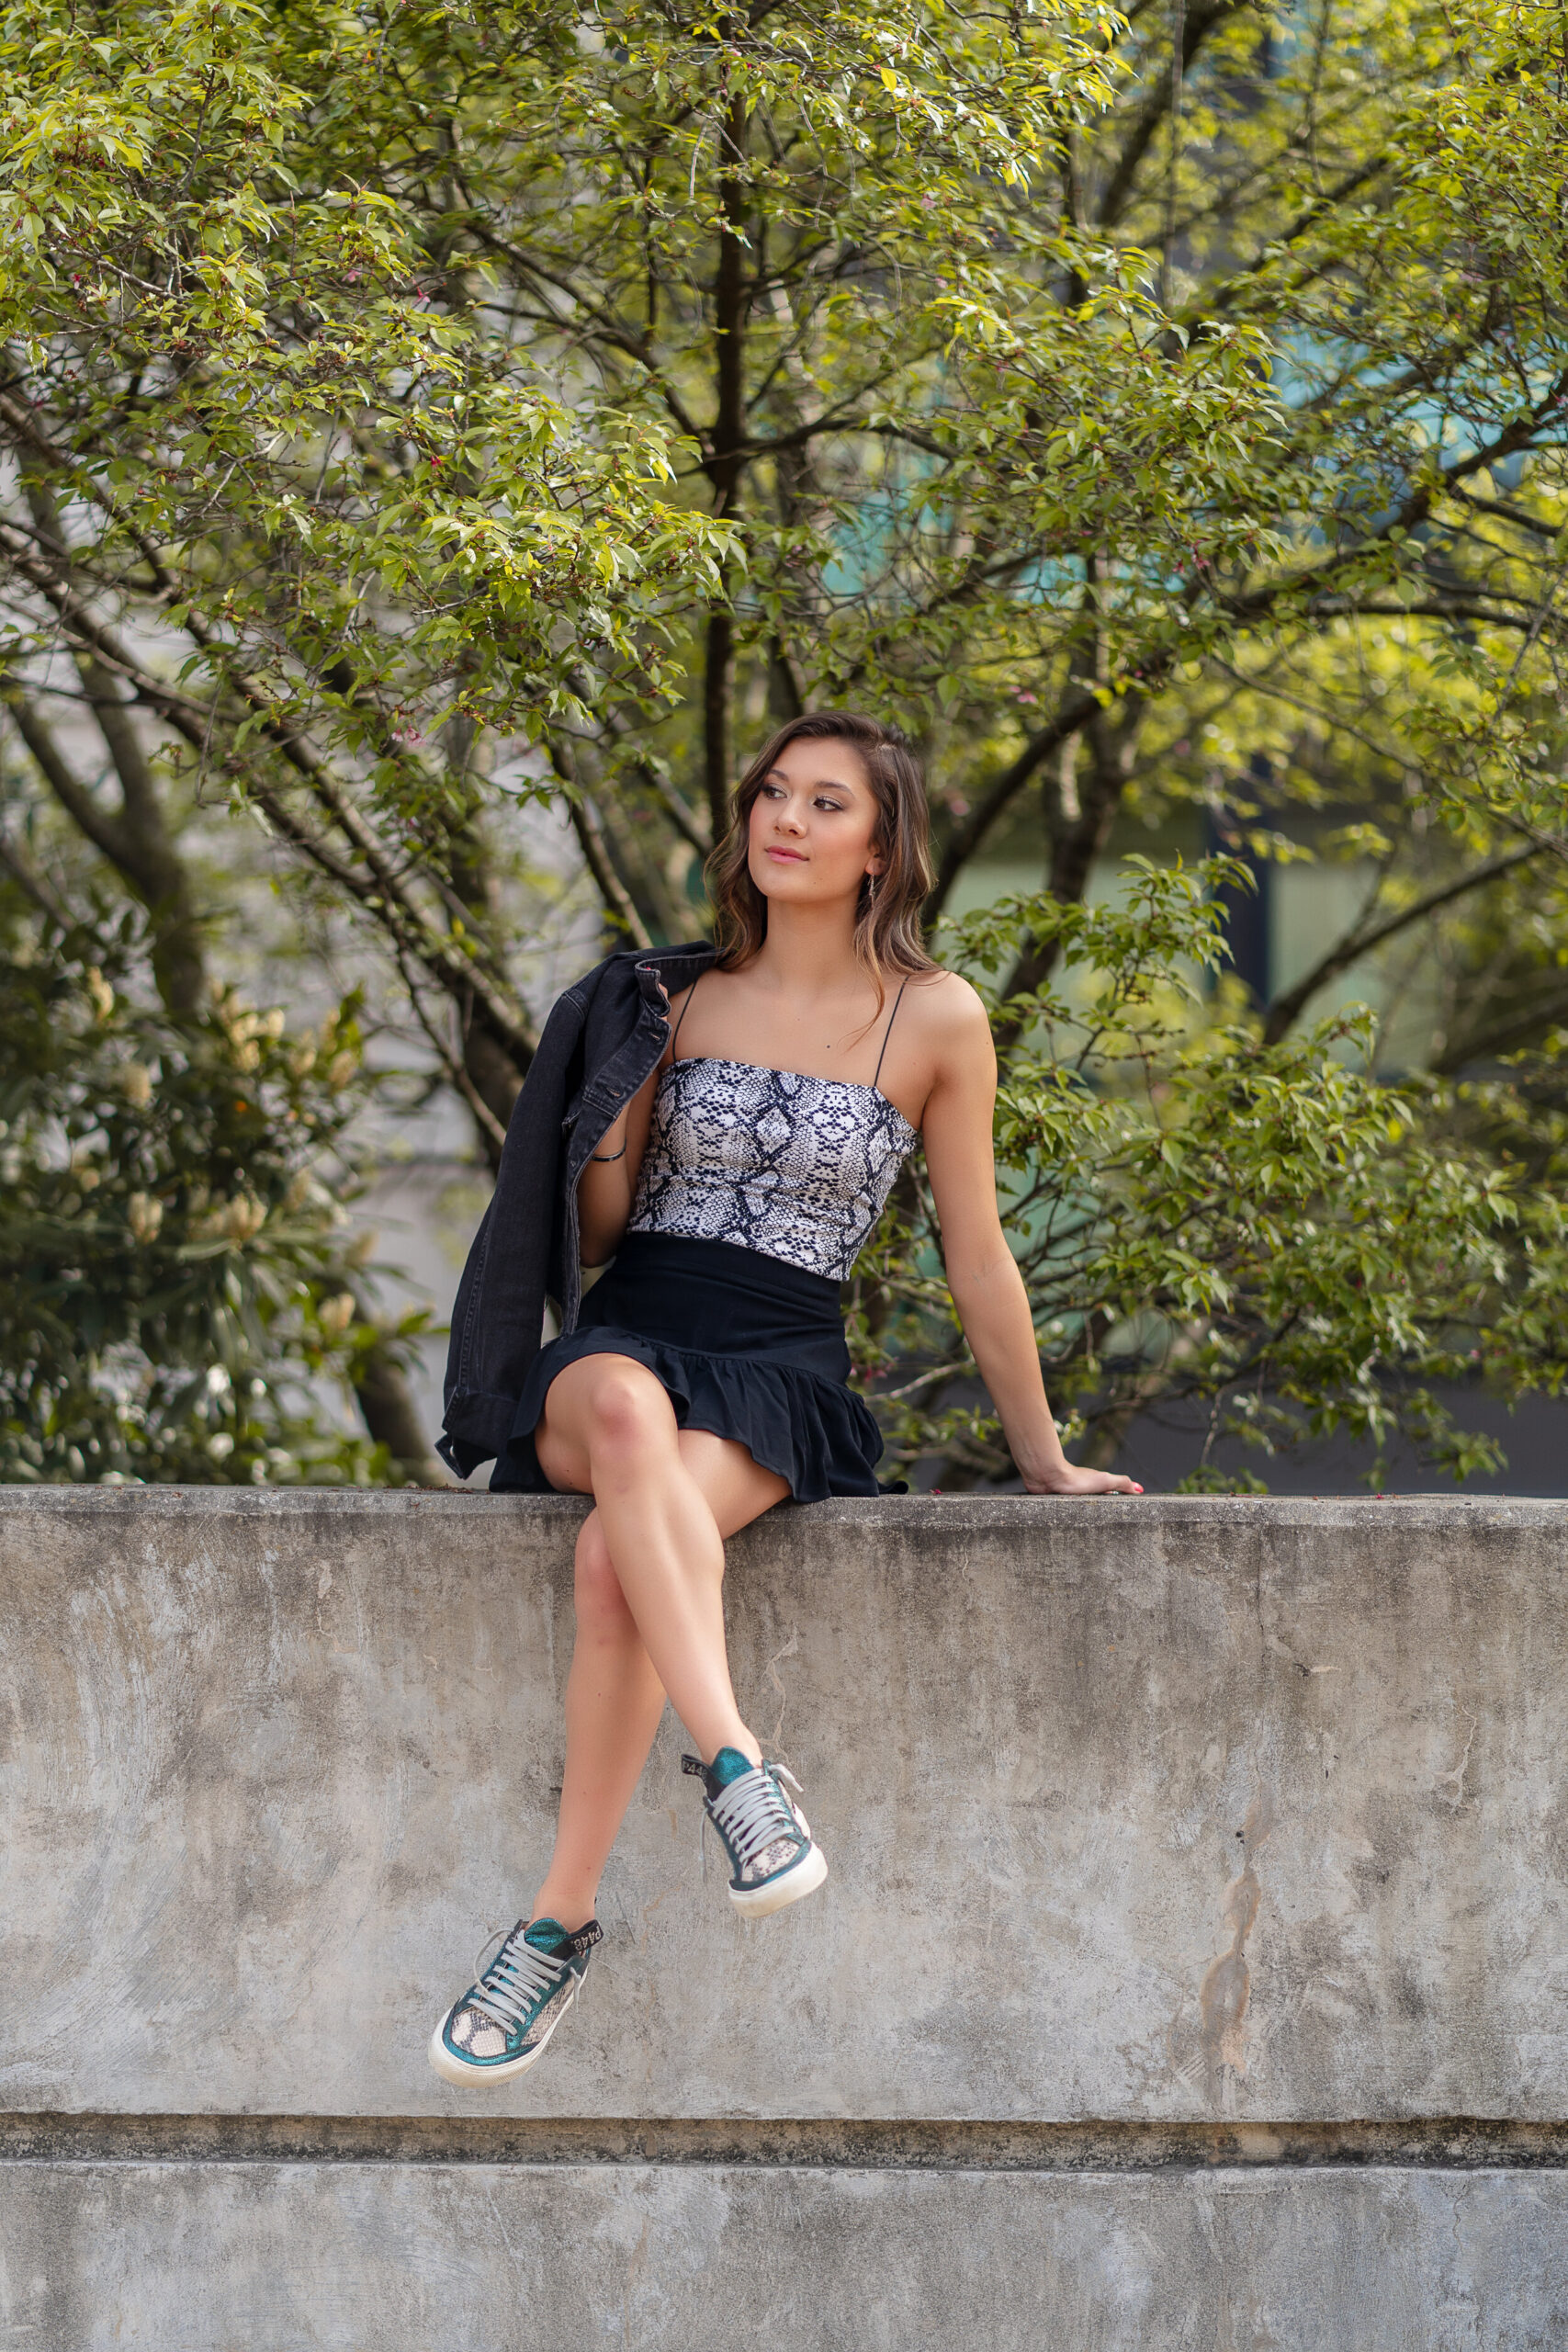
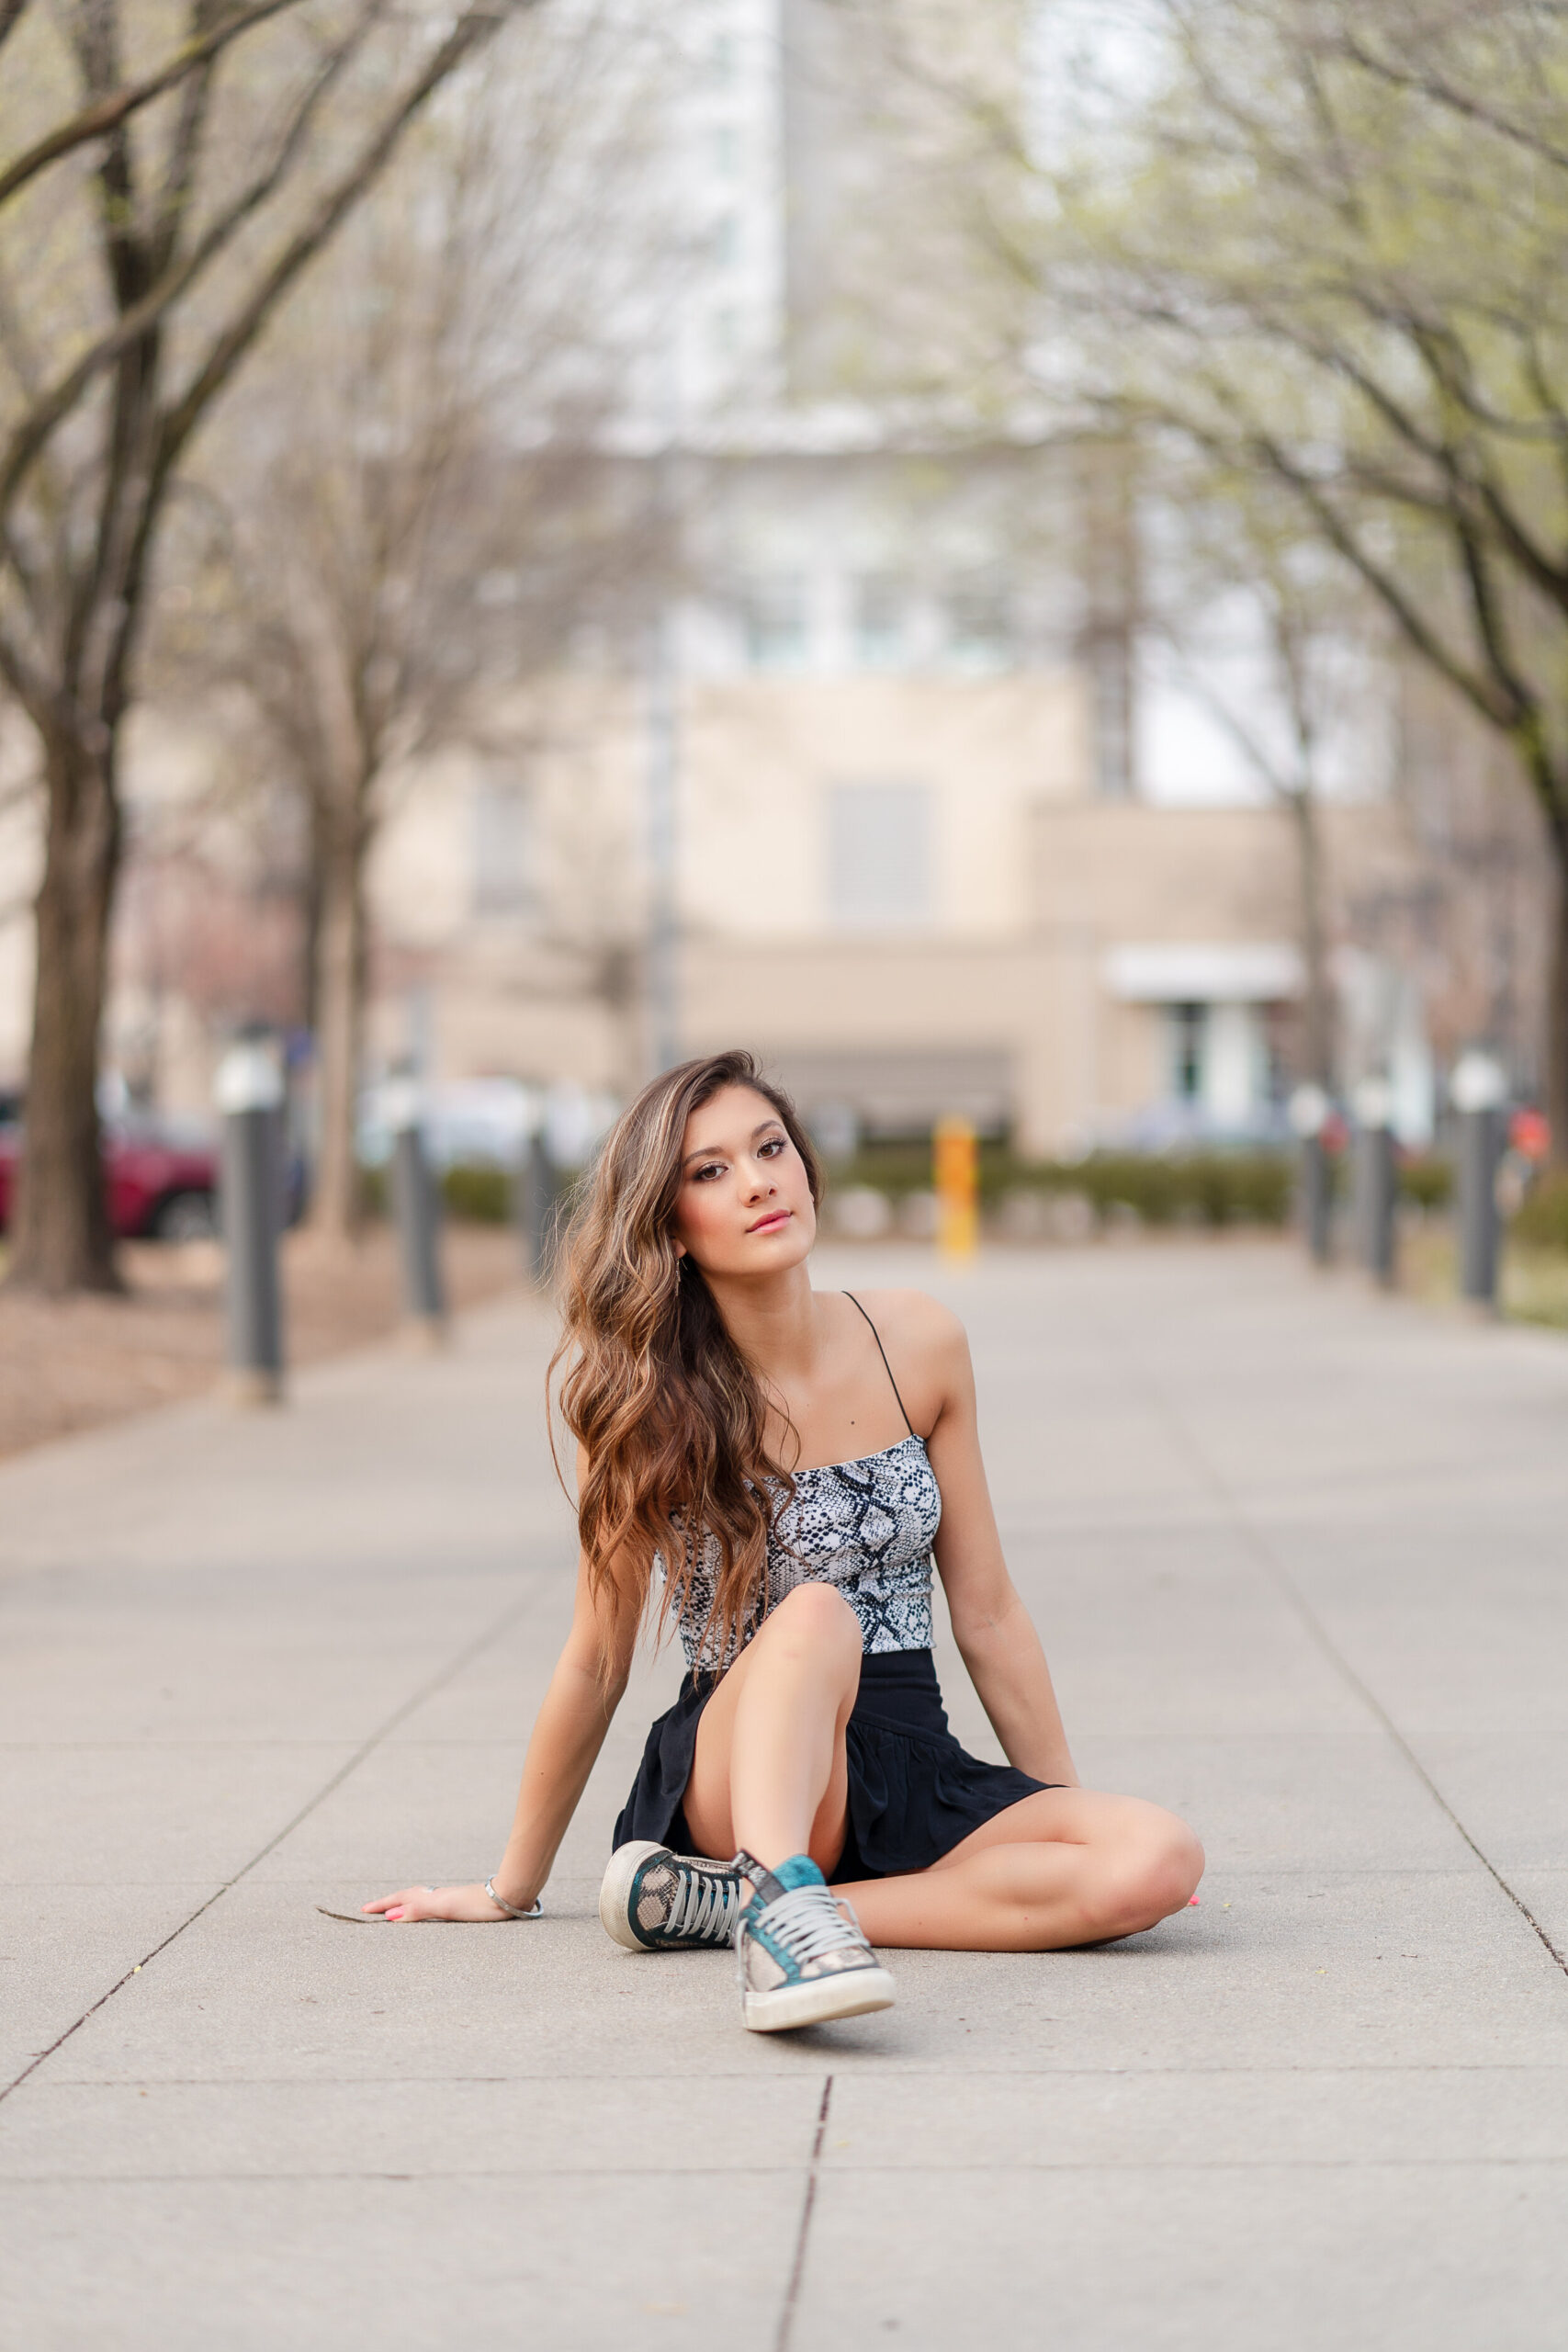
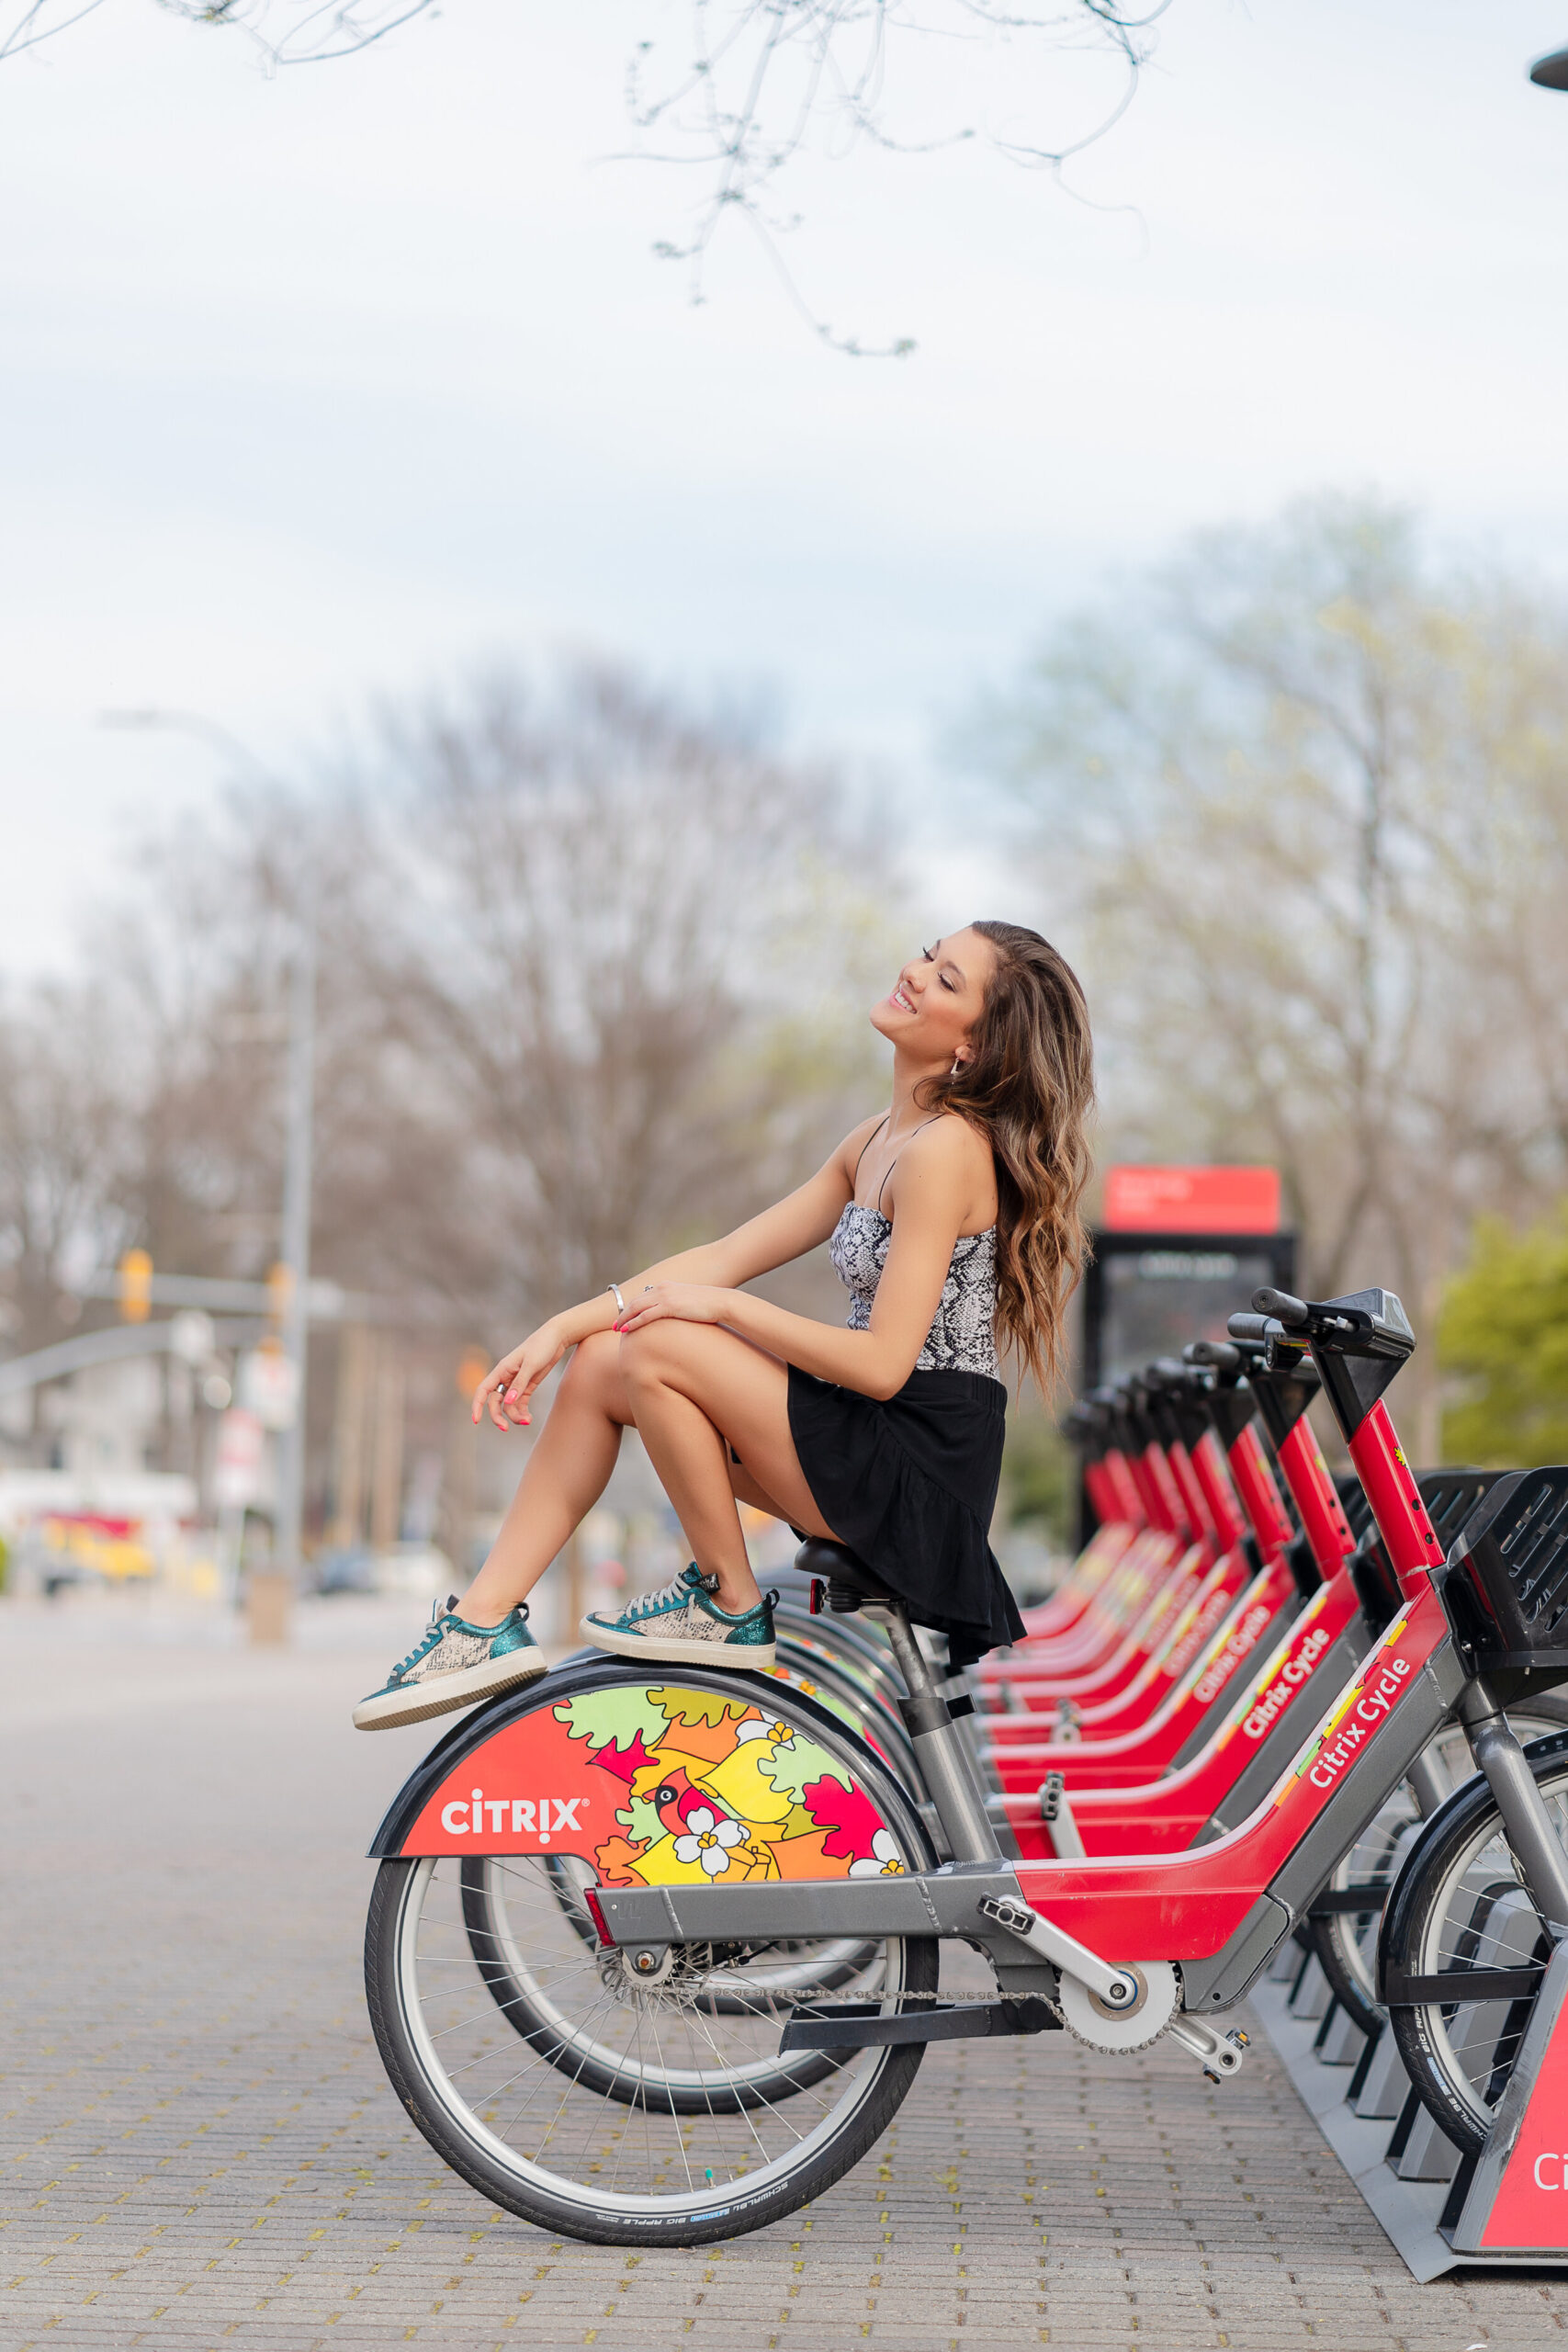
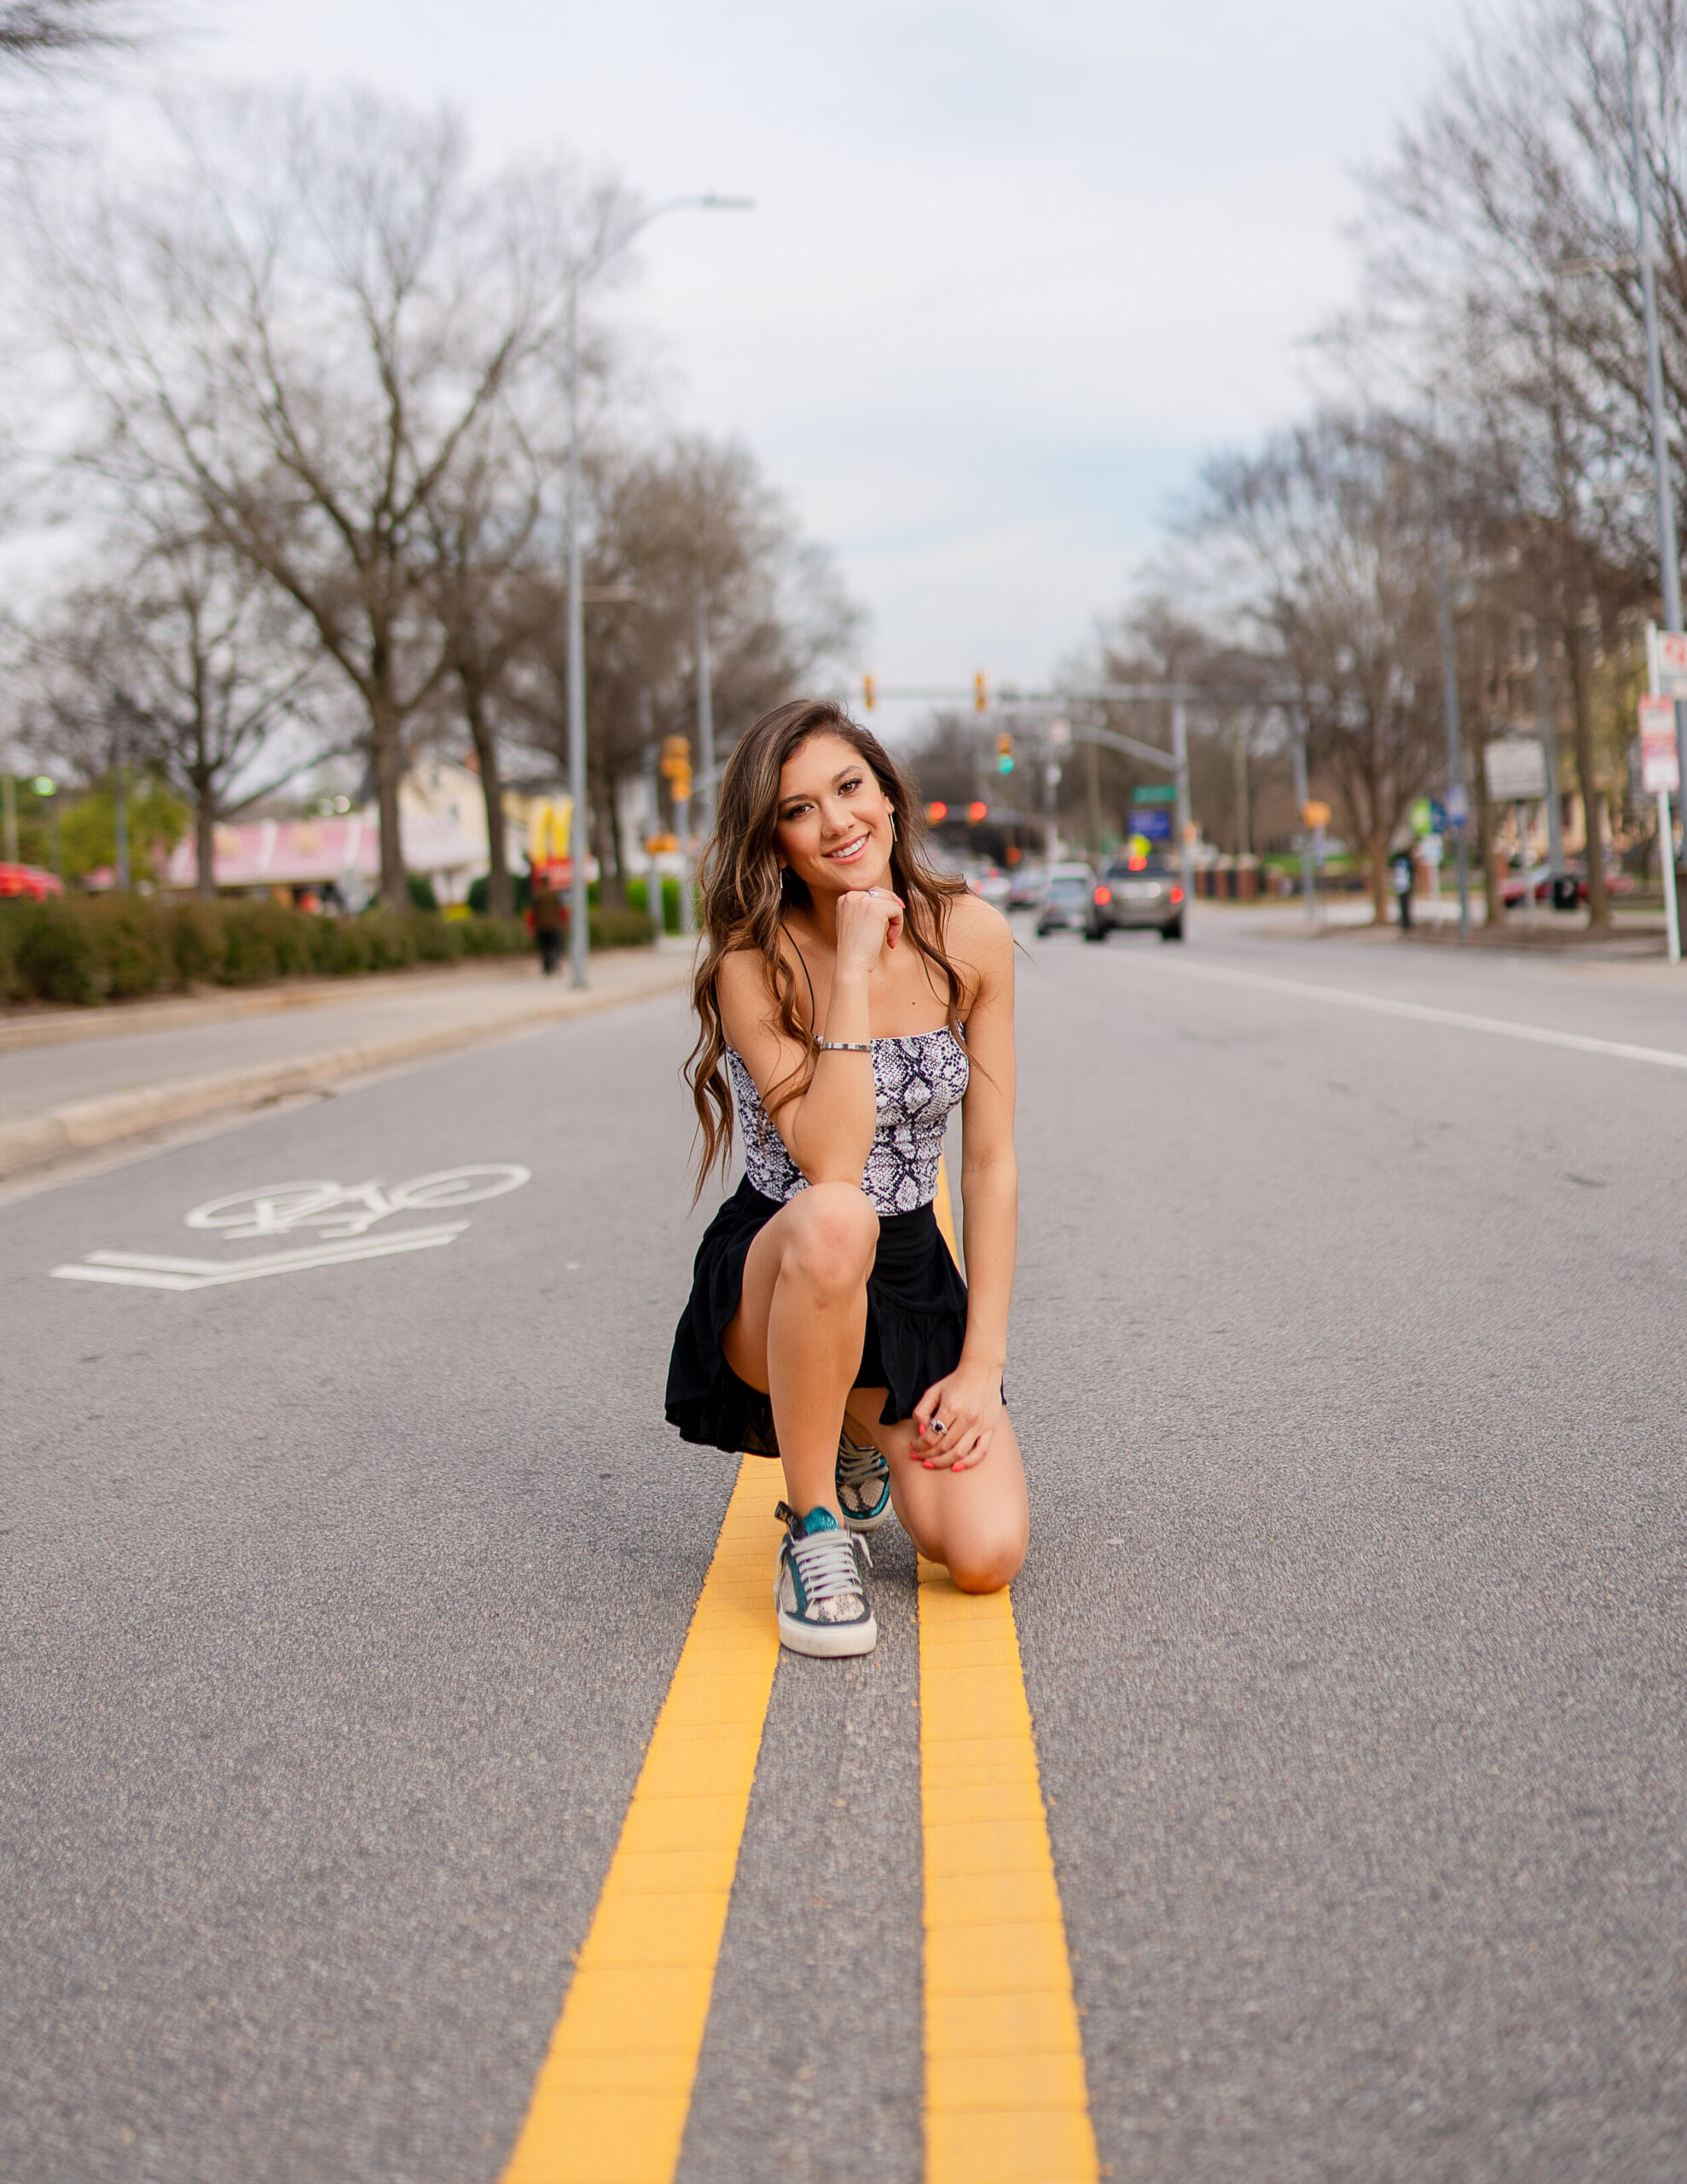
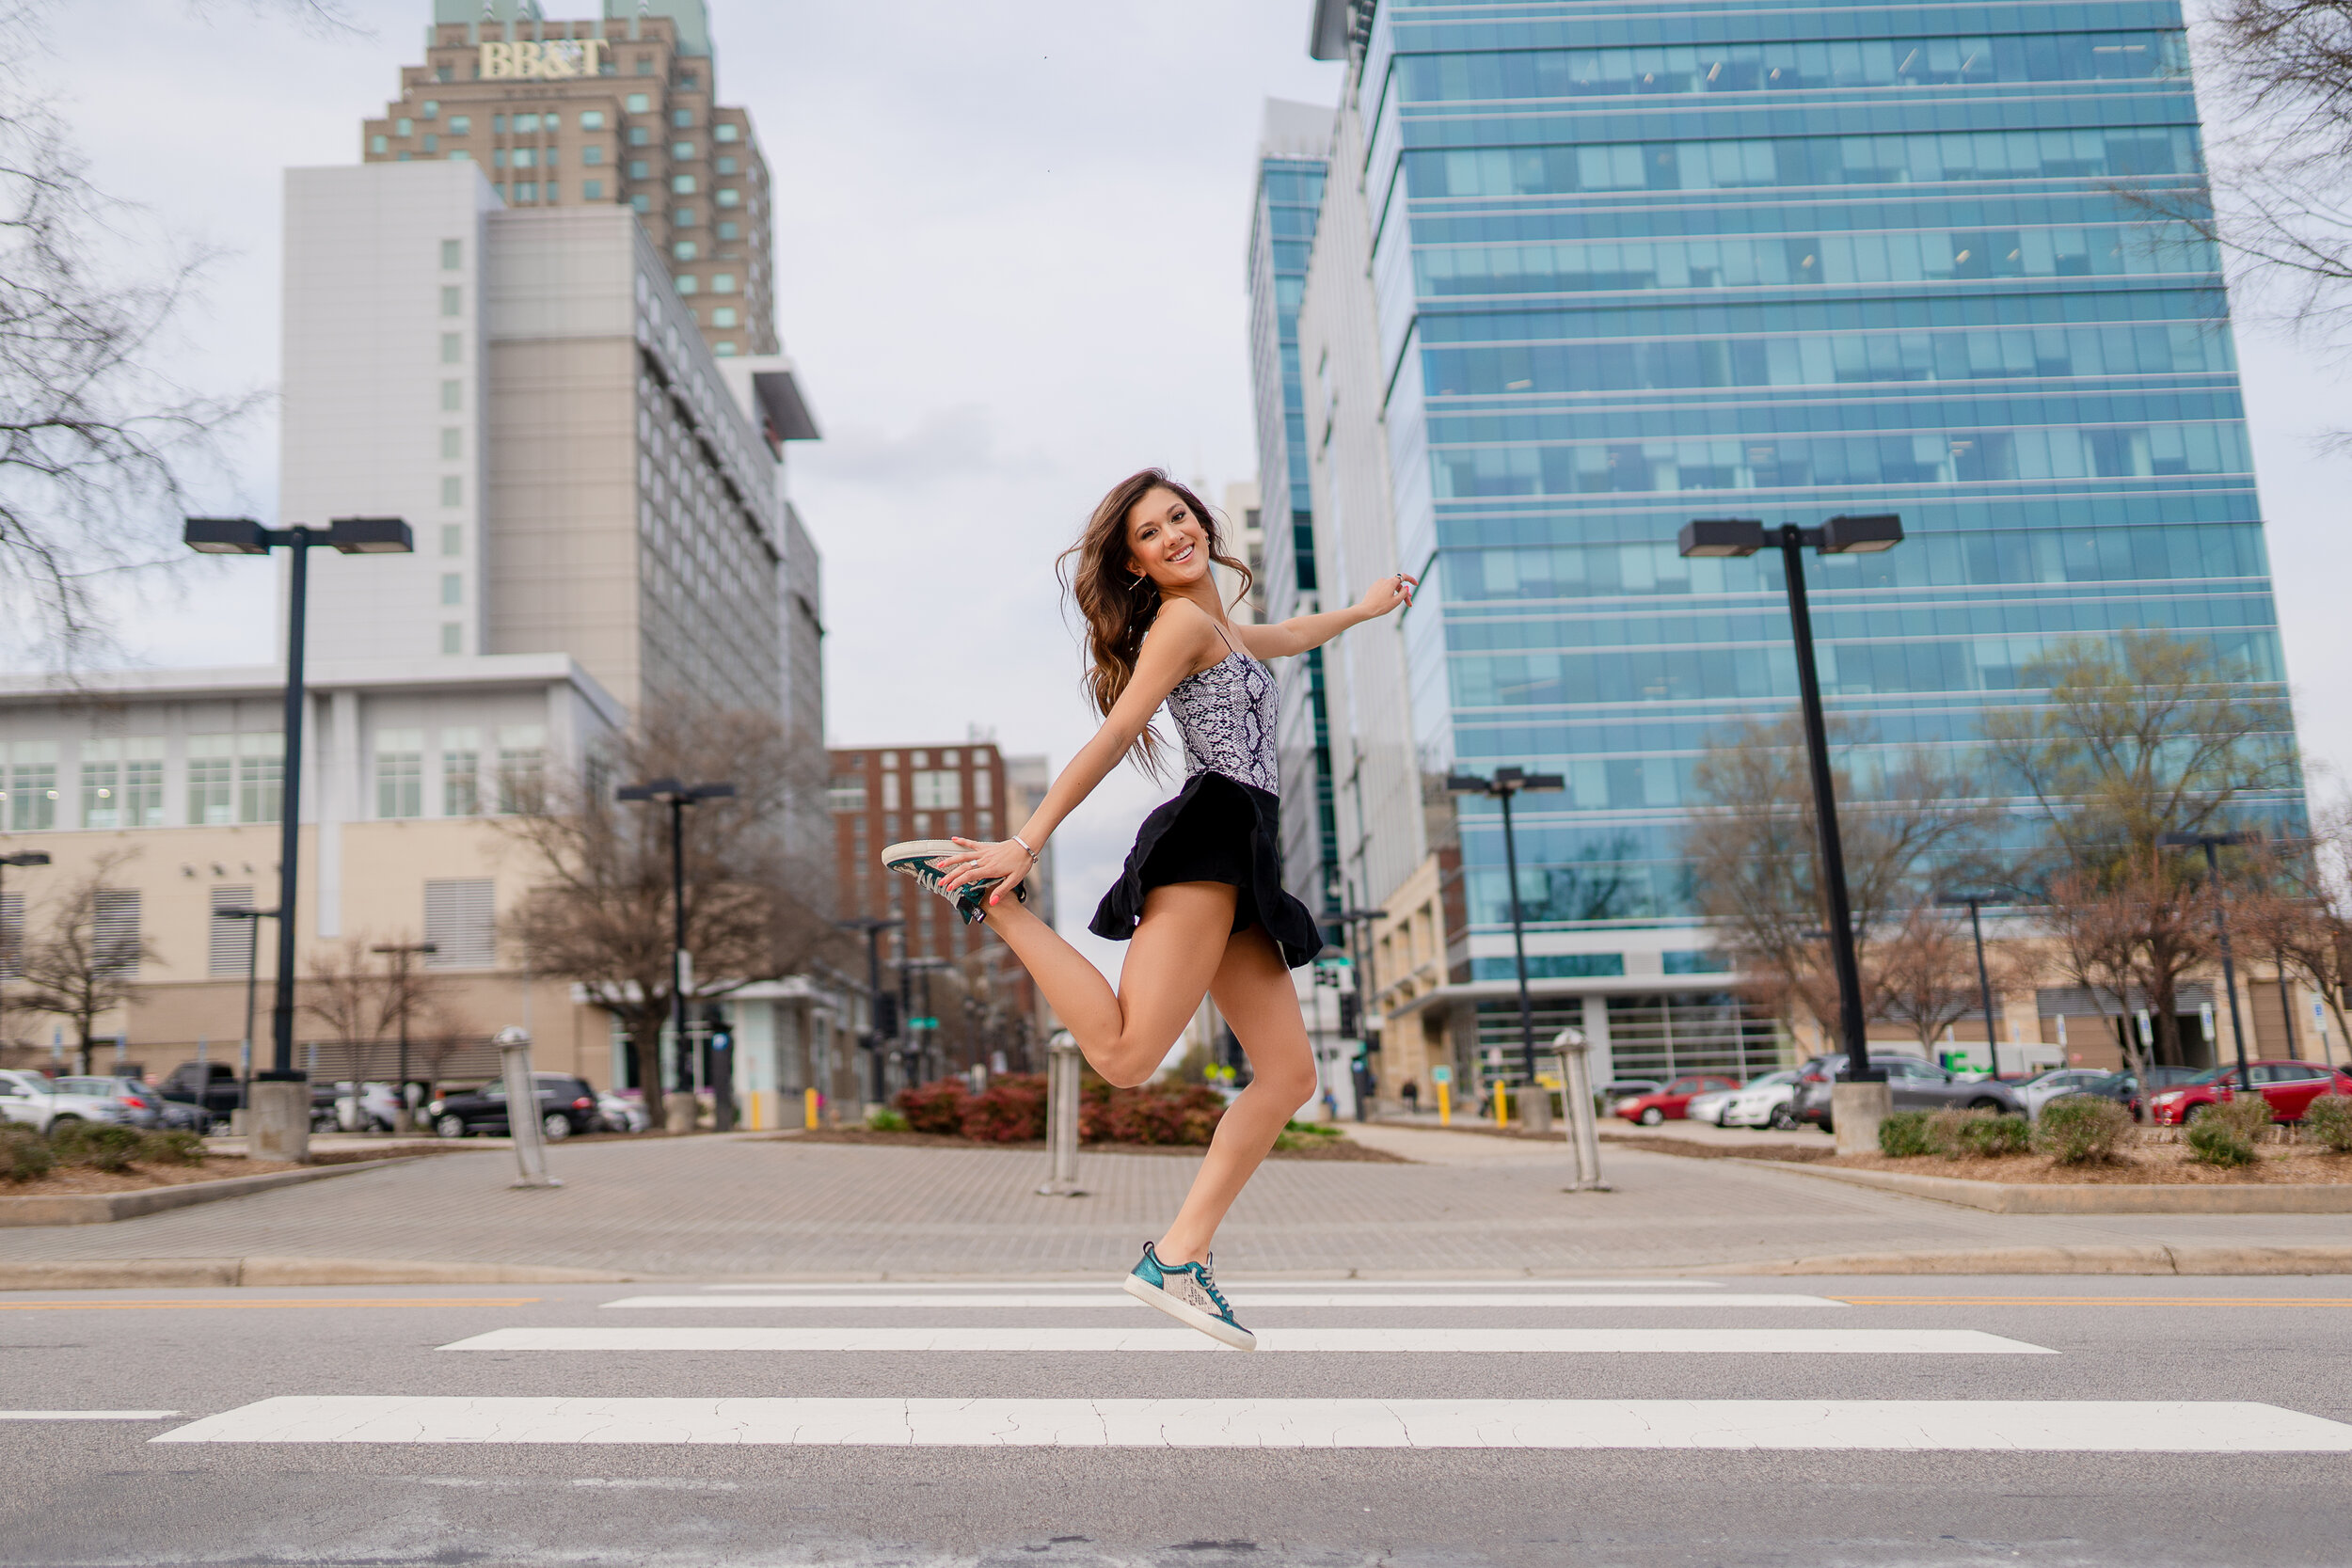
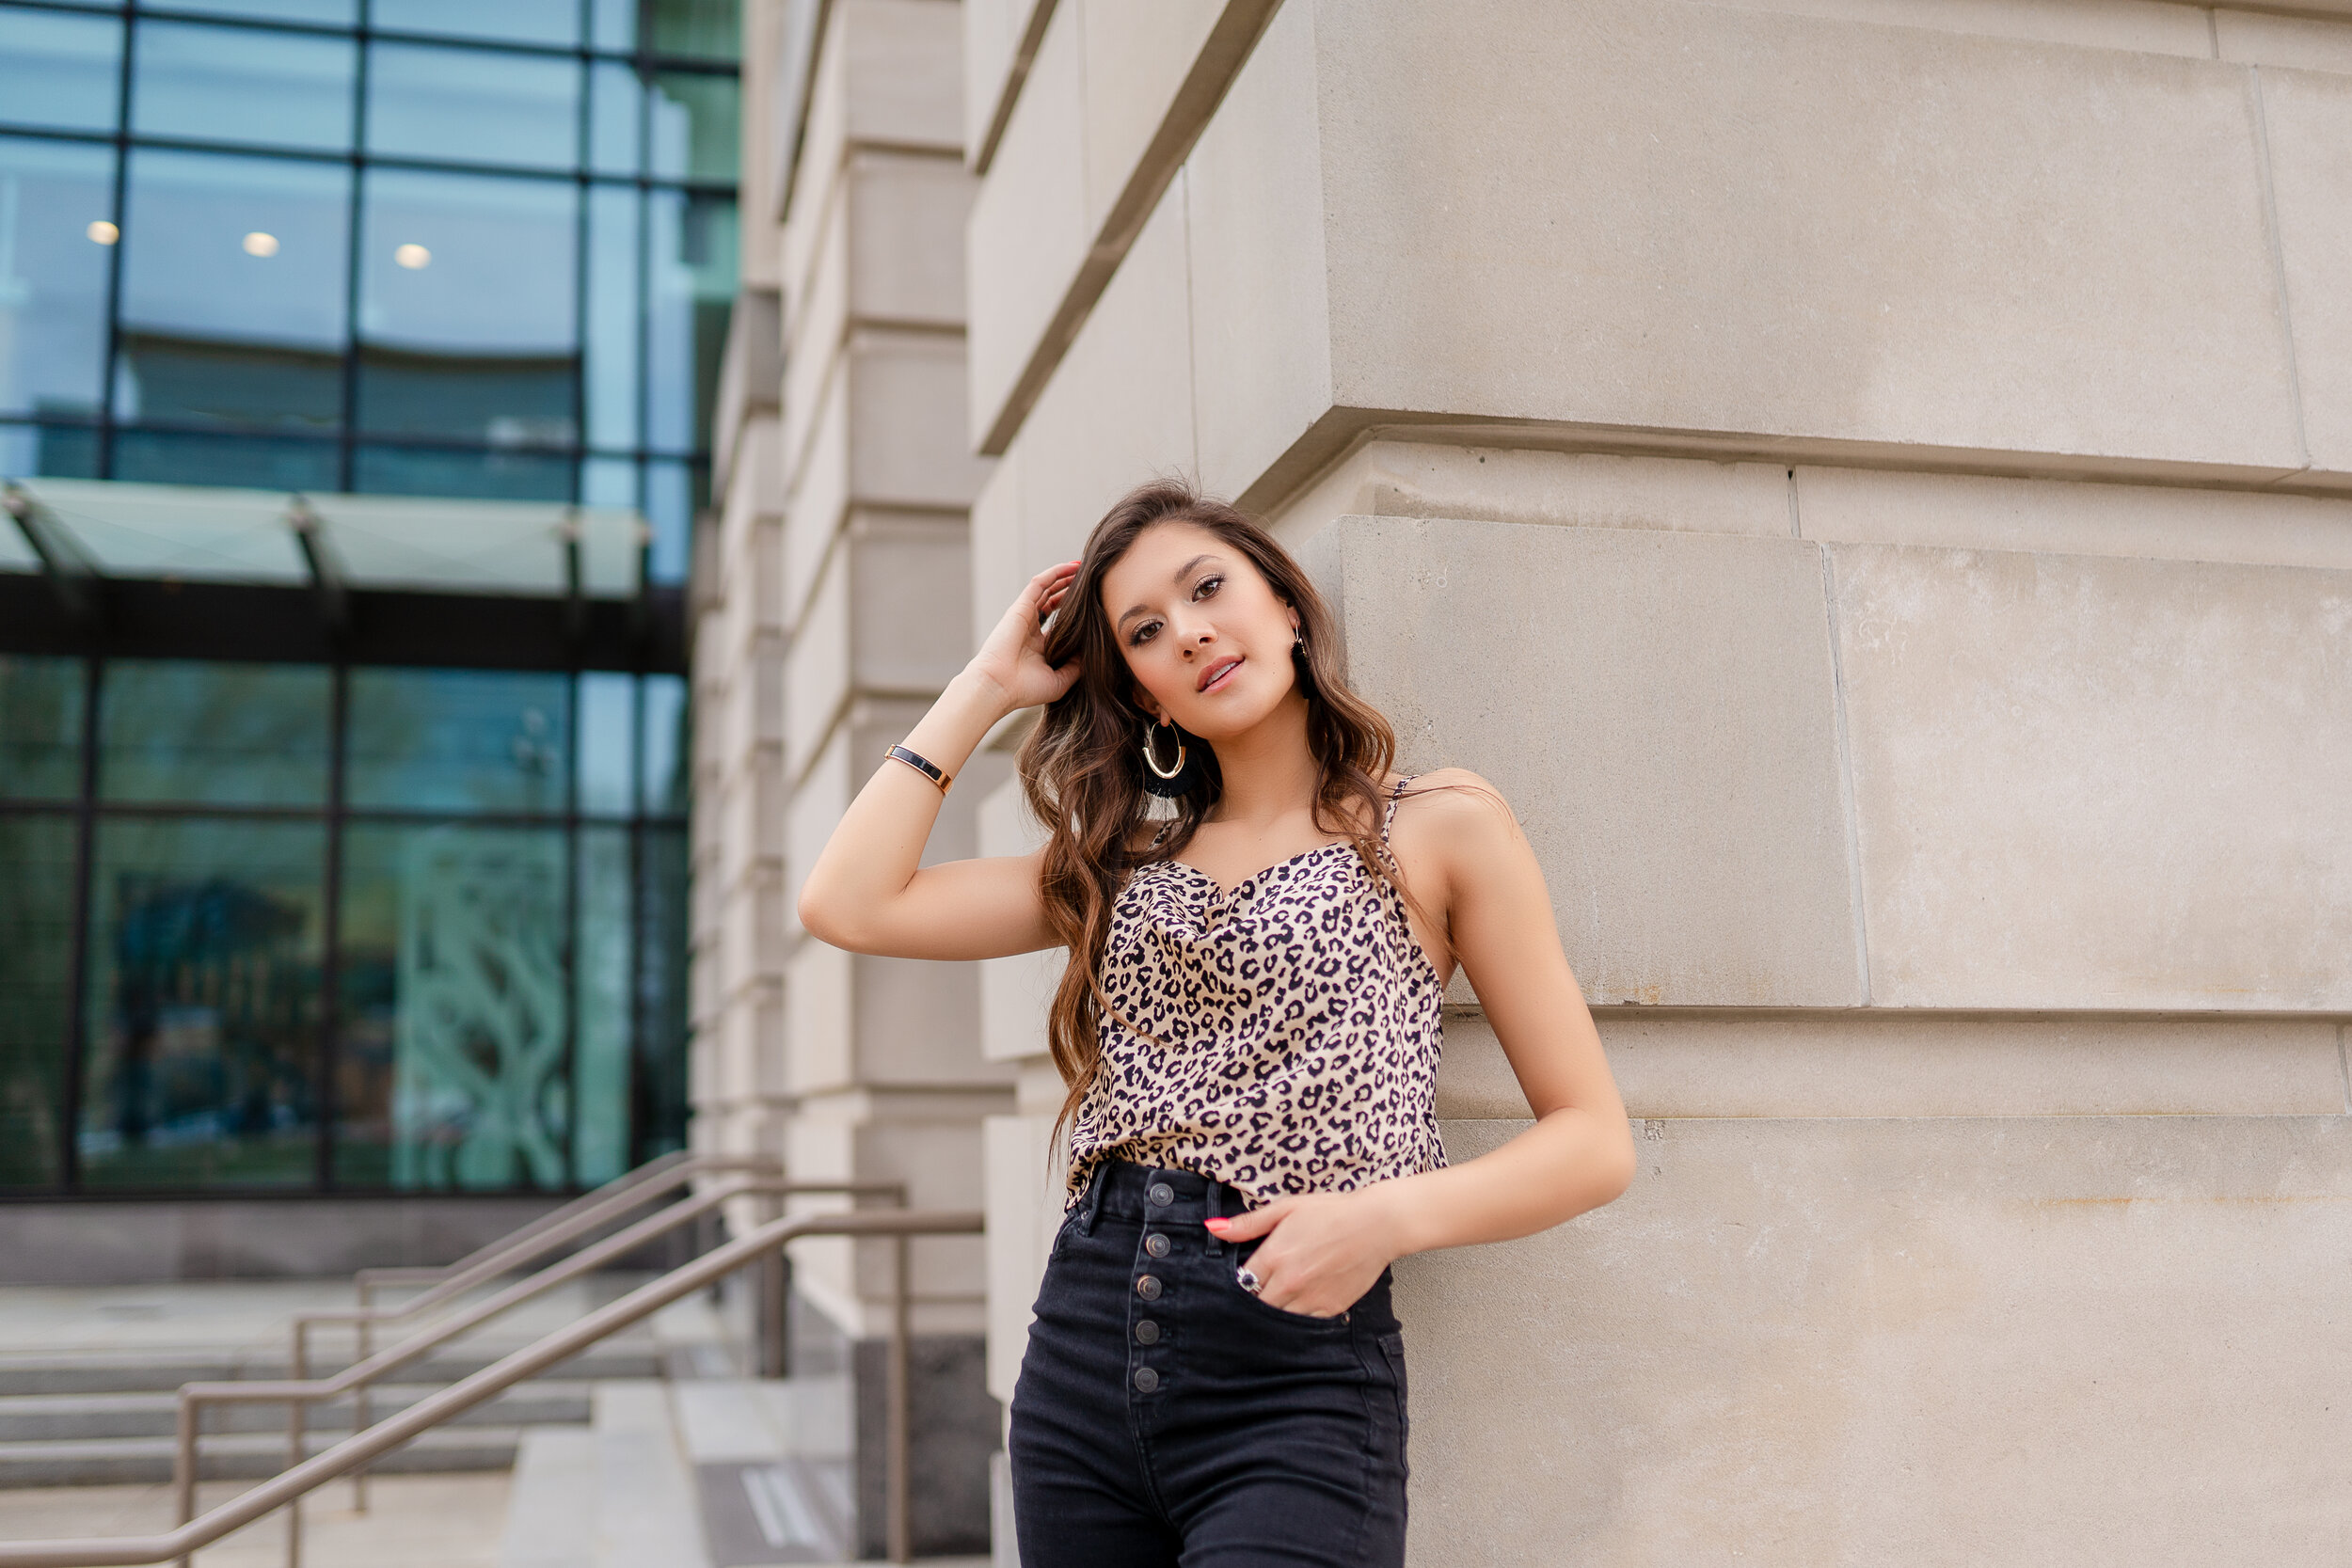
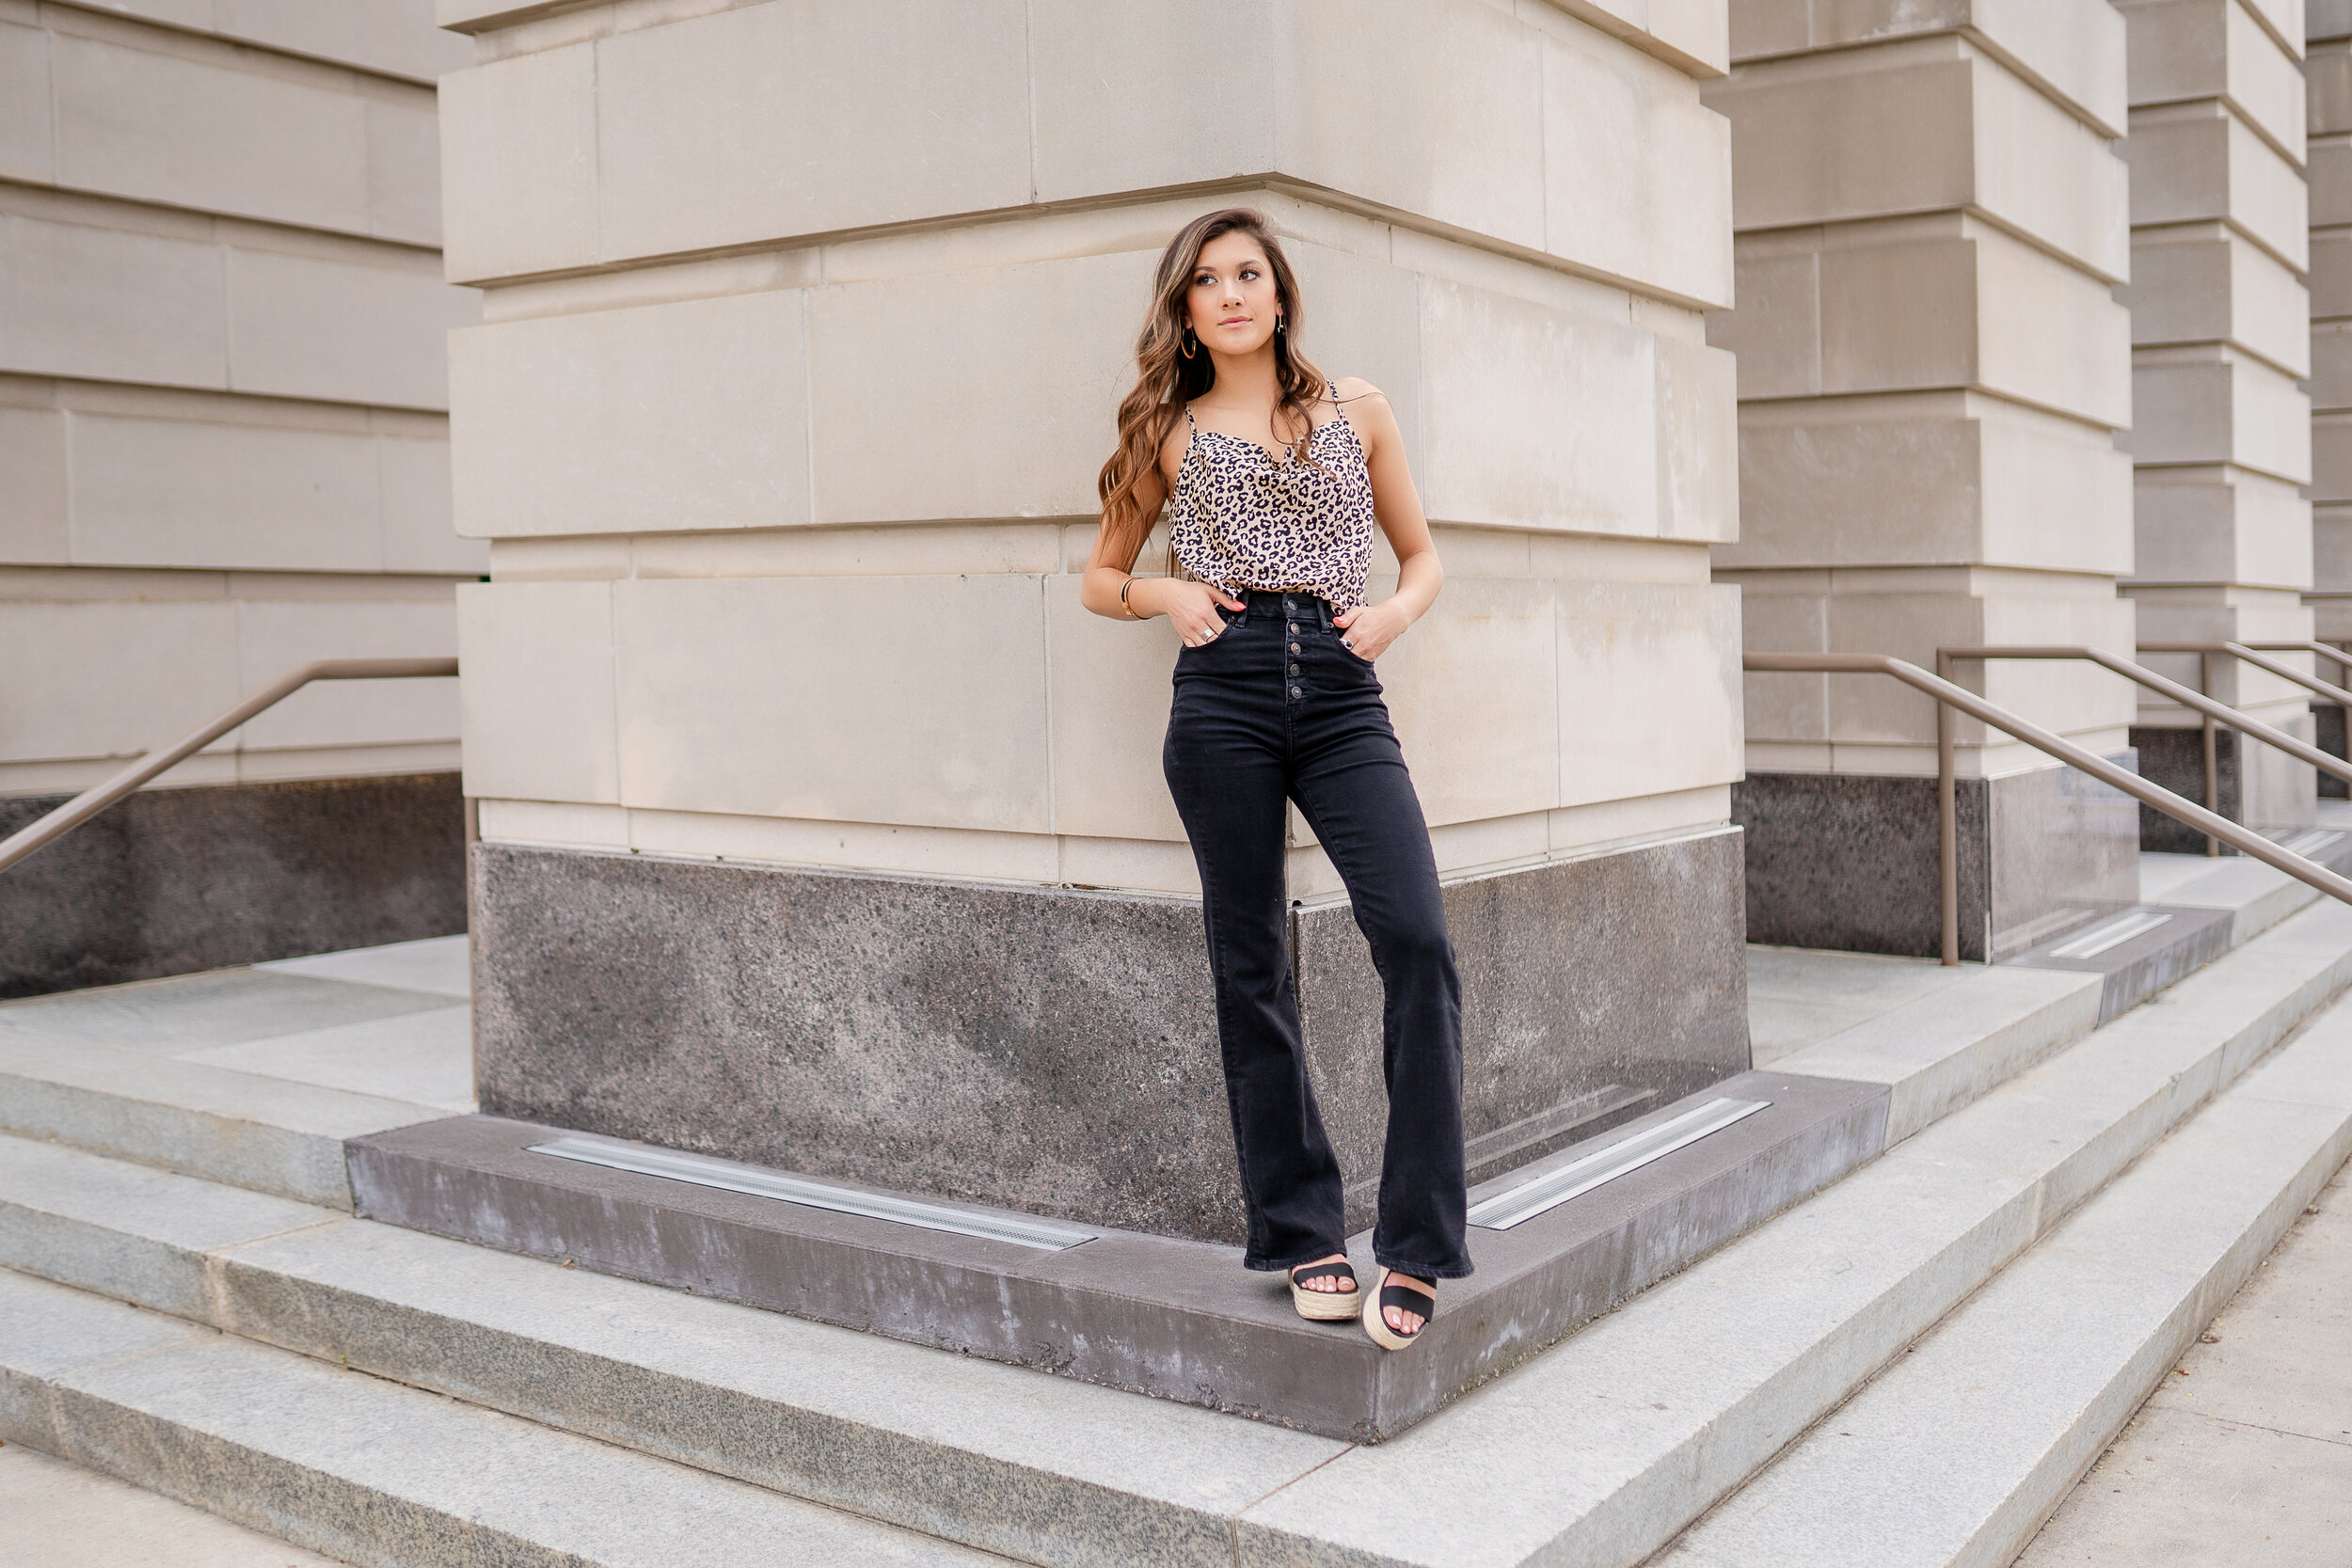
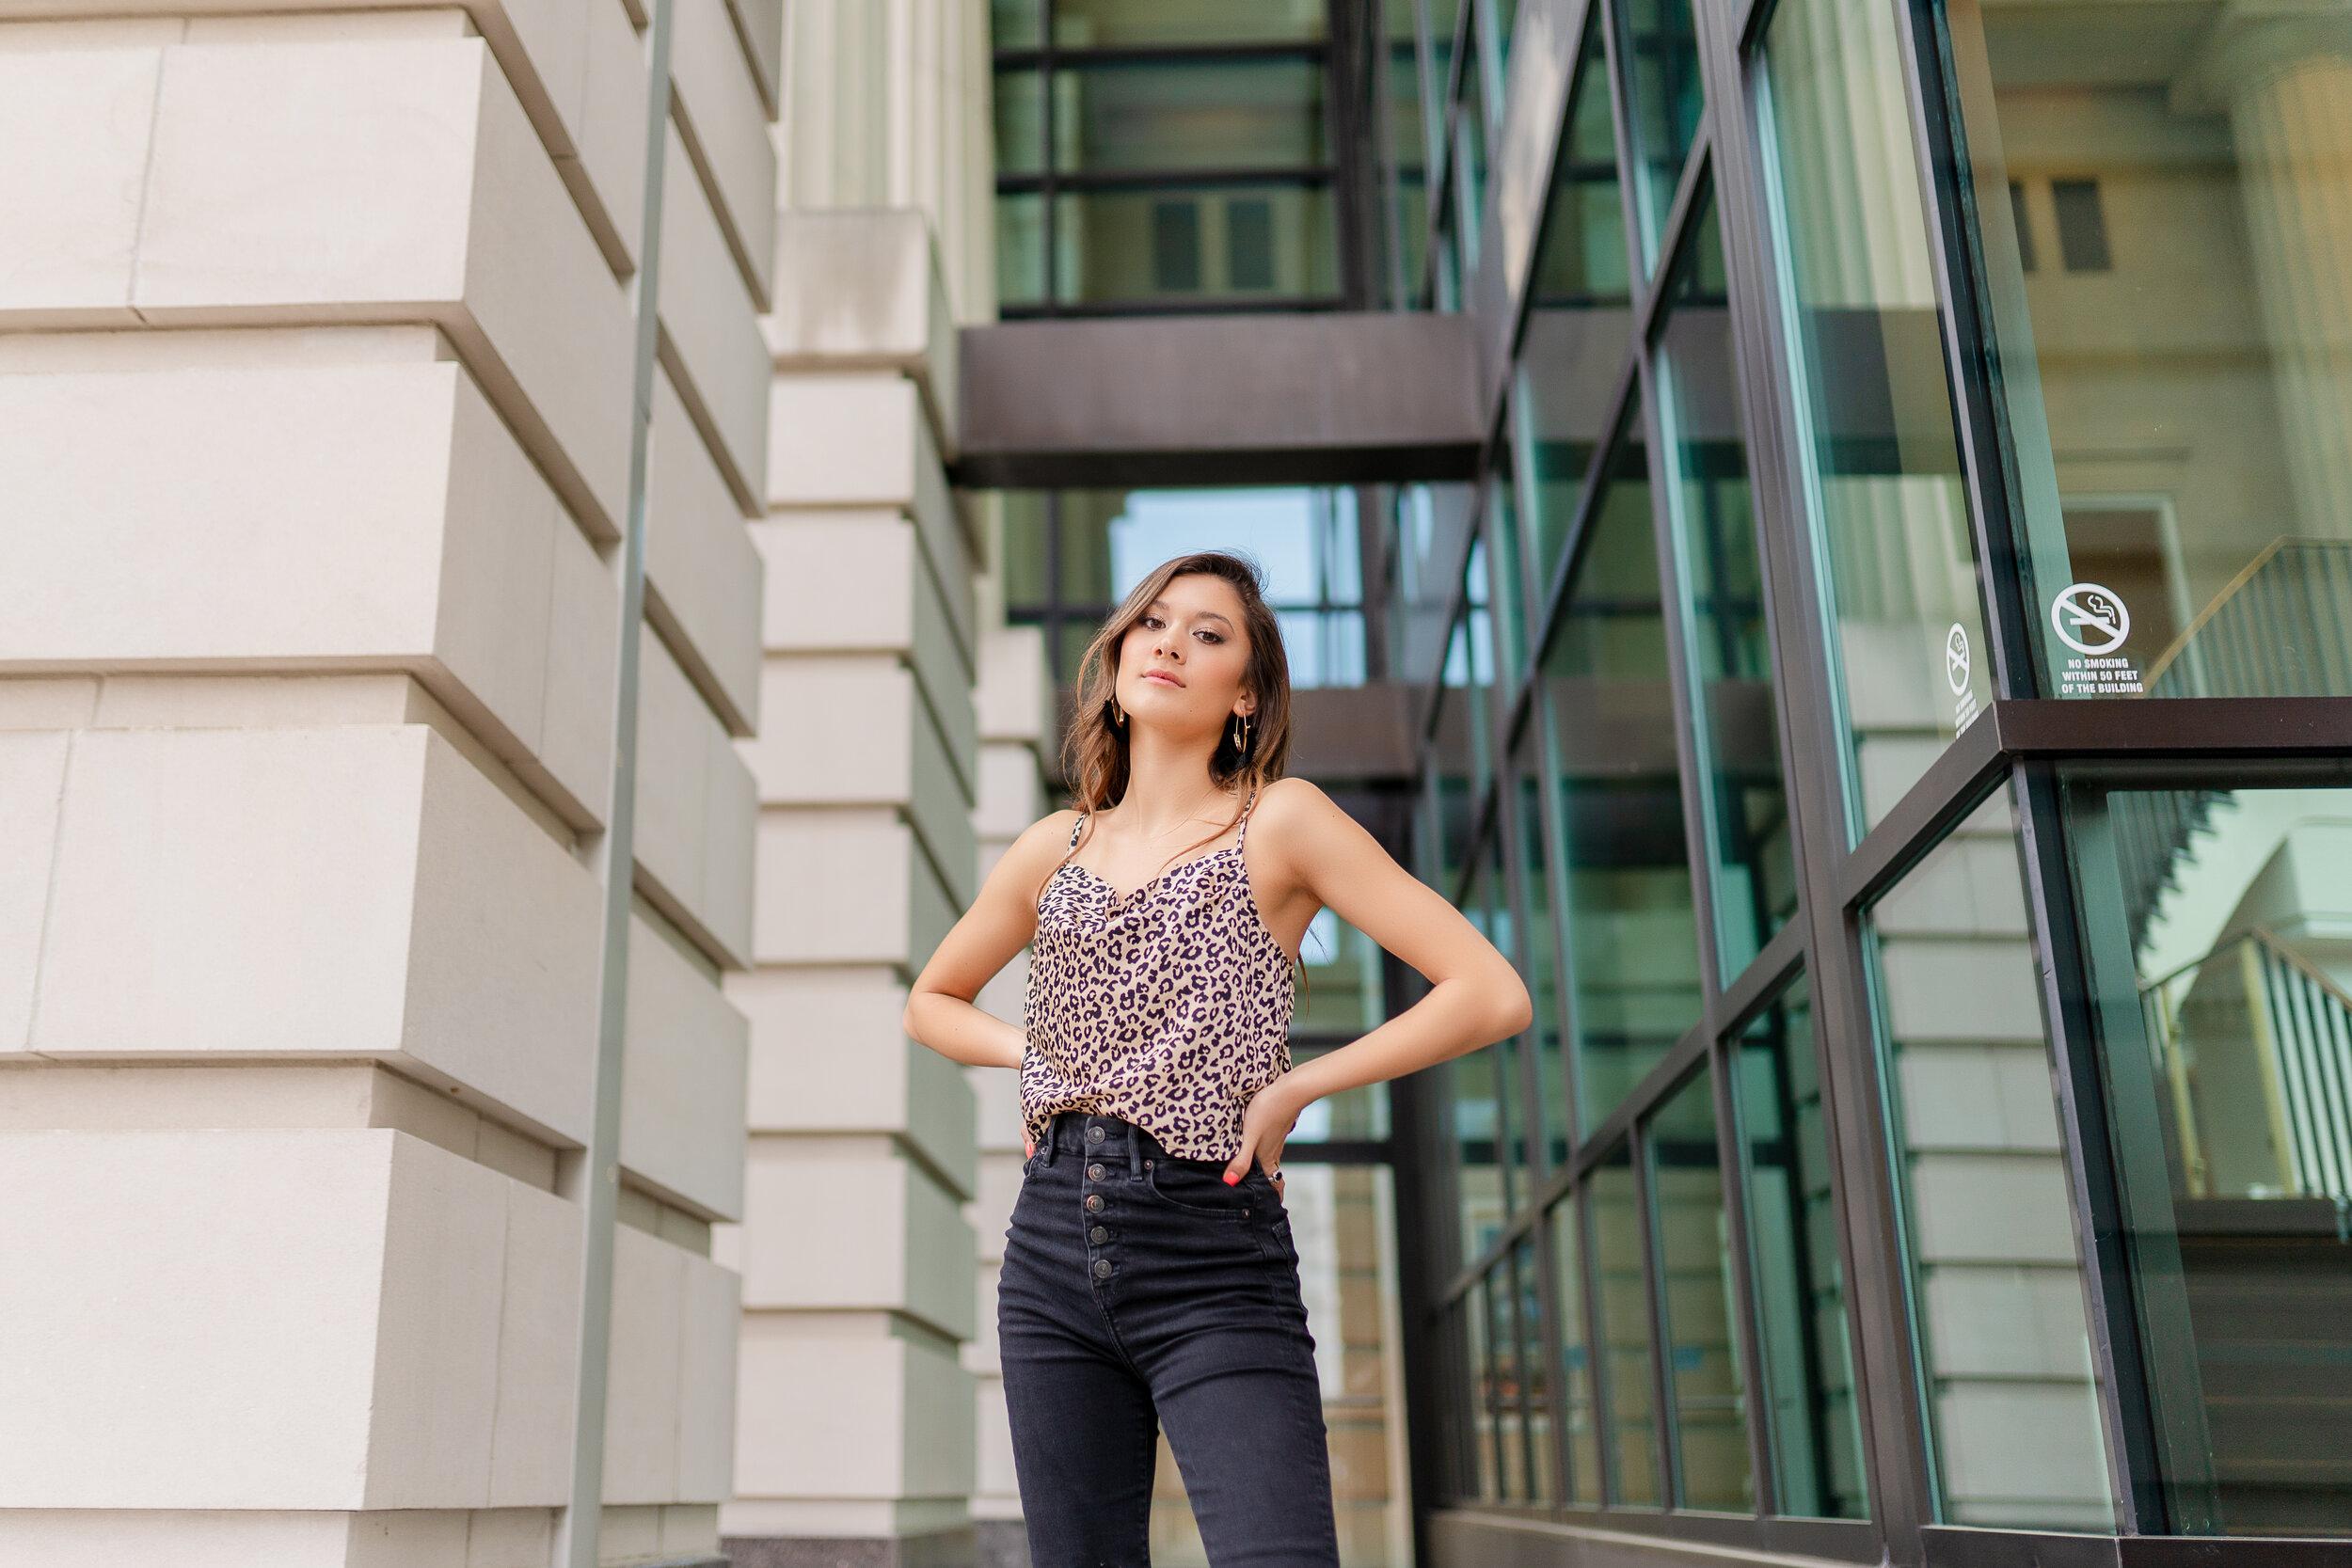
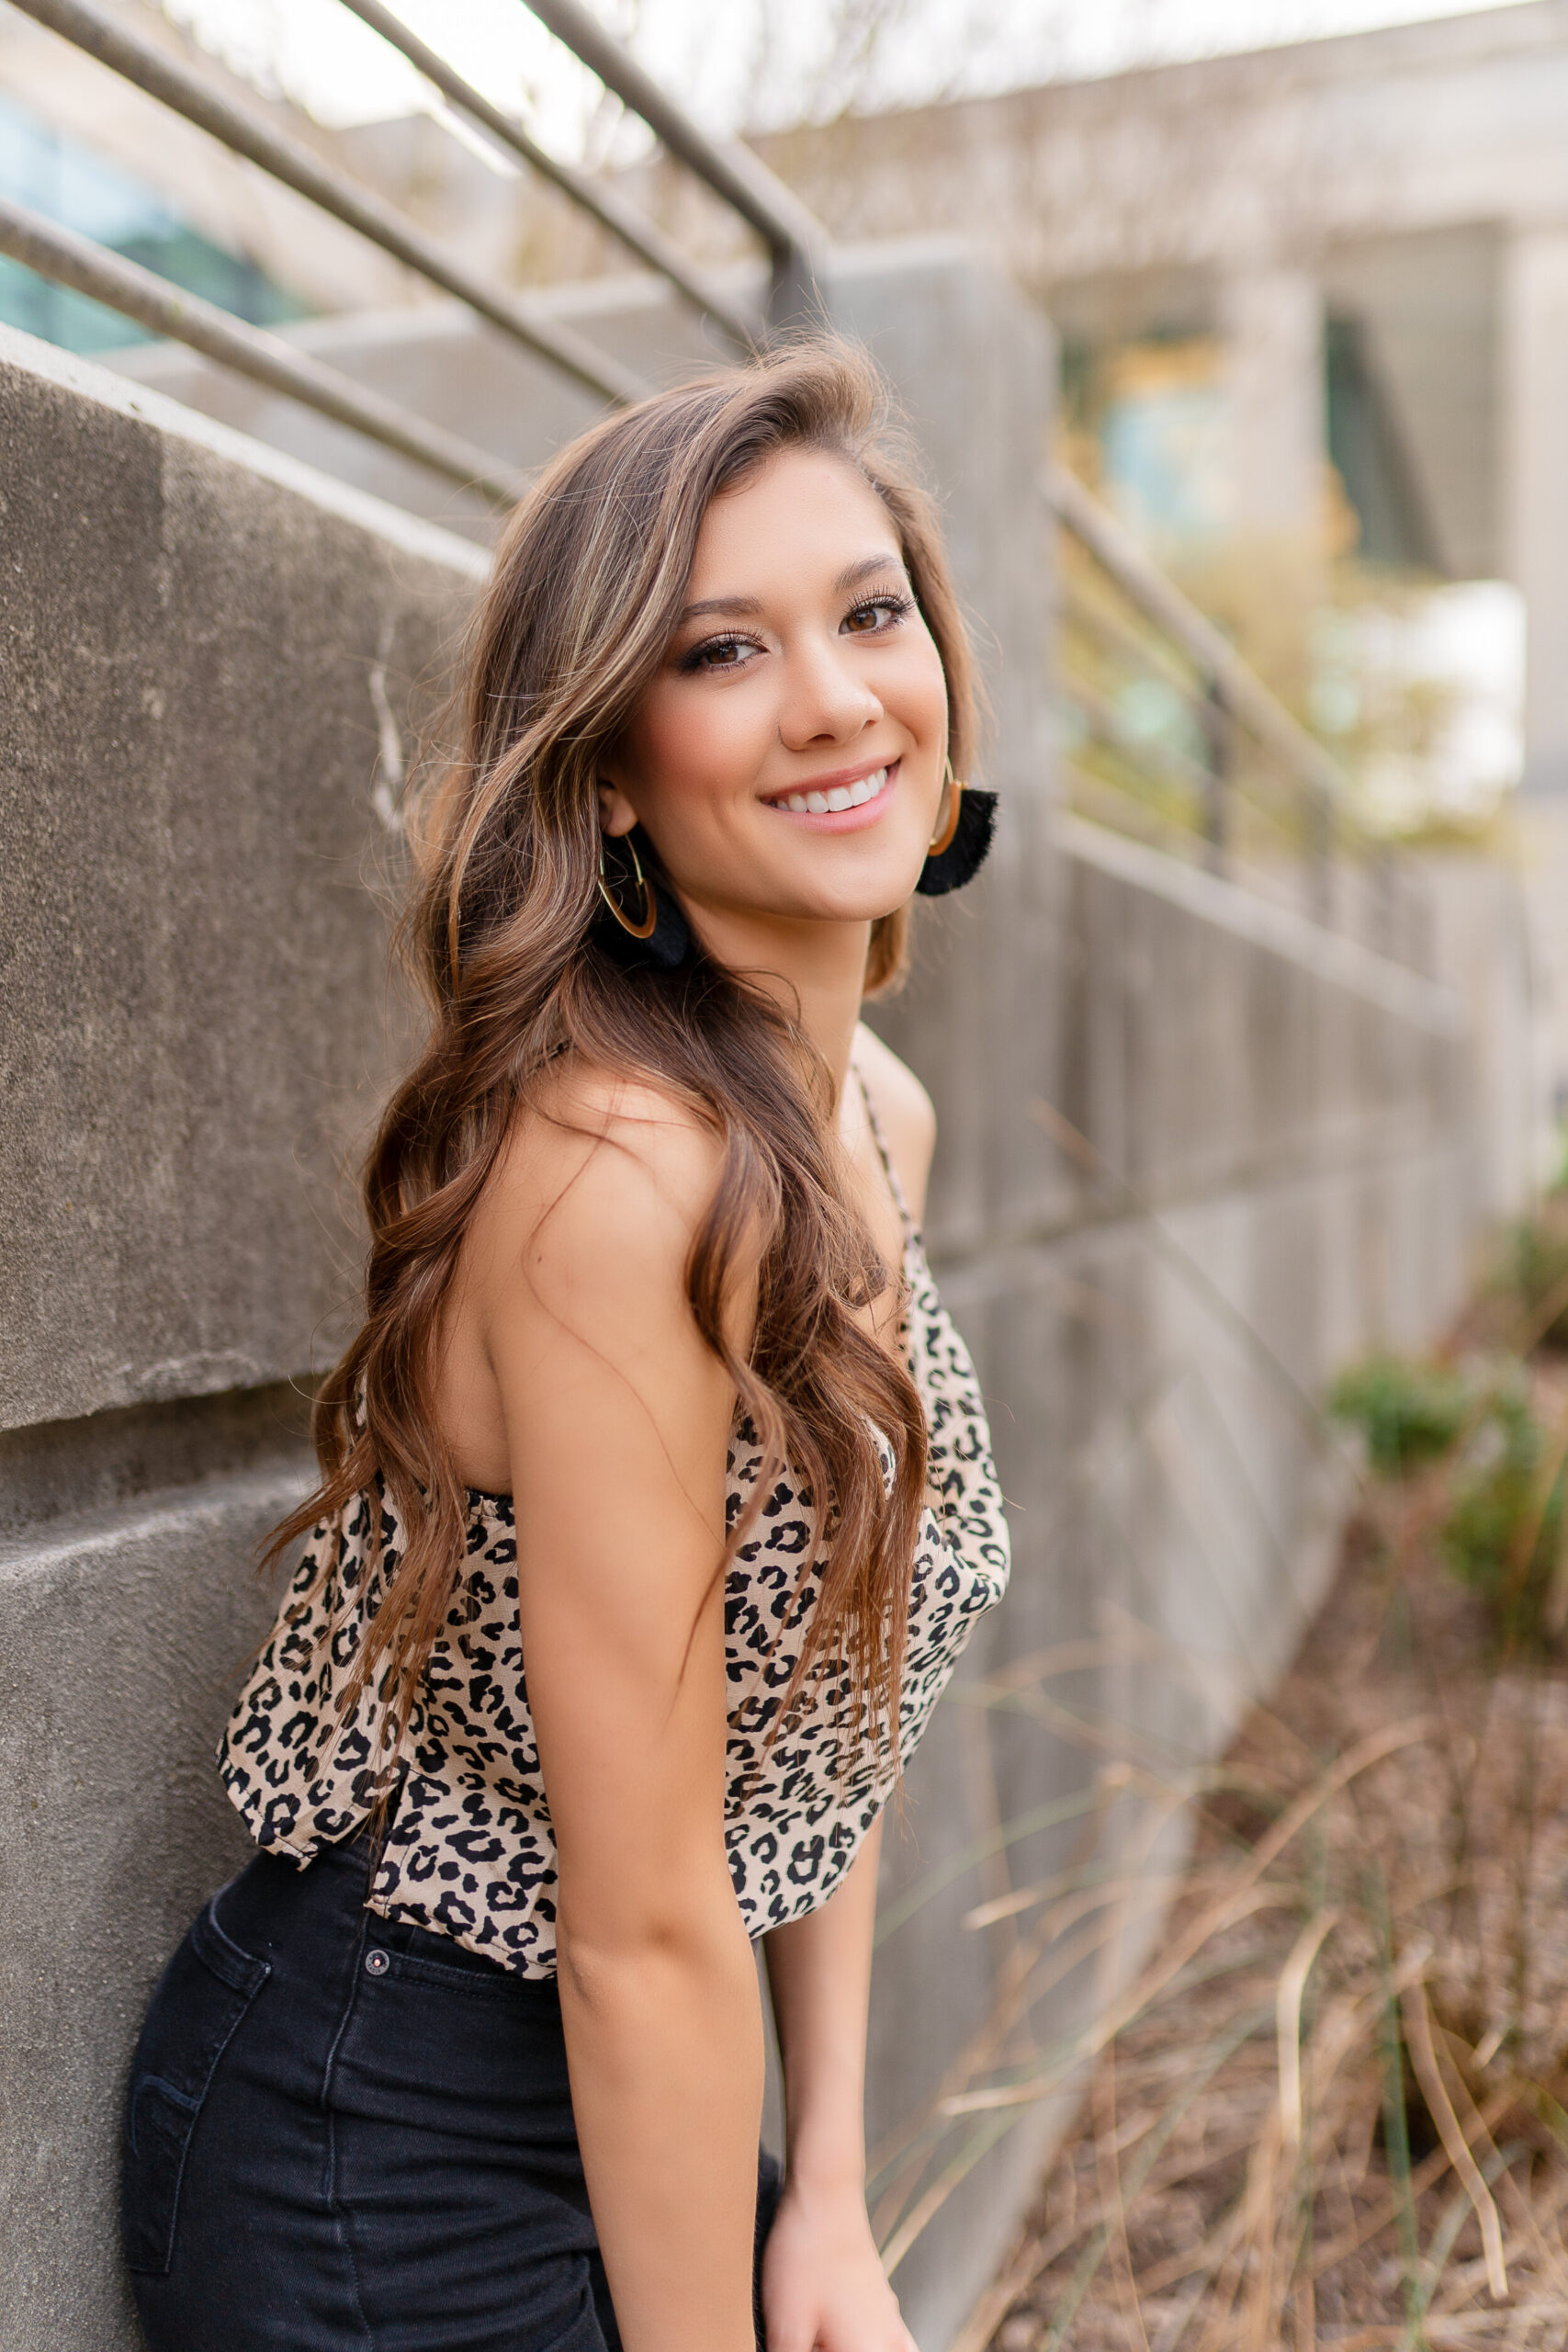
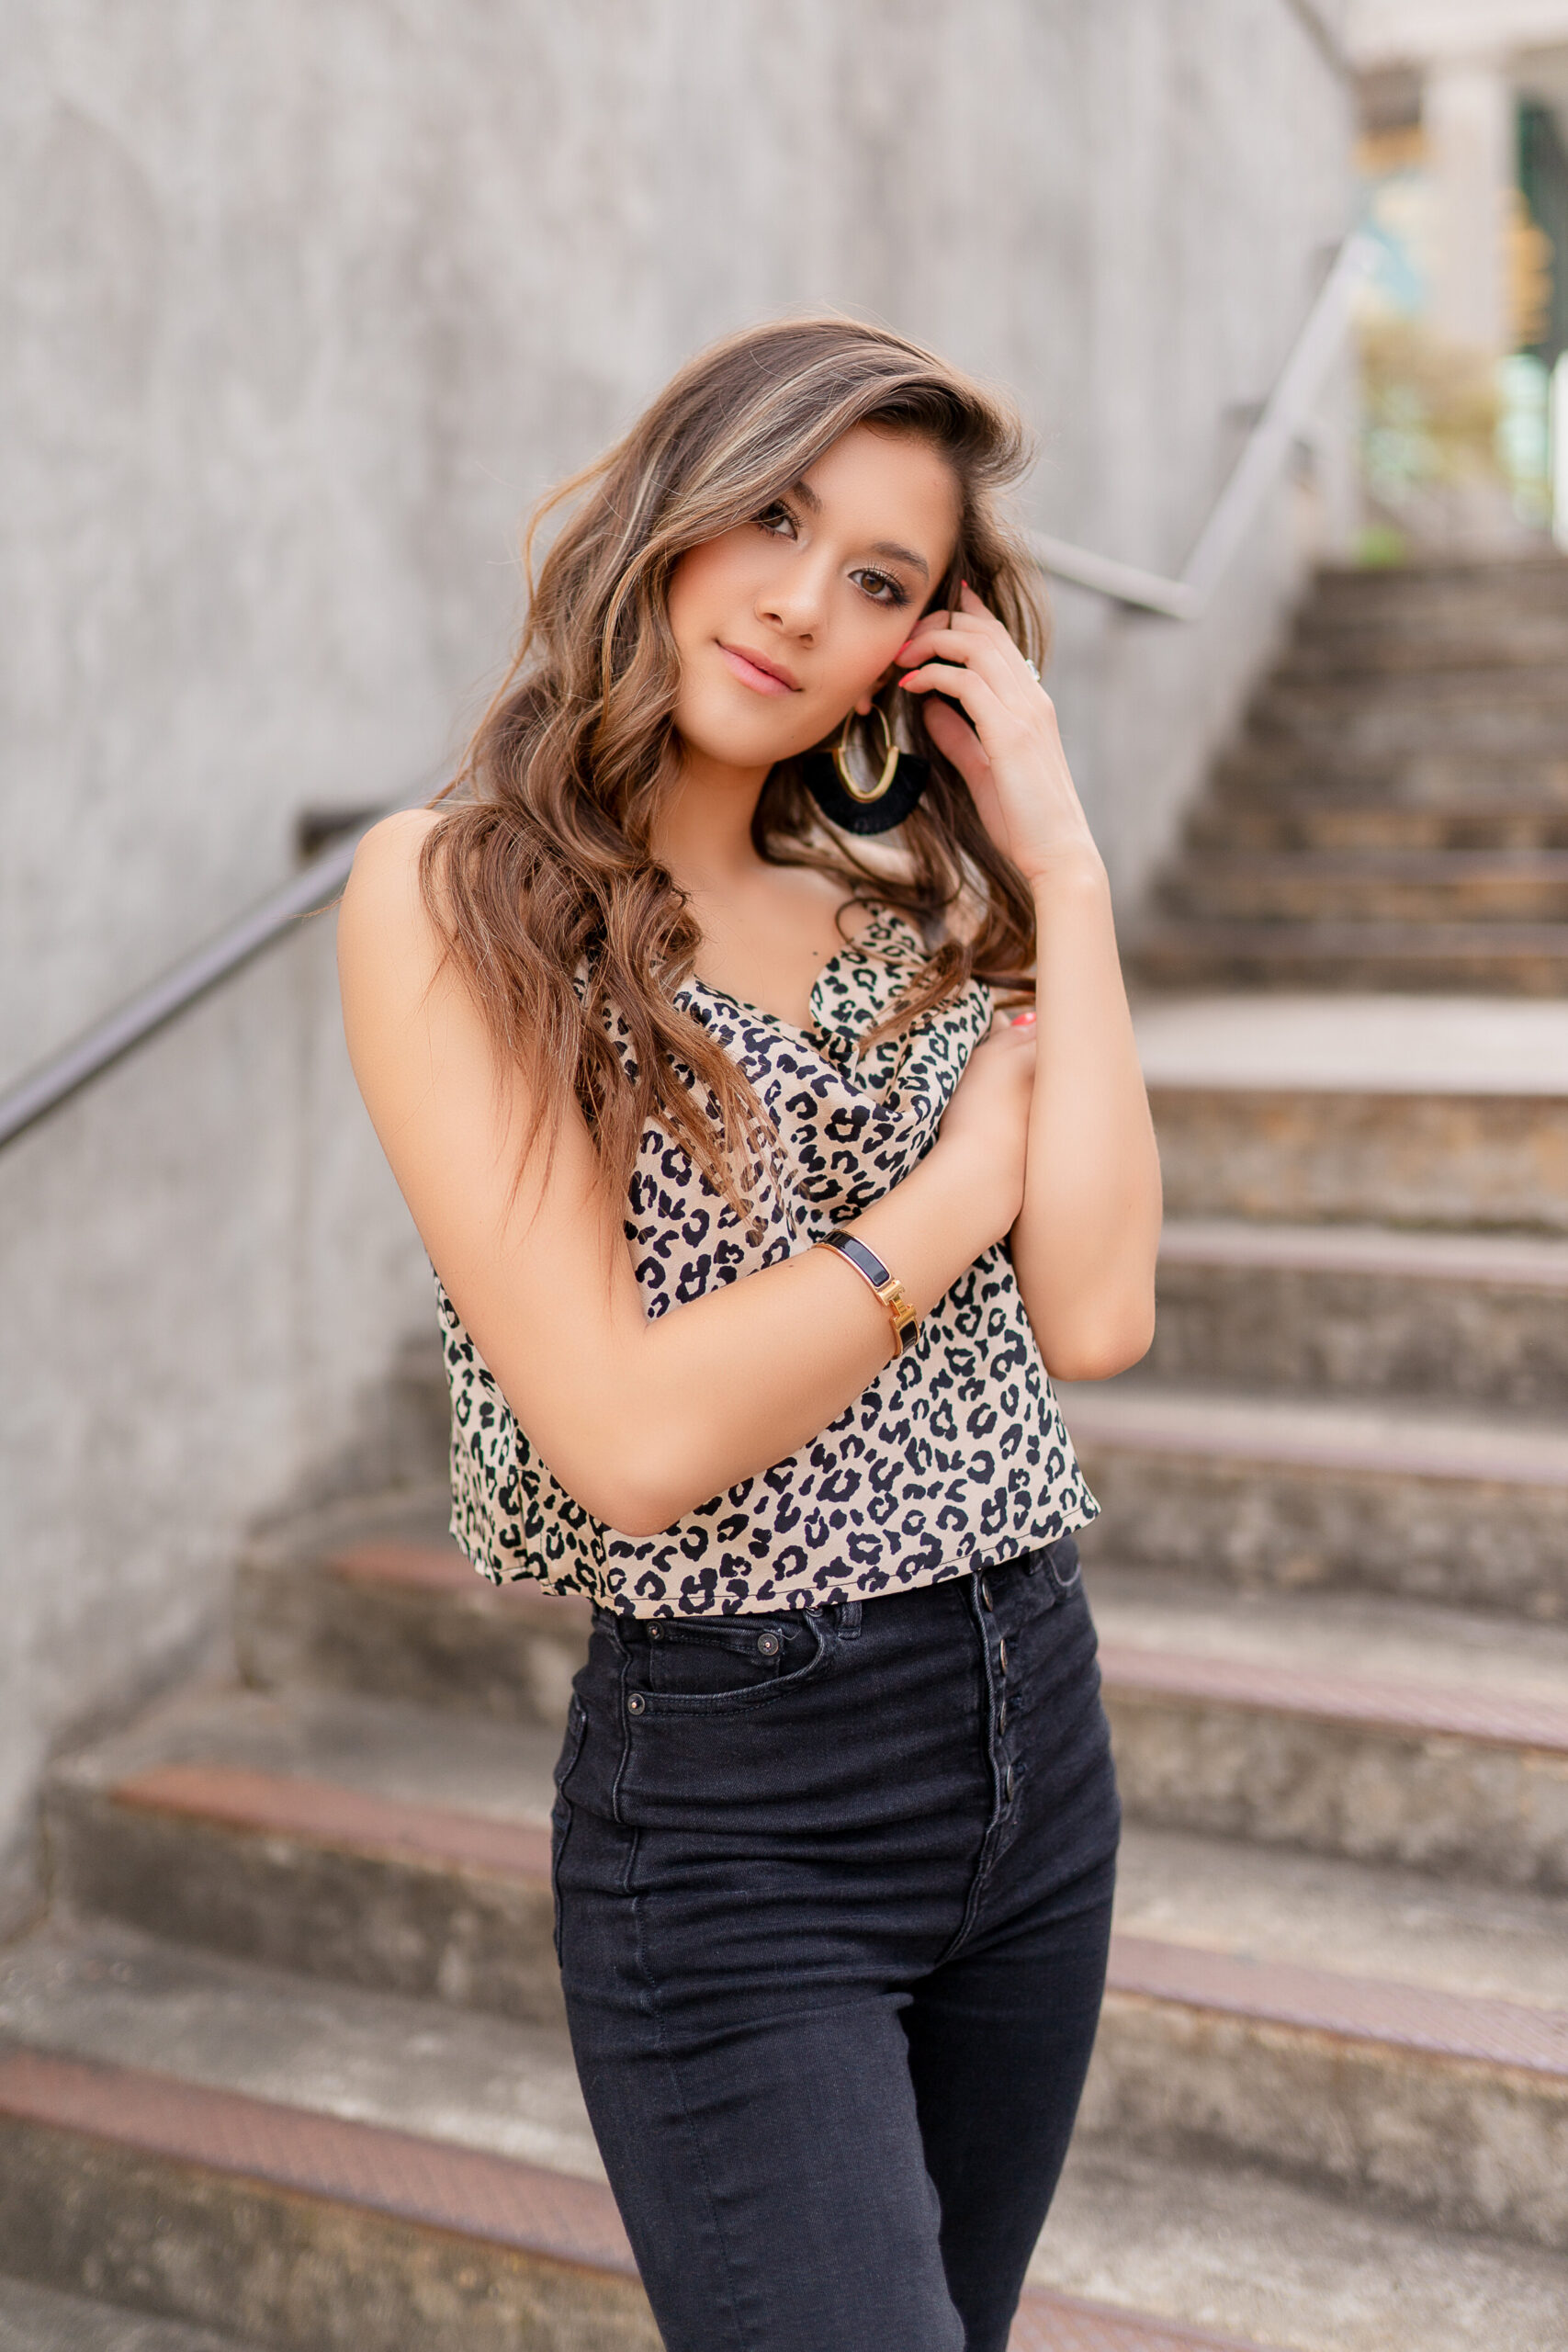
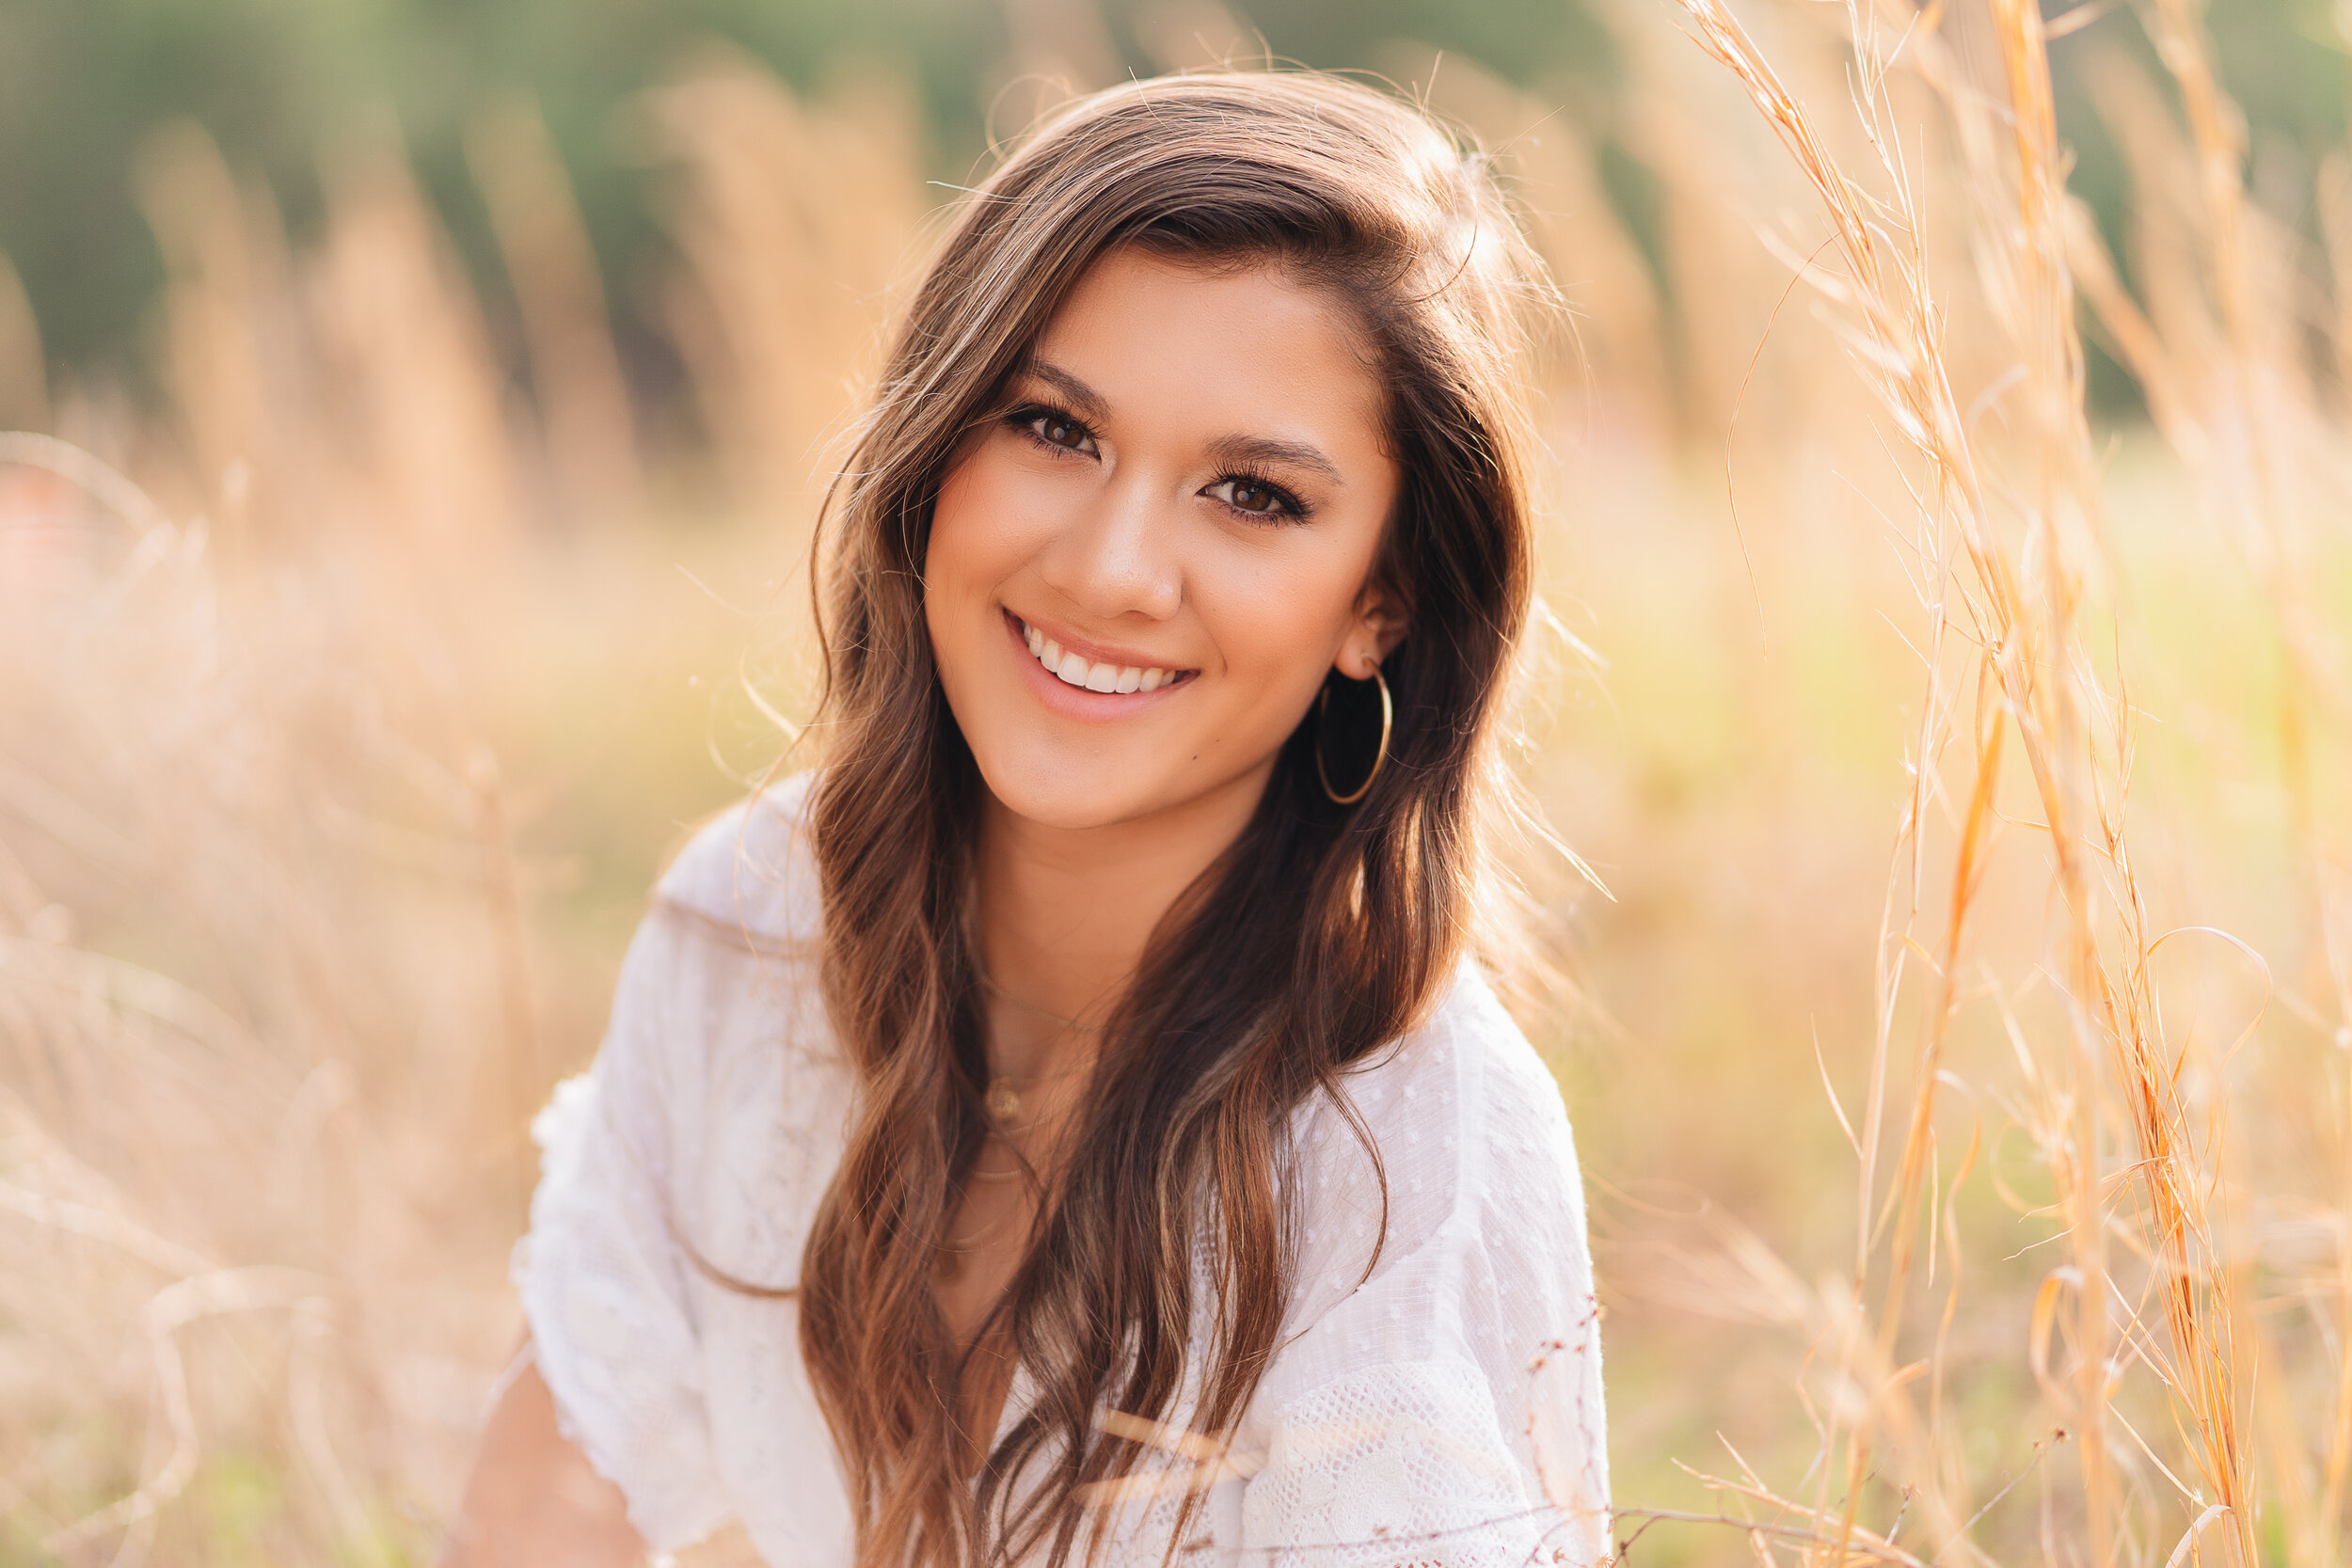
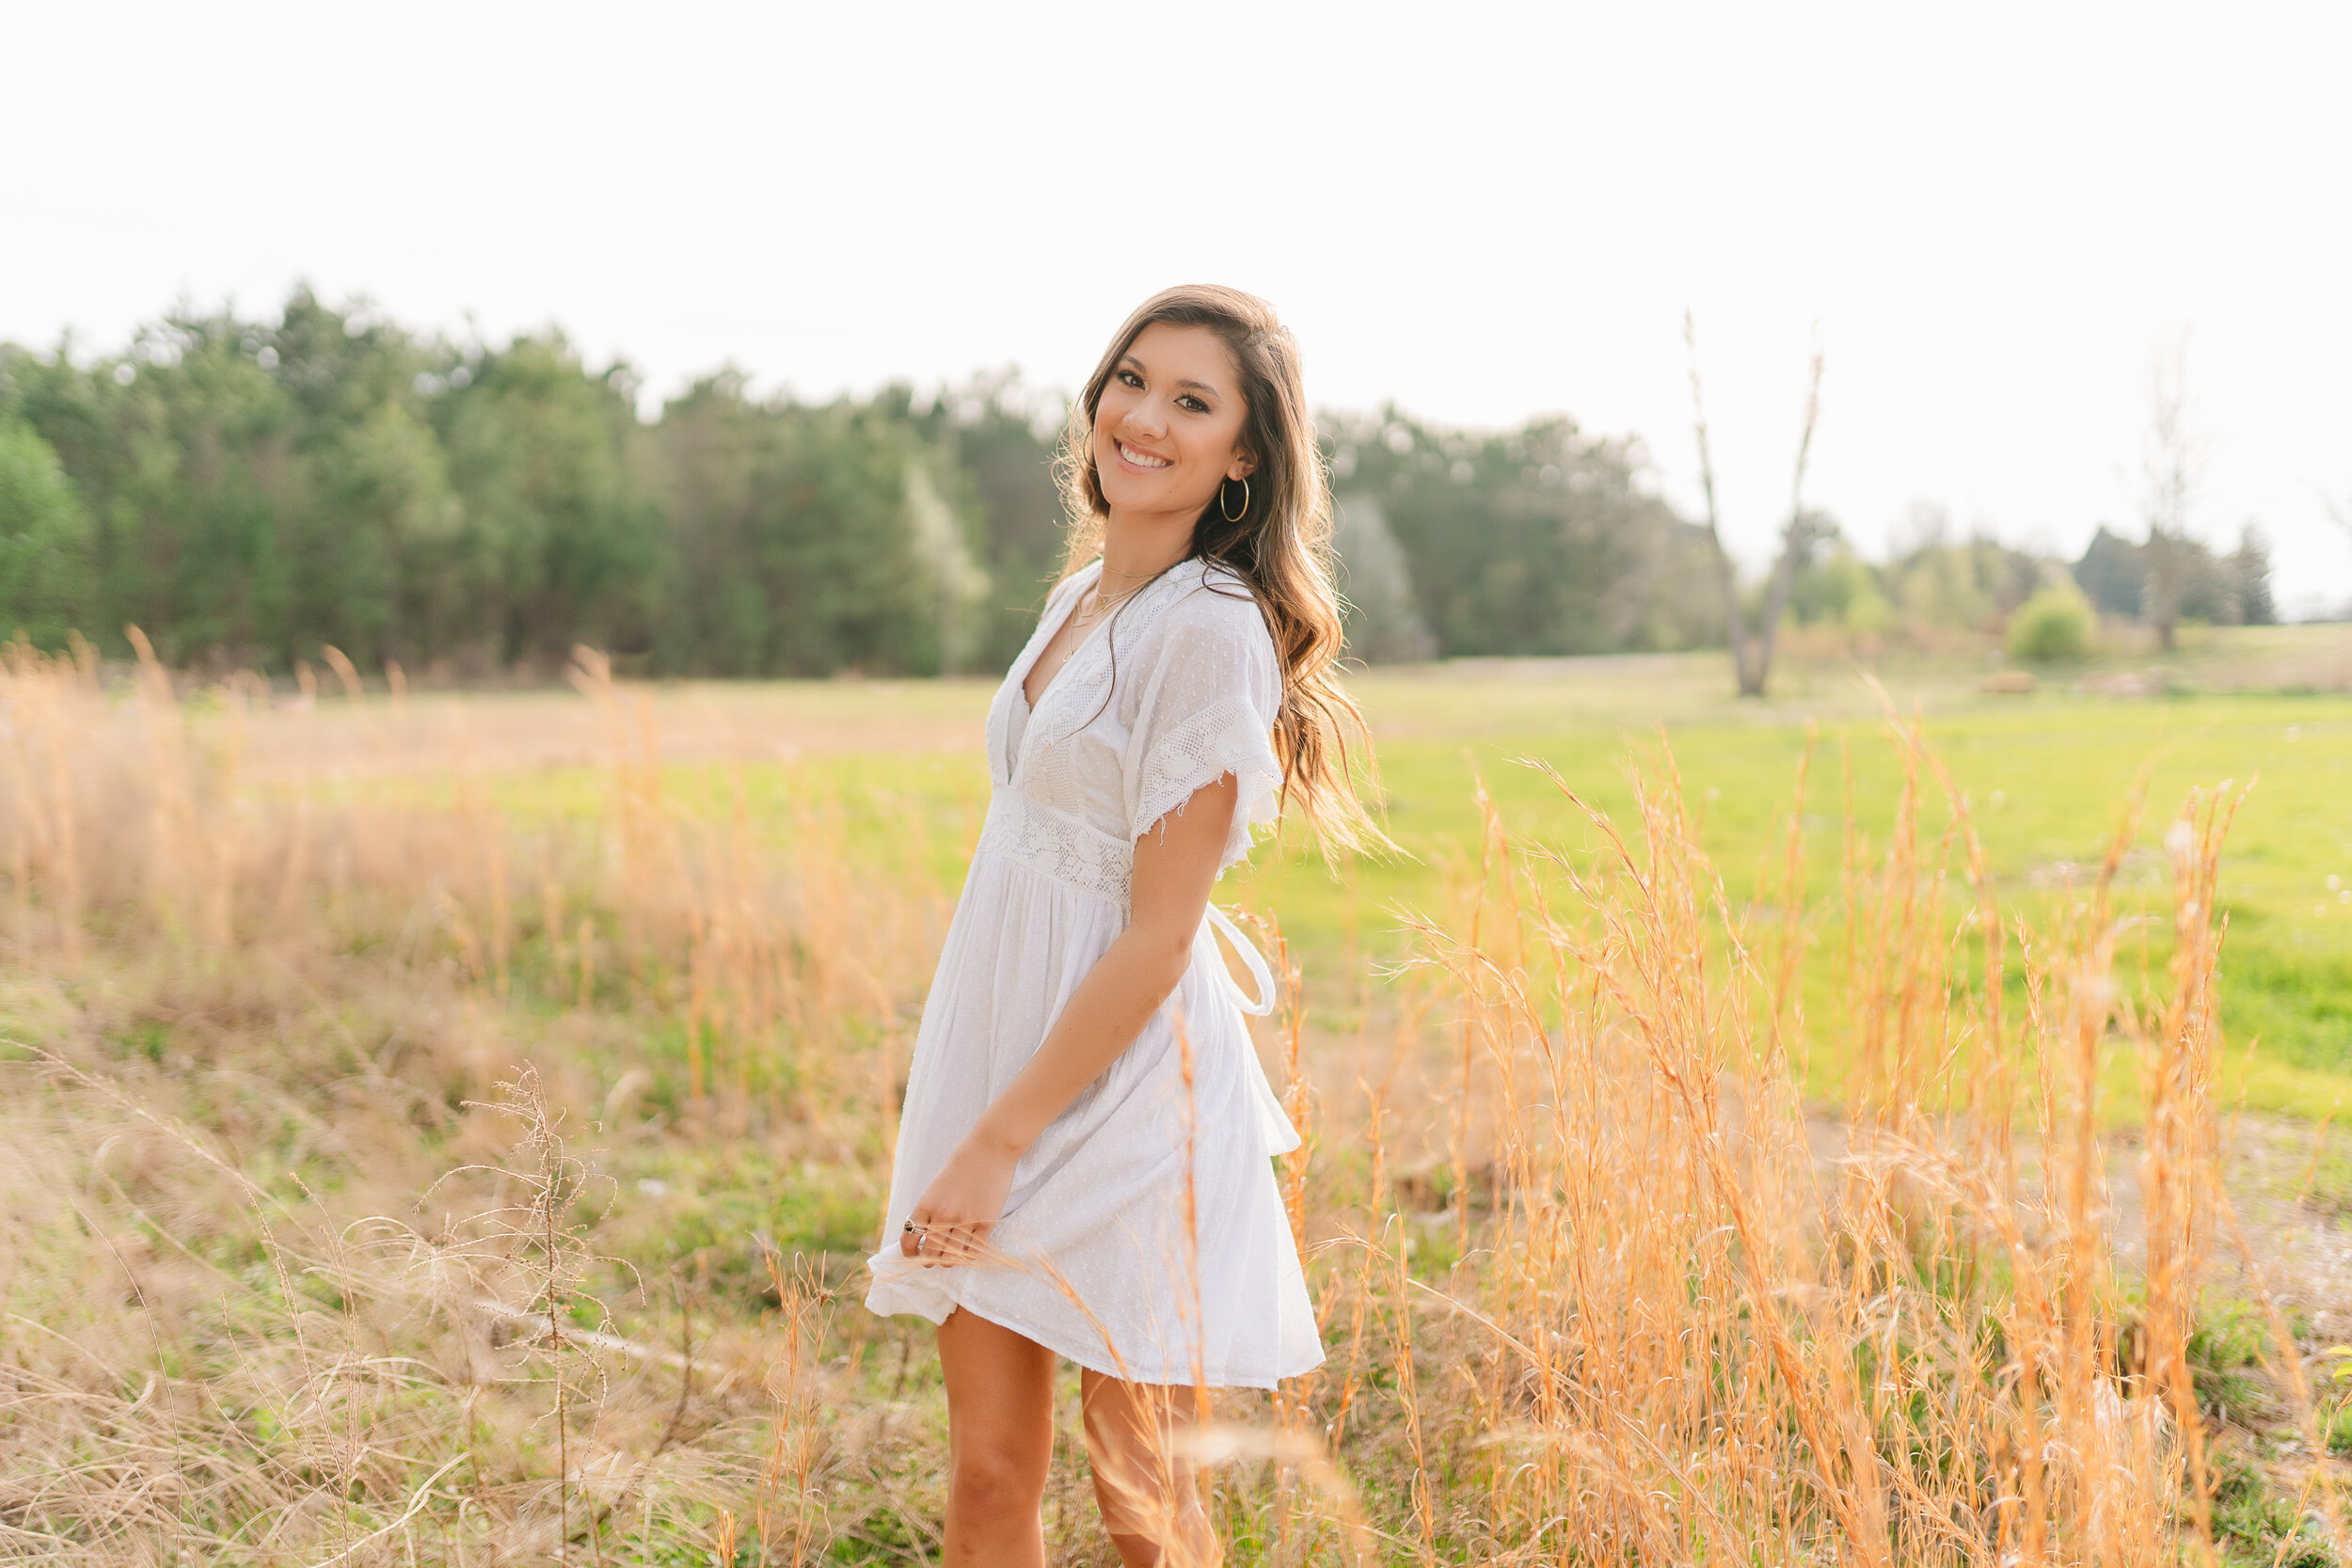
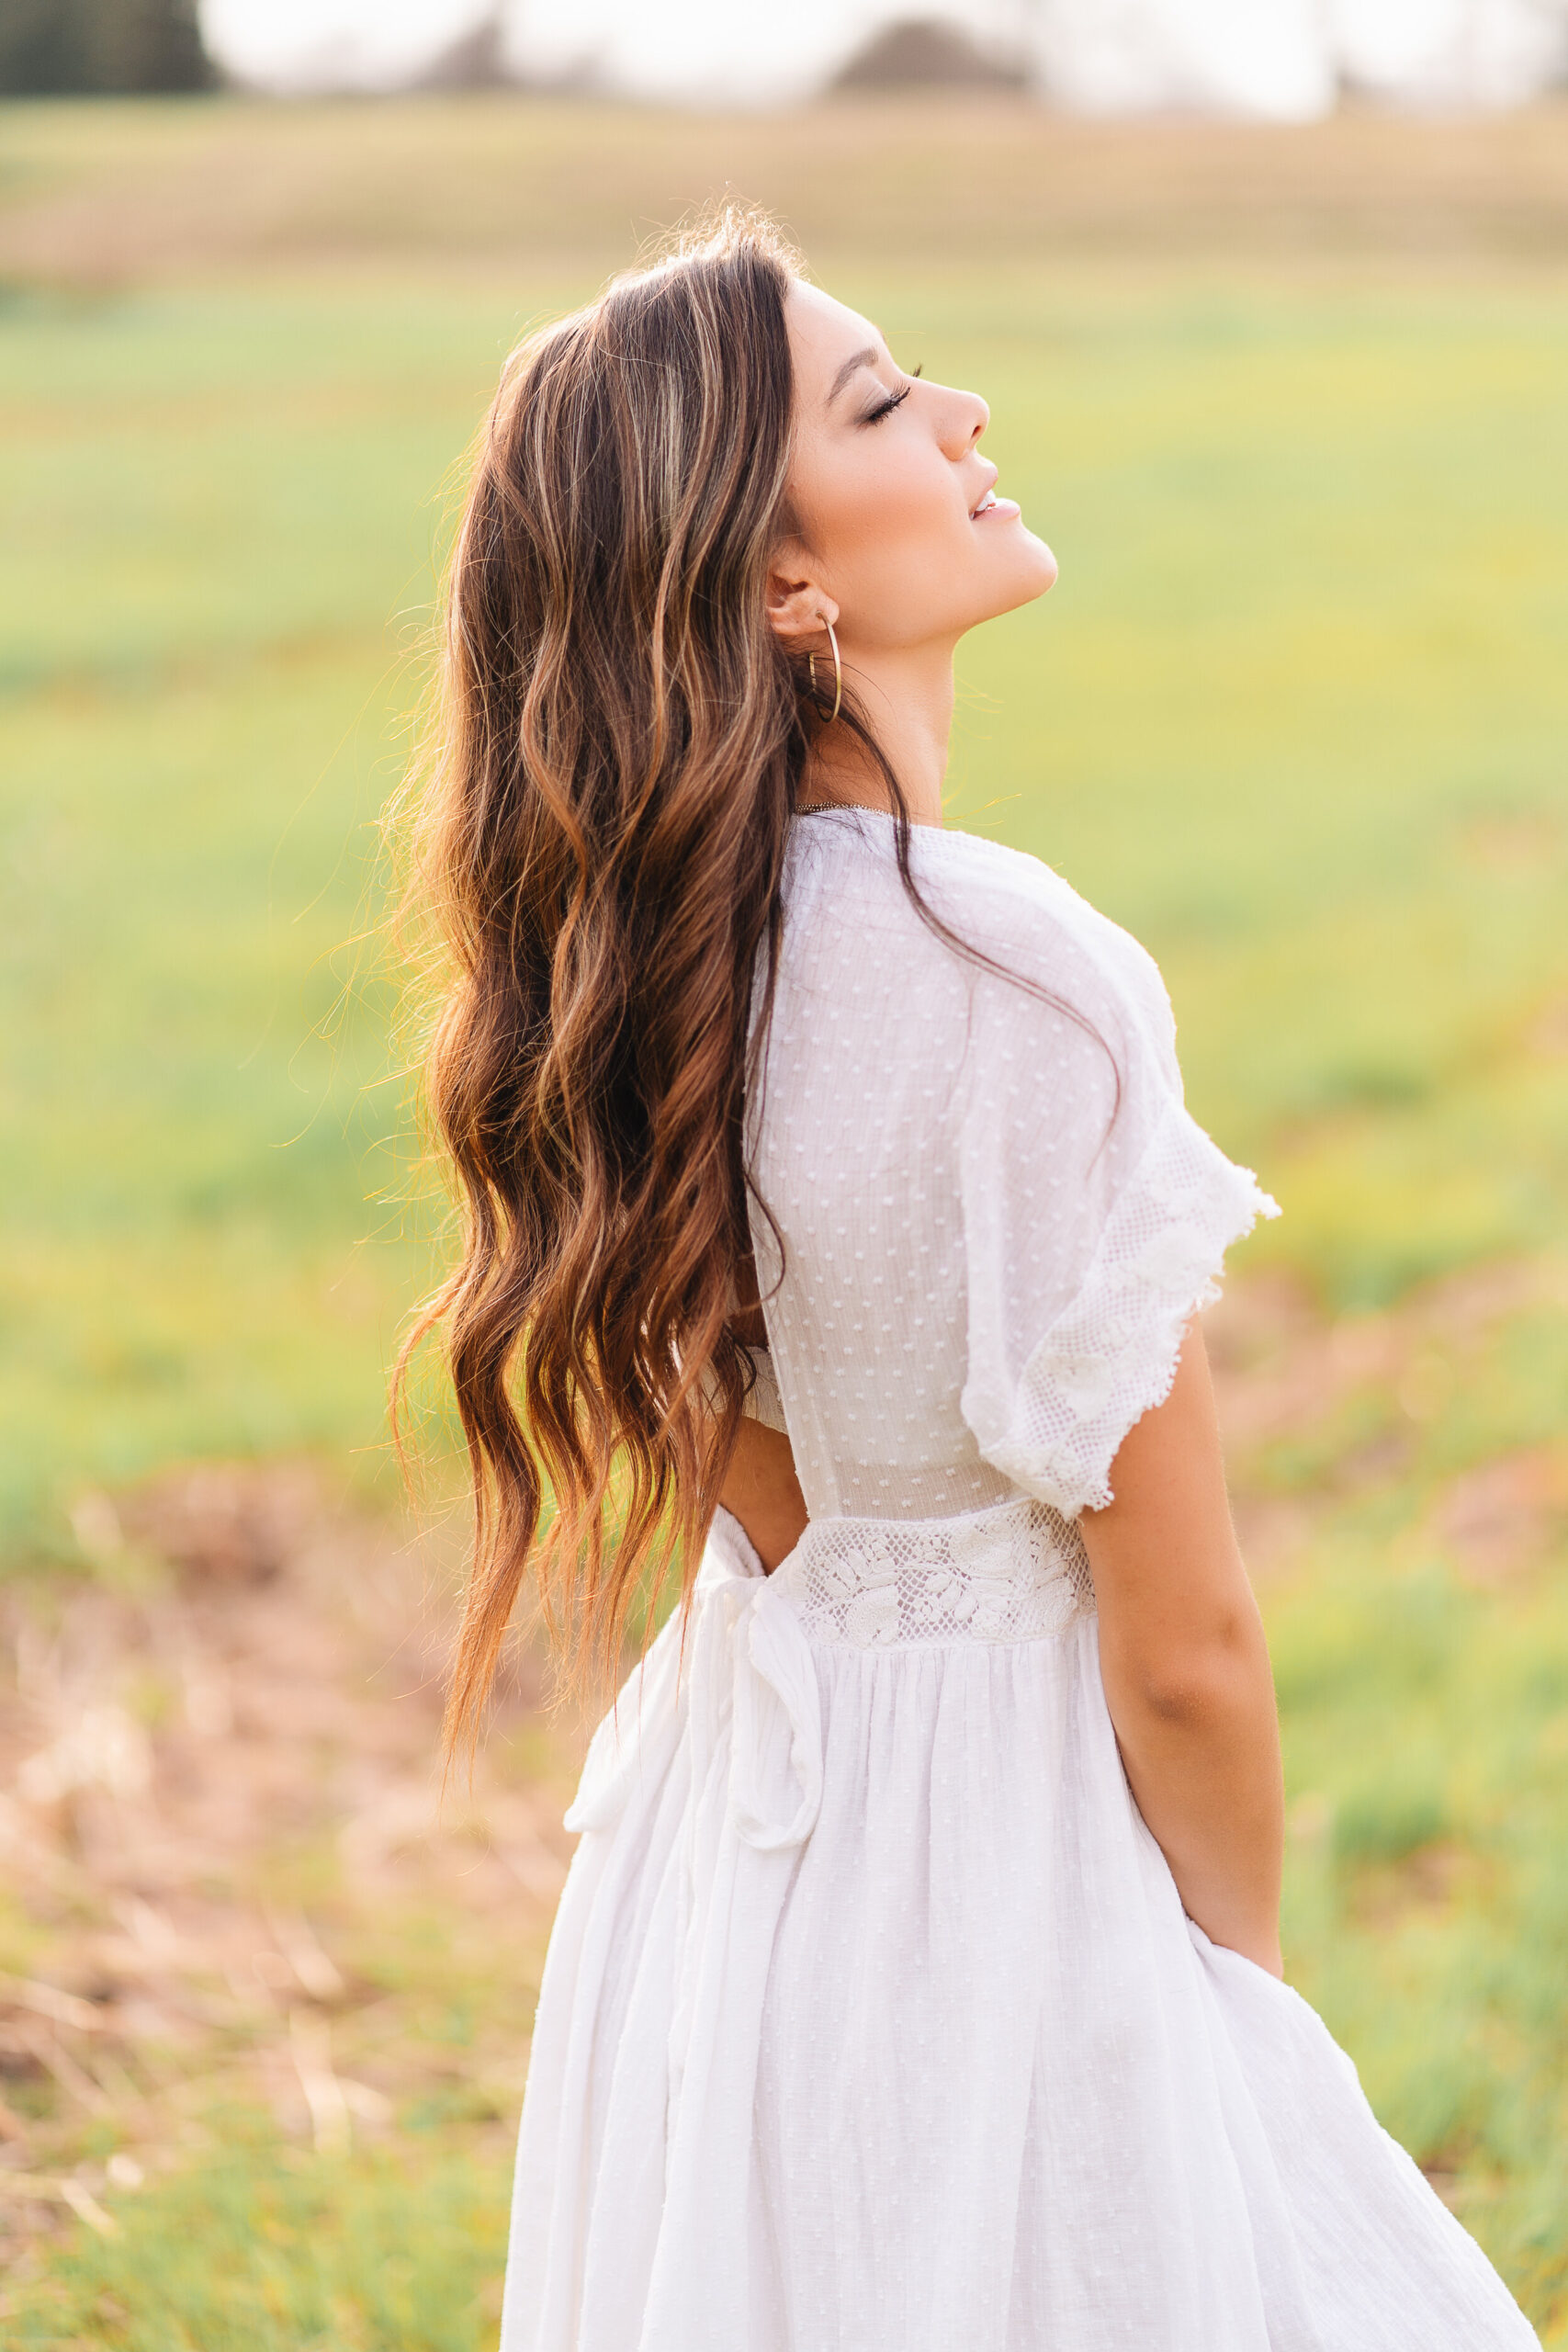
Here are a few more shots from this shoot with Eliza! We had a blast shooting in downtown Raleigh. Def some of my faves so far this year and I cannot wait to get back to shooting in May!
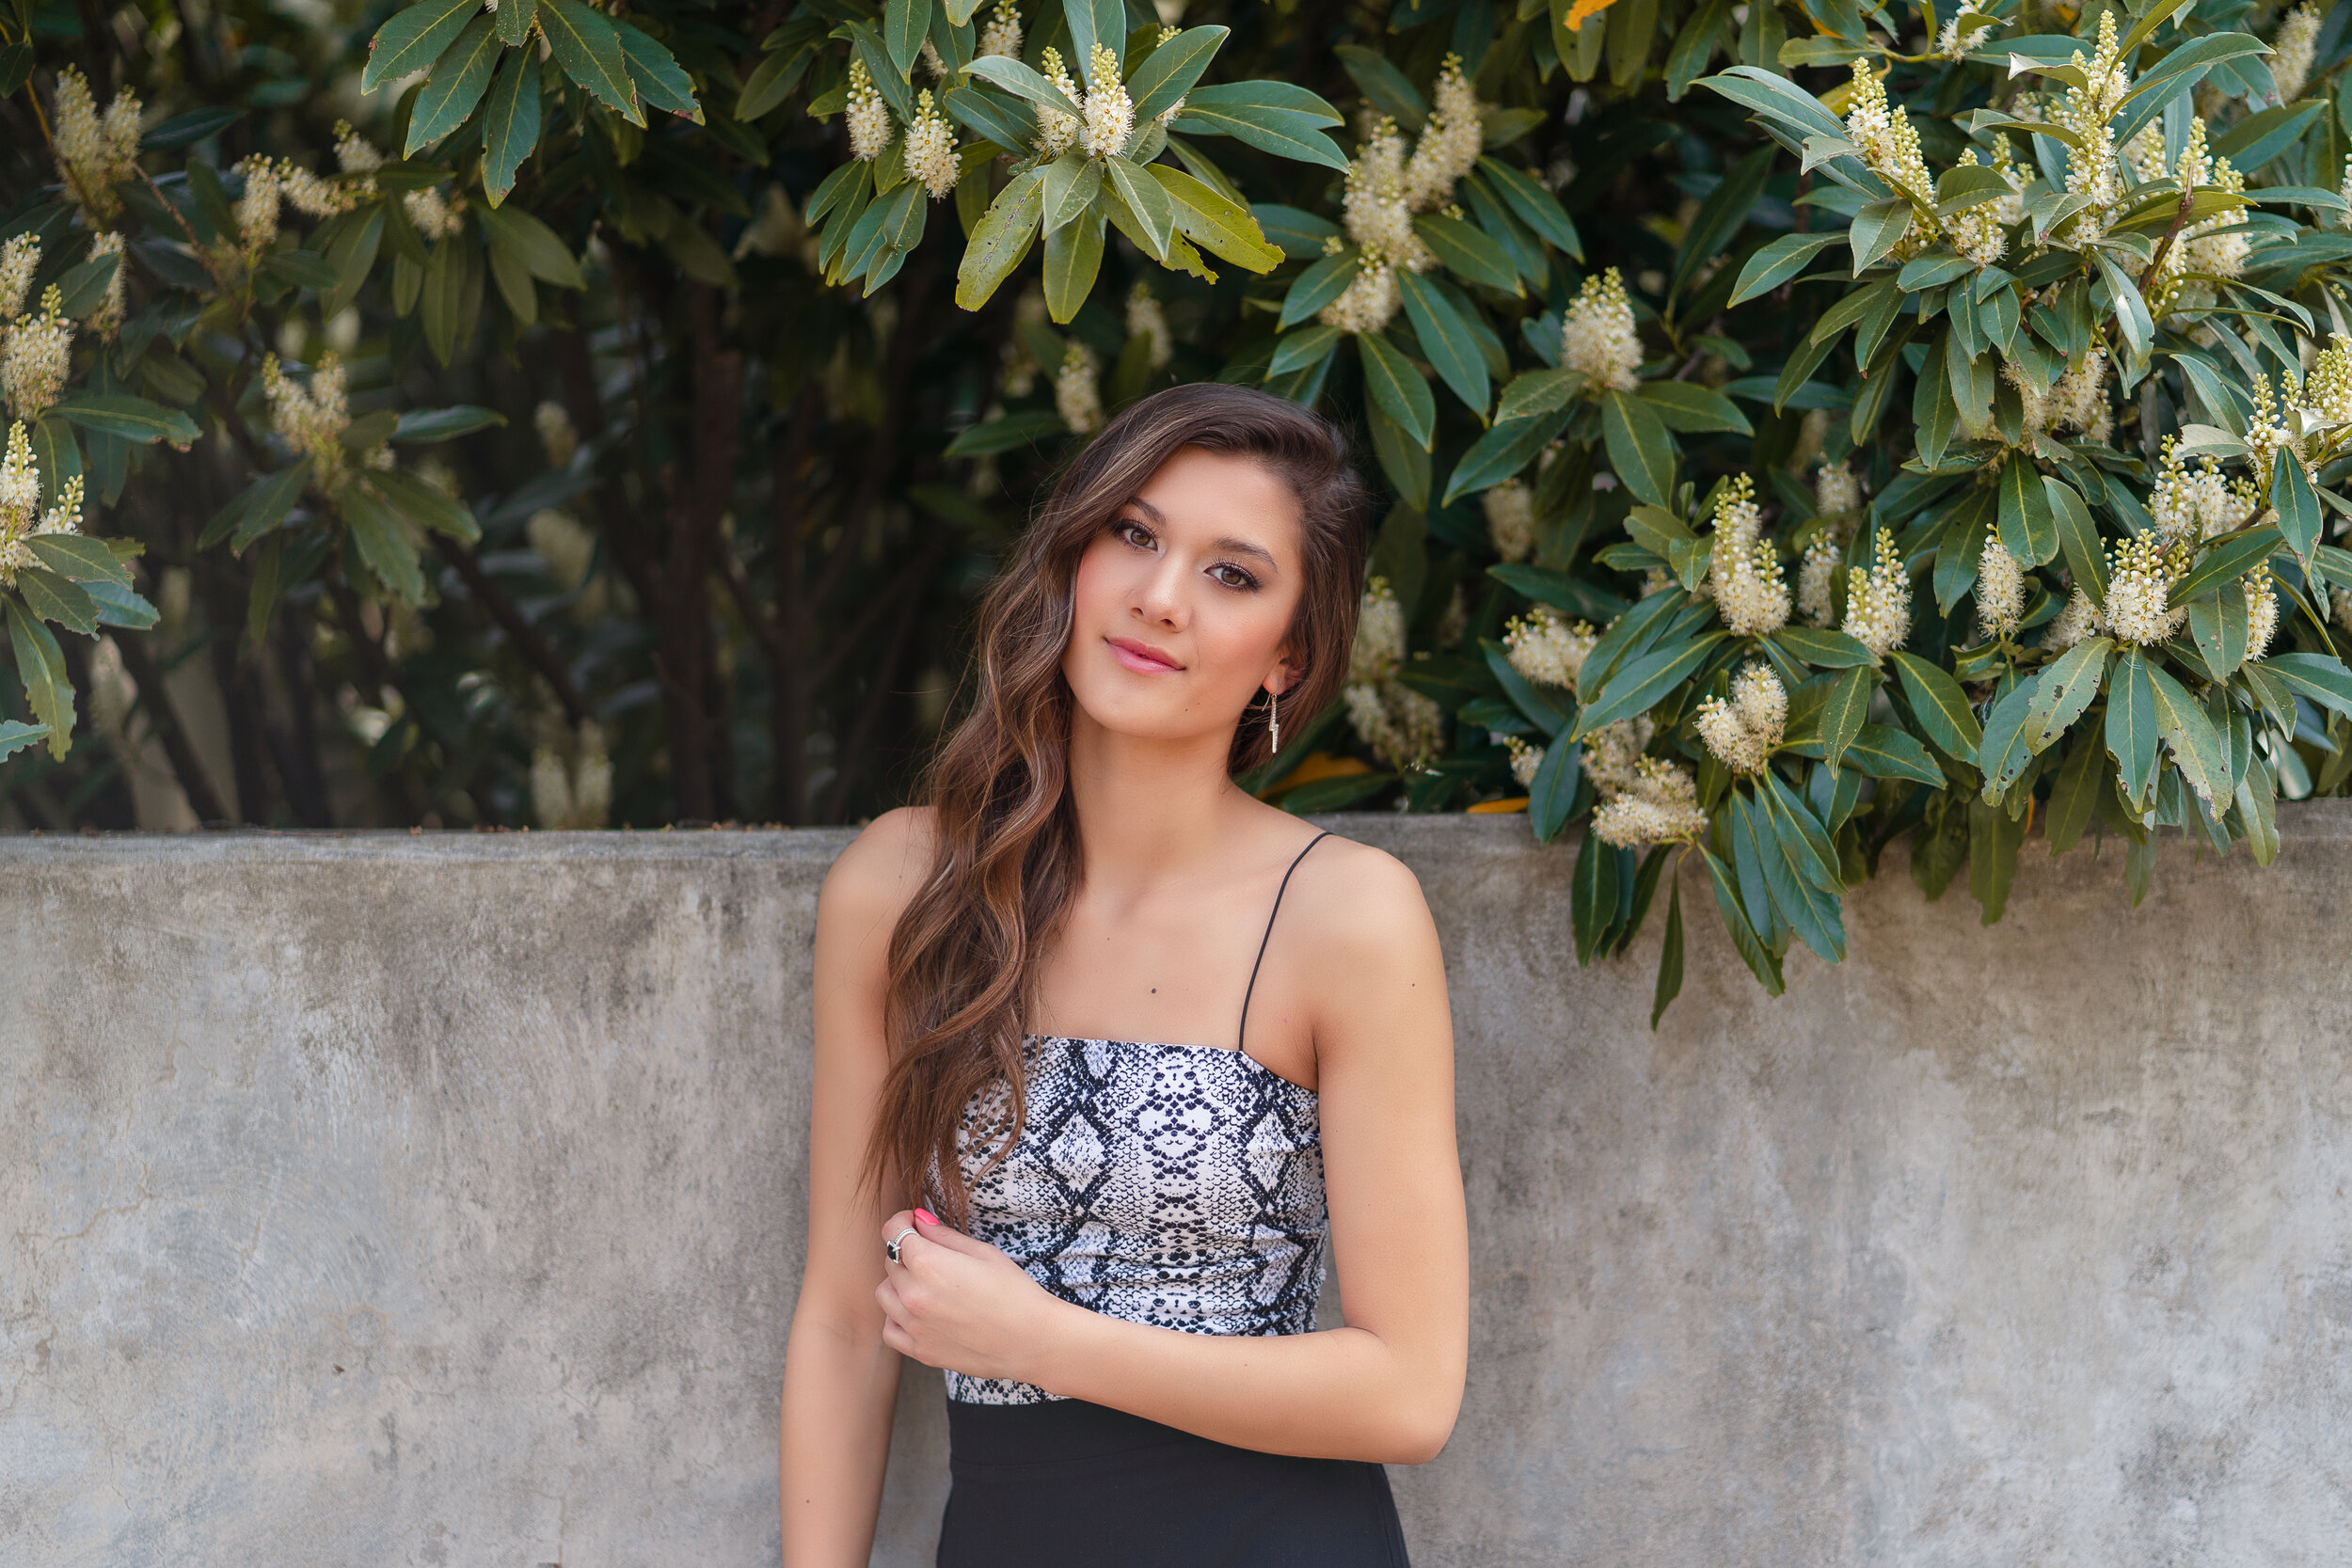


PLEASE COMMENT BELOW