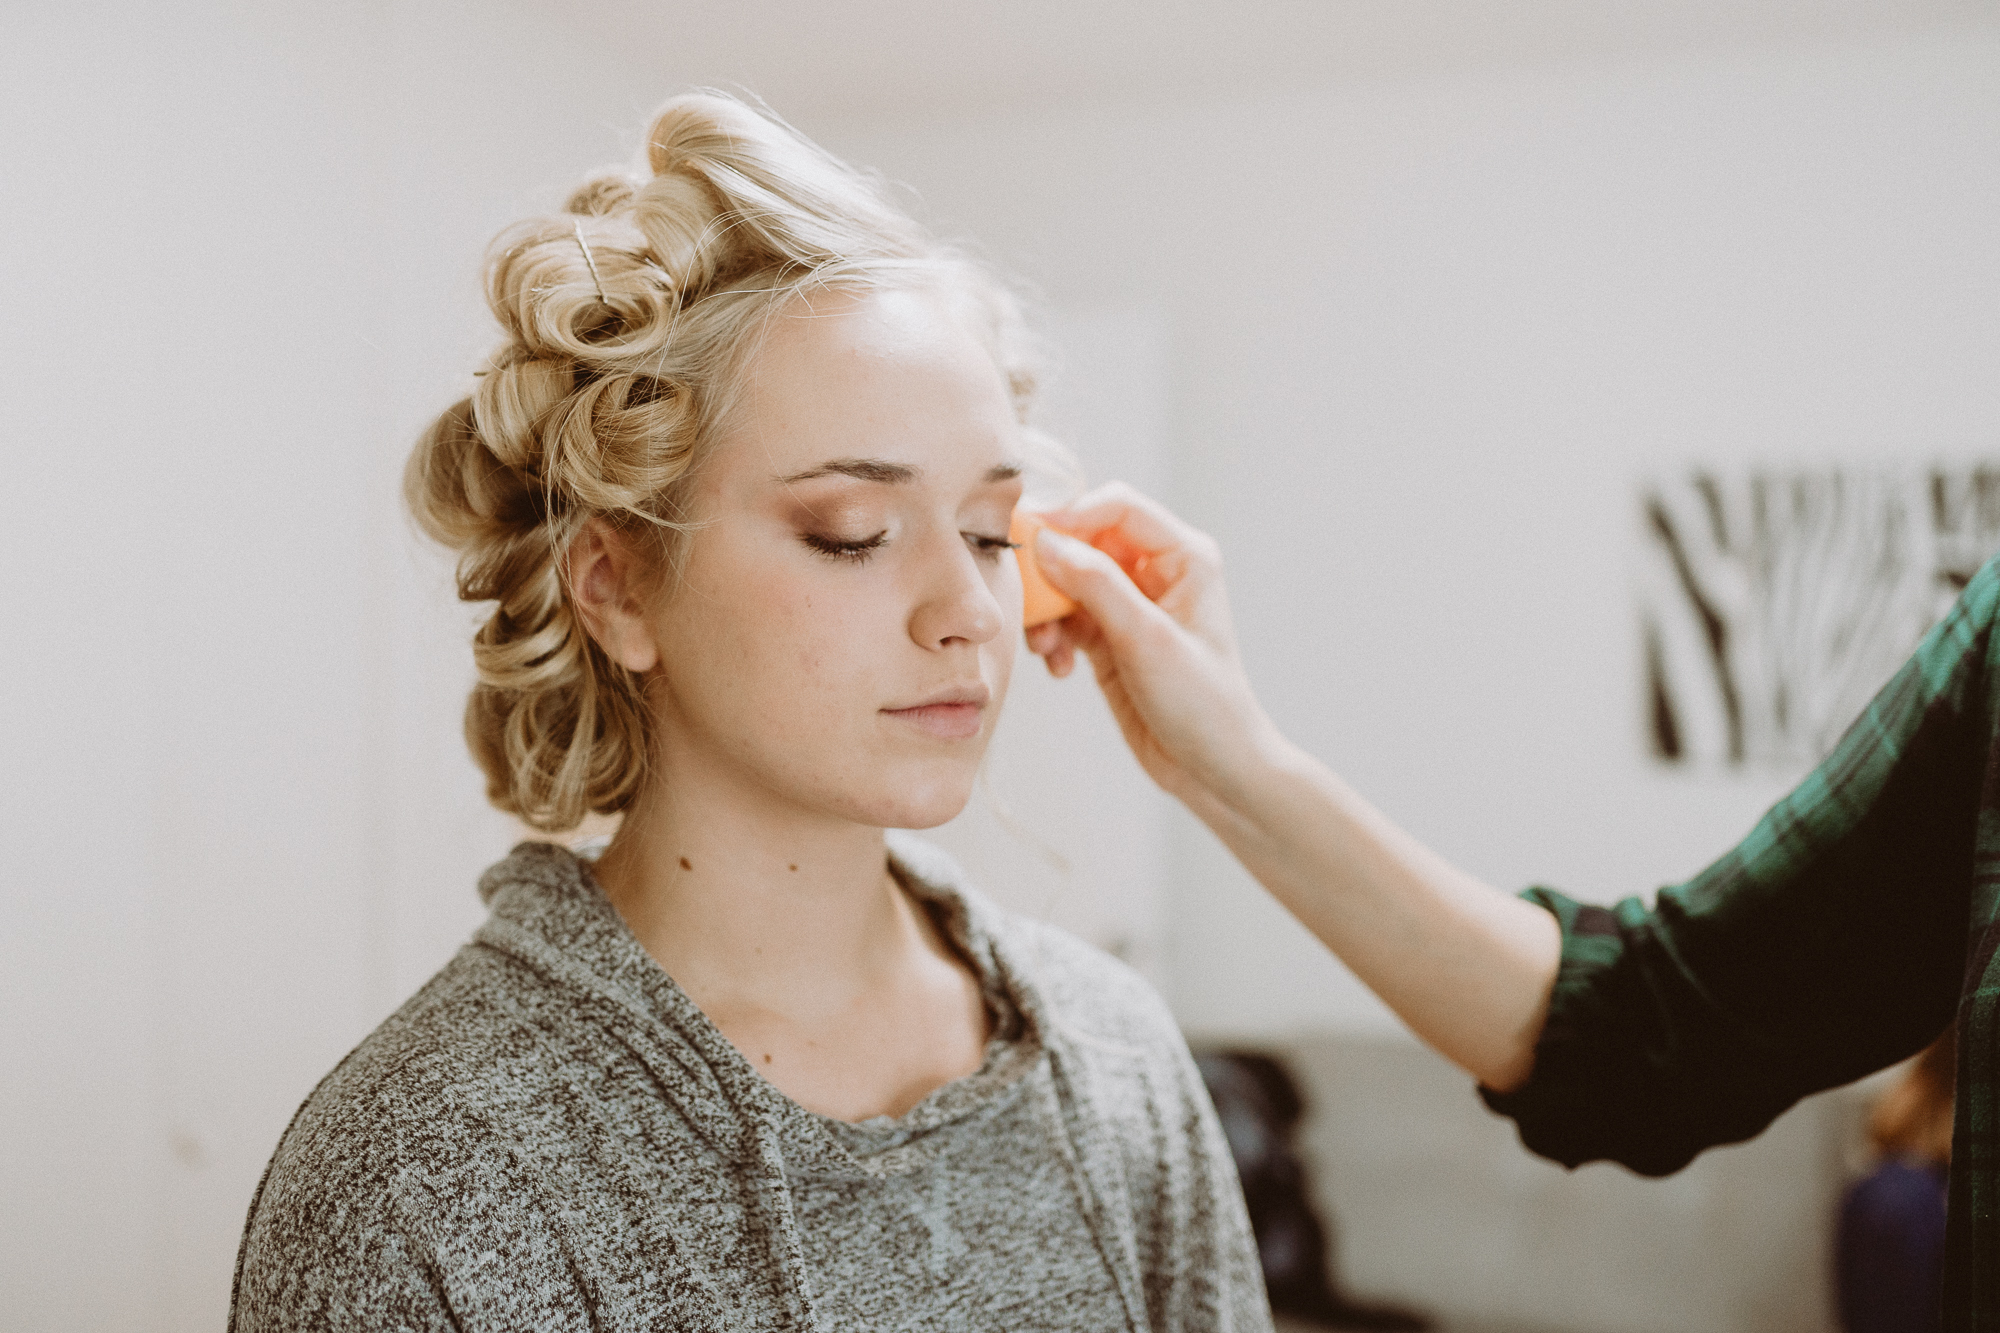
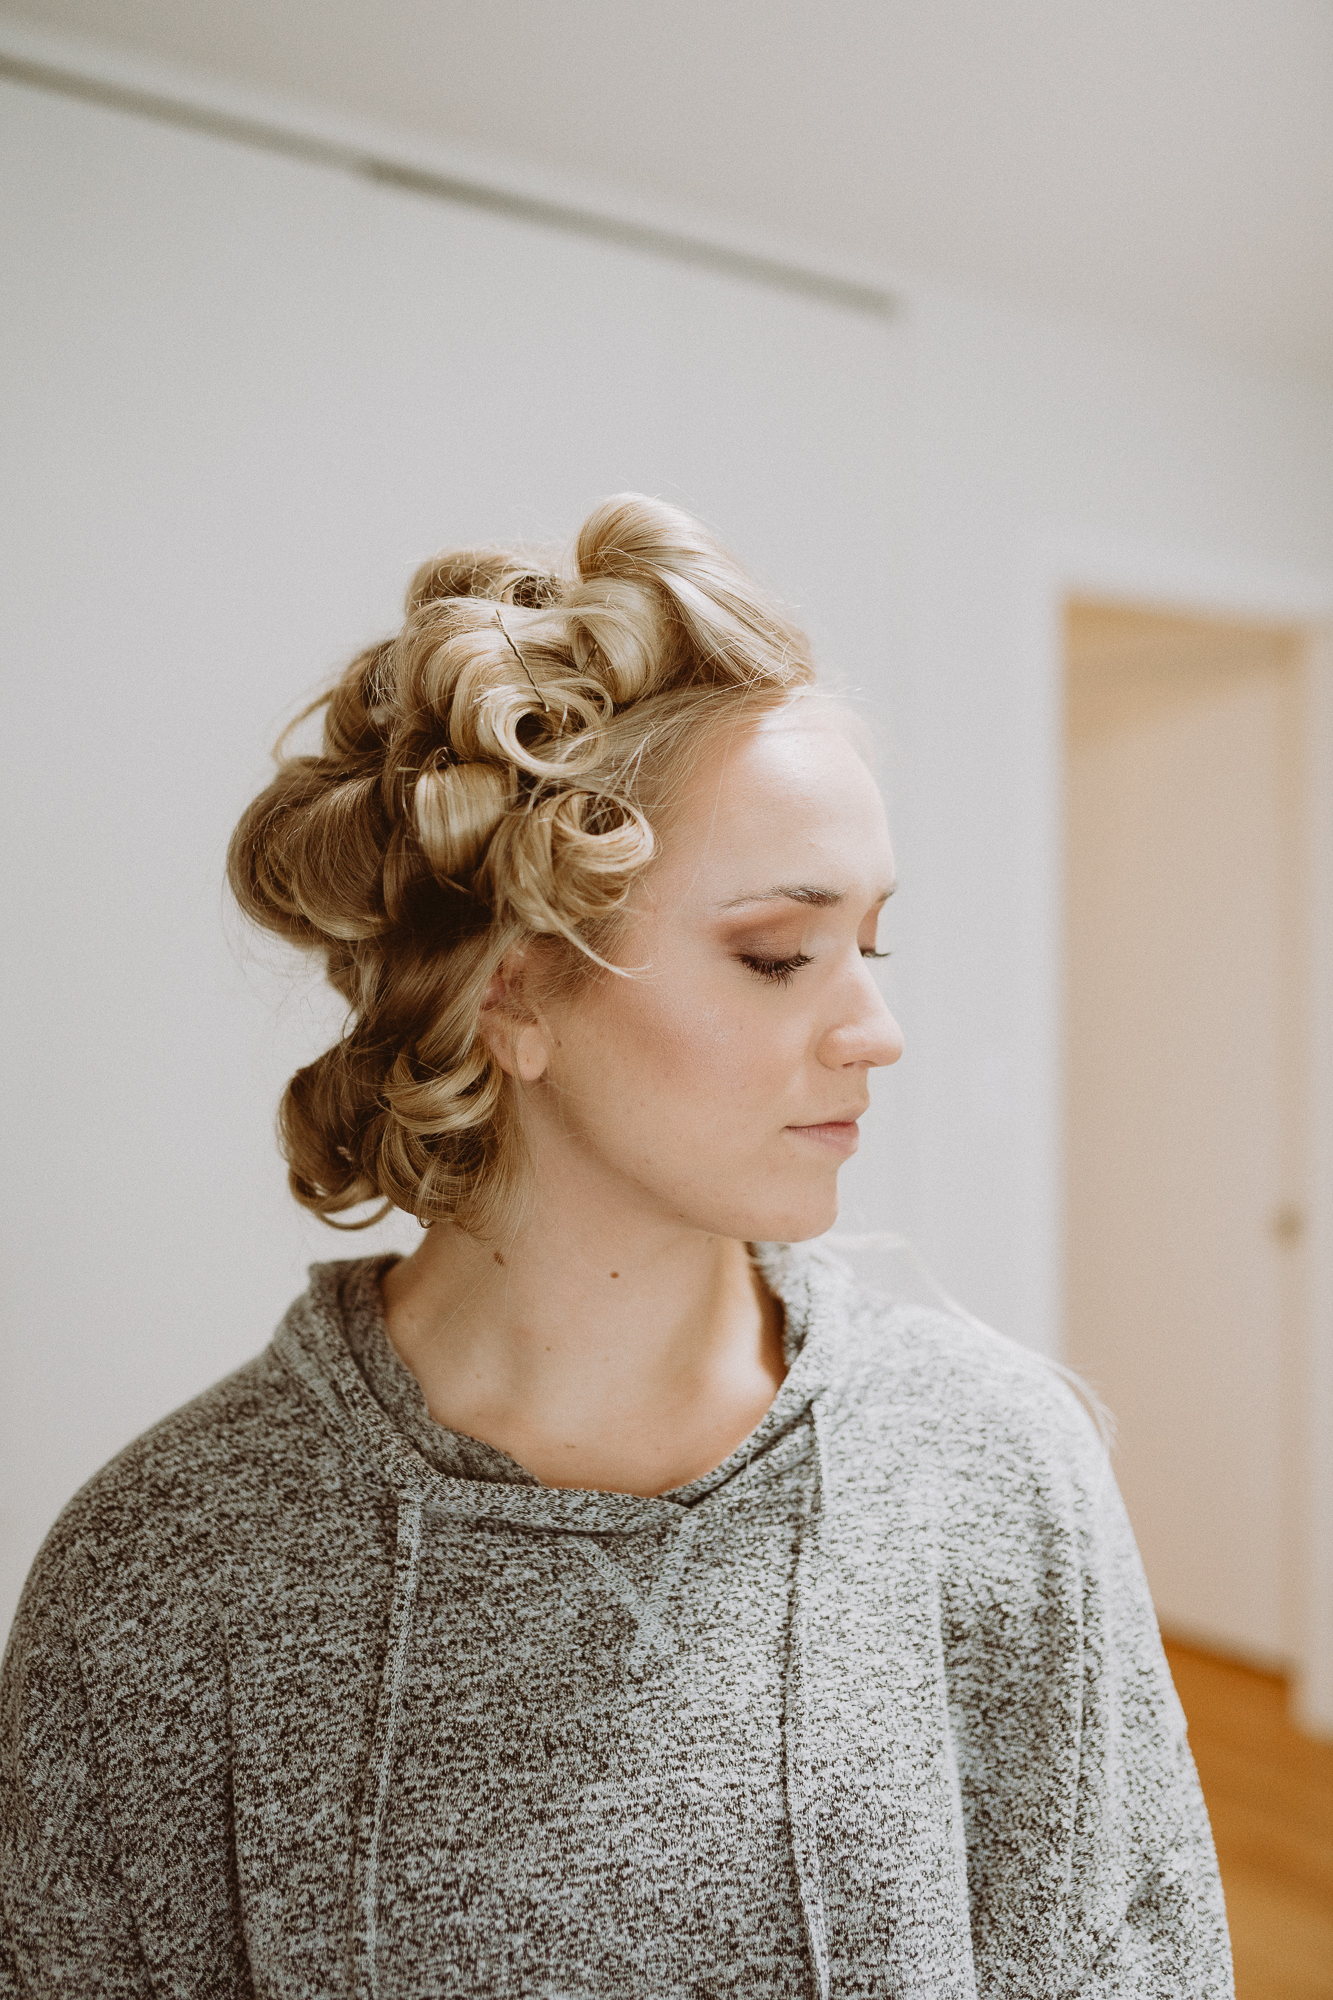
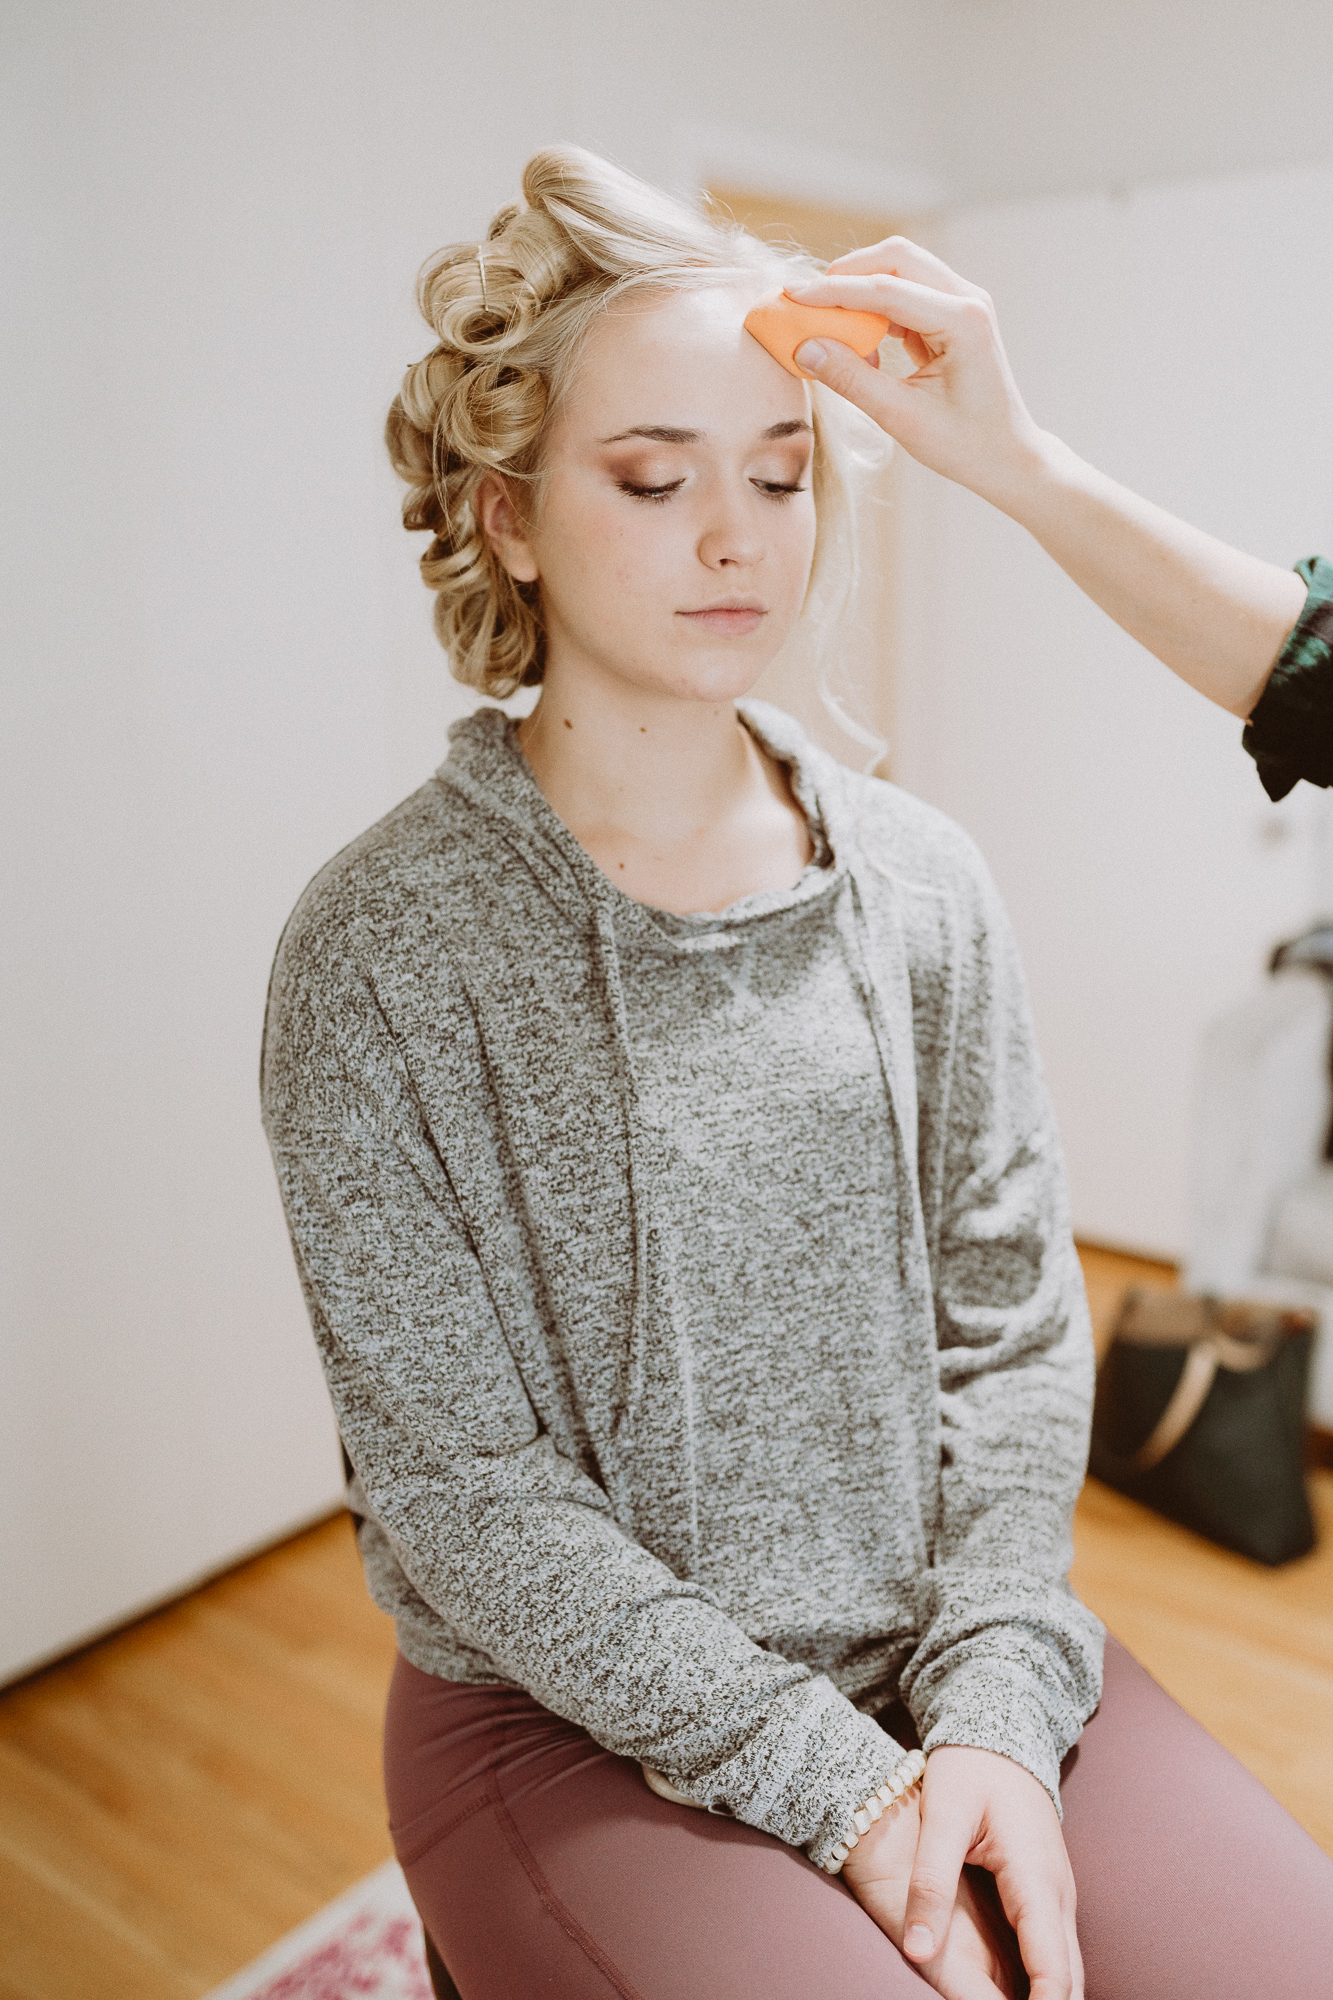
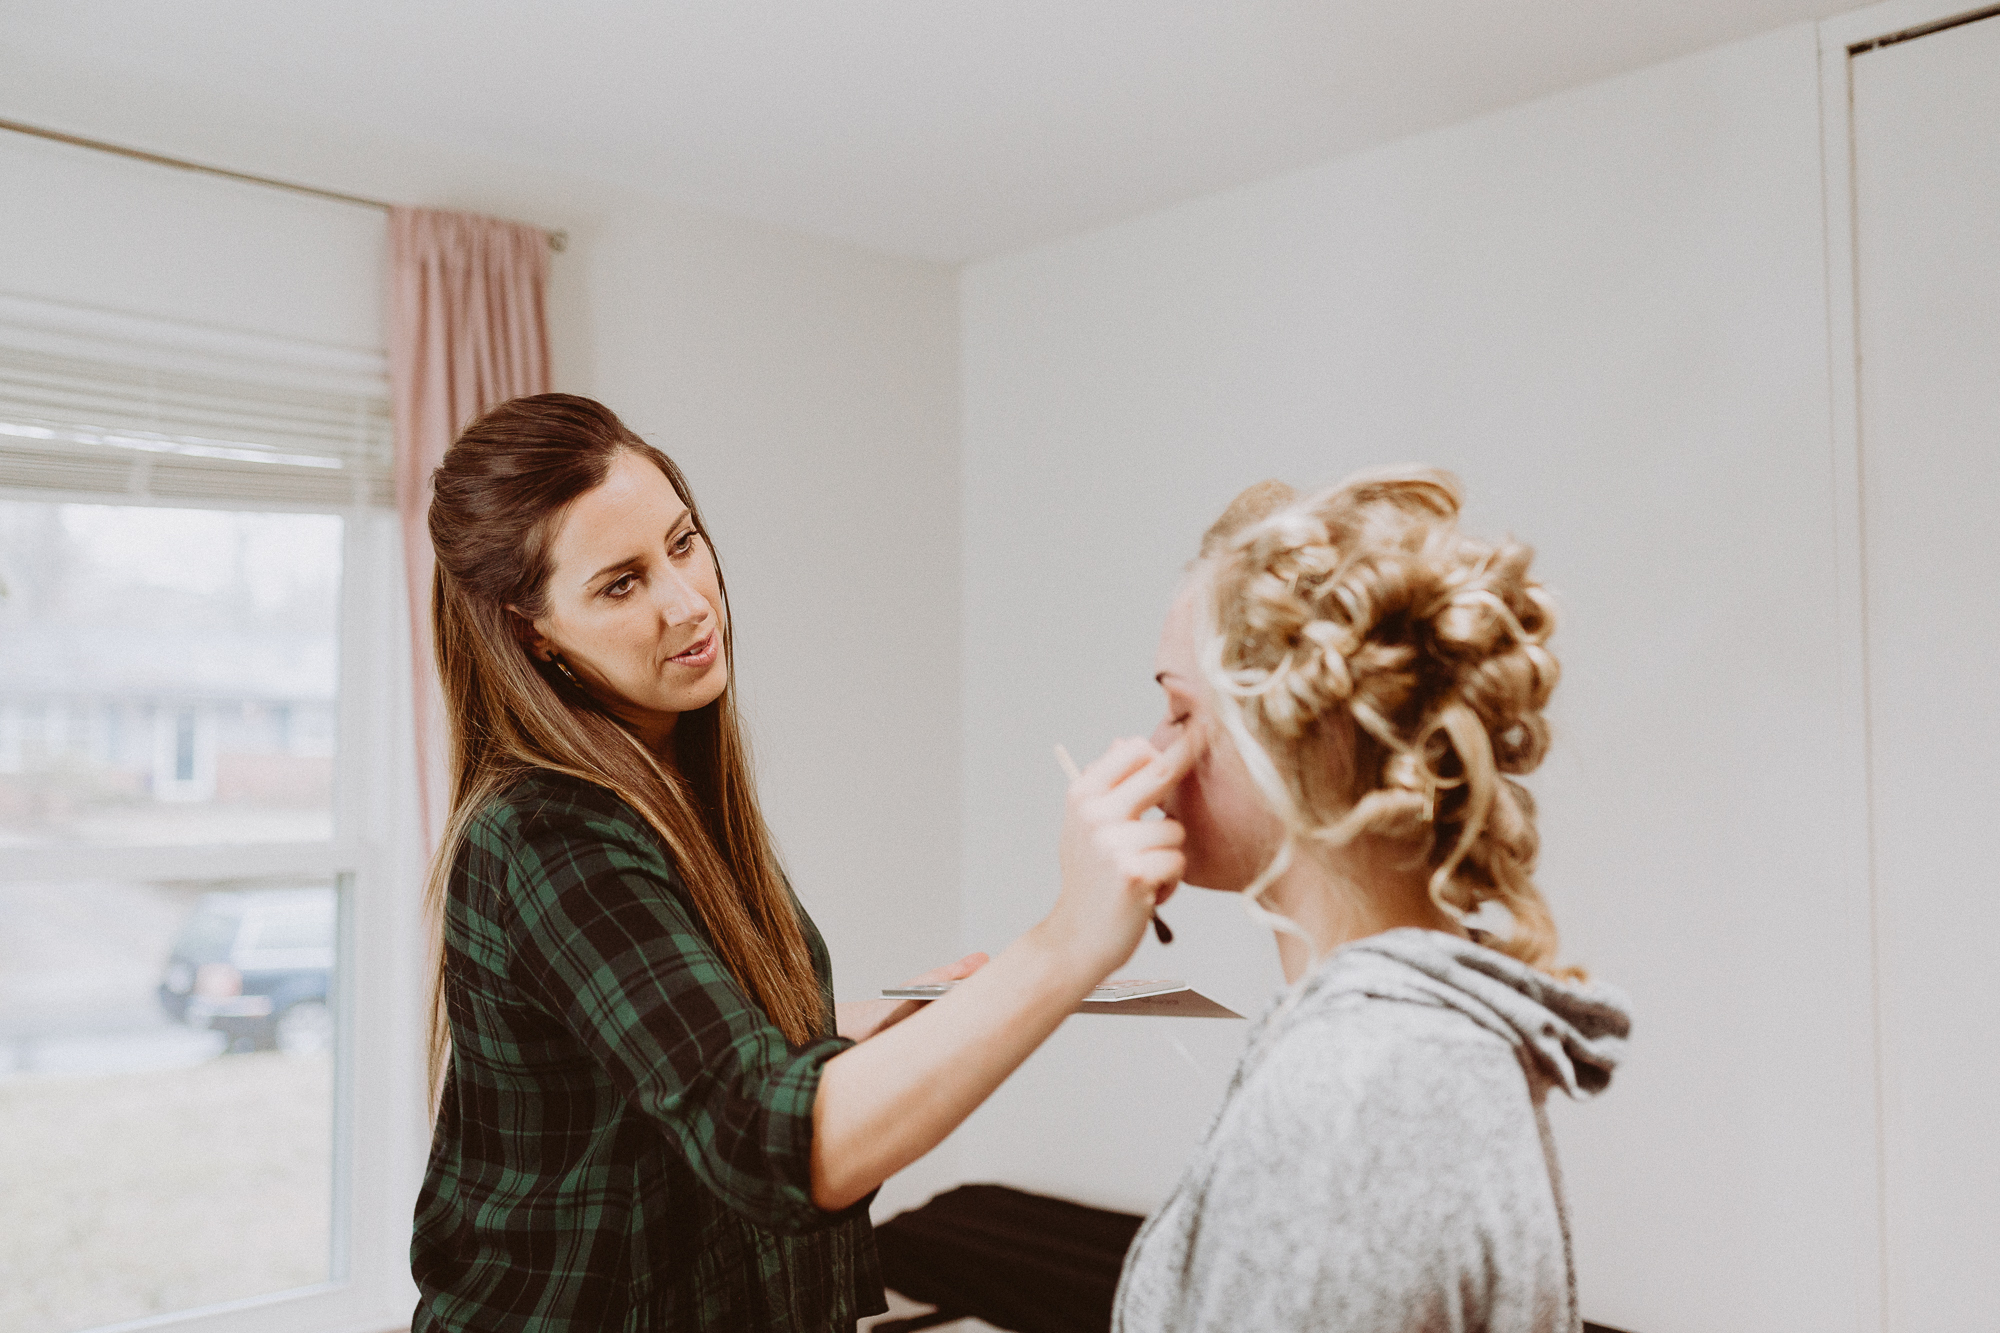
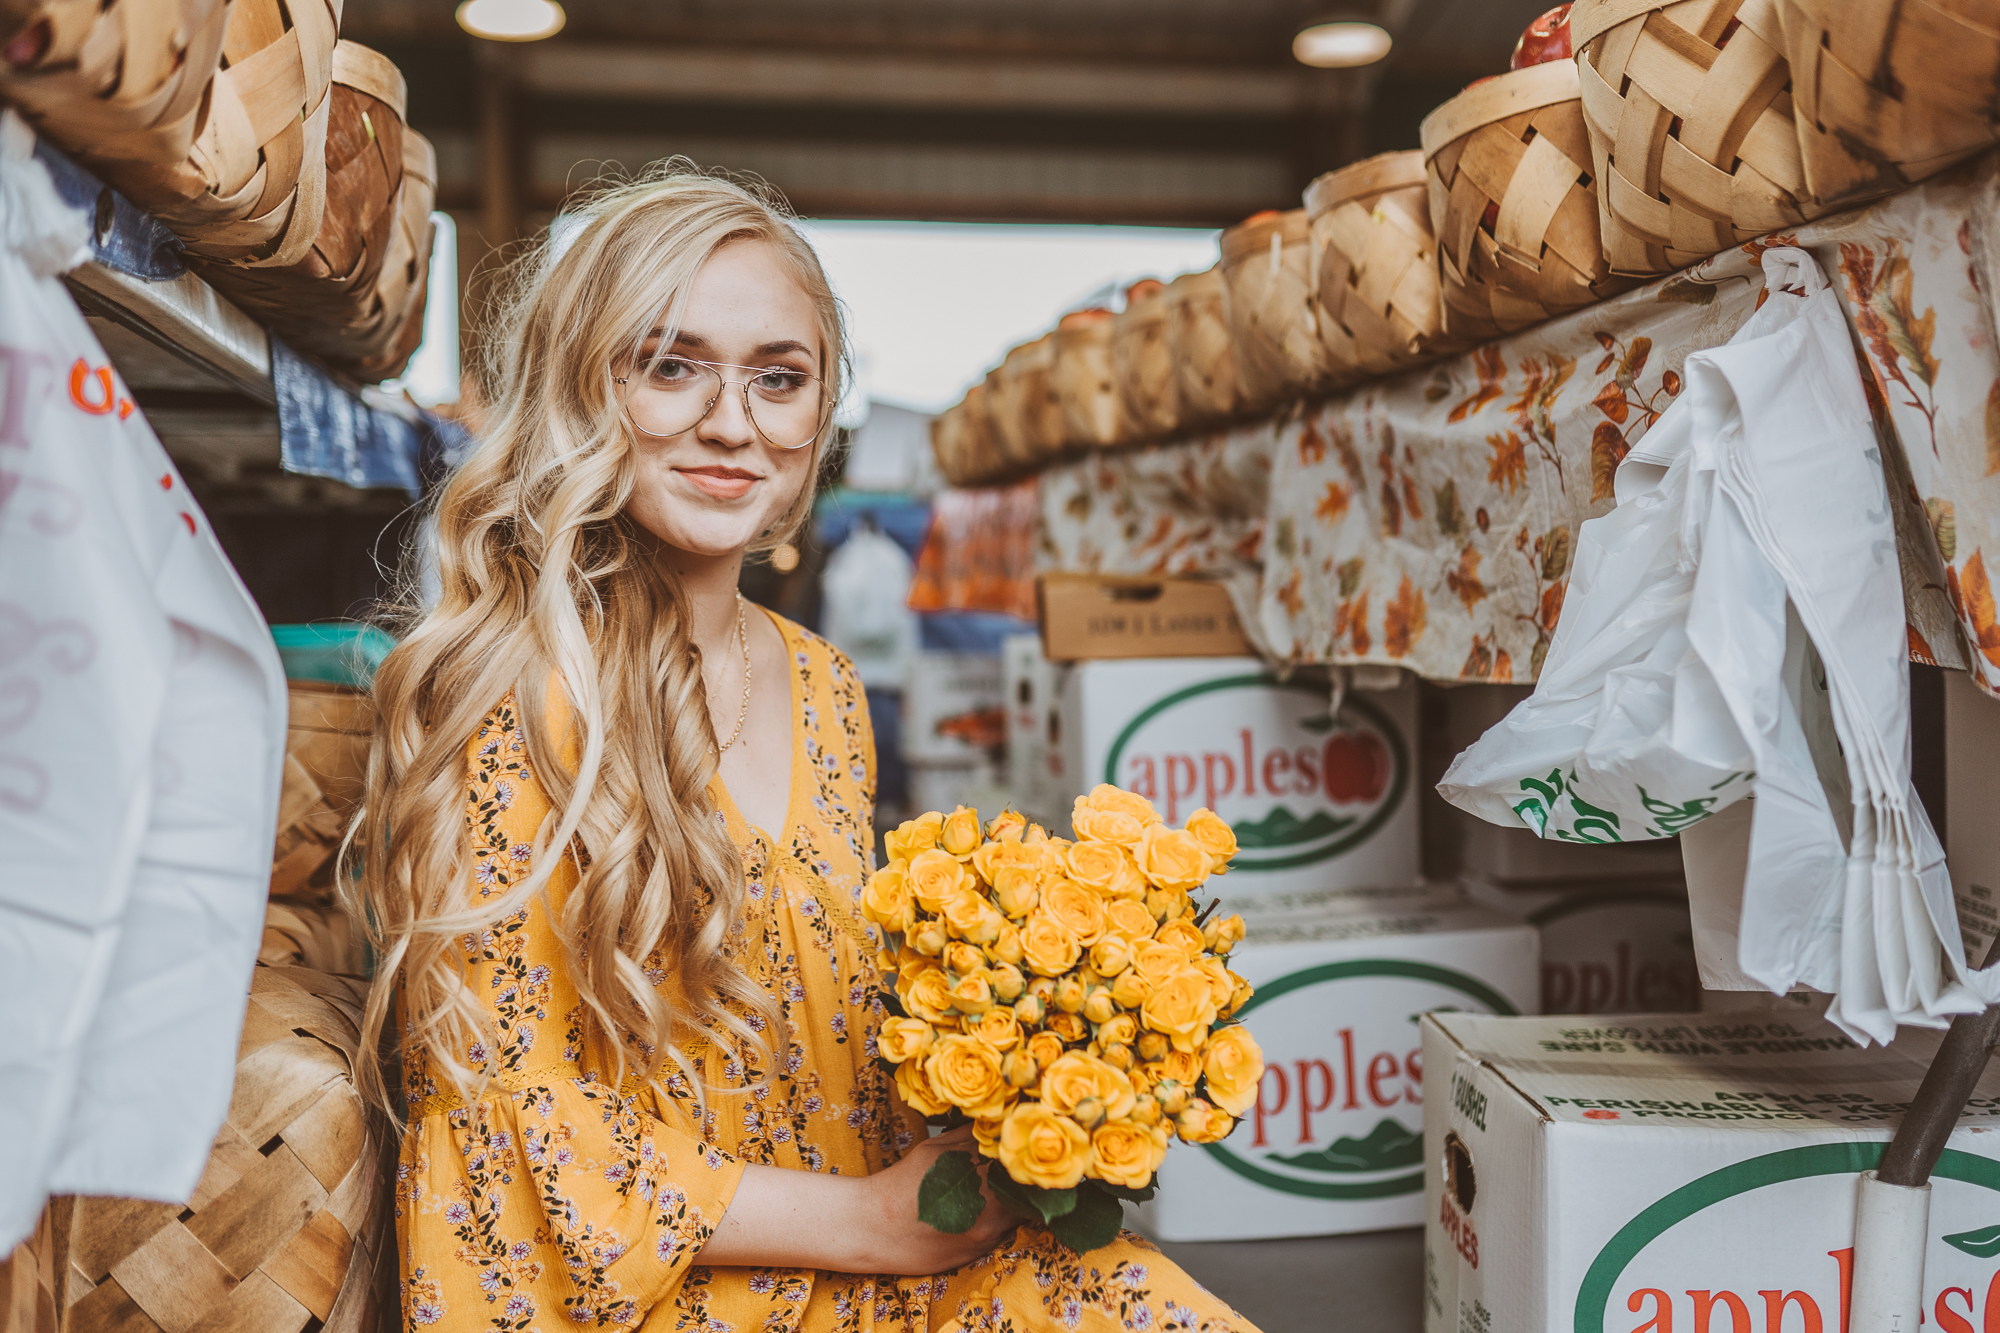
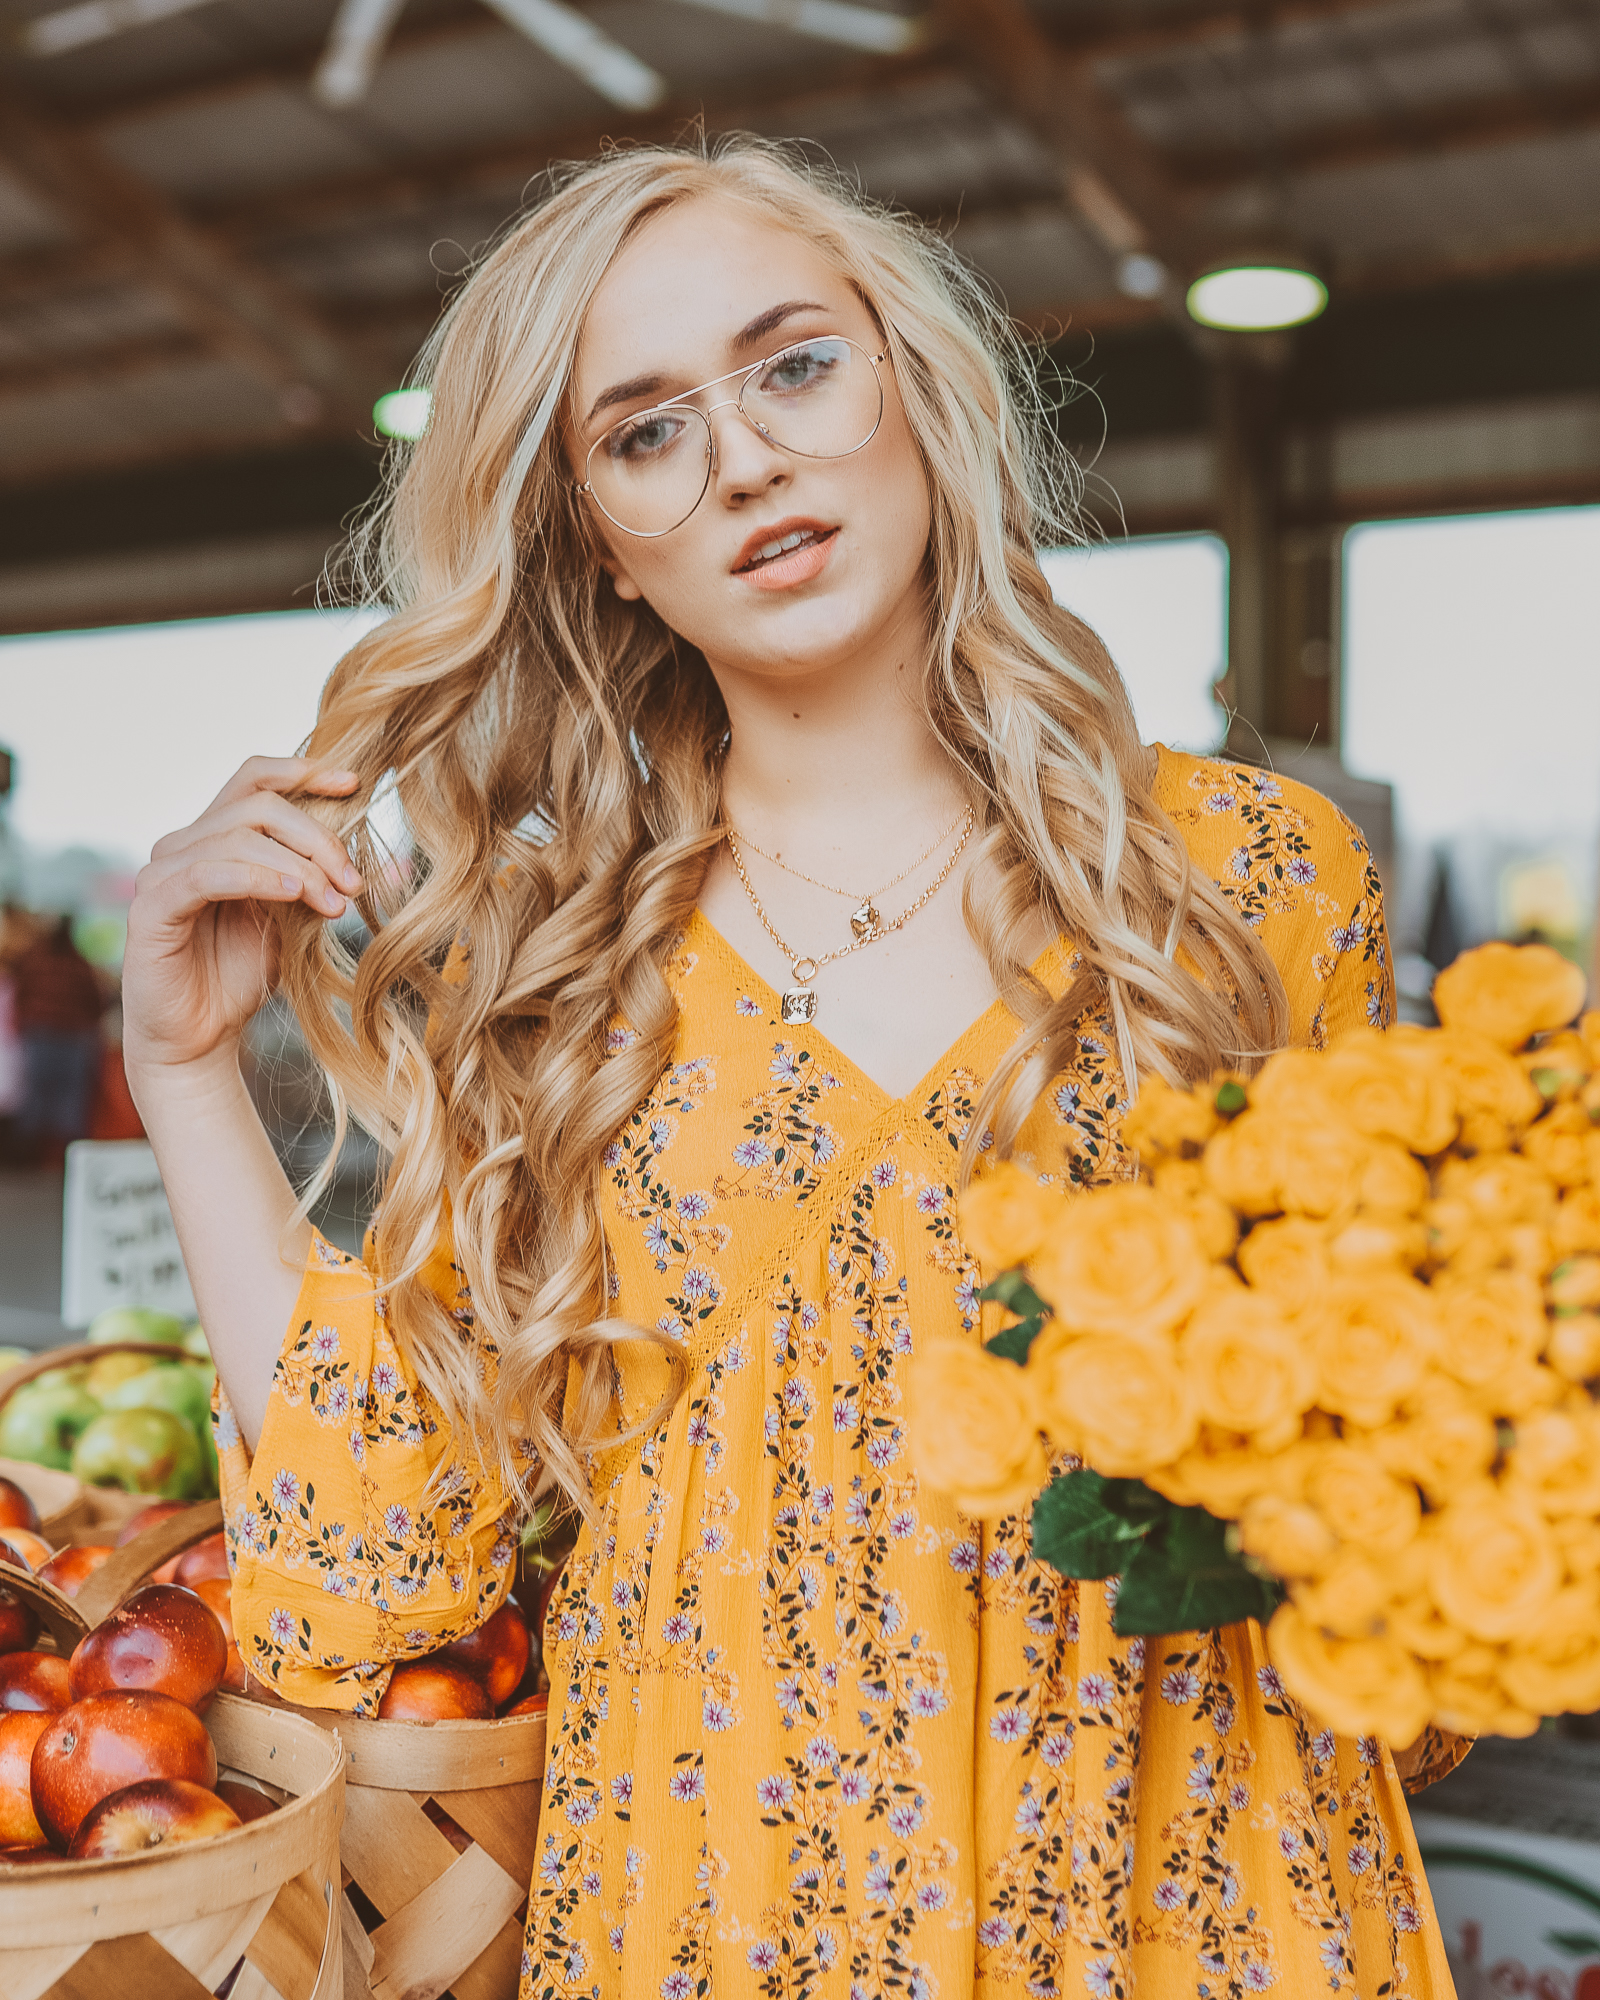
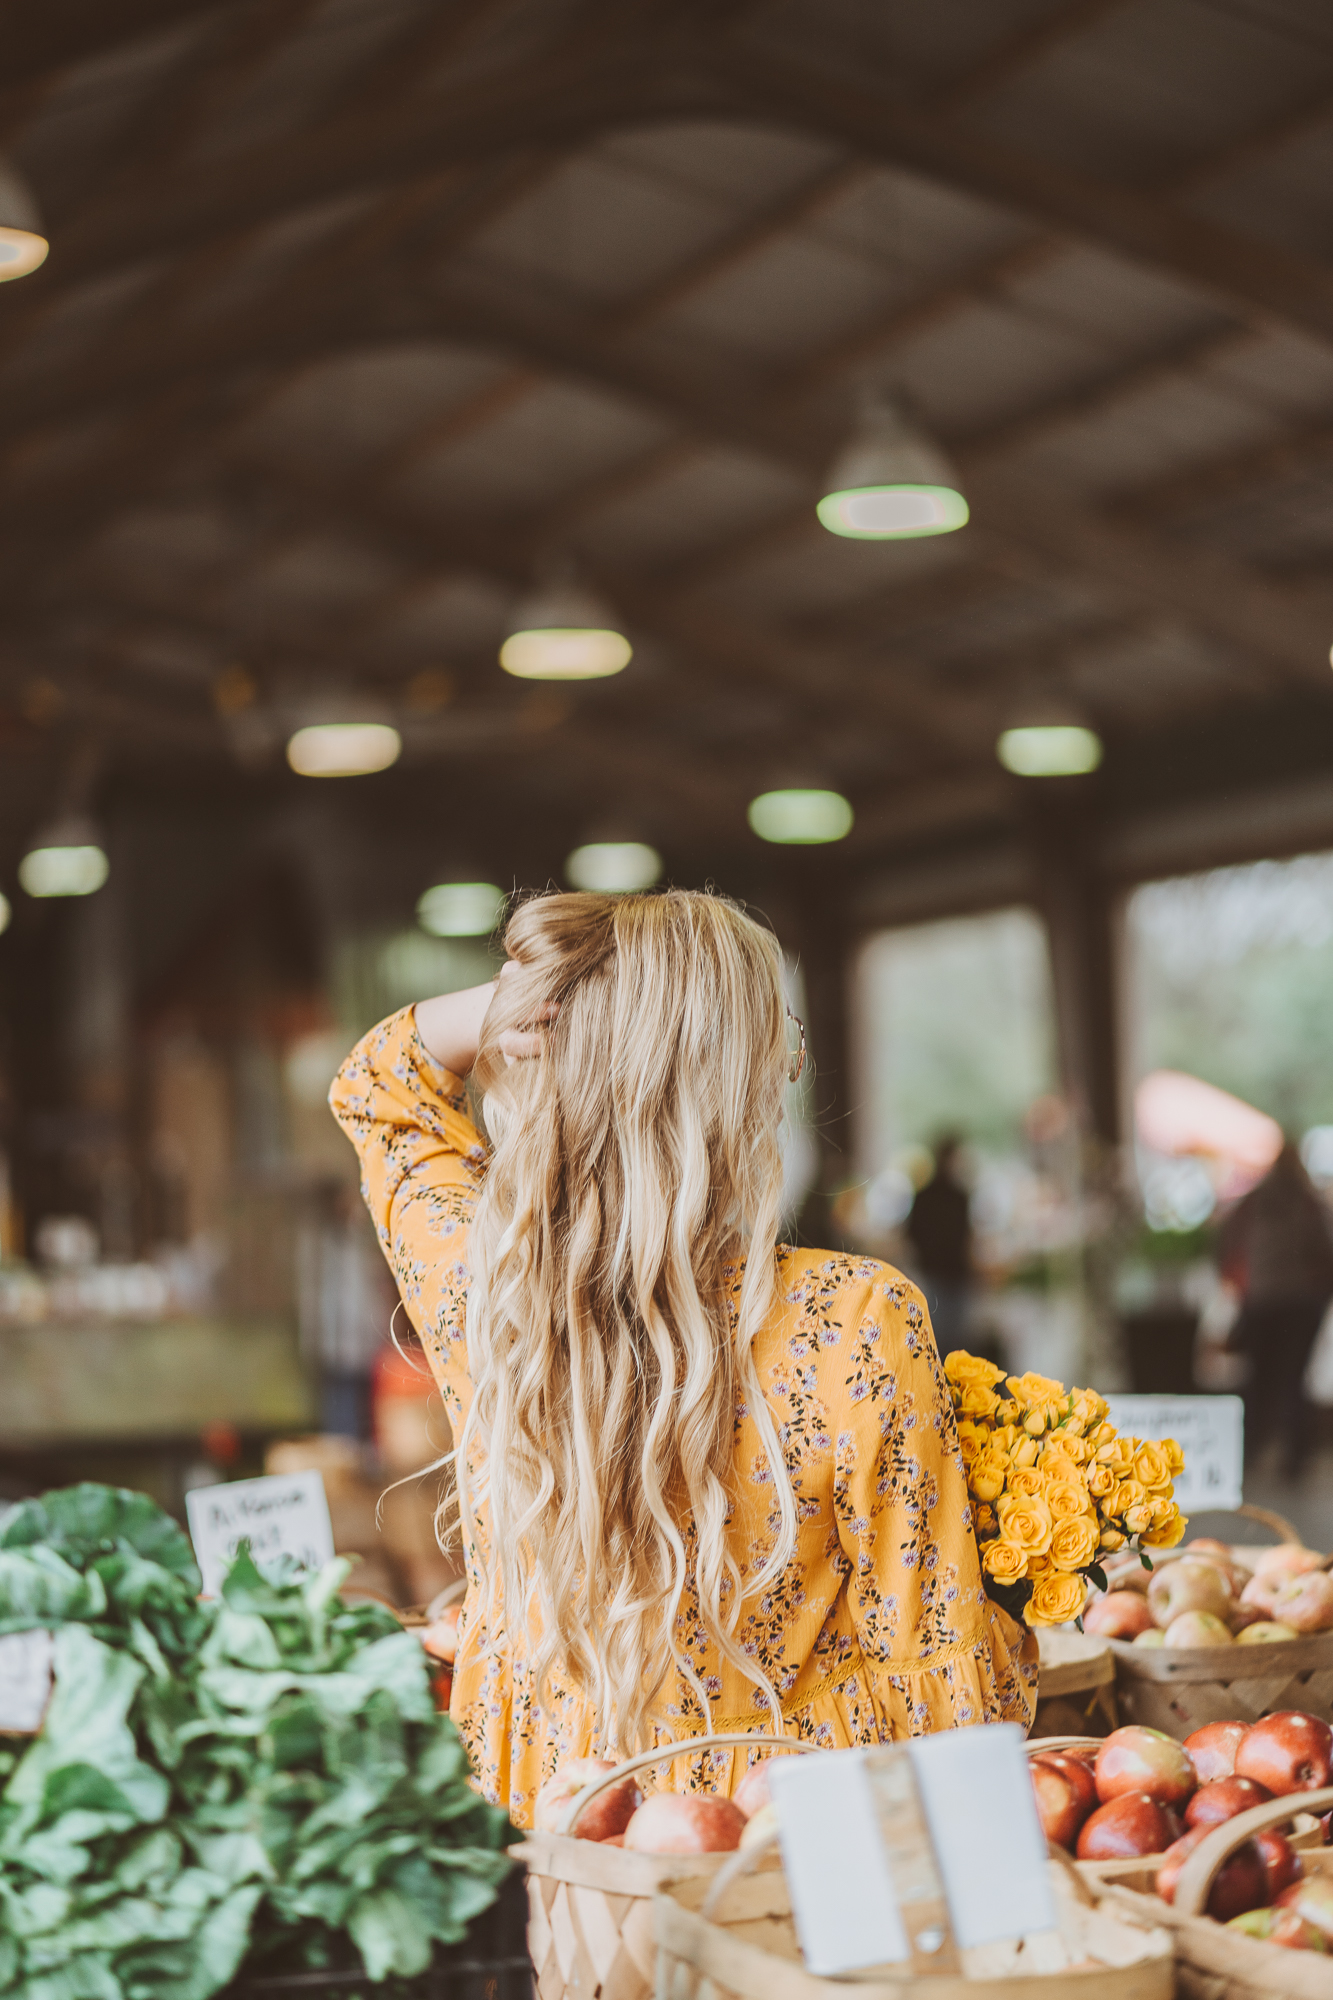
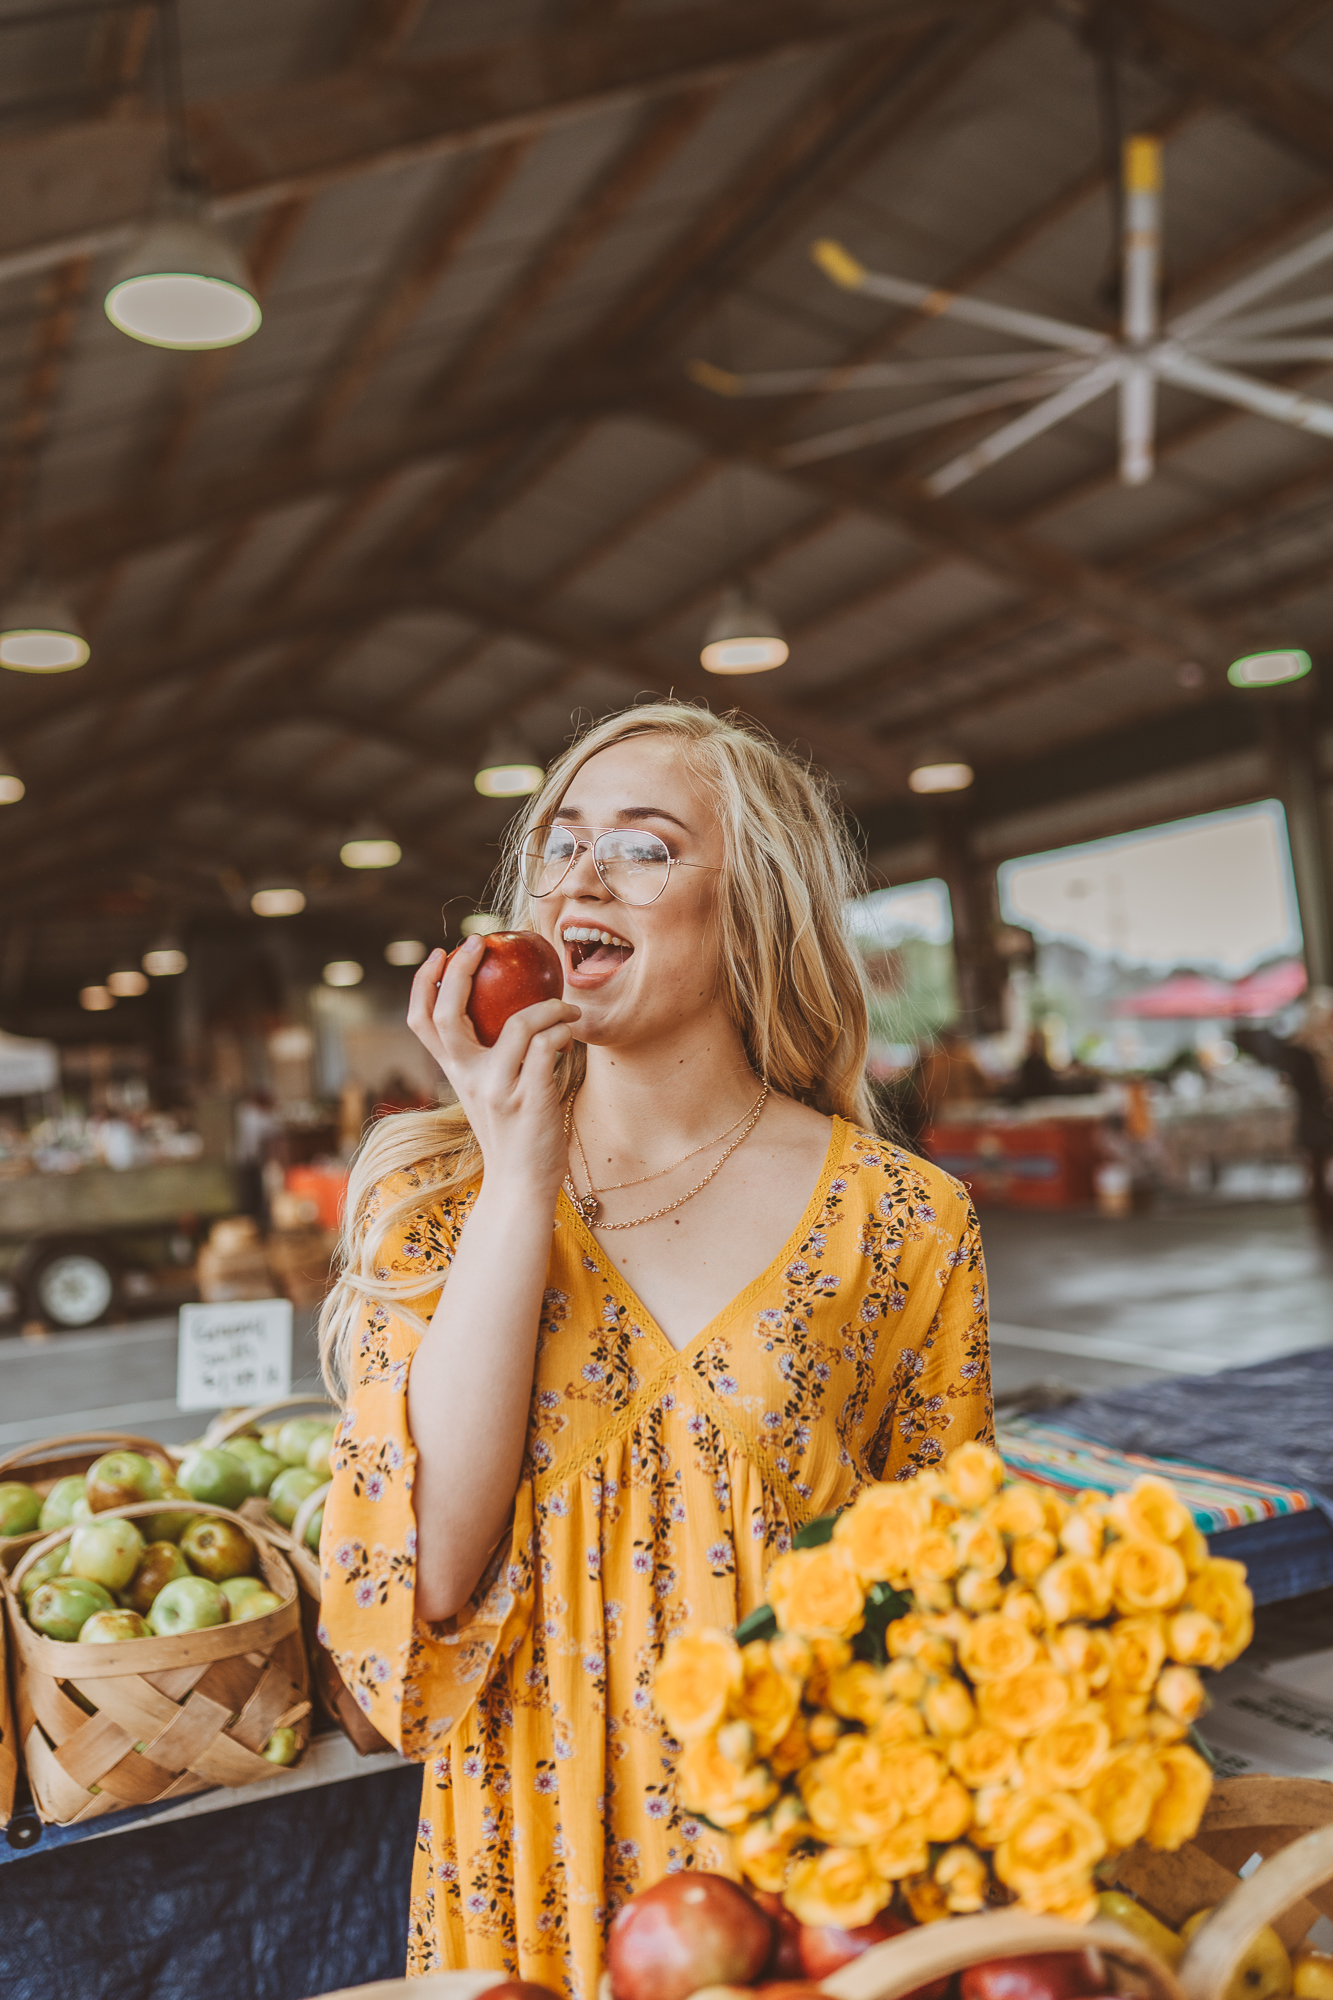
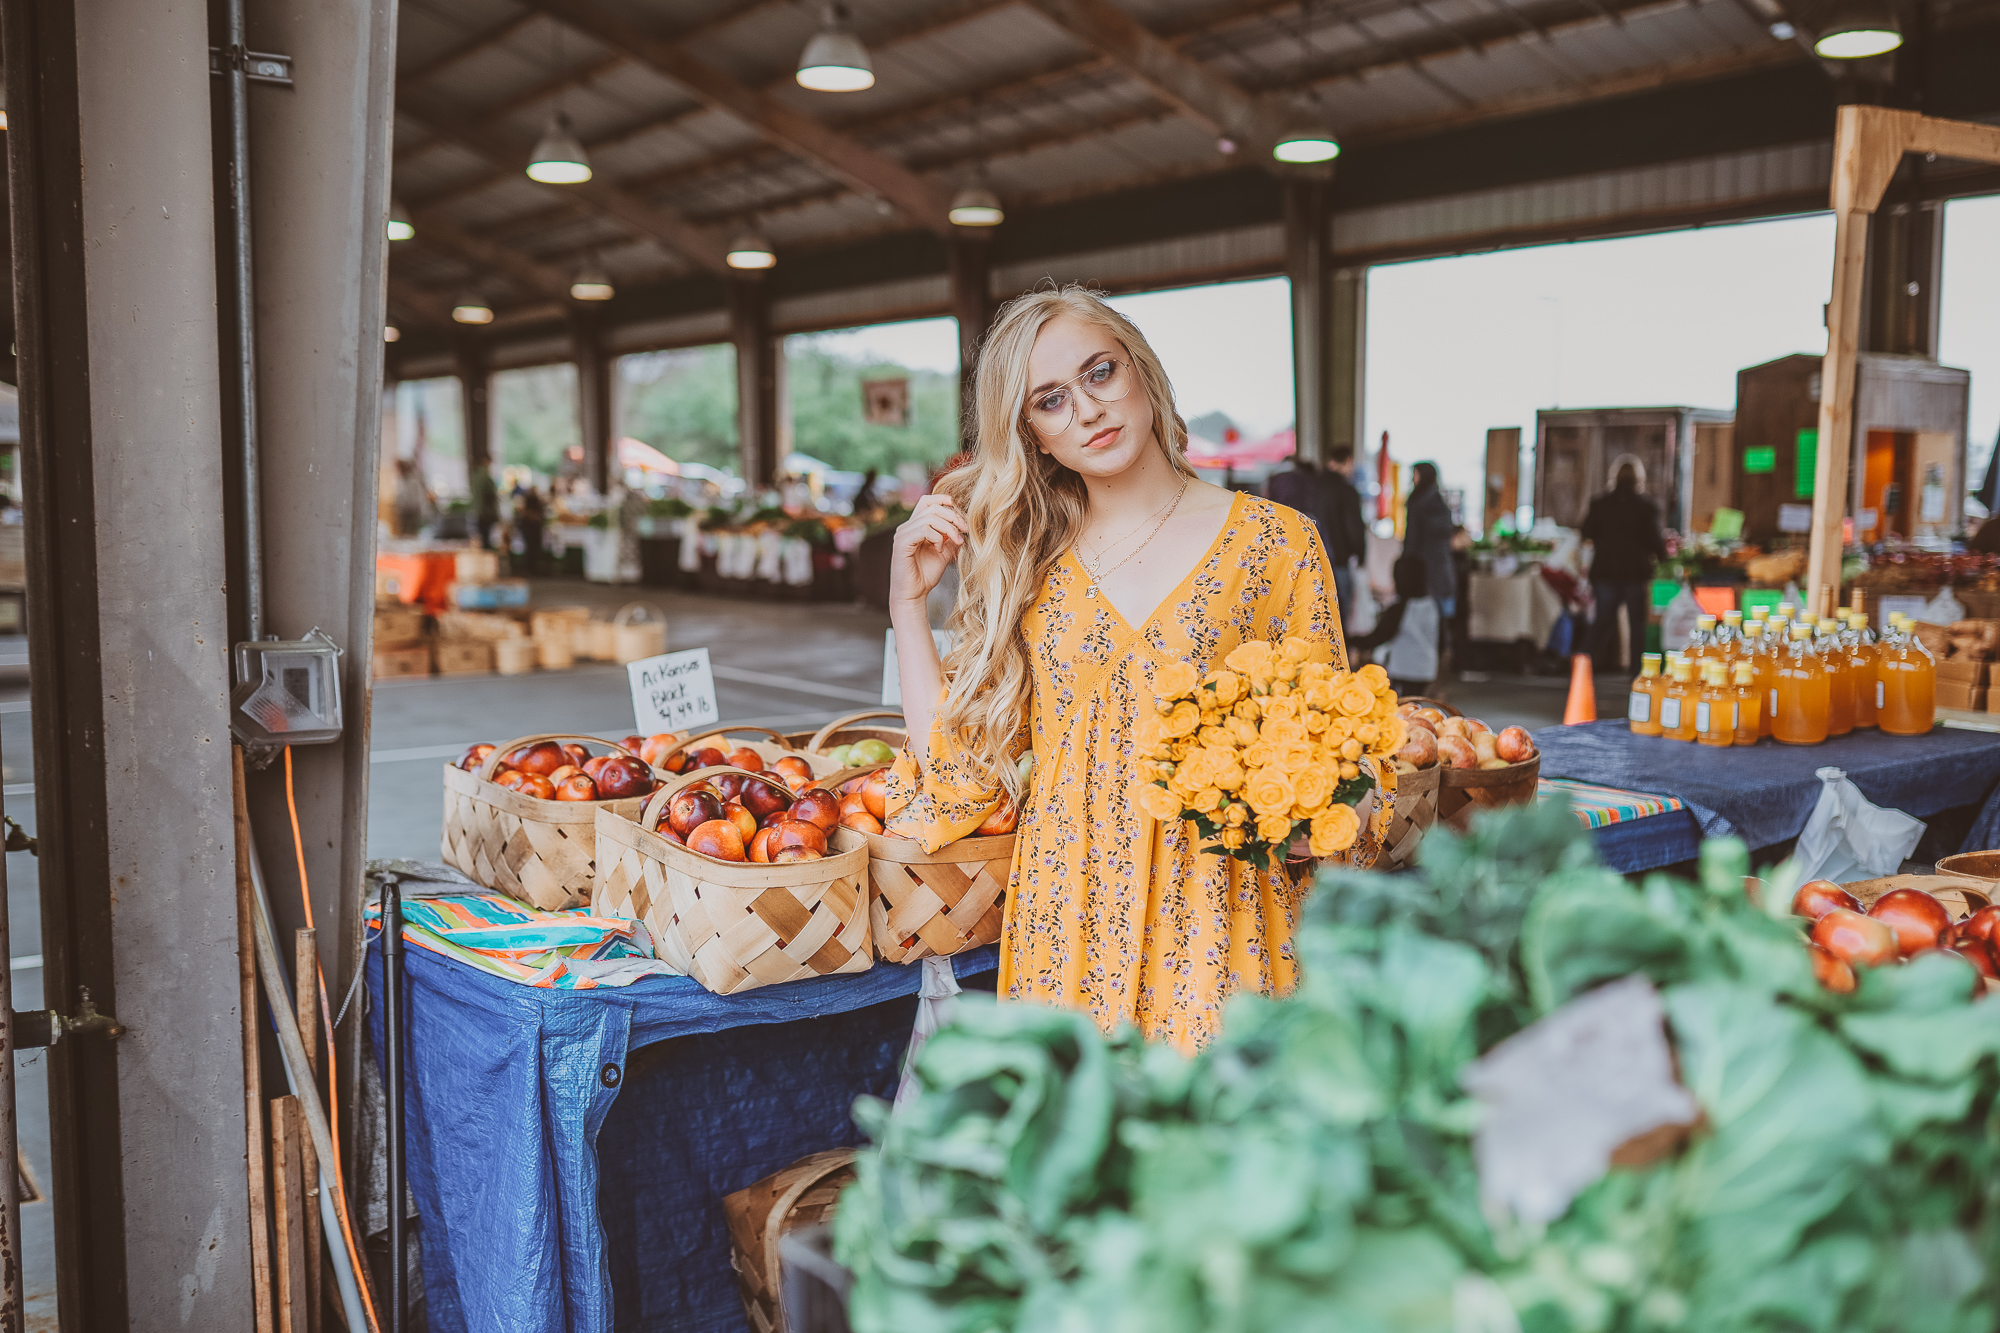
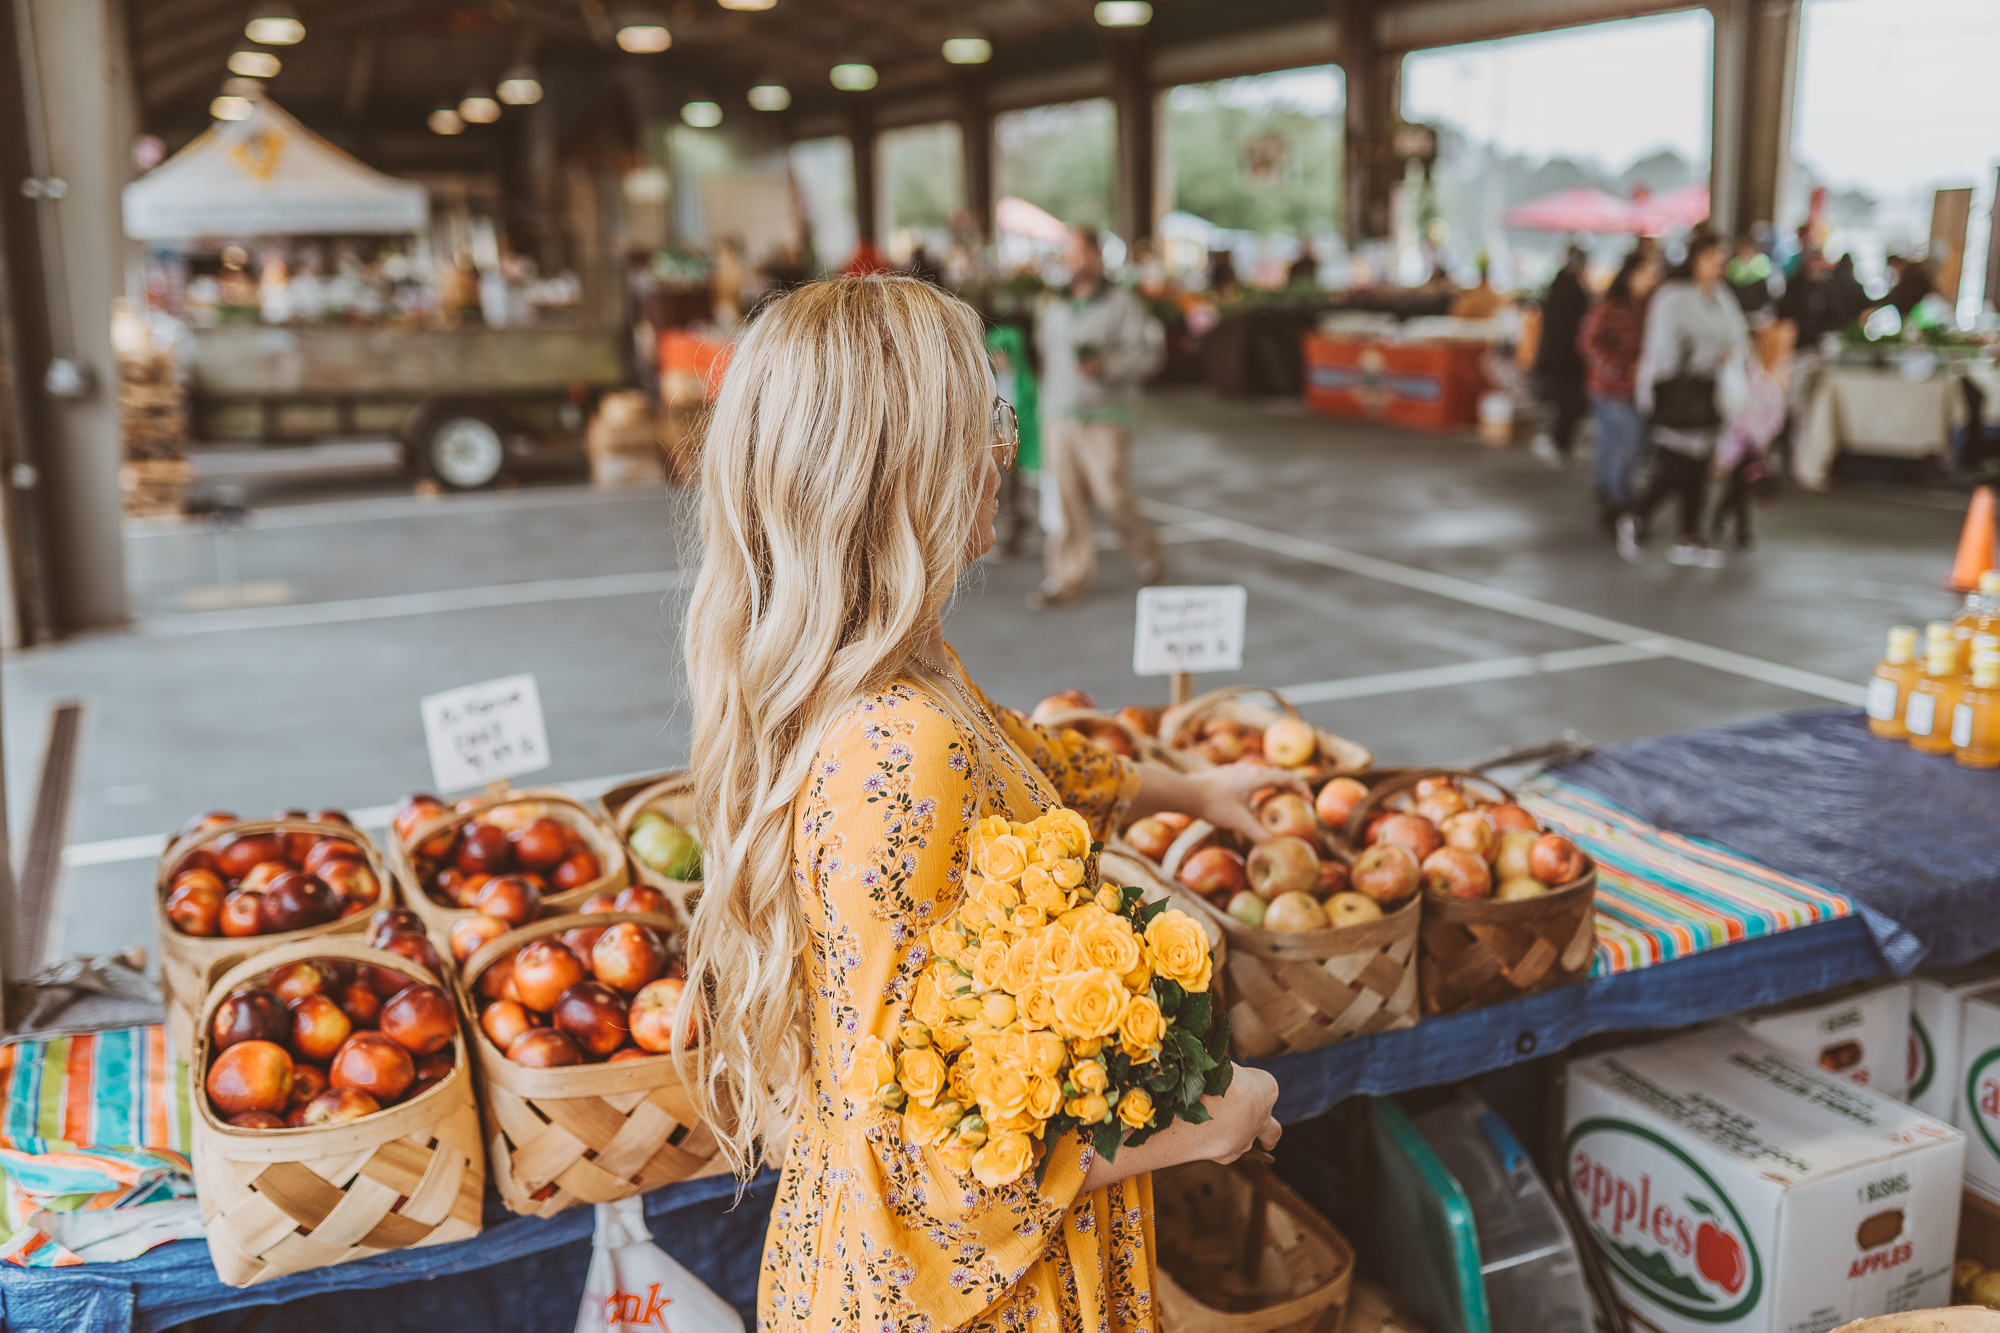
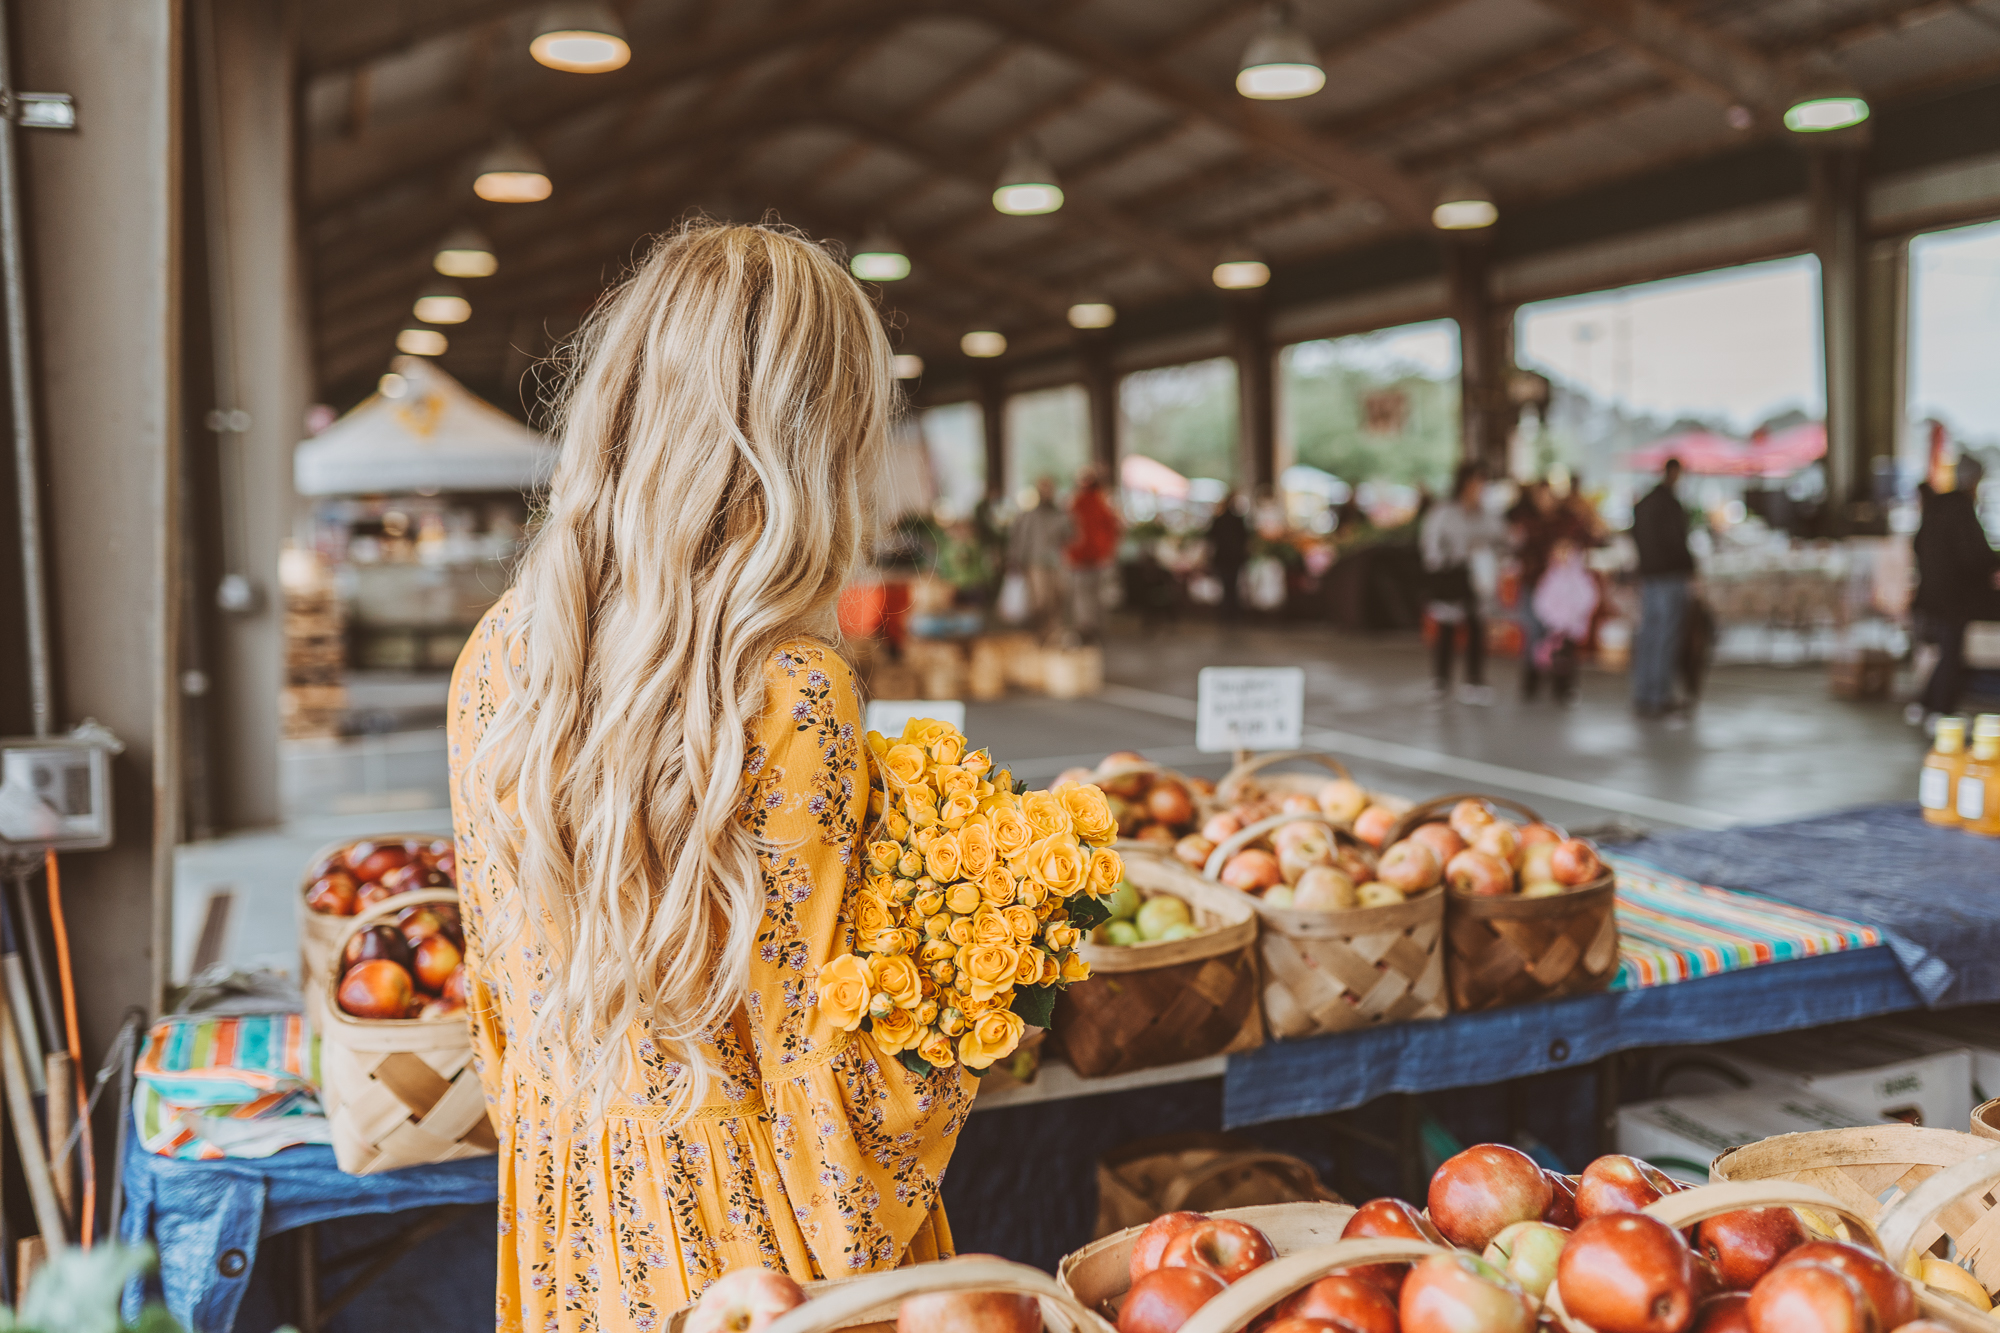
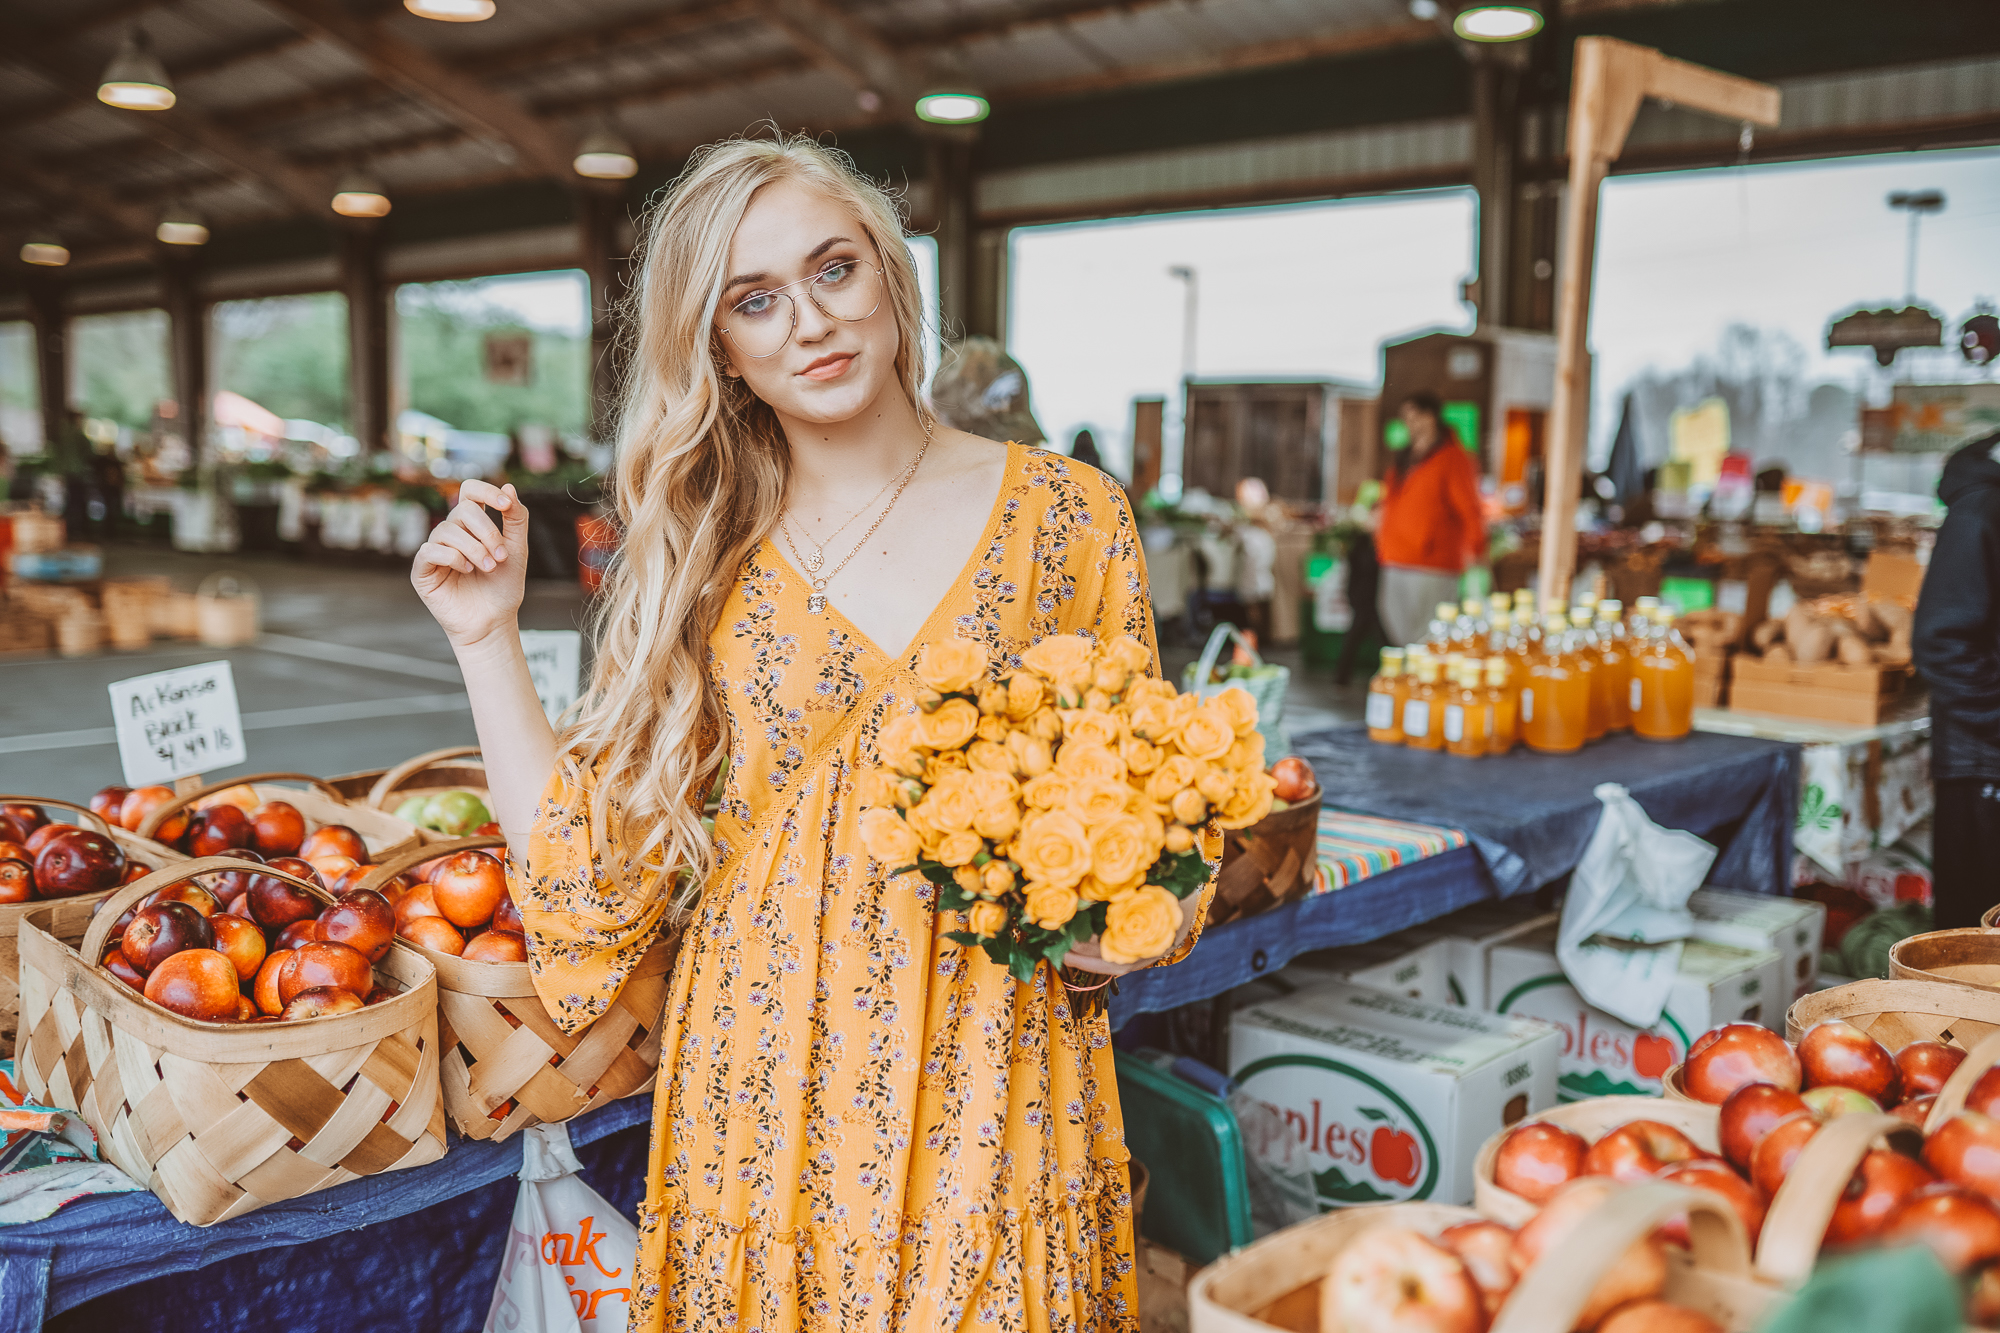
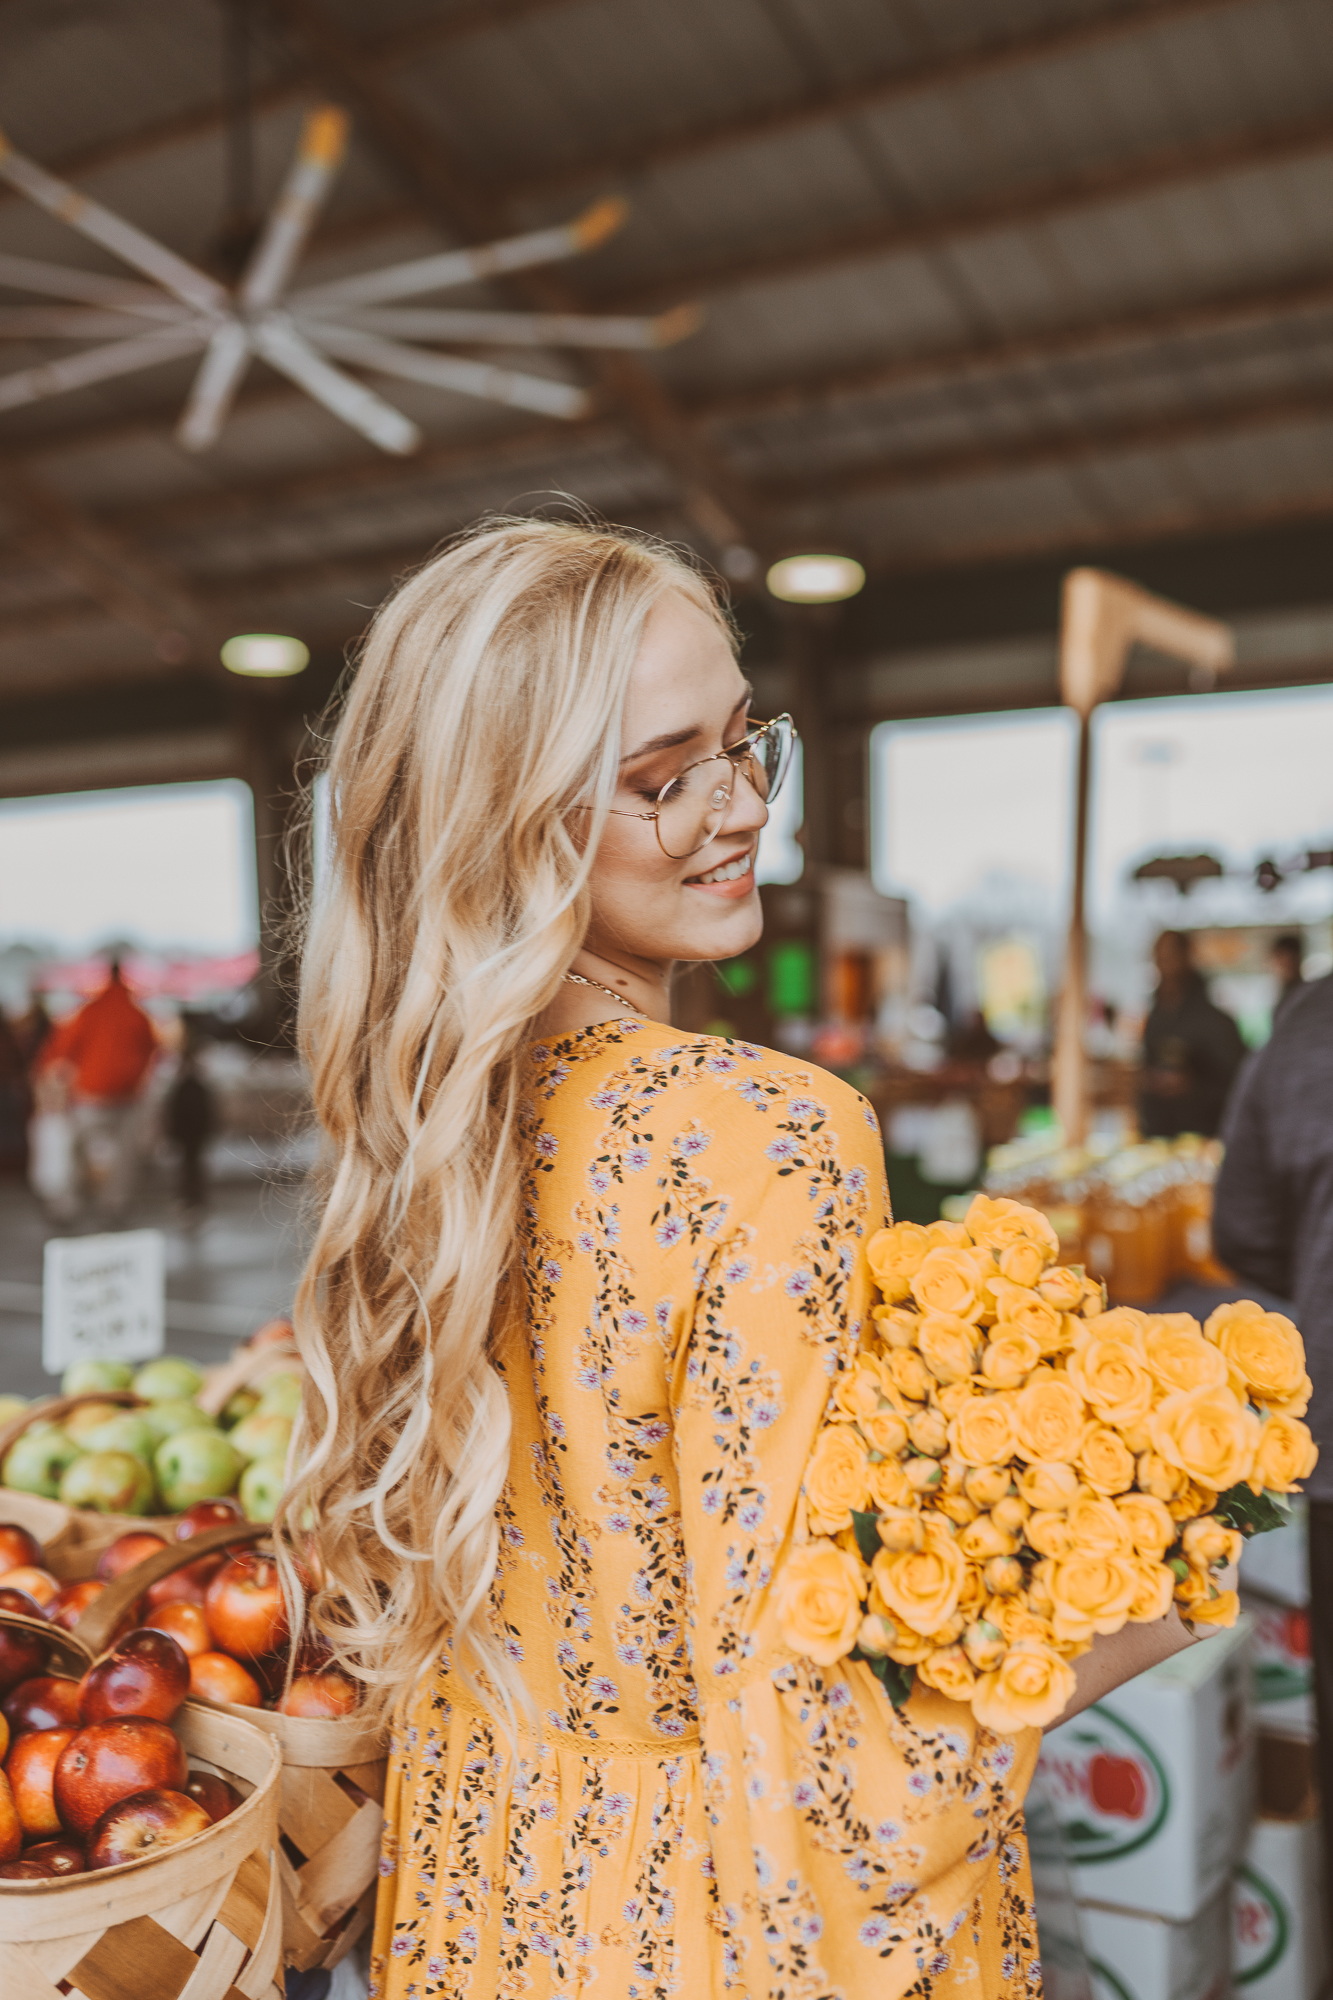
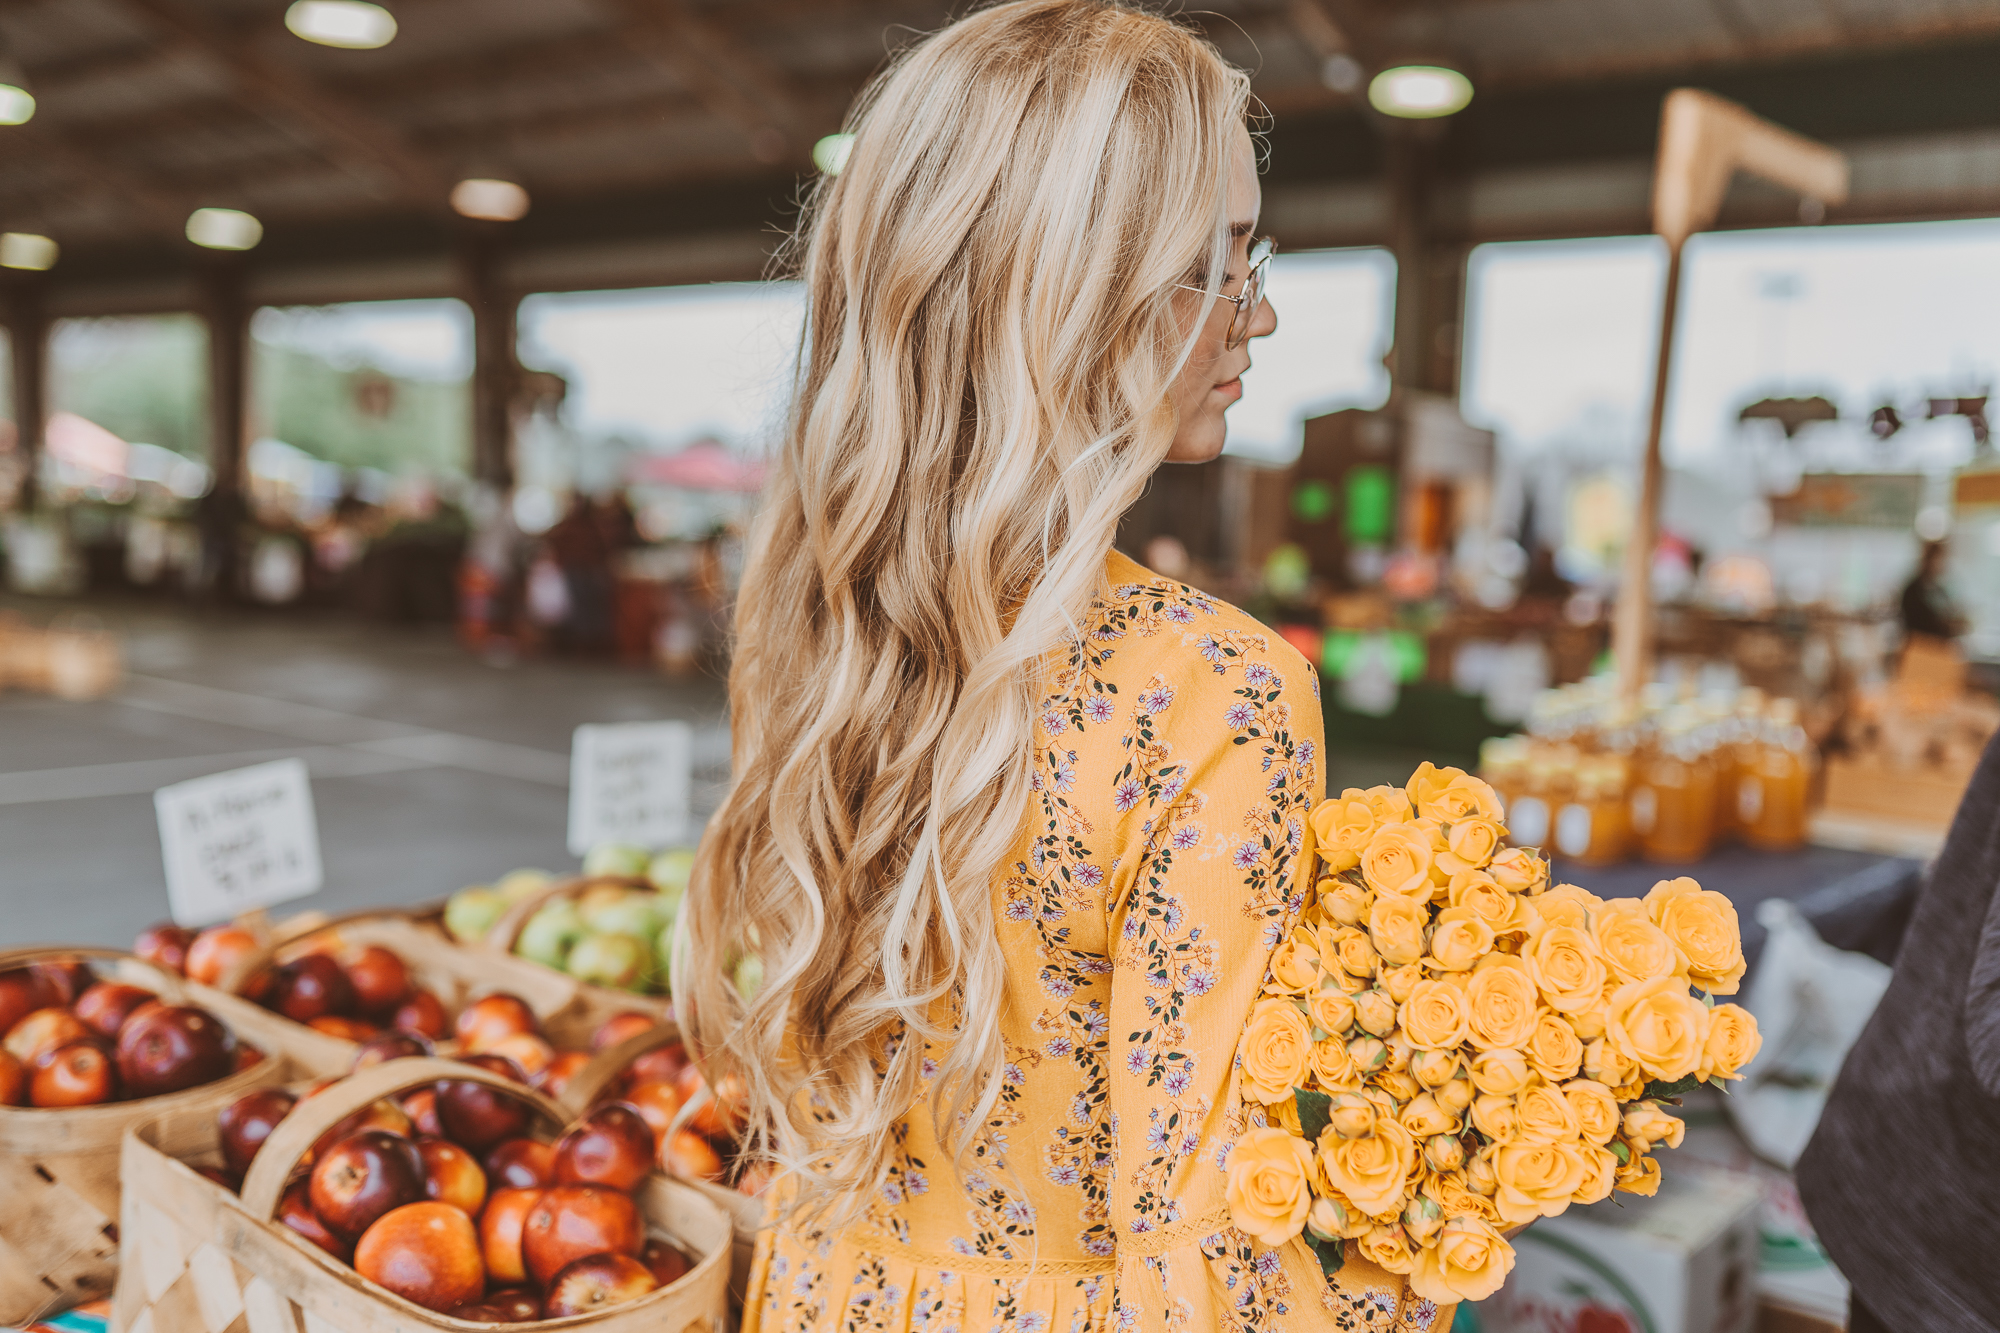
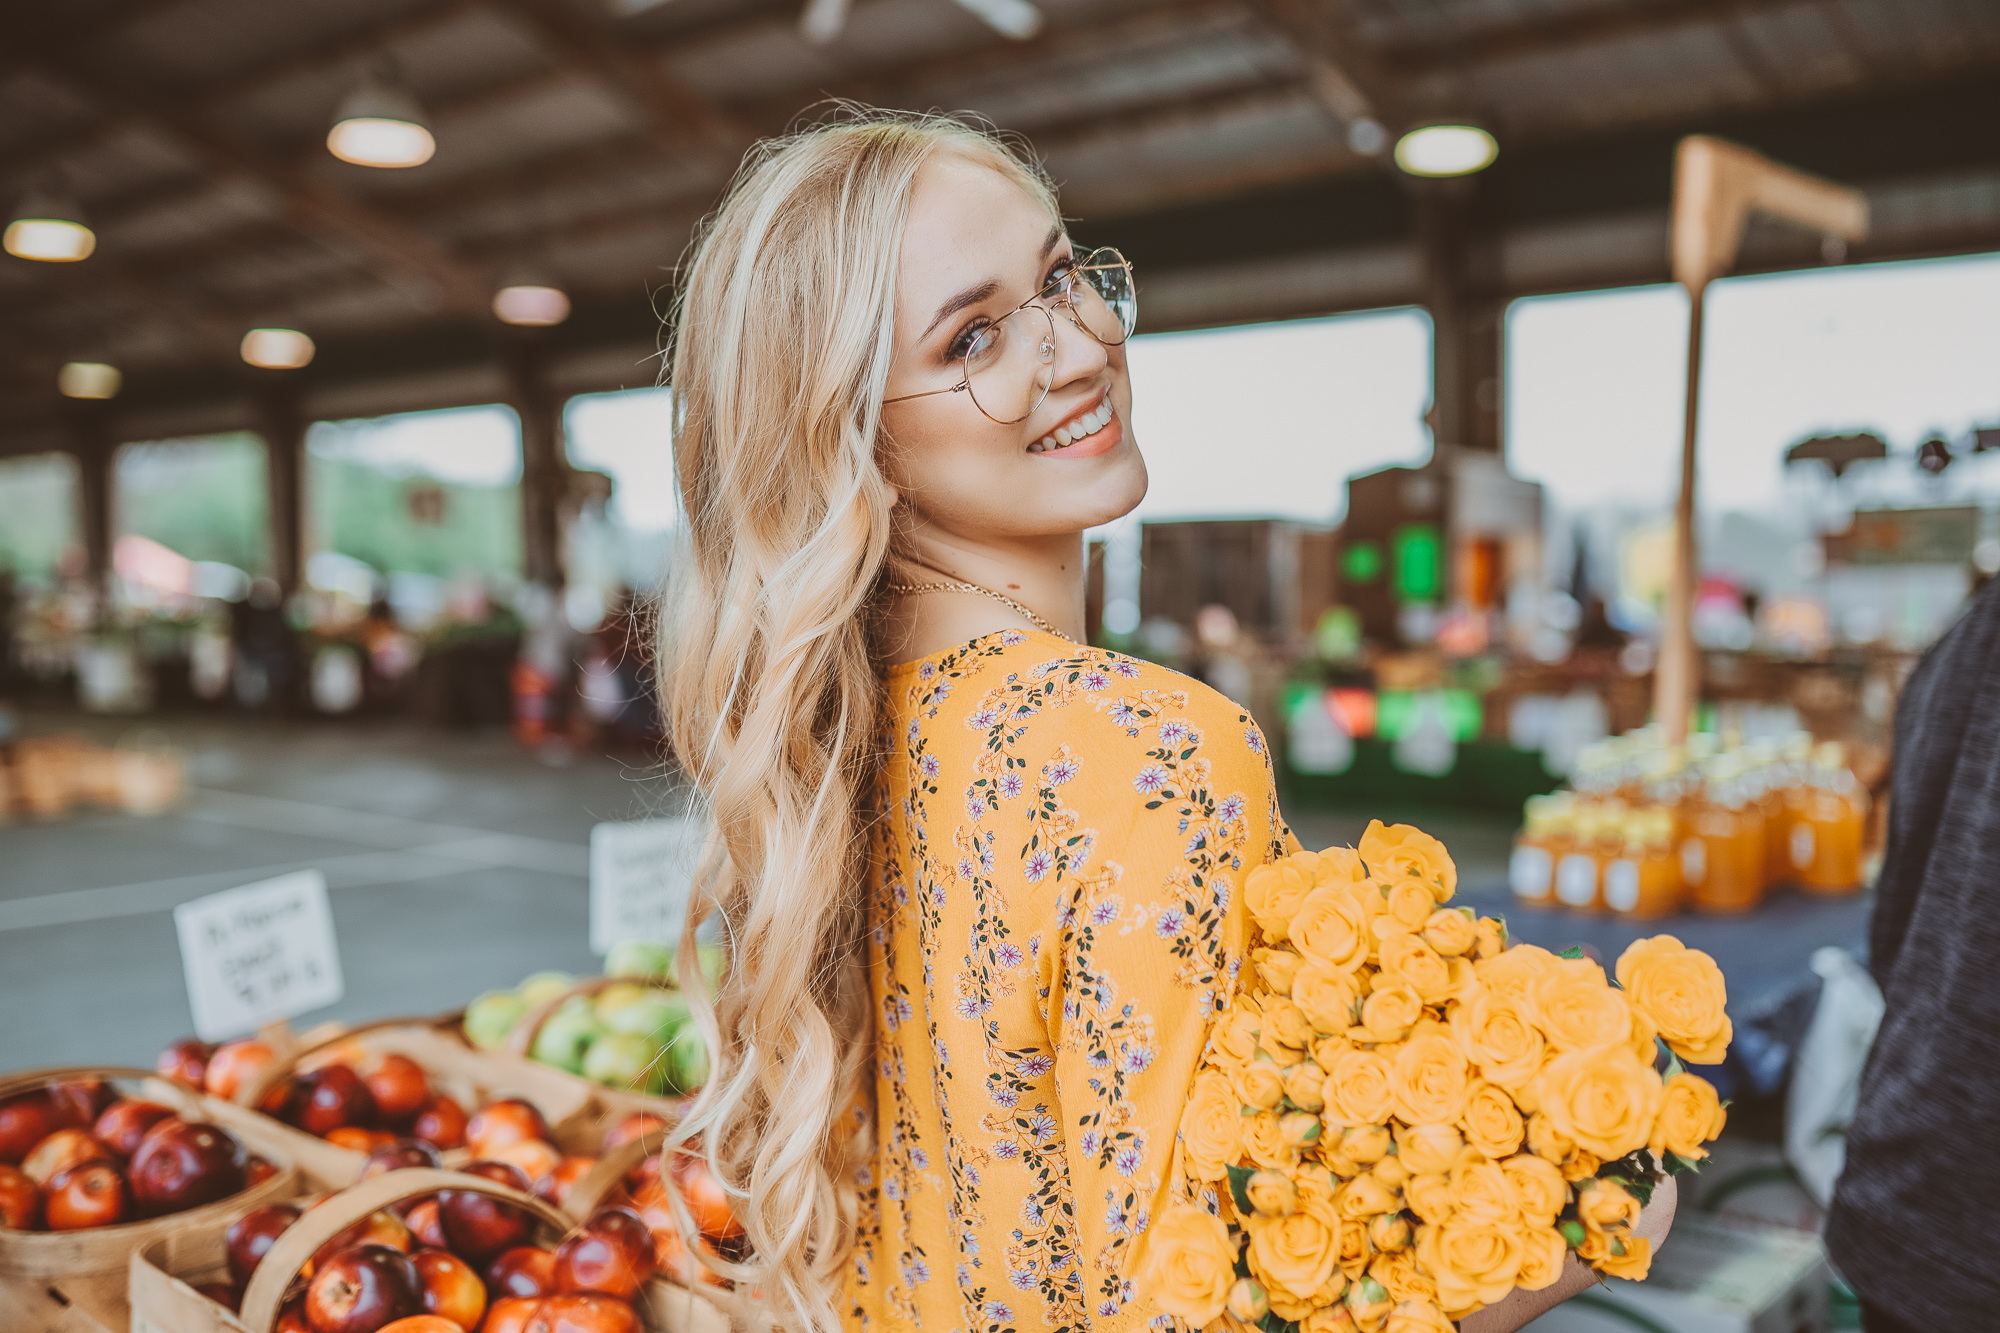
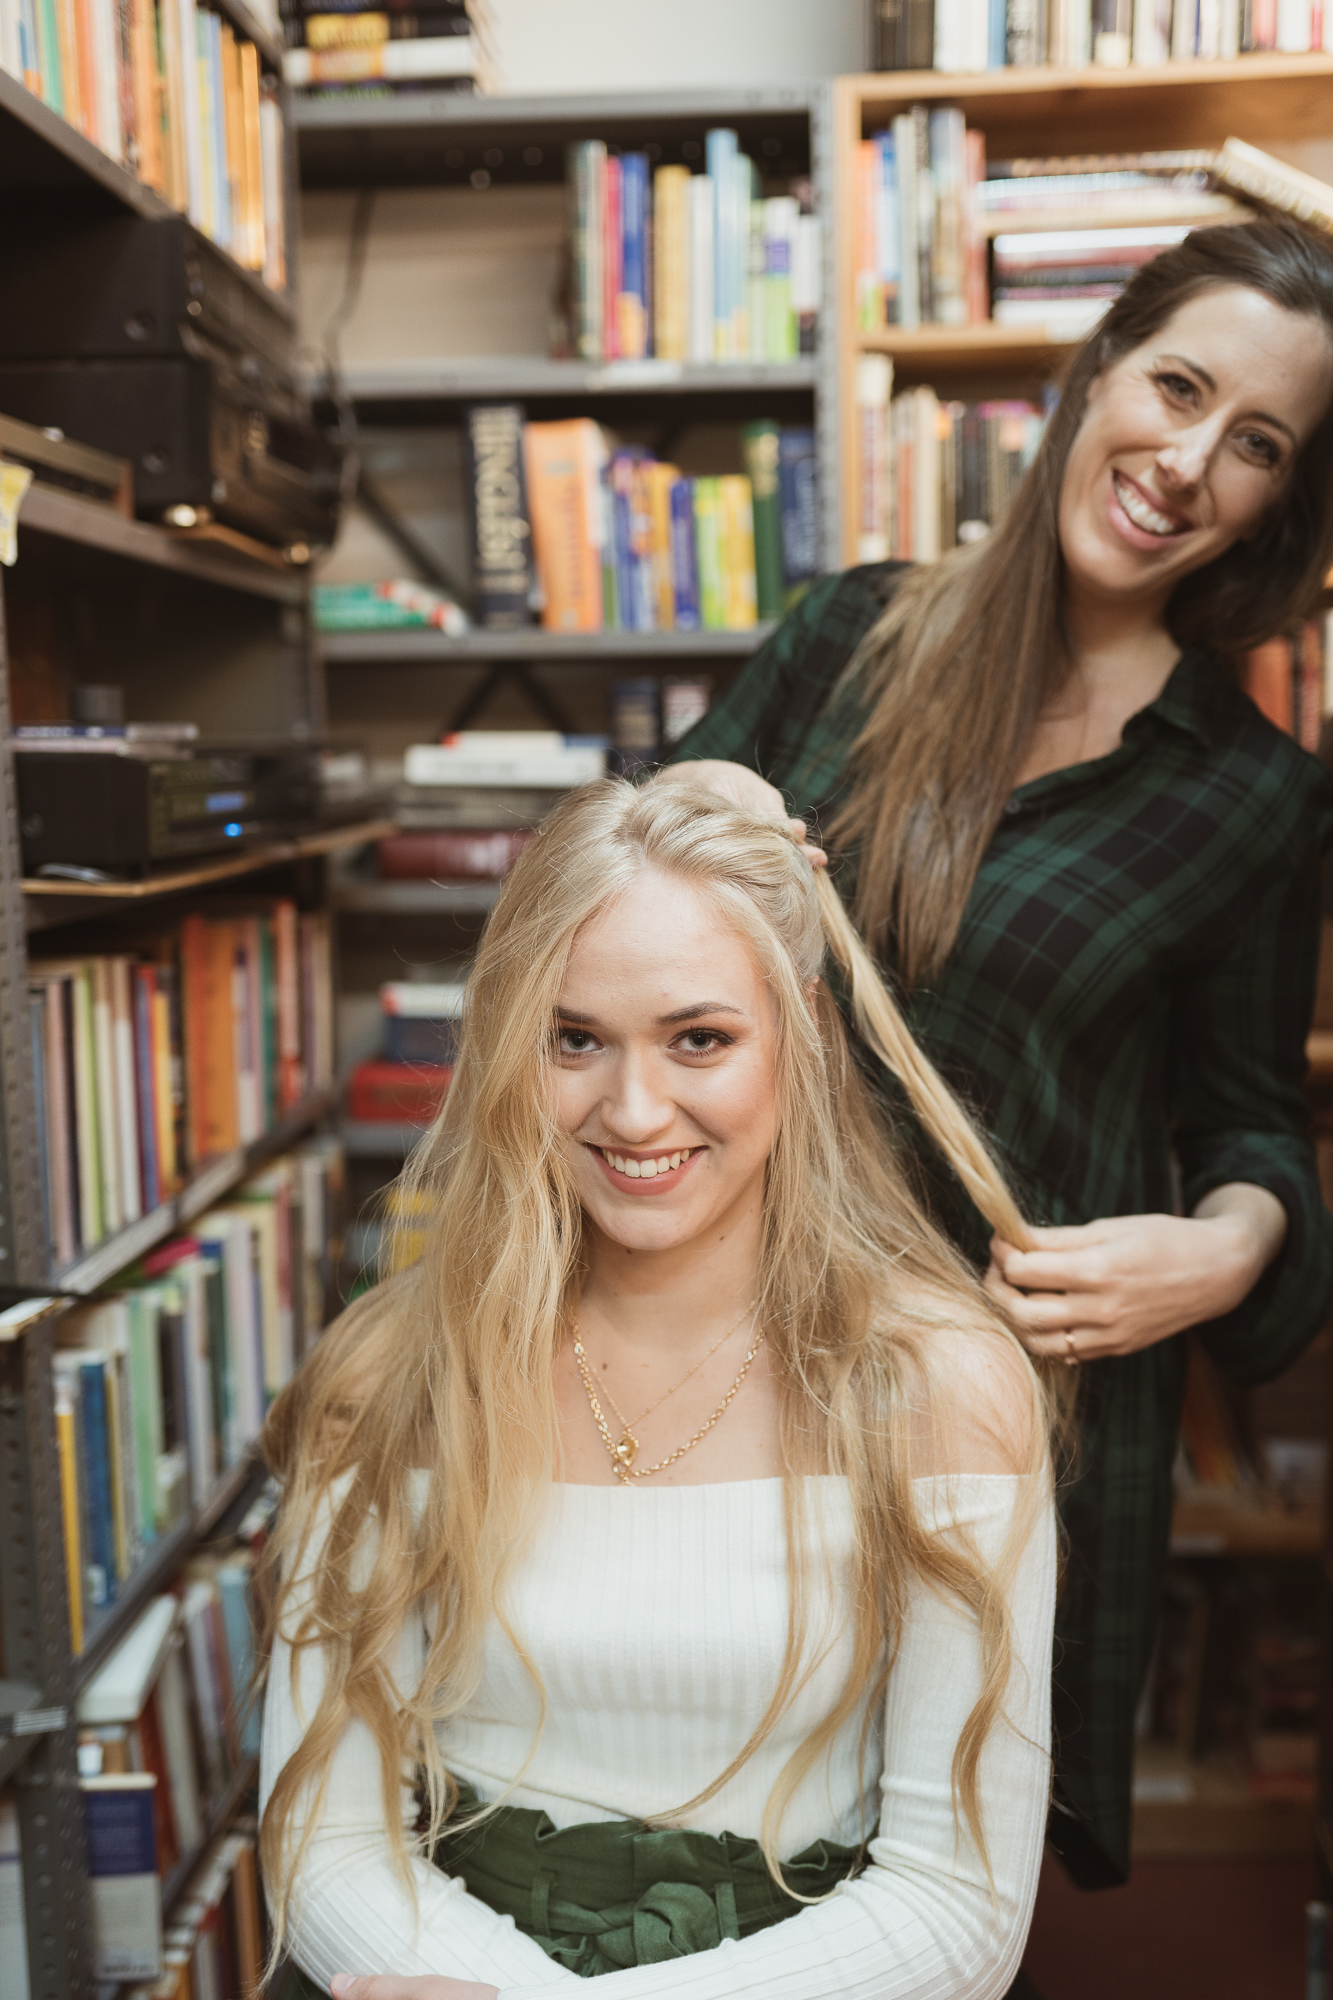
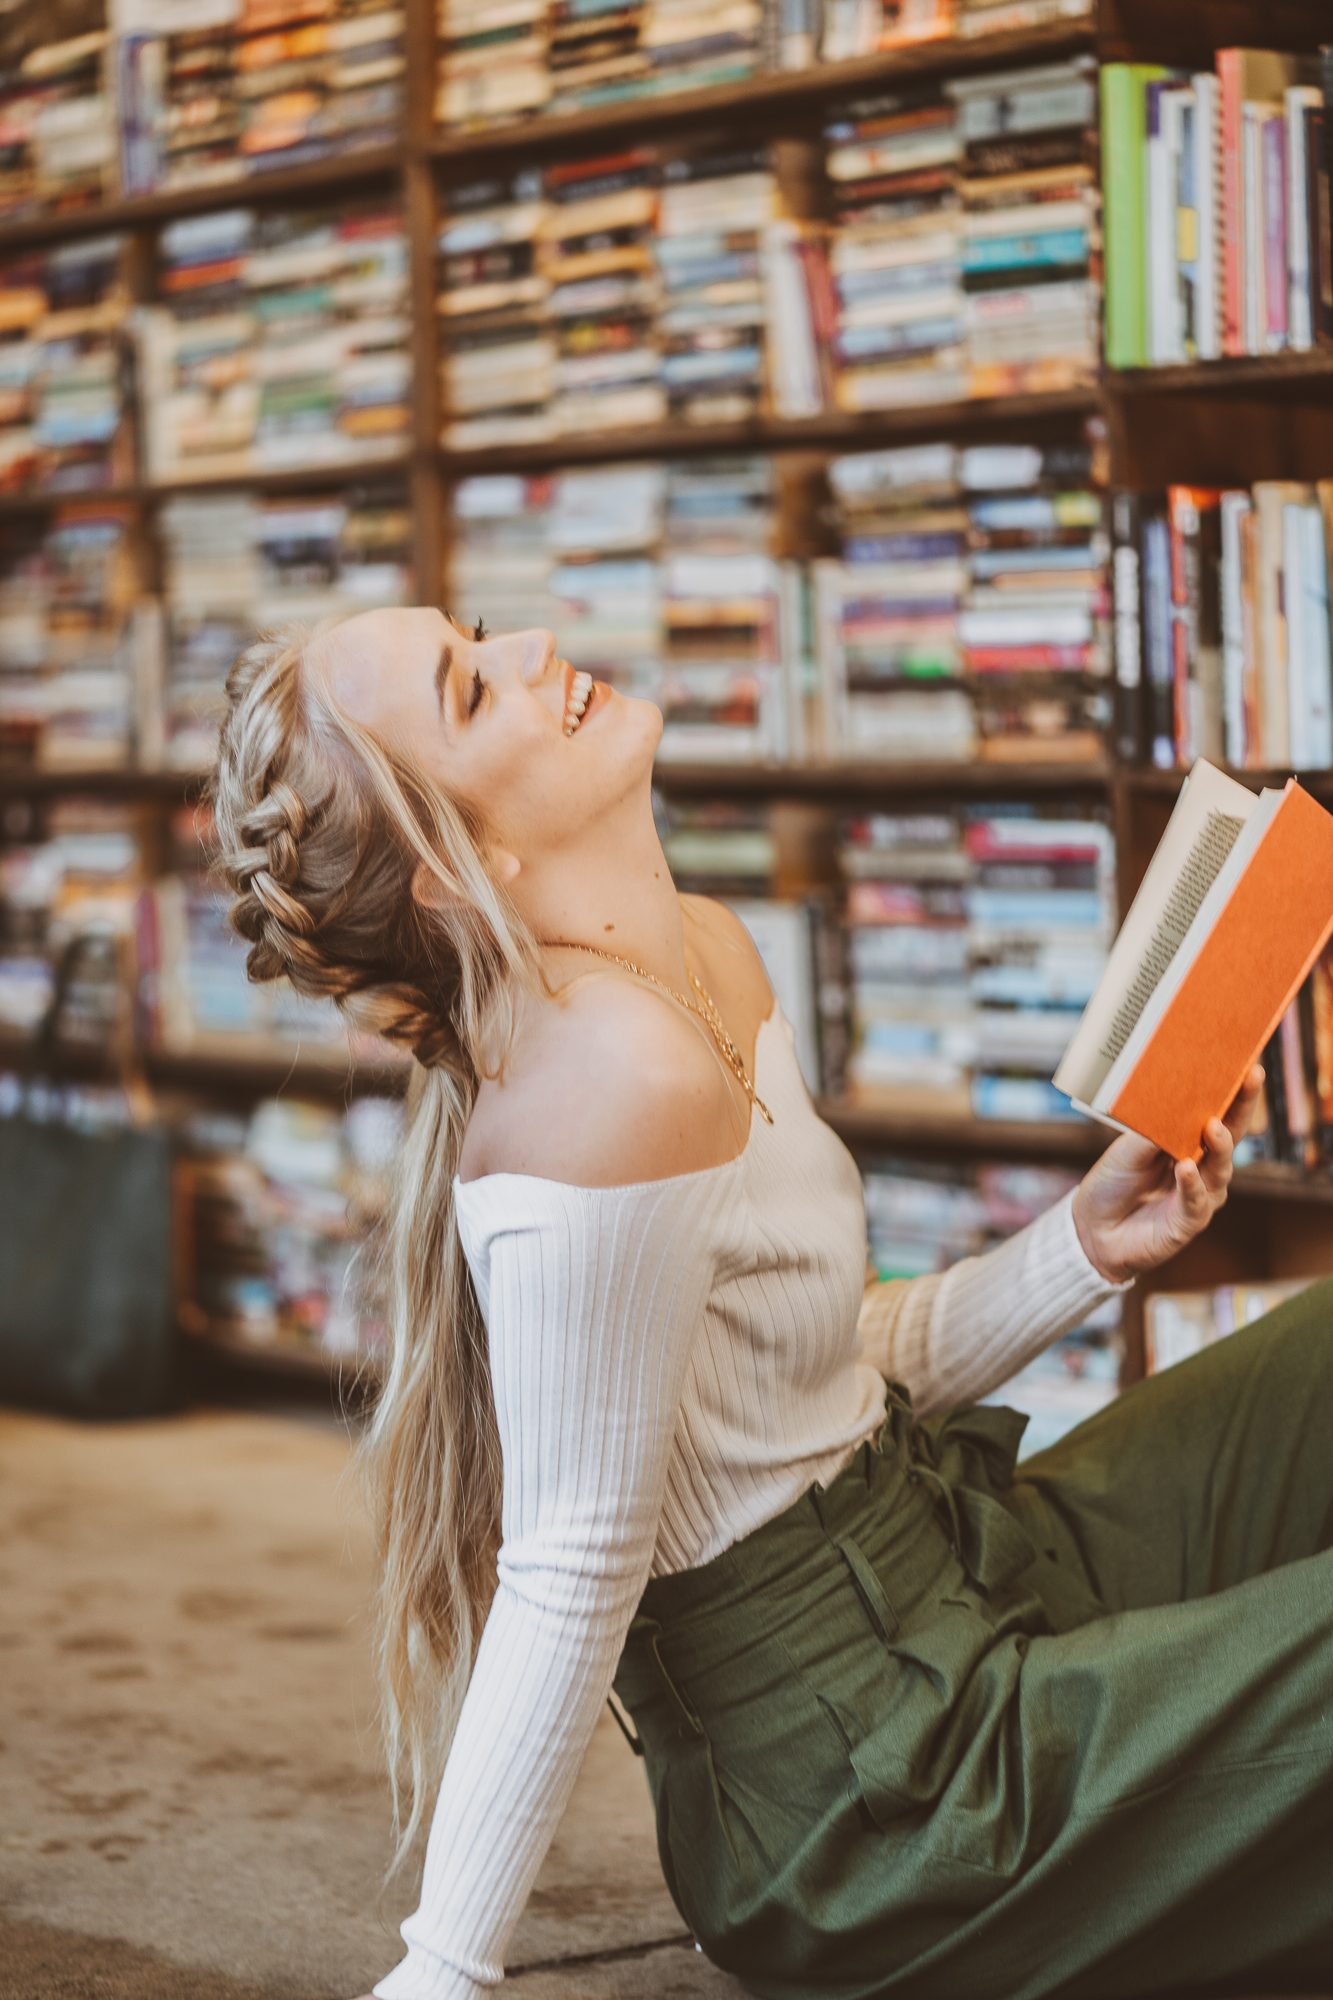
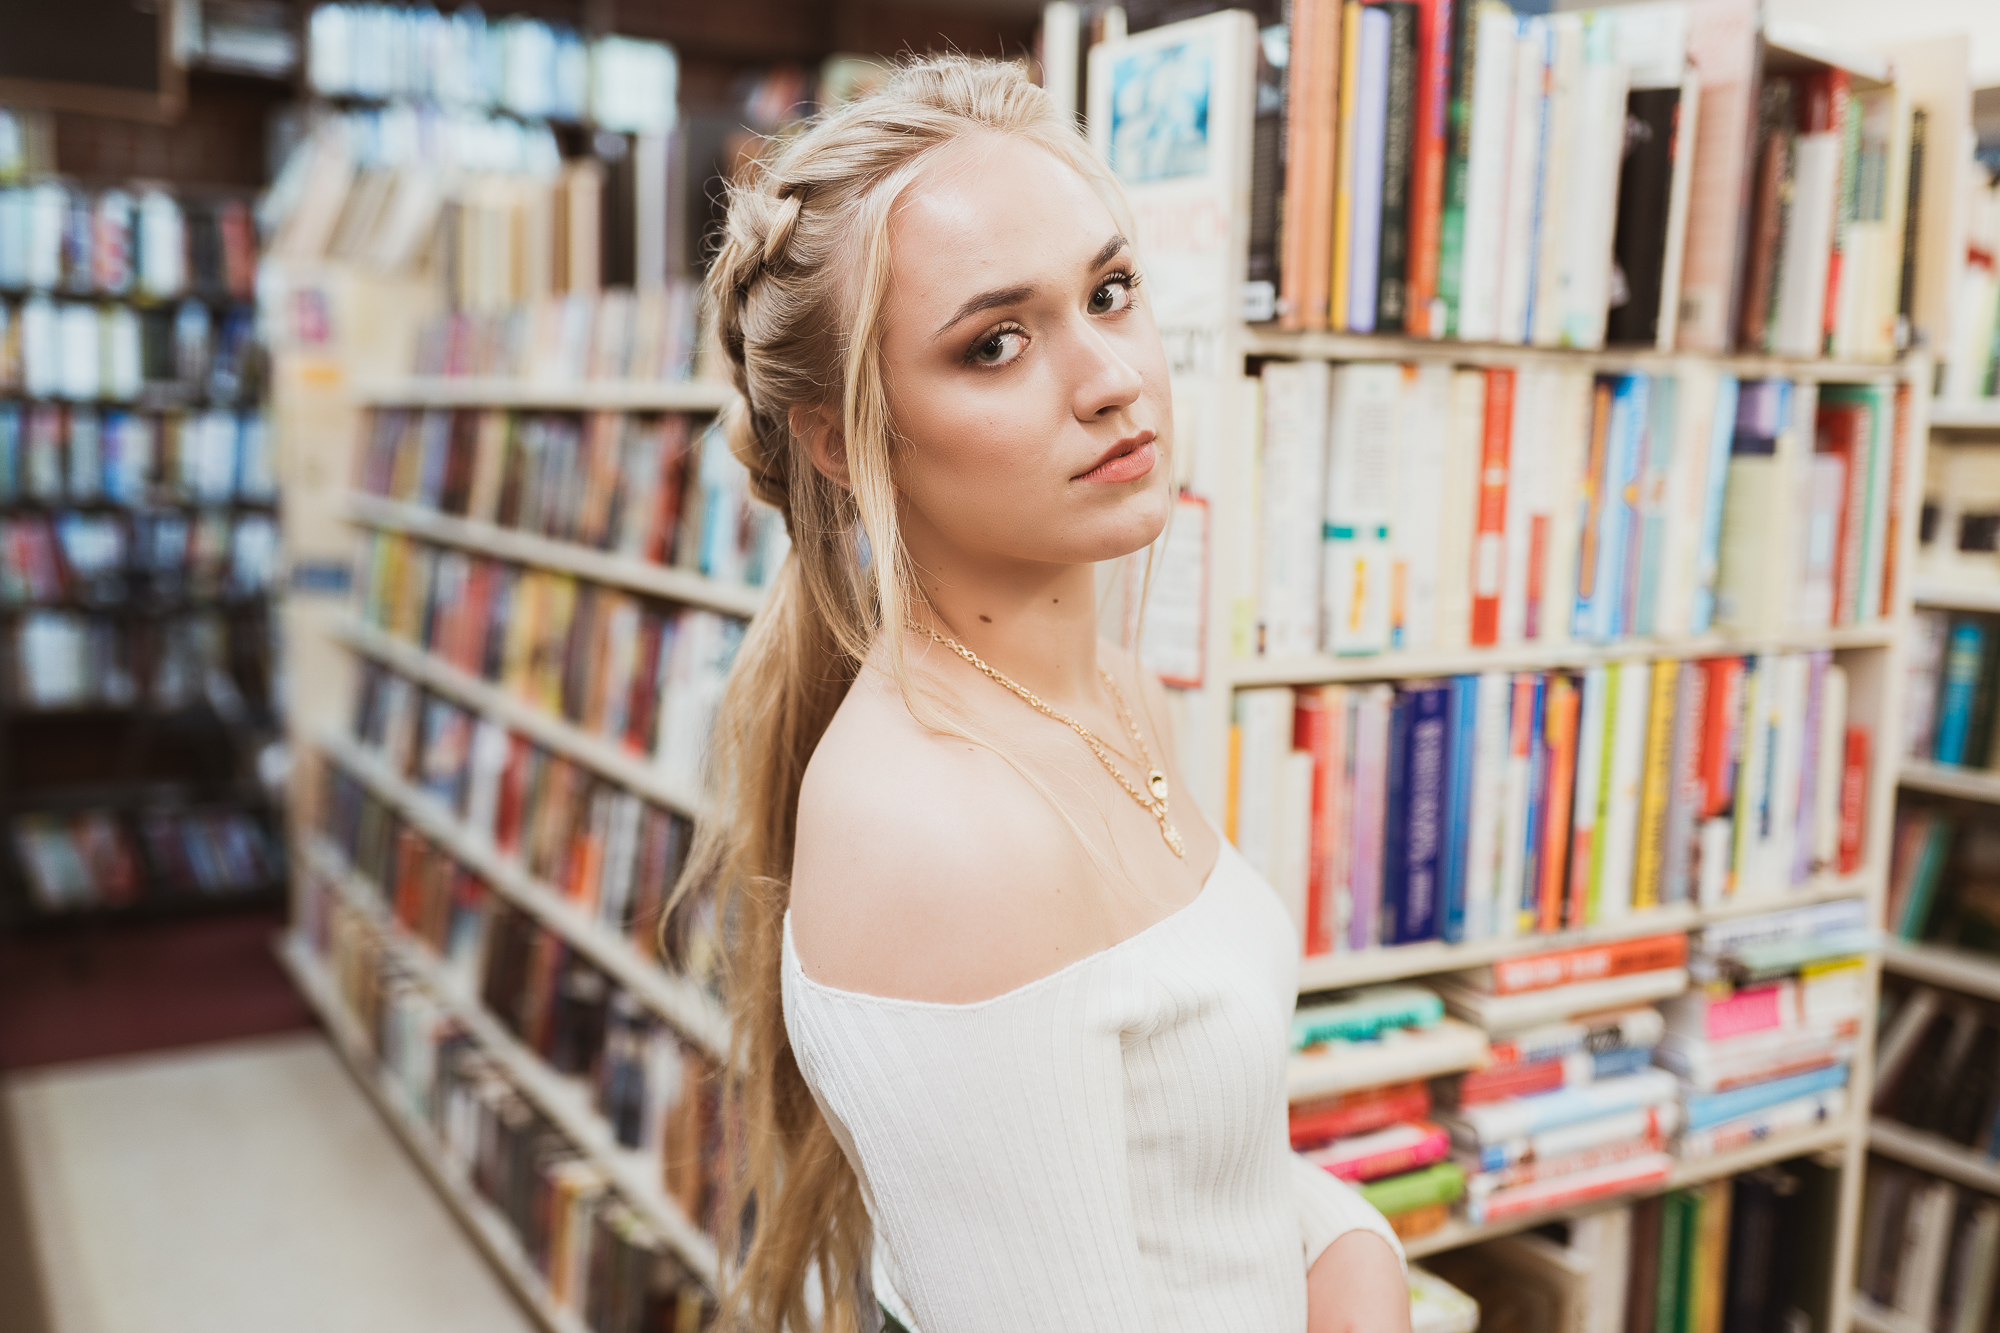
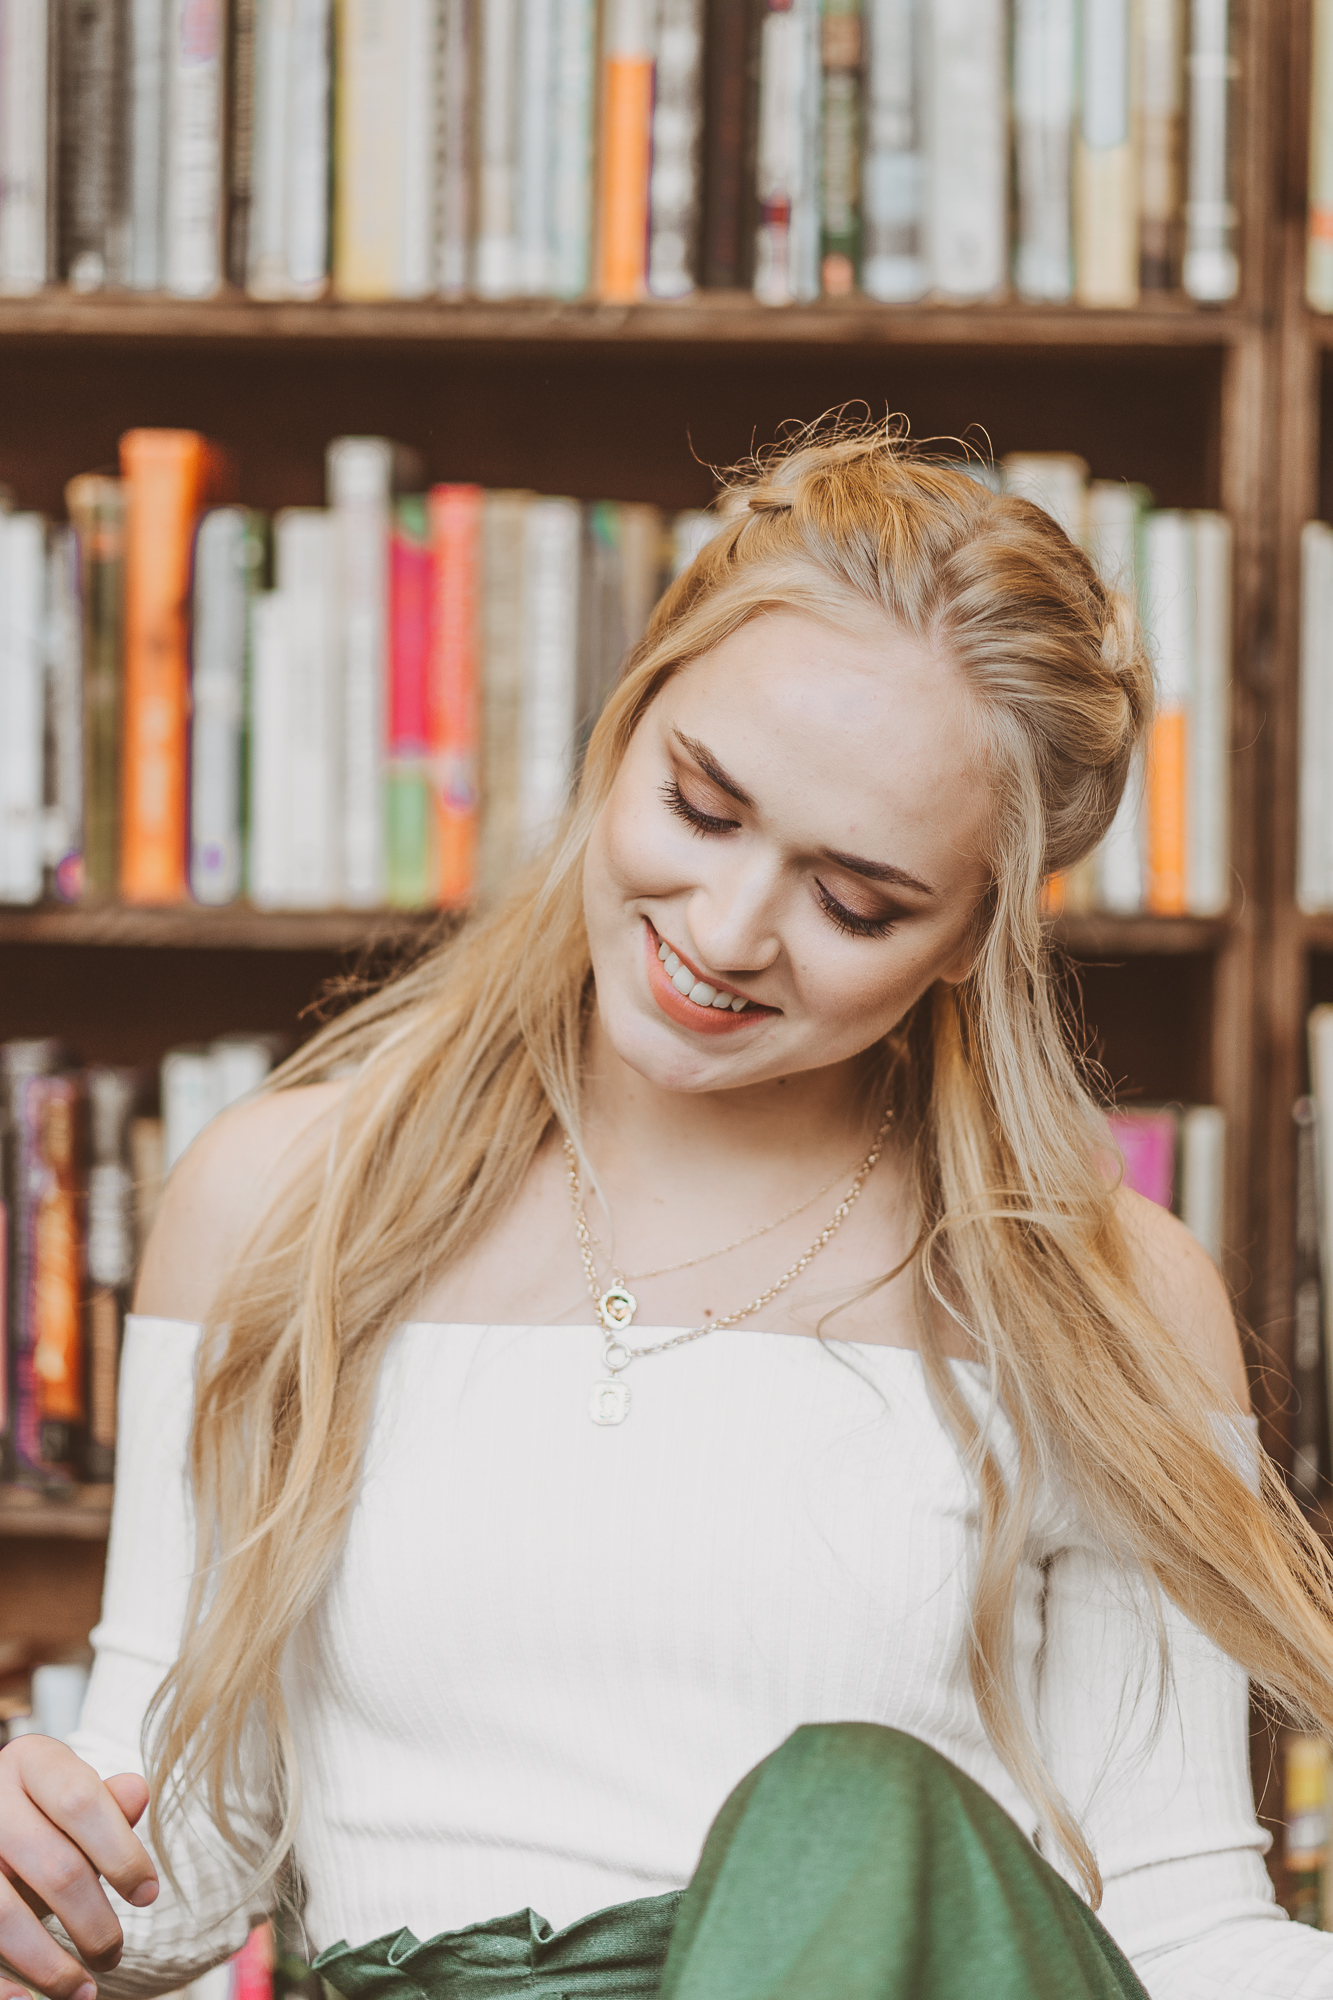
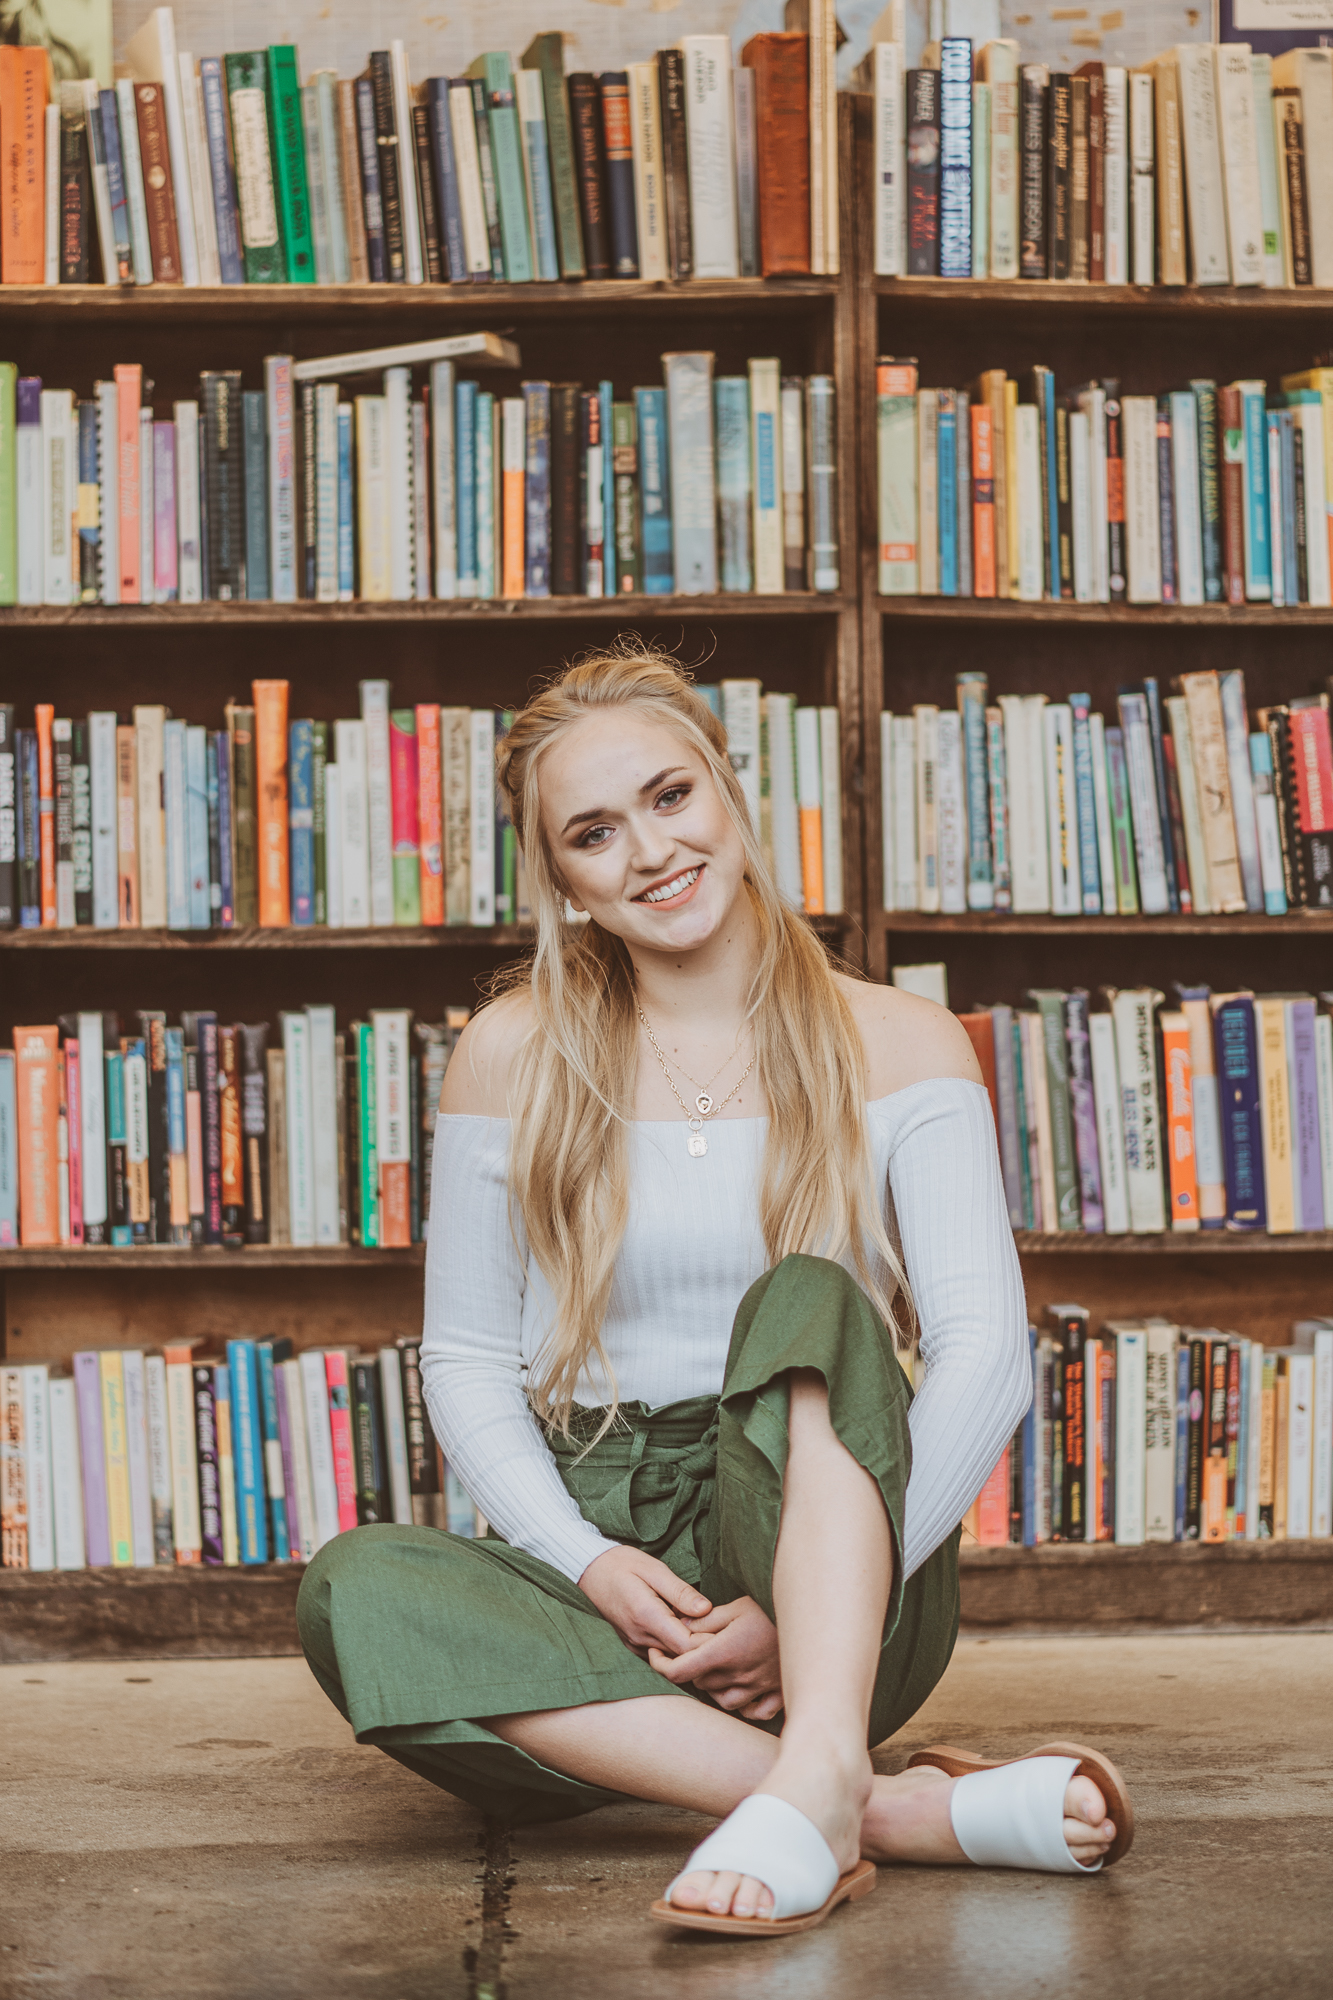
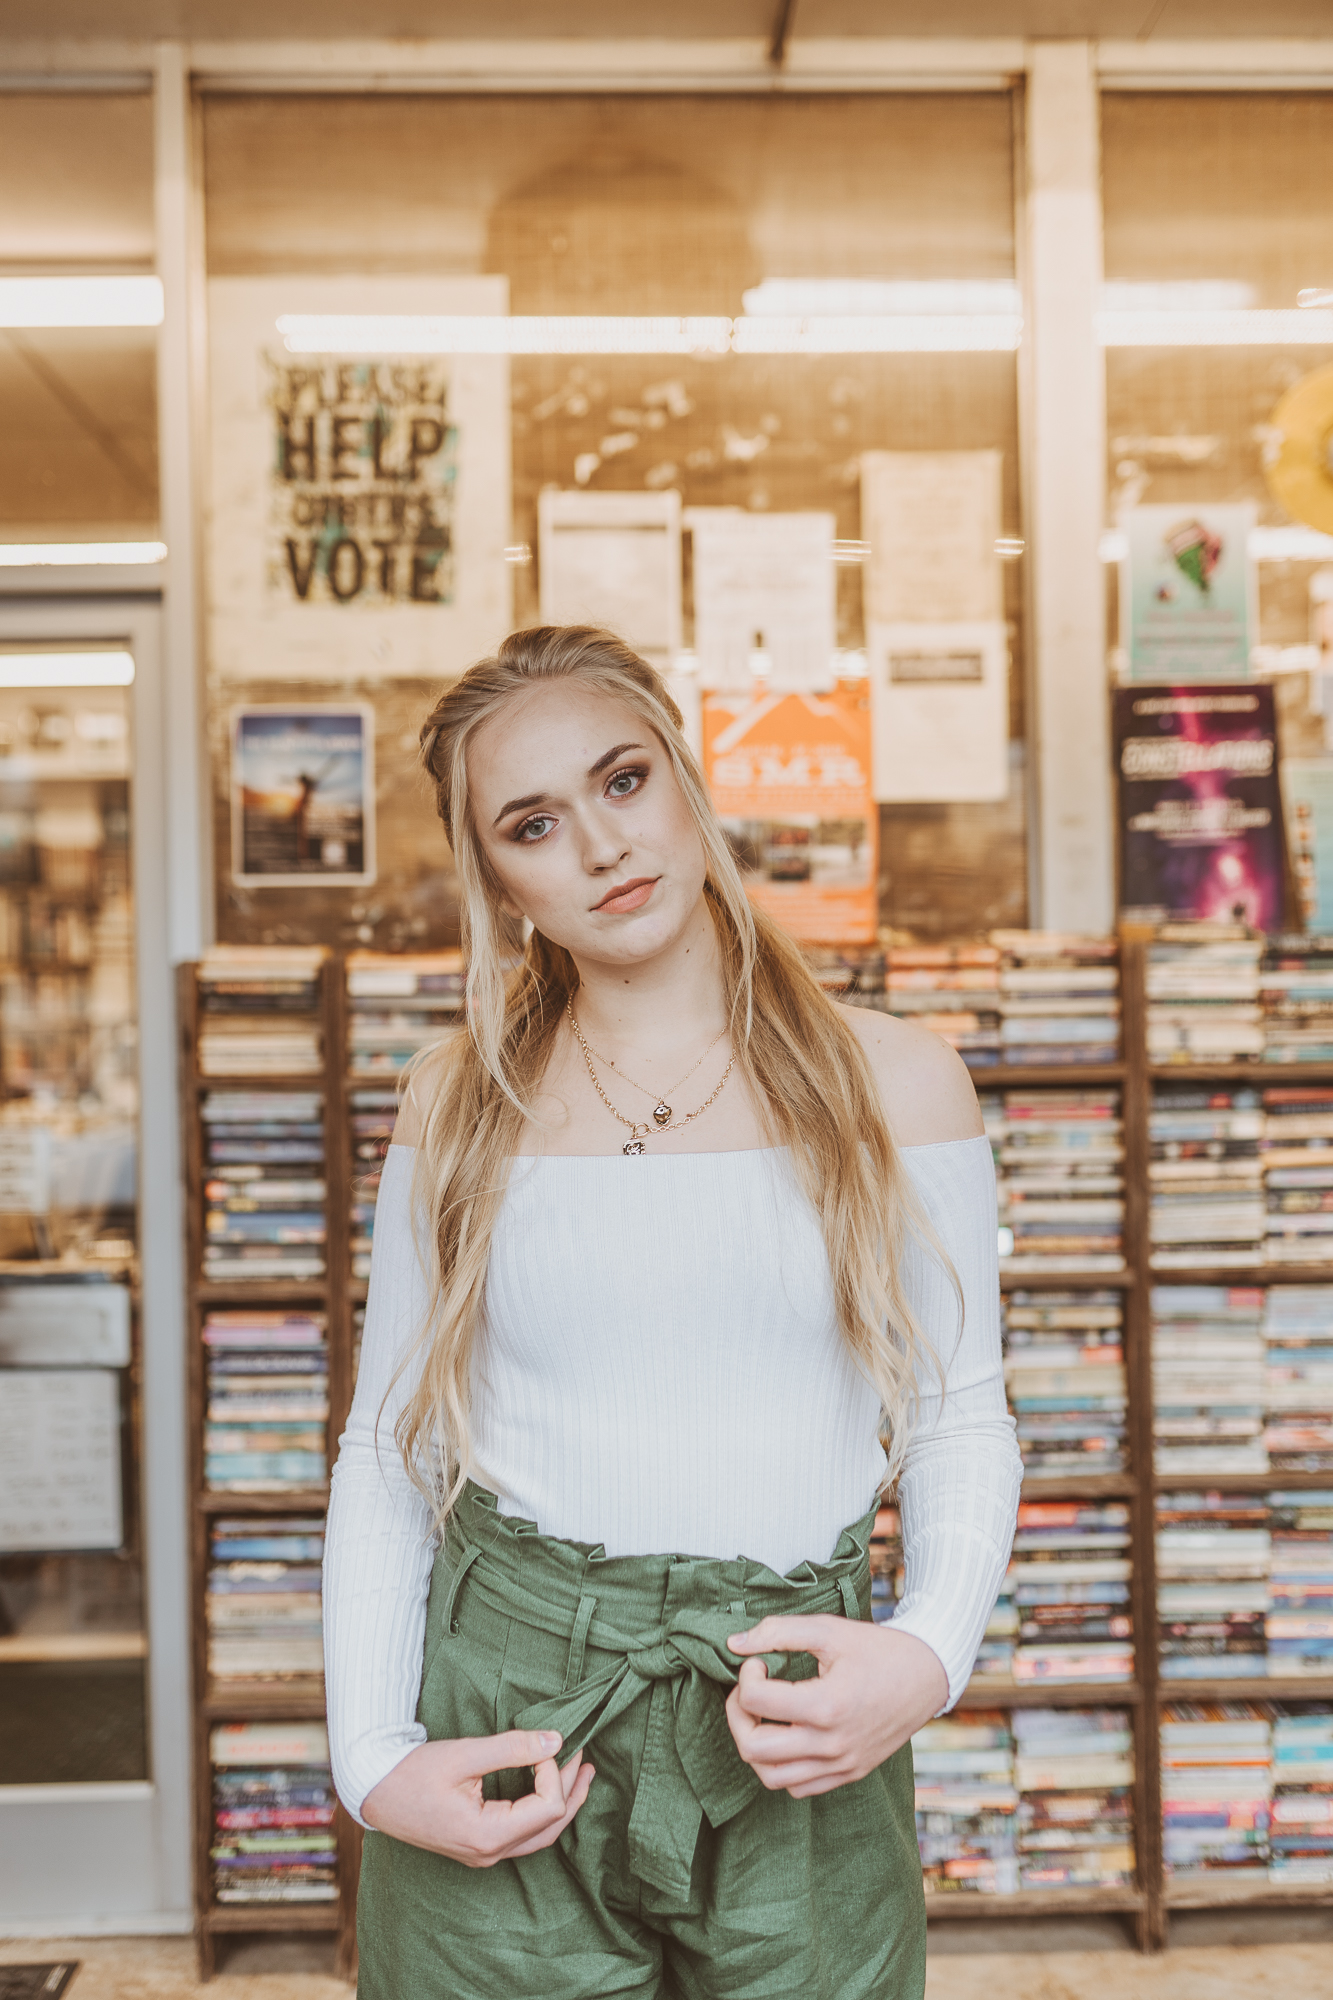
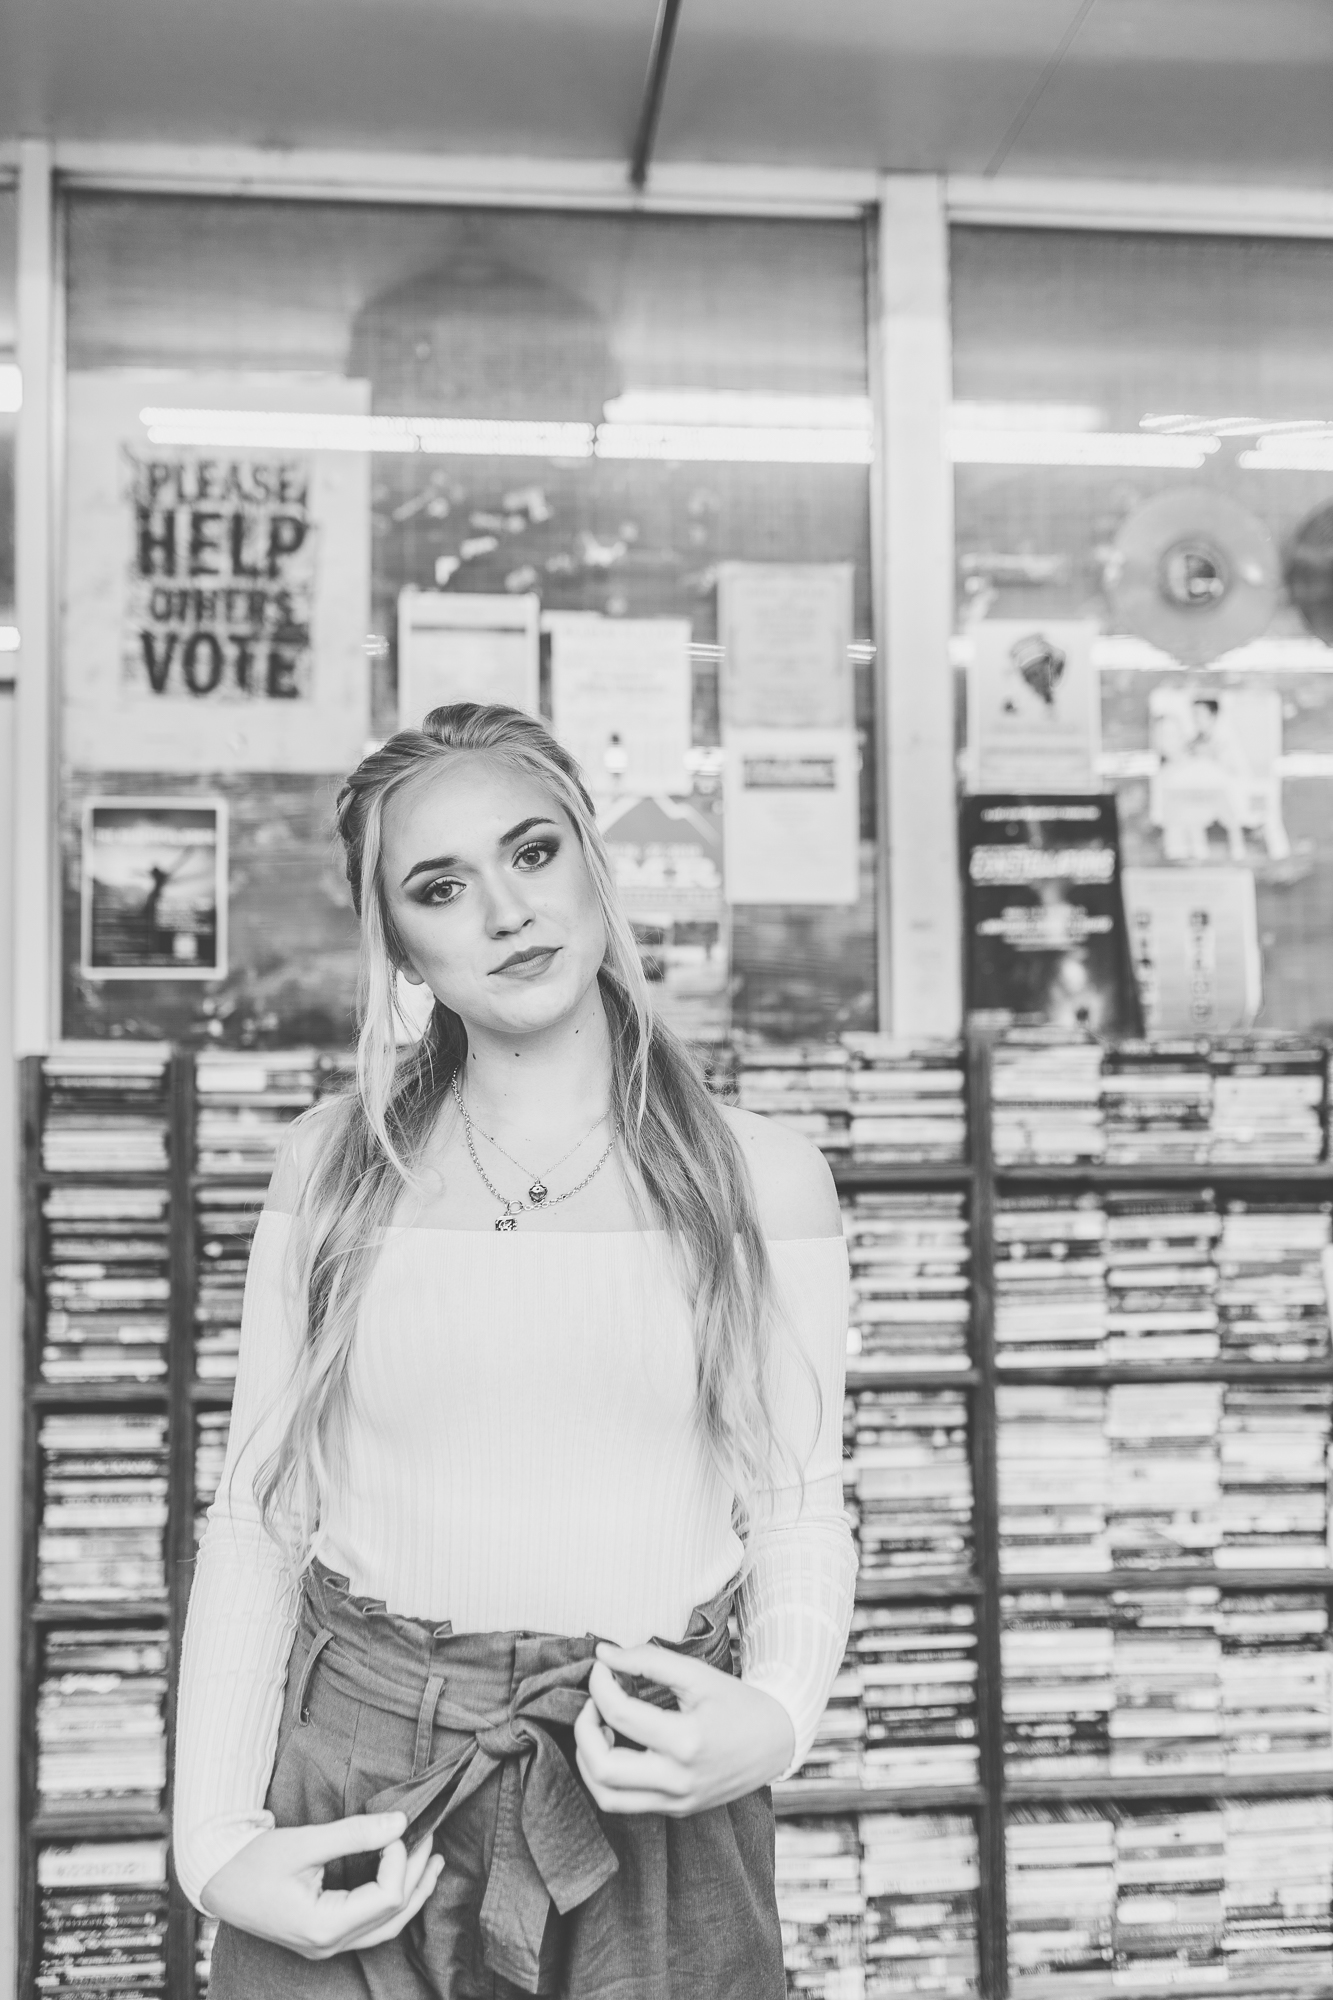
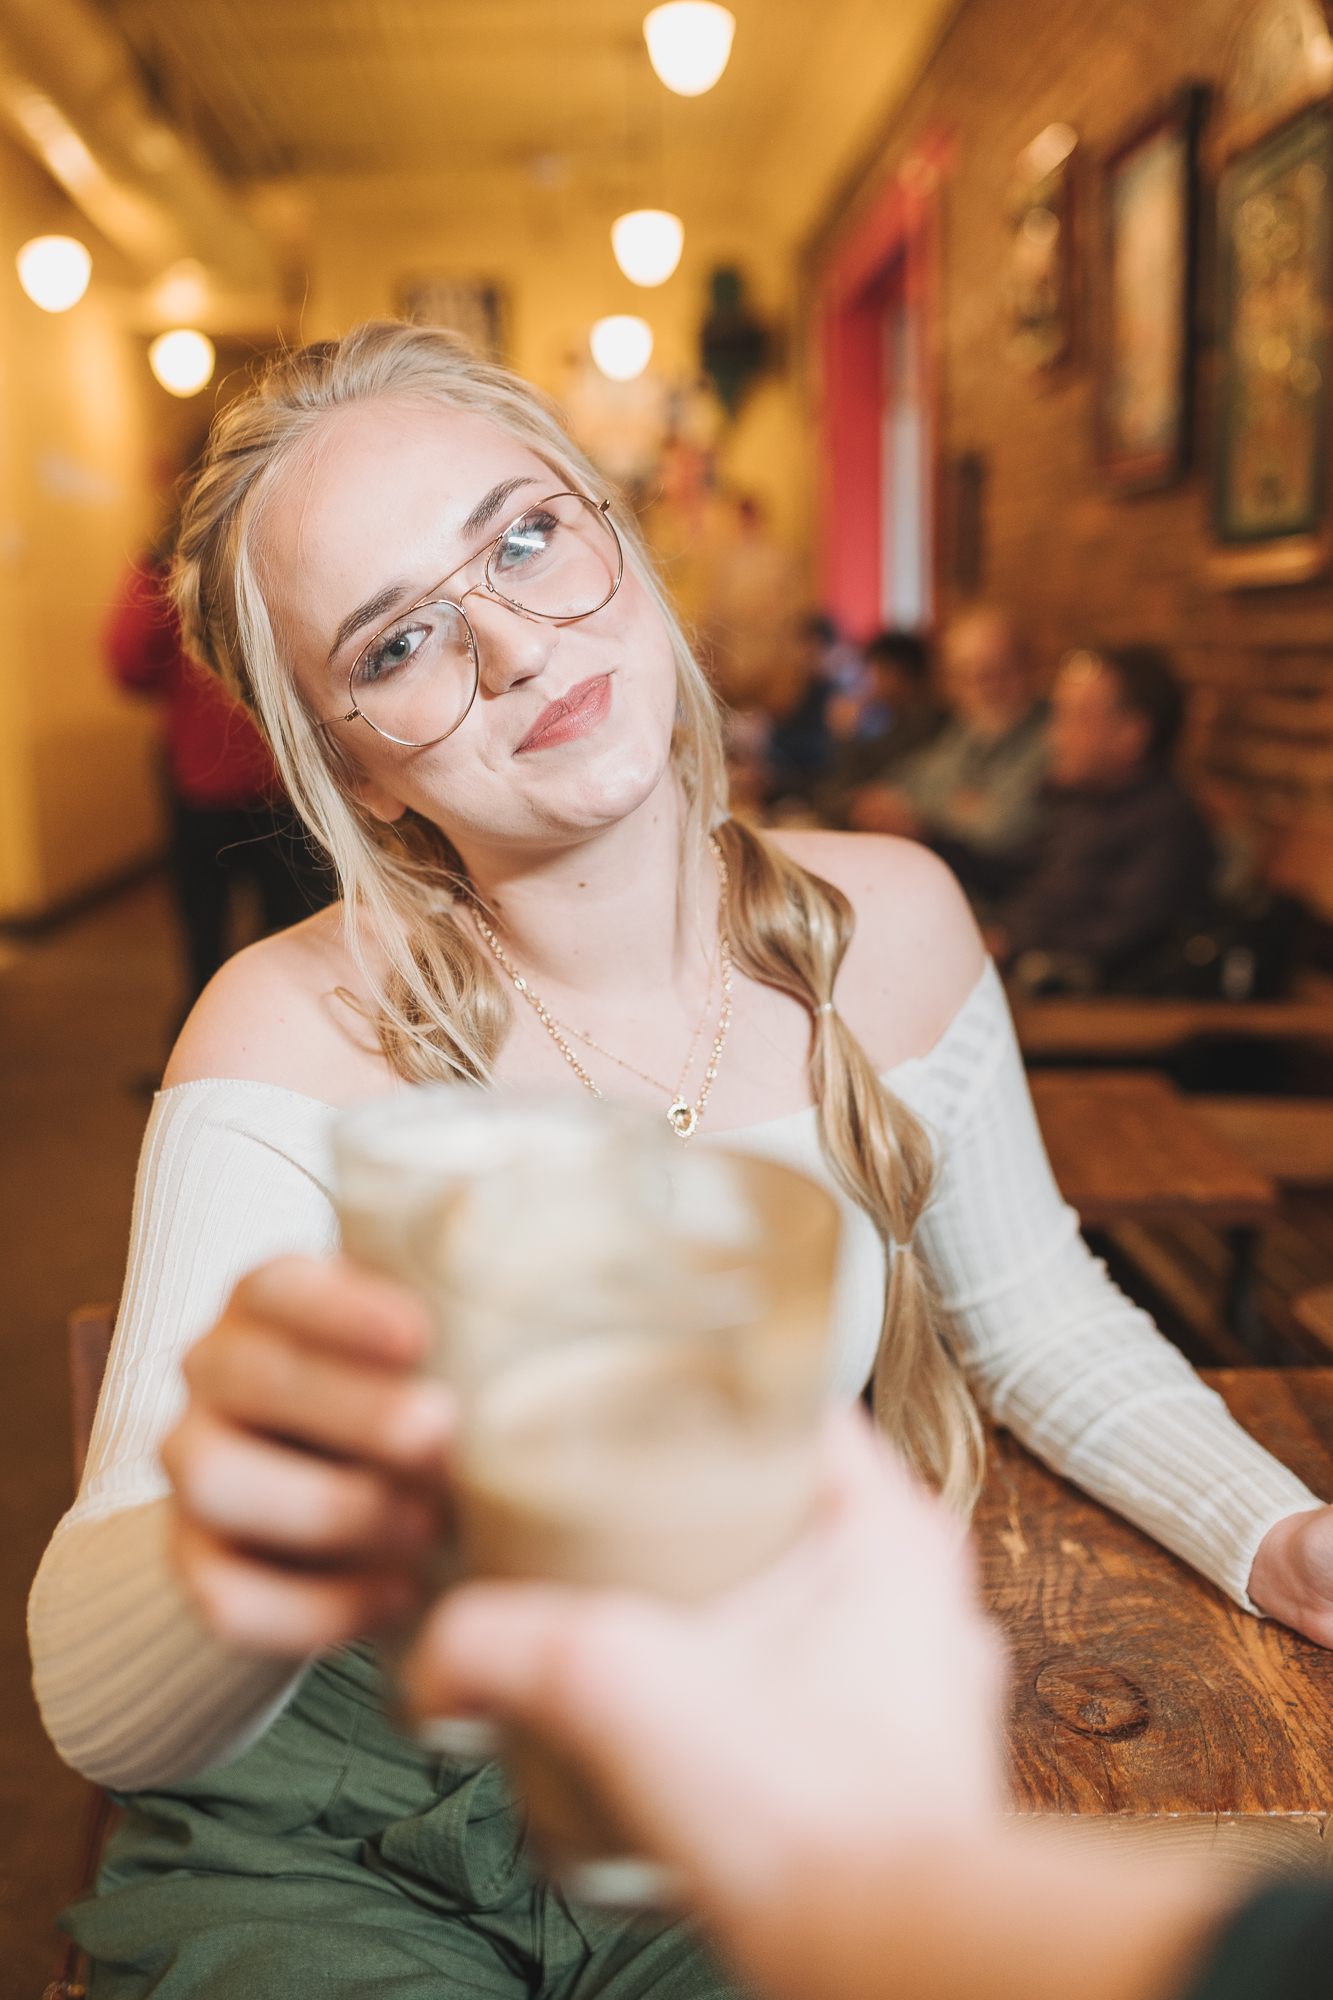
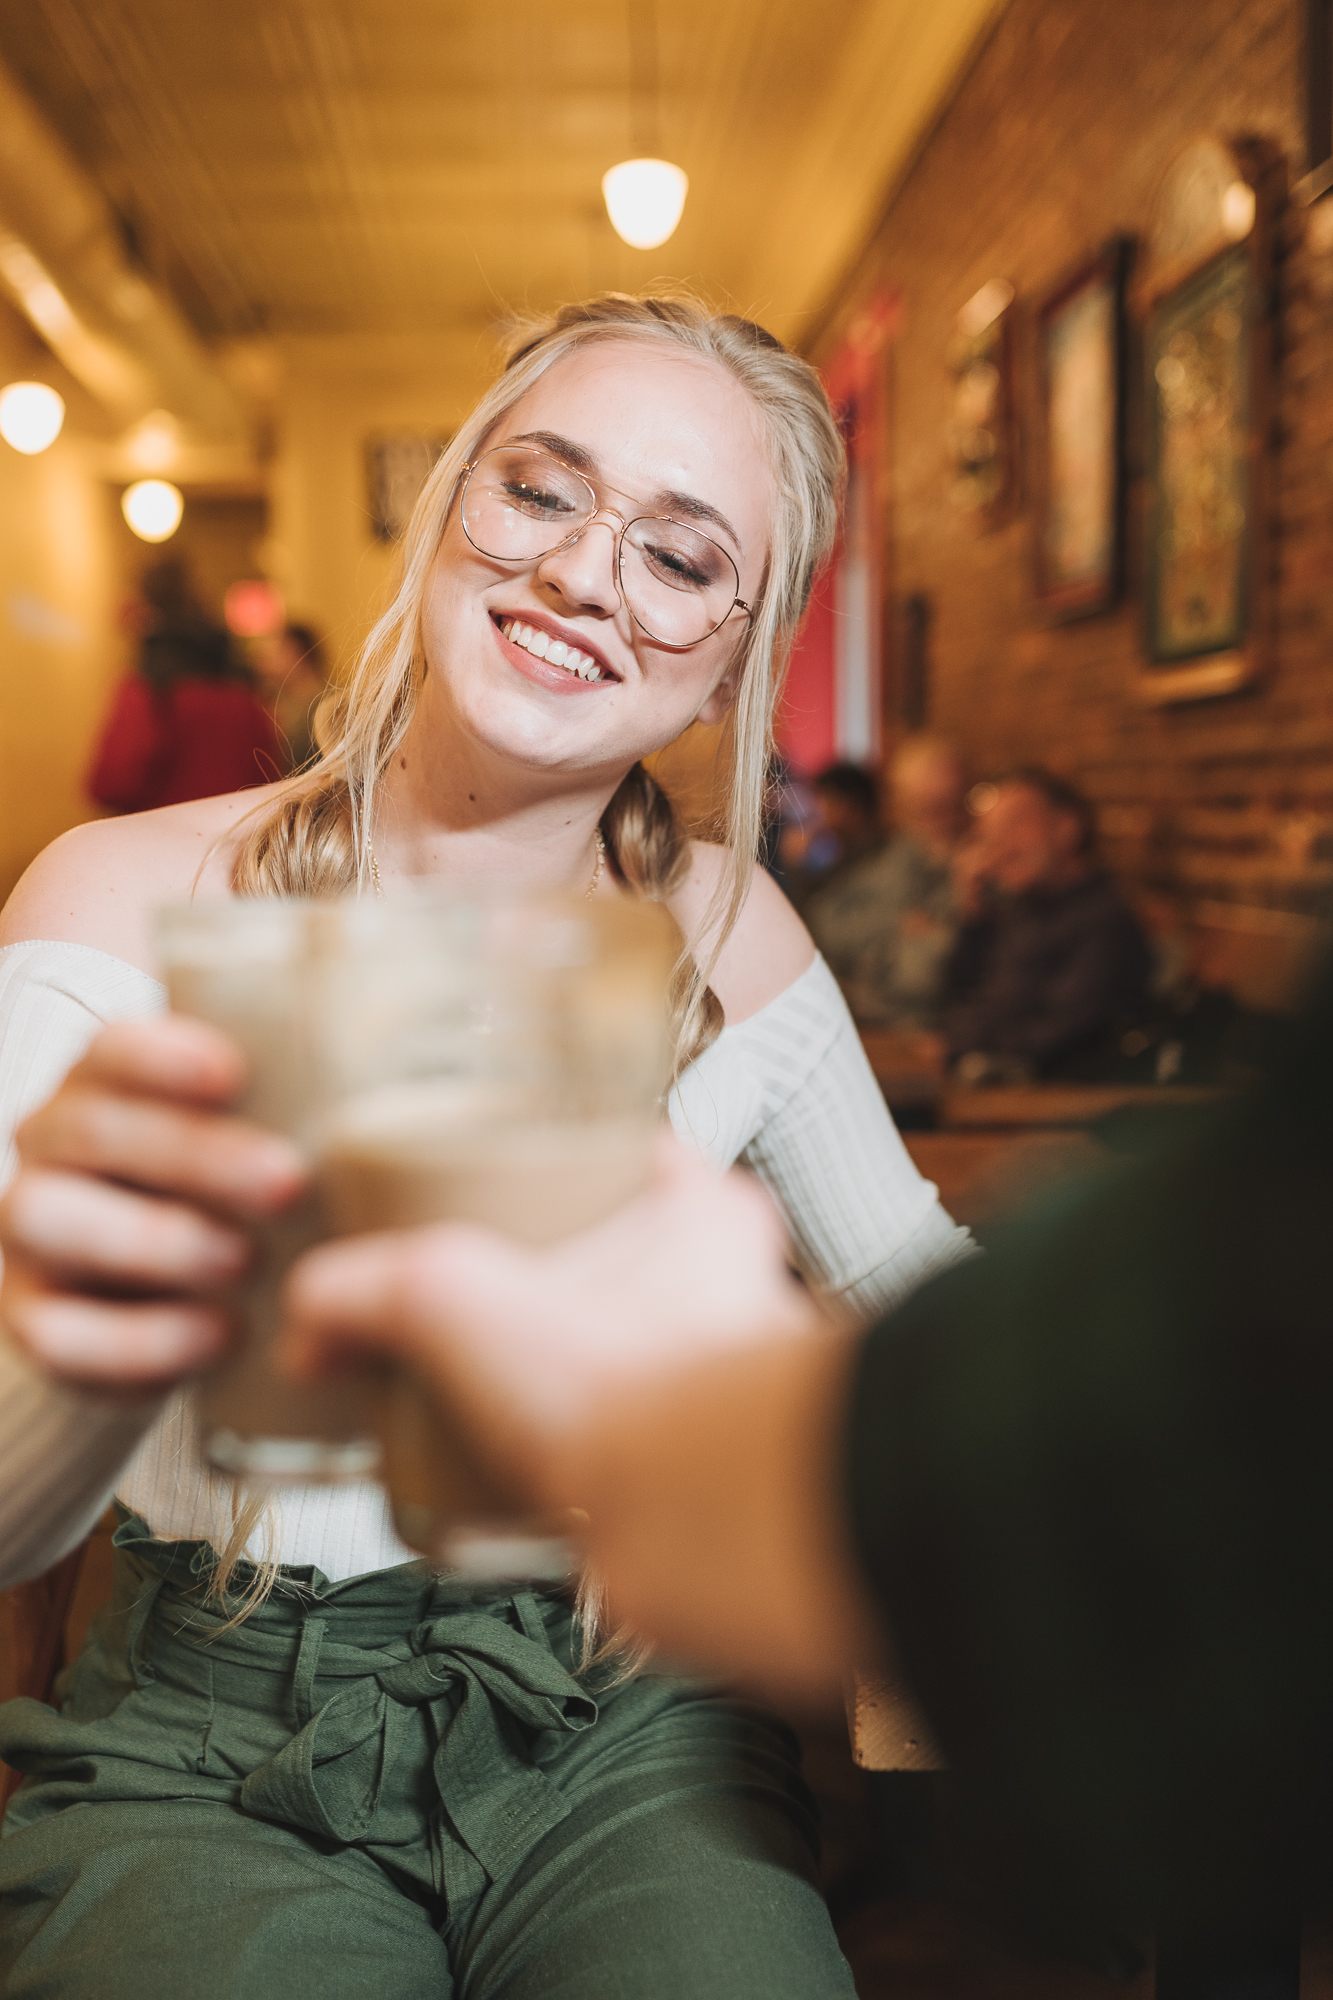
Happy Monday Babes! I am so excited to share THREE amazing hairstyles that you can incorporate into your Senior Session or even your everyday life. Styling is key to achieving amazing looks you want for your Senior Portrait Session. There are so many fun and cute hairstyles you can go for, really it’s just about finding what makes you feel confident and beautiful. Selah, our Hair and Makeup Artist is a real life girl boss that owns her own Hair and Makeup business, and today she is sharing her secrets for creating these stunning looks. These hairstyles were SO fun to shoot and really made our model Emma stand out in each location. Let us know what you think and if you try it… and if you do, TAG US cause we’d love to see!
Special thanks to Swoon Boutique for providing us with such a cute wardrobe! Make sure to check them out!

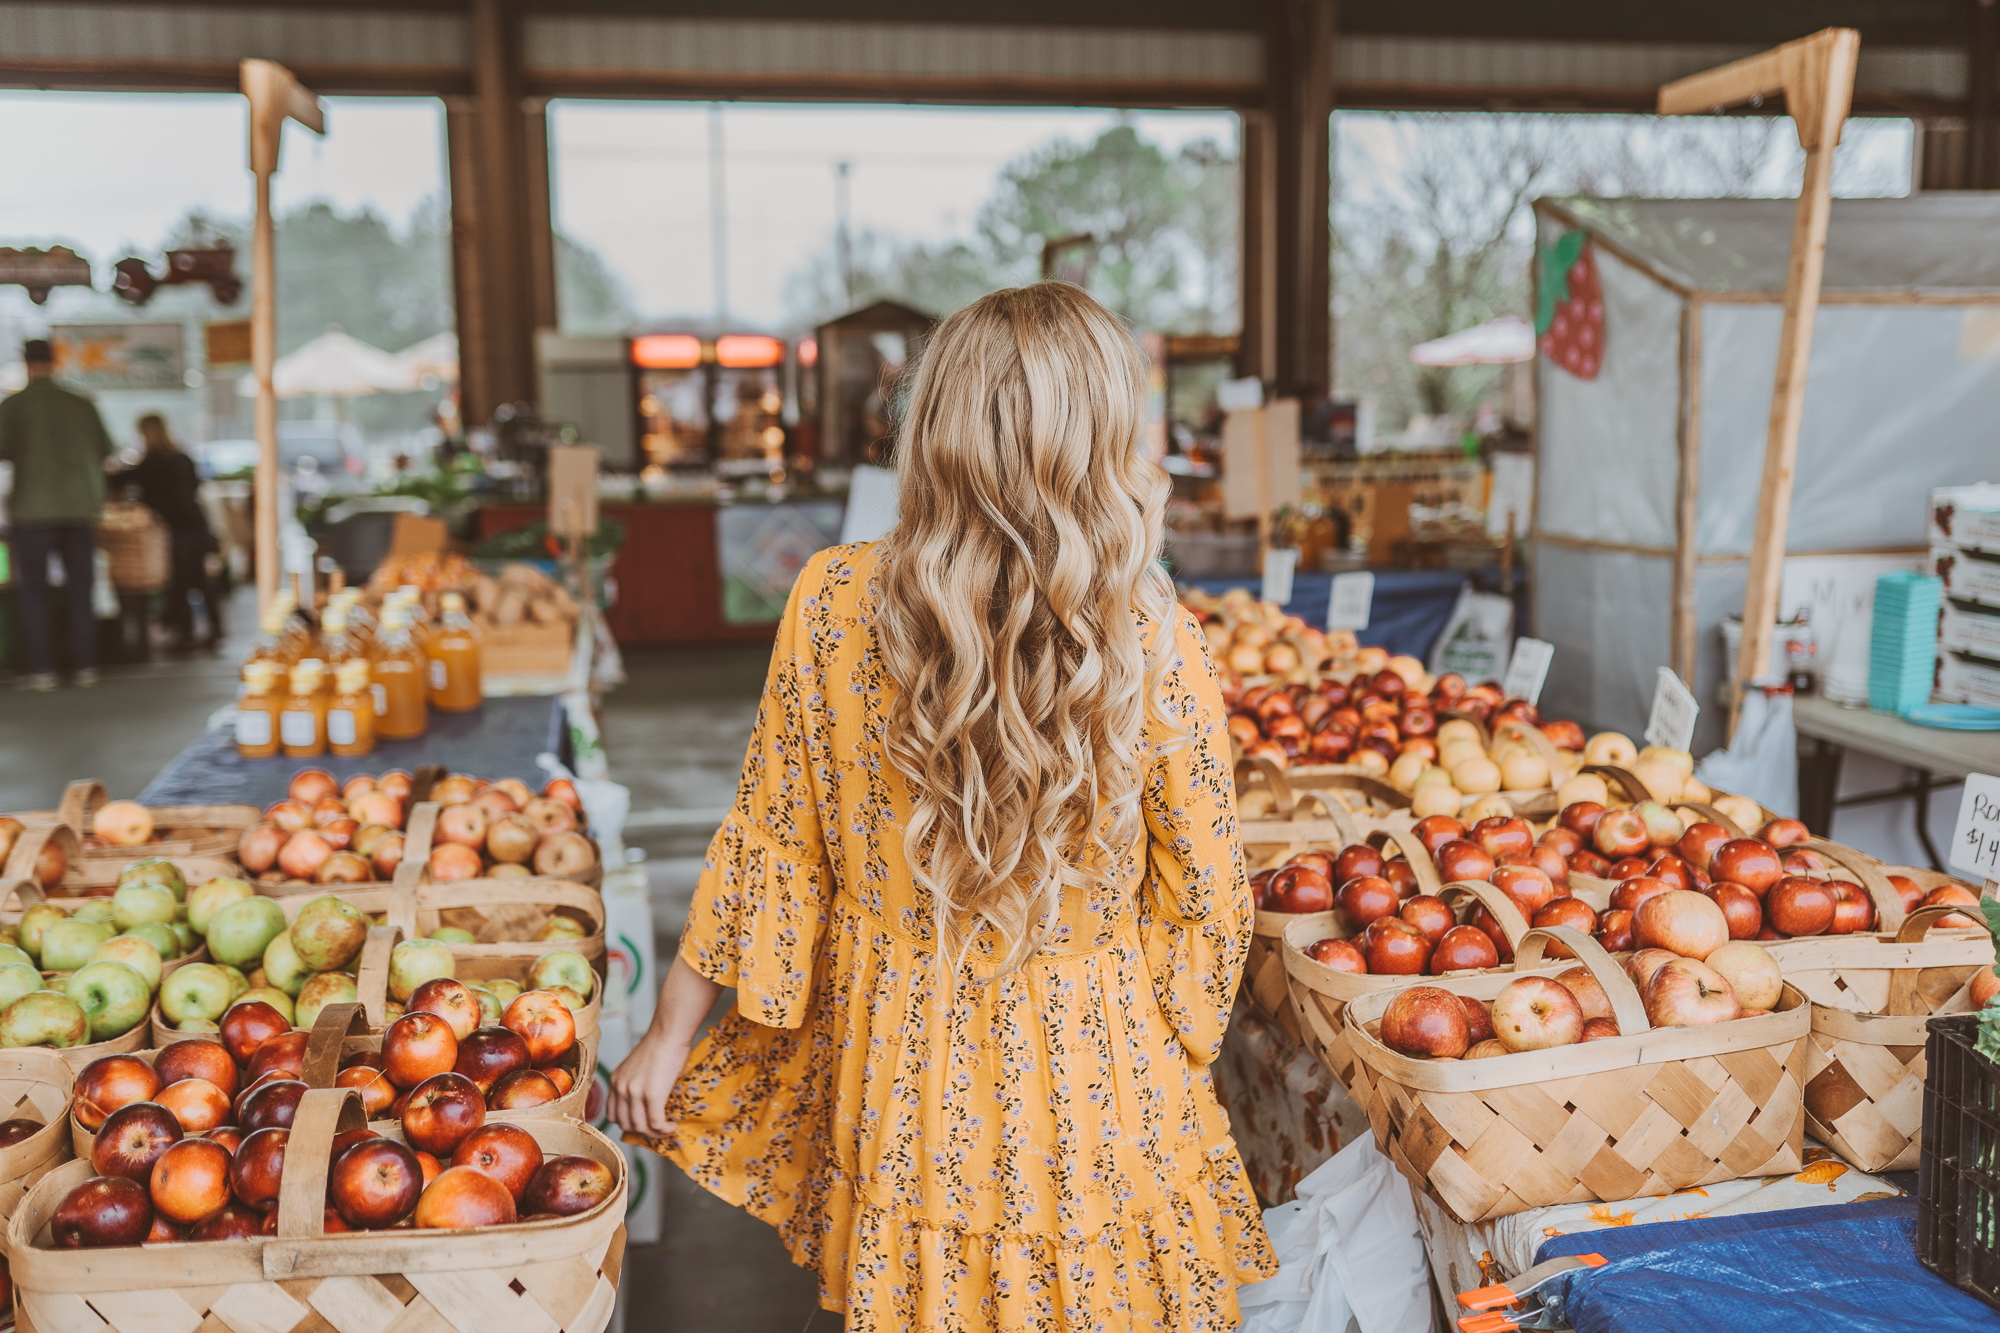
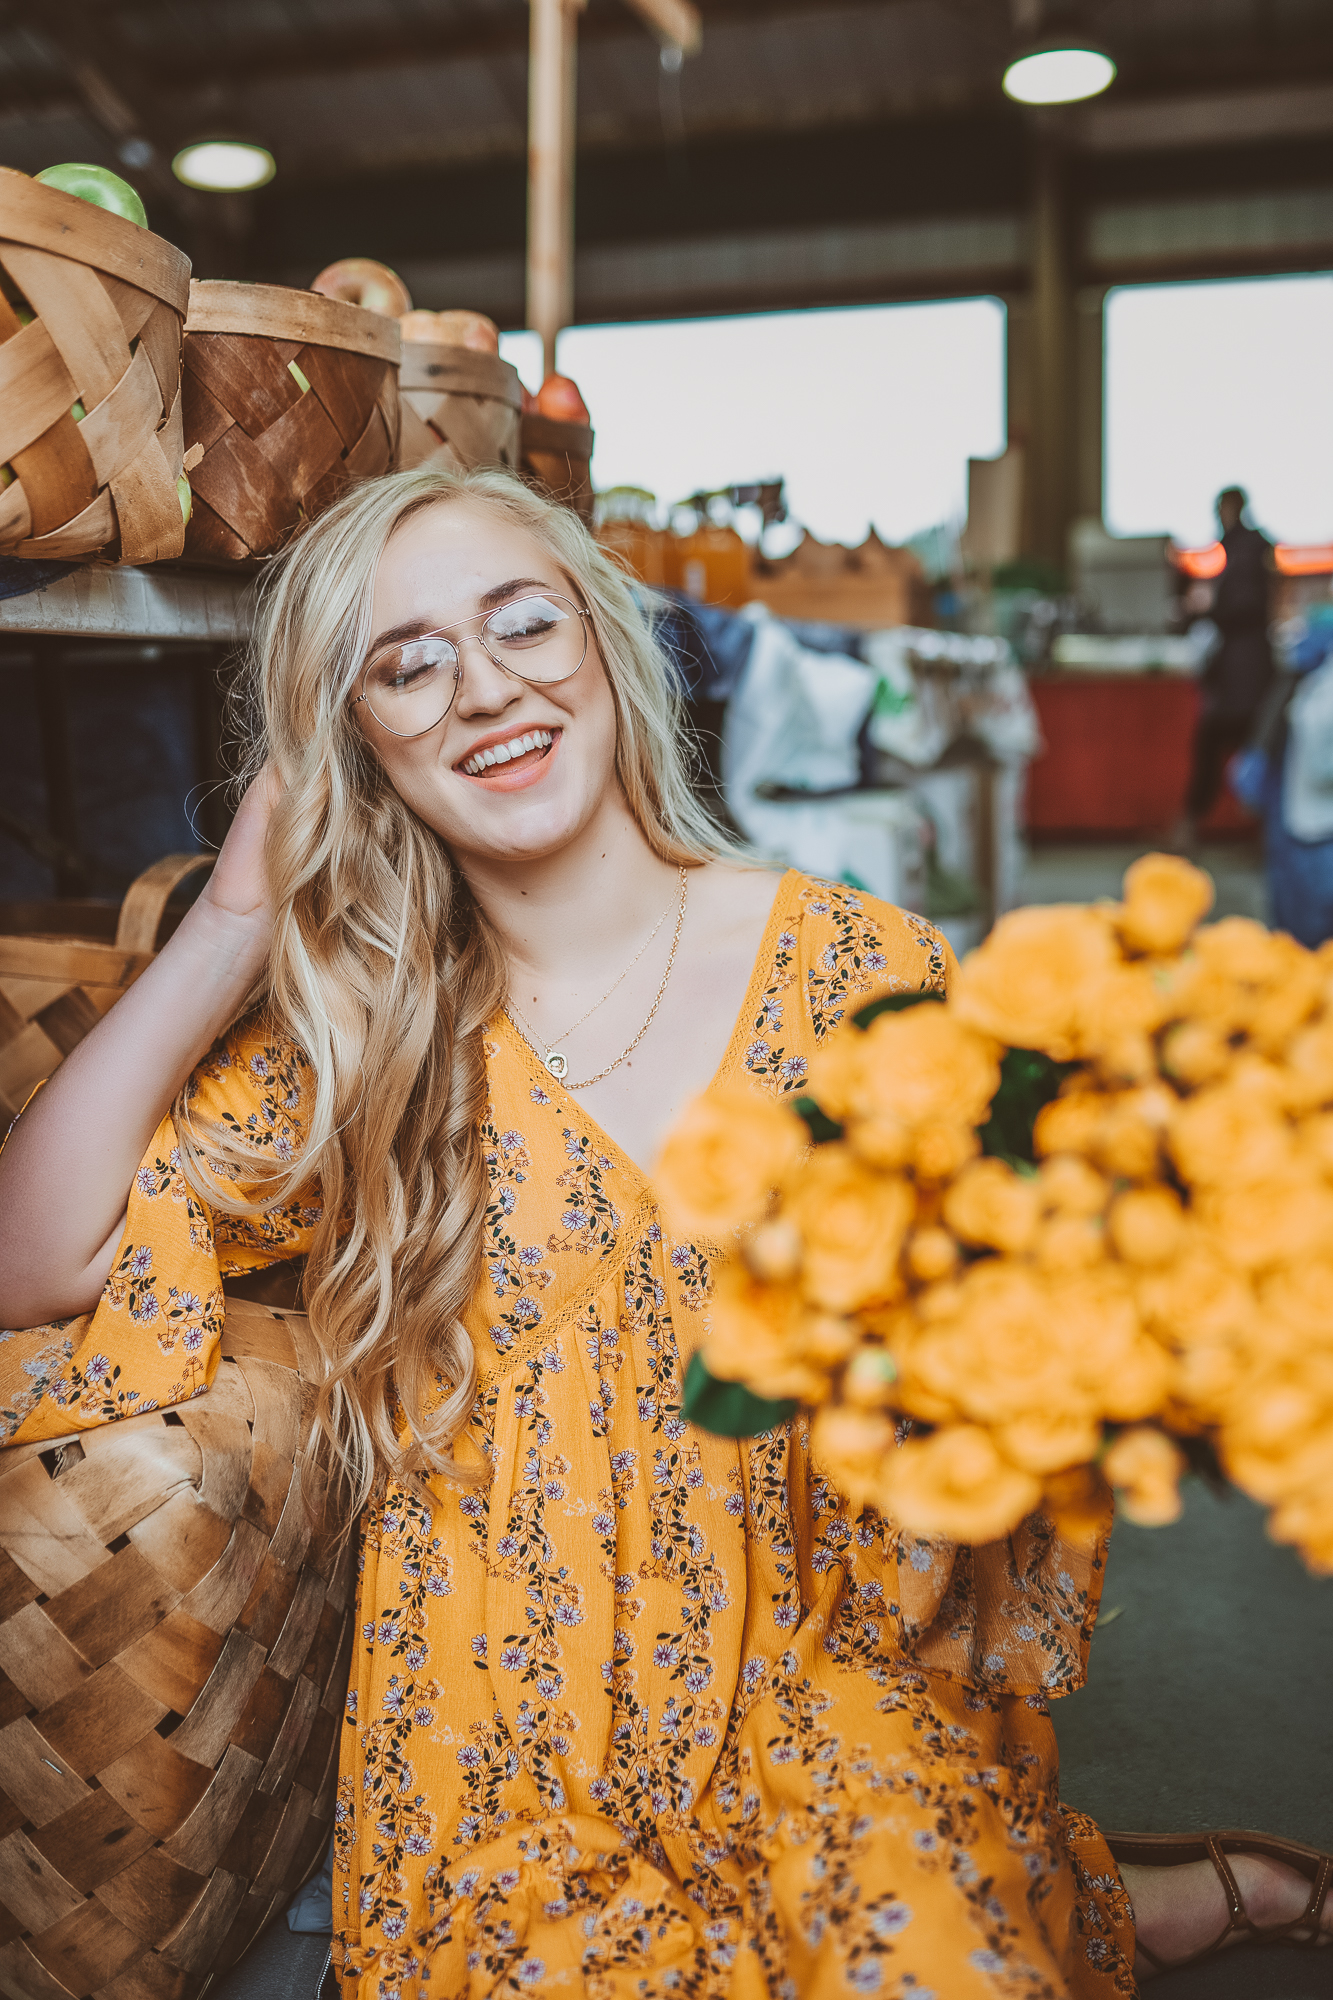
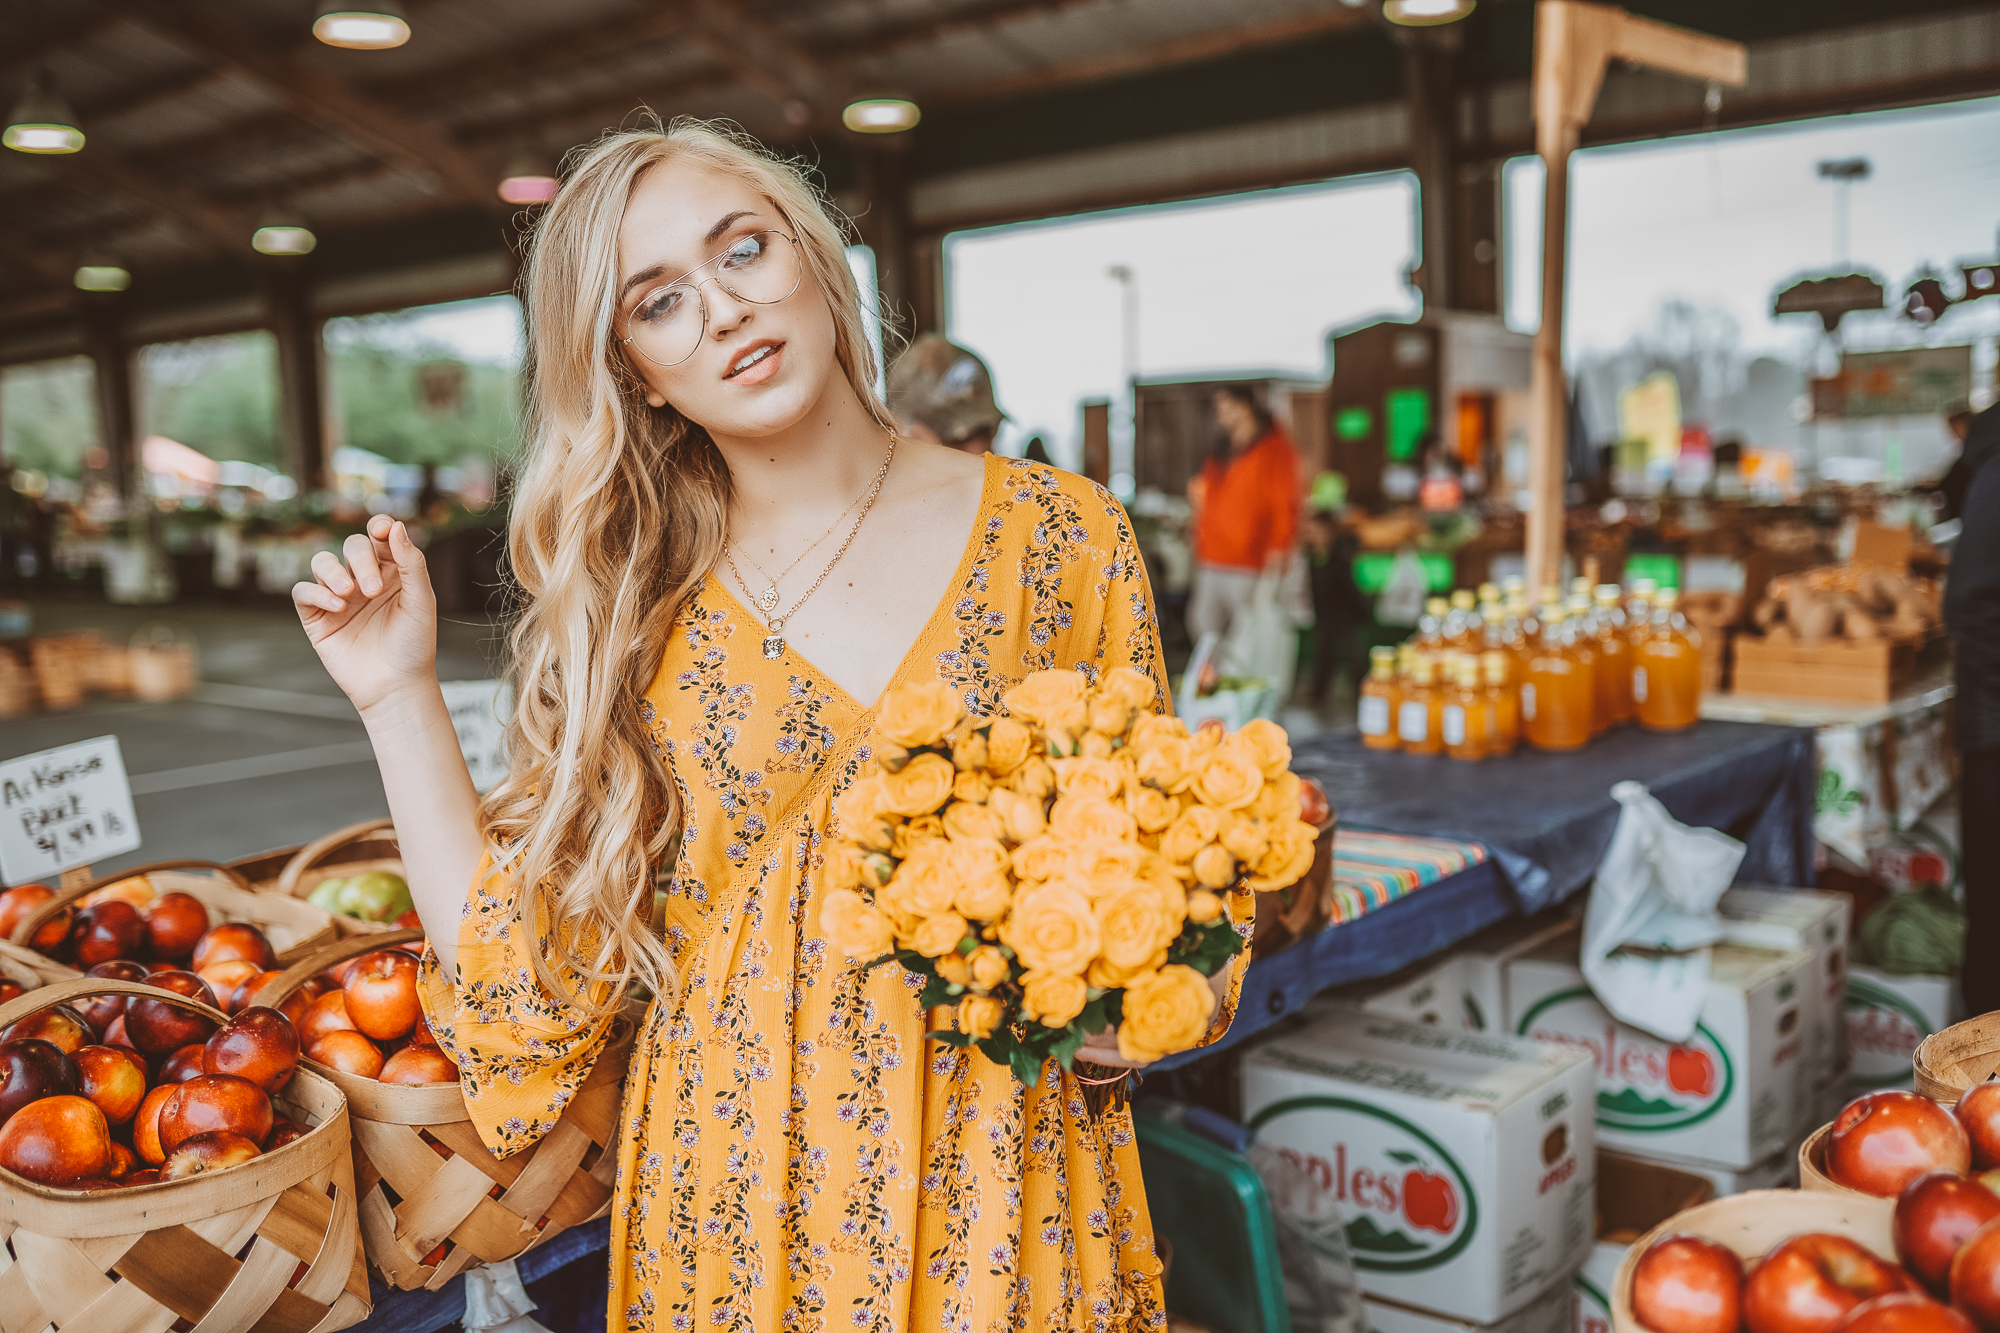
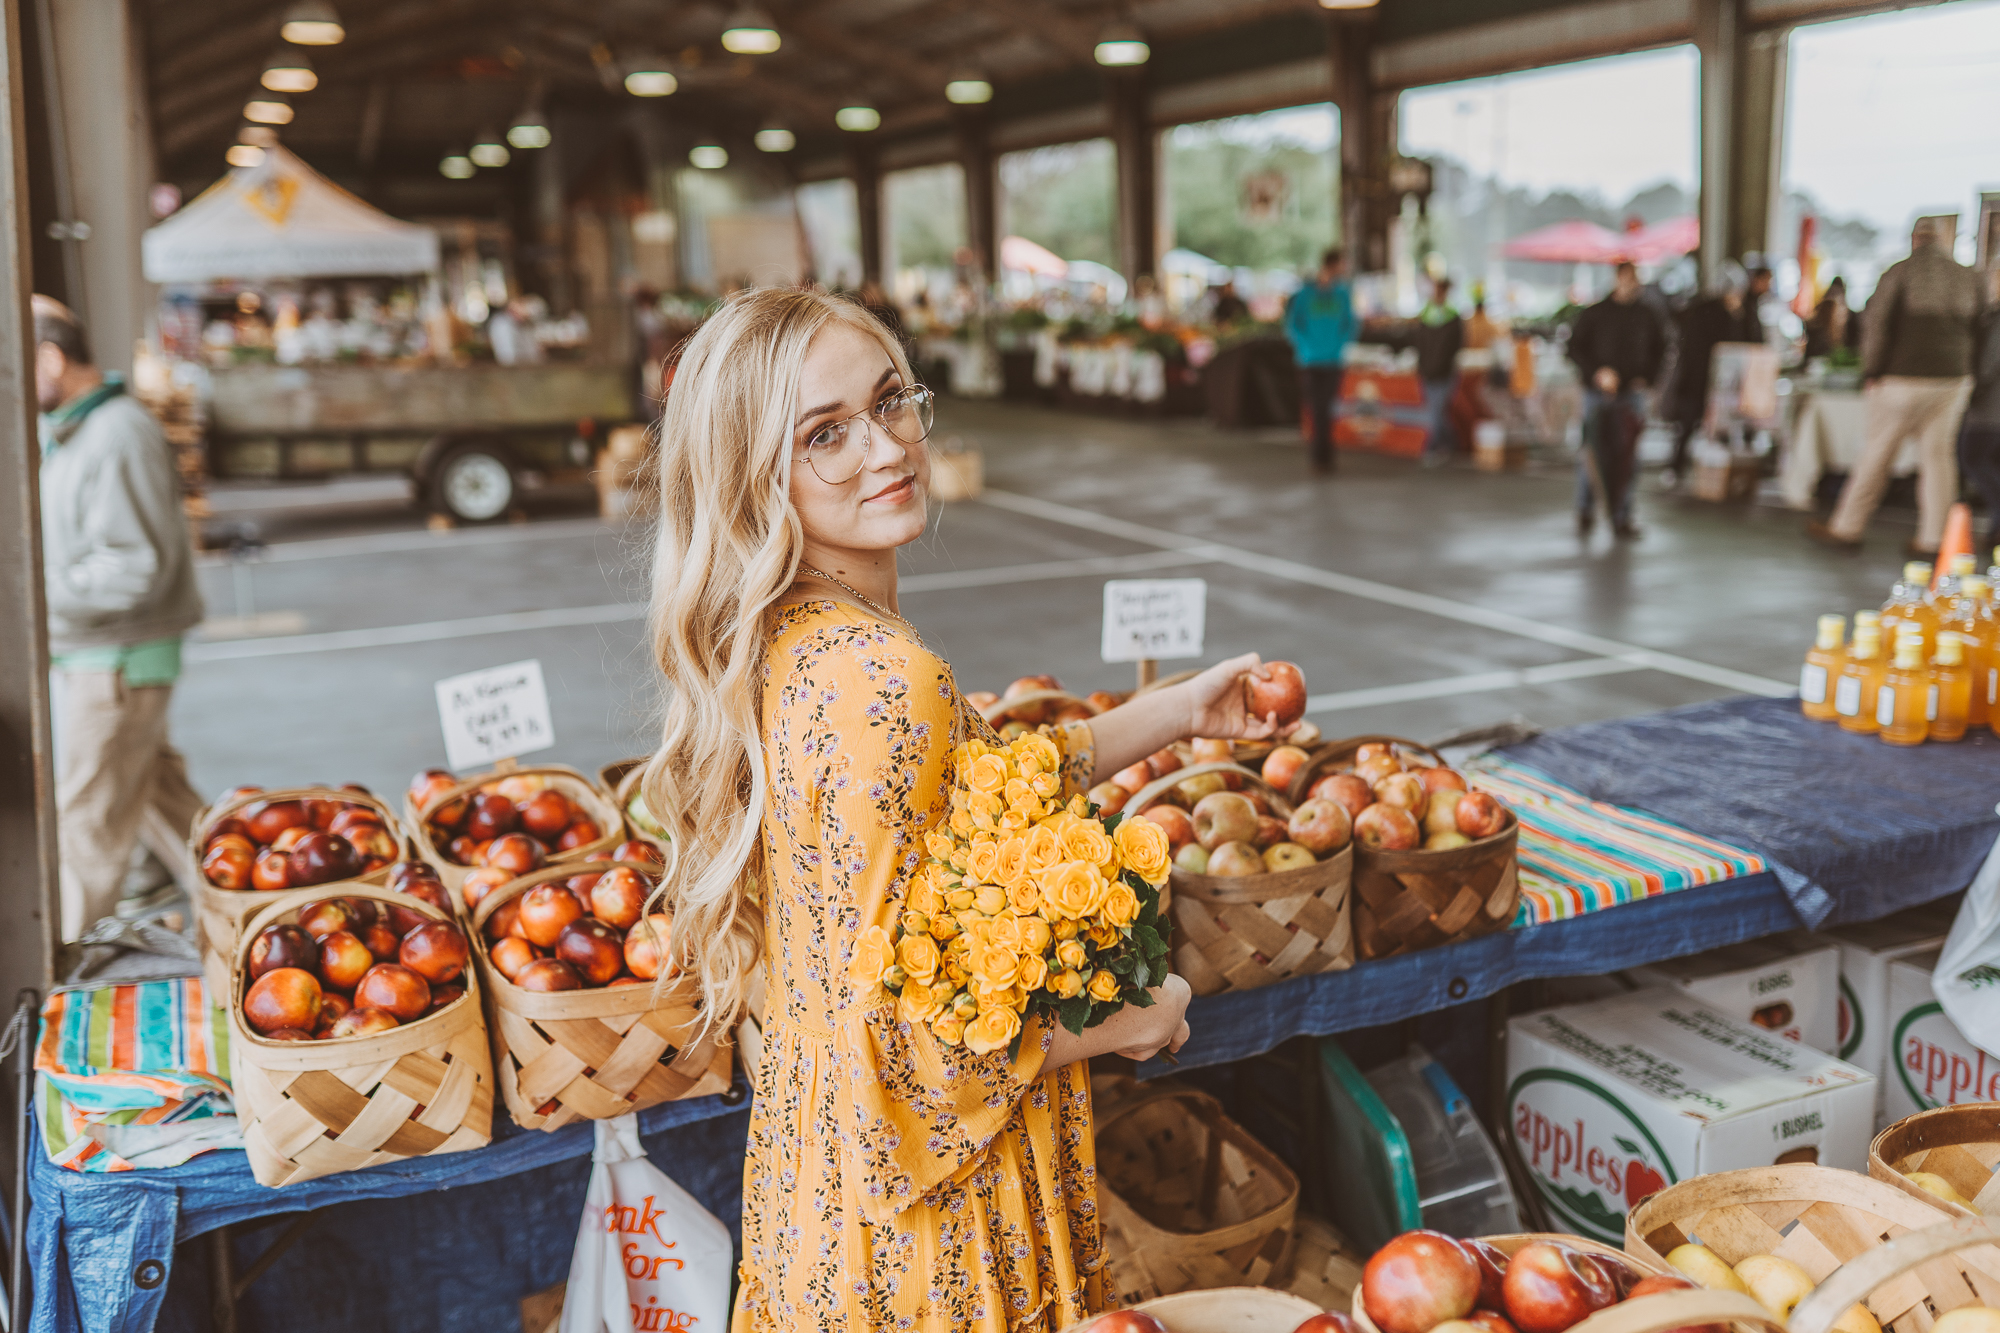
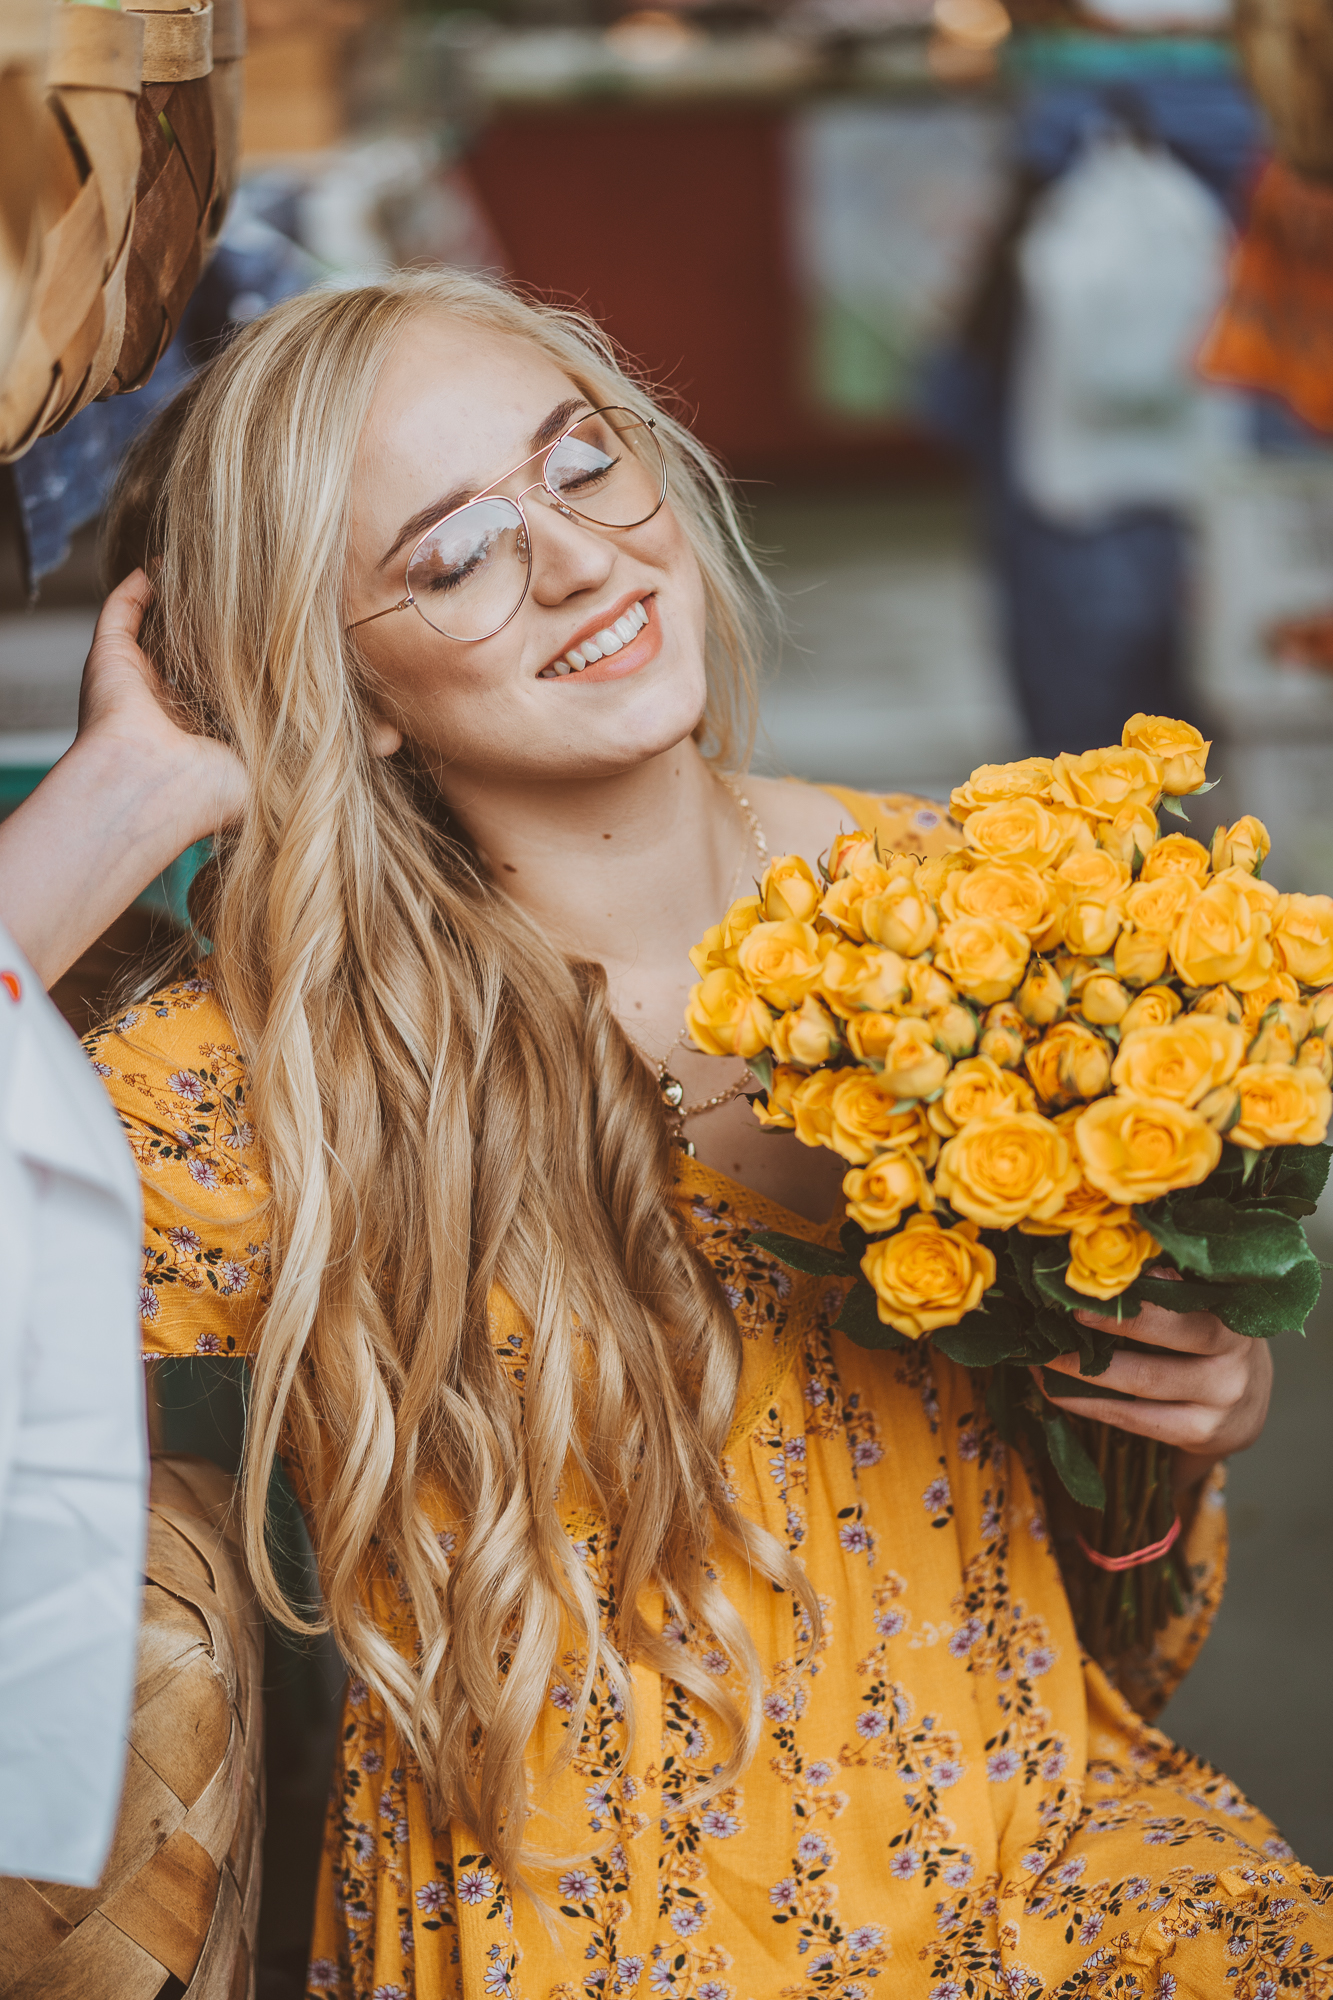
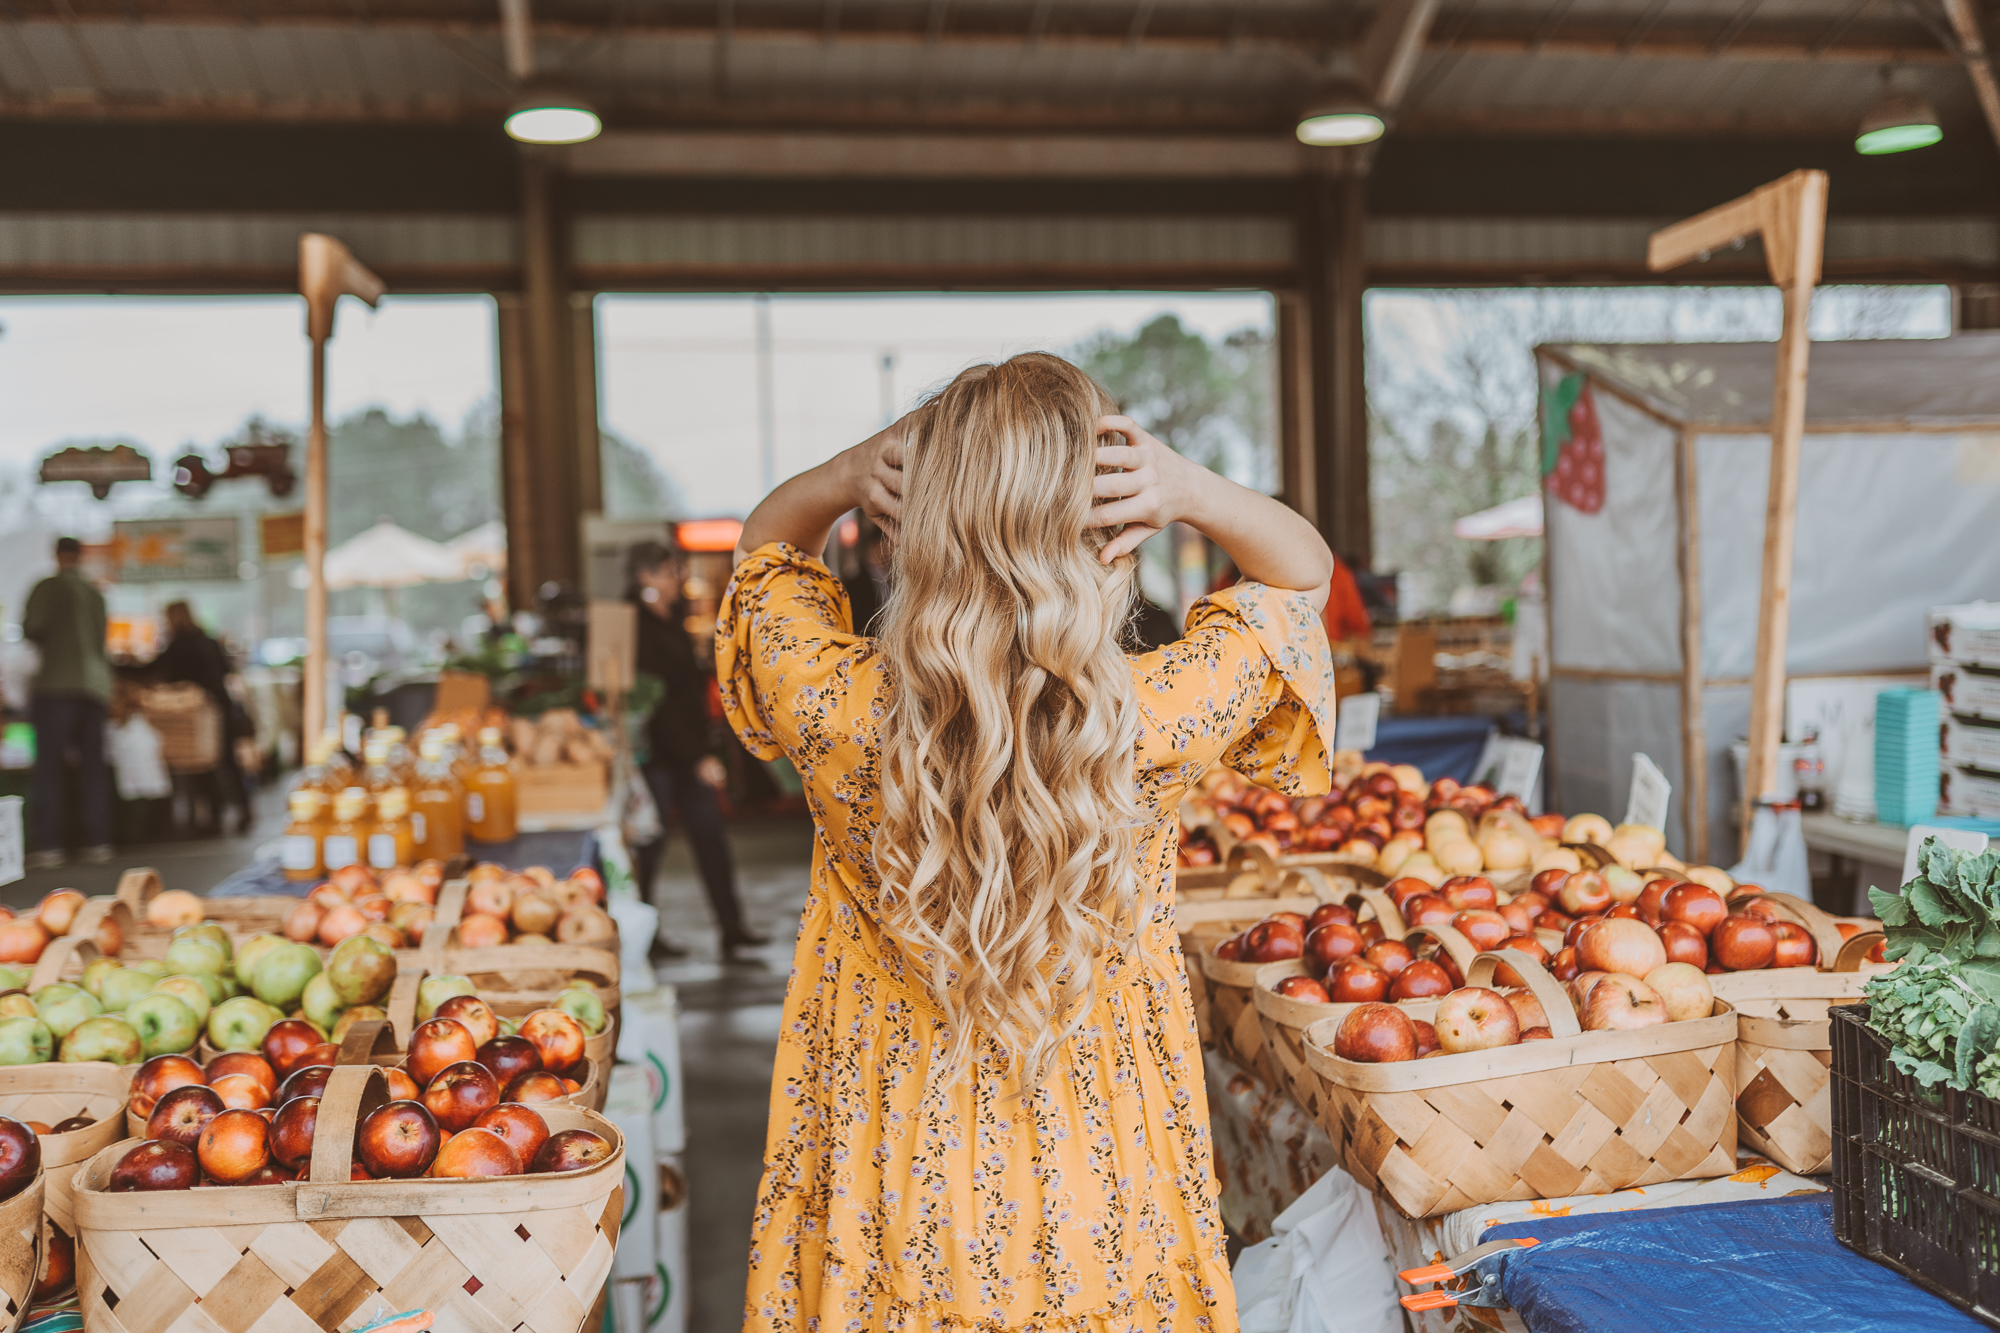
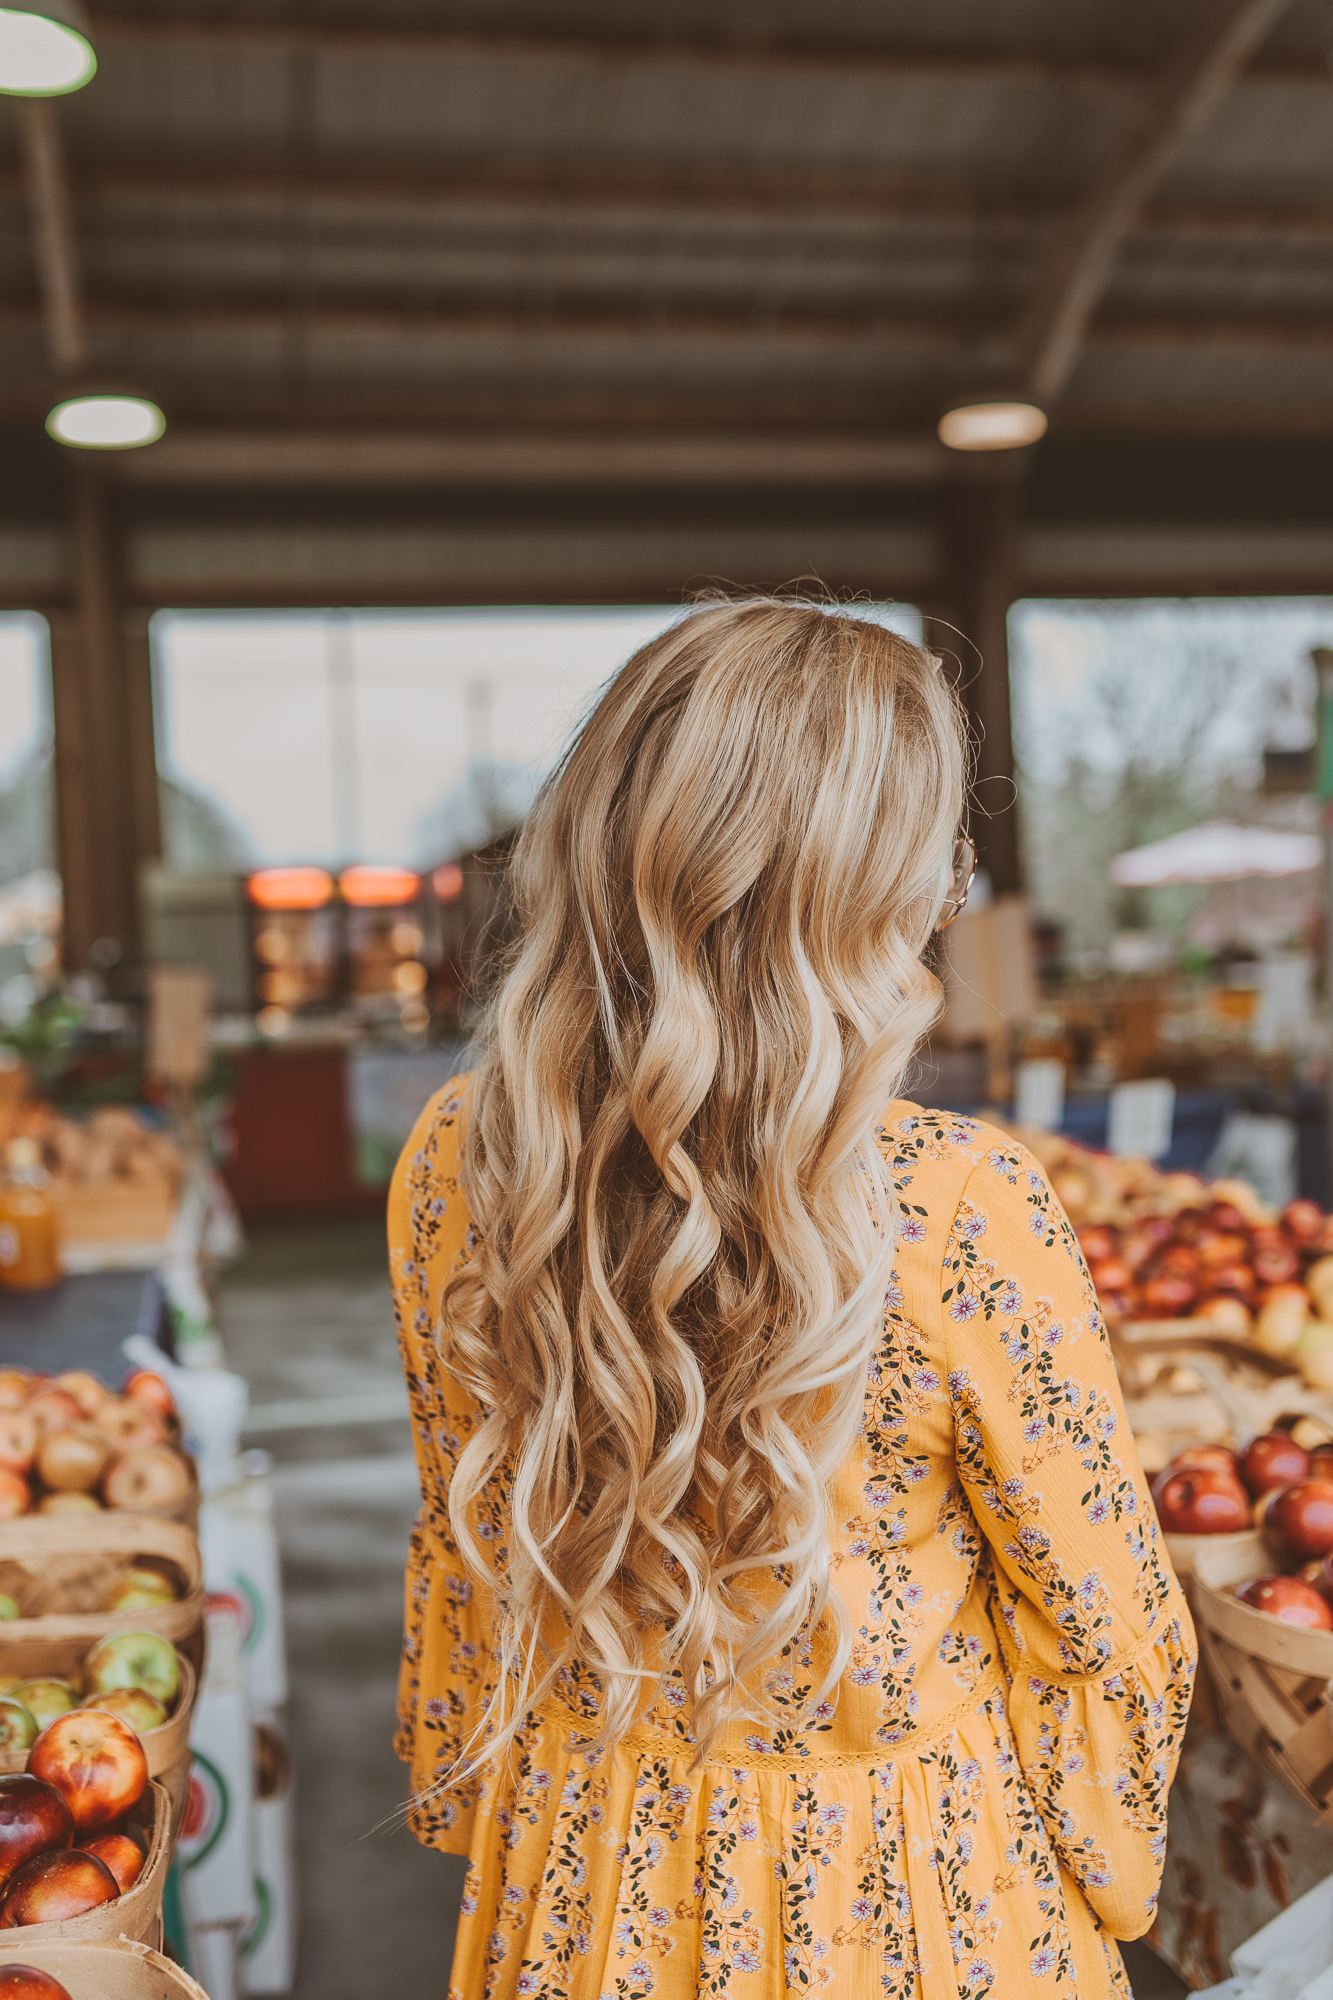
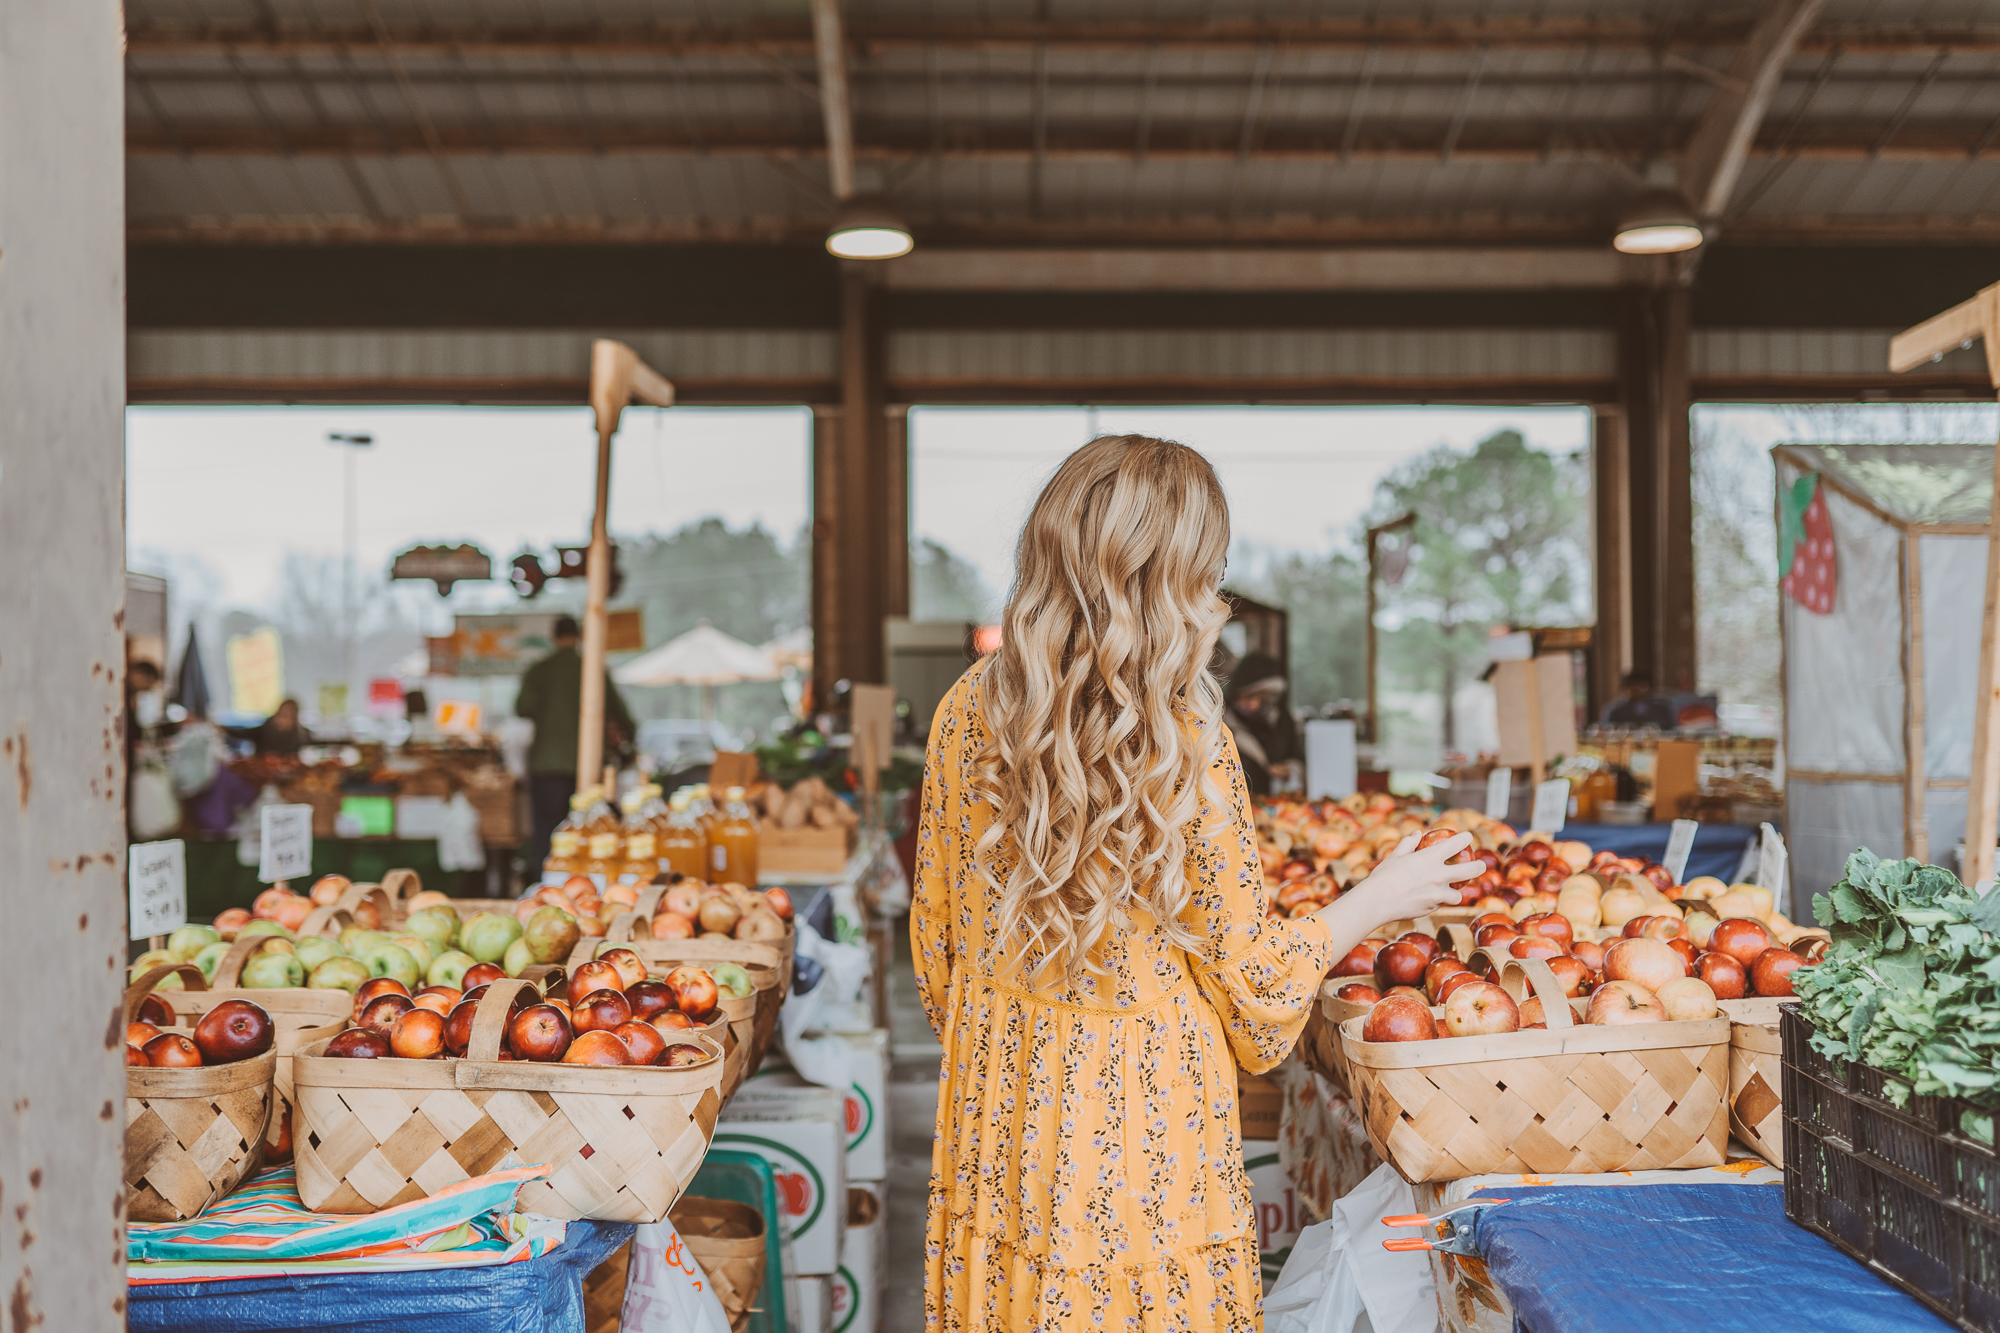
1.Bombshell Waves

Bombshell Waves
-
Start with clean dry hair. I like hair to be completely dry and free of heavy conditioners to extend the life of the curl.
-
Add a curl enhancing product. I like to use mousse for thin or straight hair. Some favorites are the Moroccan Oil Beach Wave Mousse or John Frieda Volumizing Mousse. For hair that holds curl better, I like using a texturing spray like the Living Proof Full Dry Volume Blast. This will help to remove moisture and add grit and hold to the curls. I also lightly sprayed each strand with a flexible hairspray before curling. Living Proof Flex Shaping Hairspray is a great one.
-
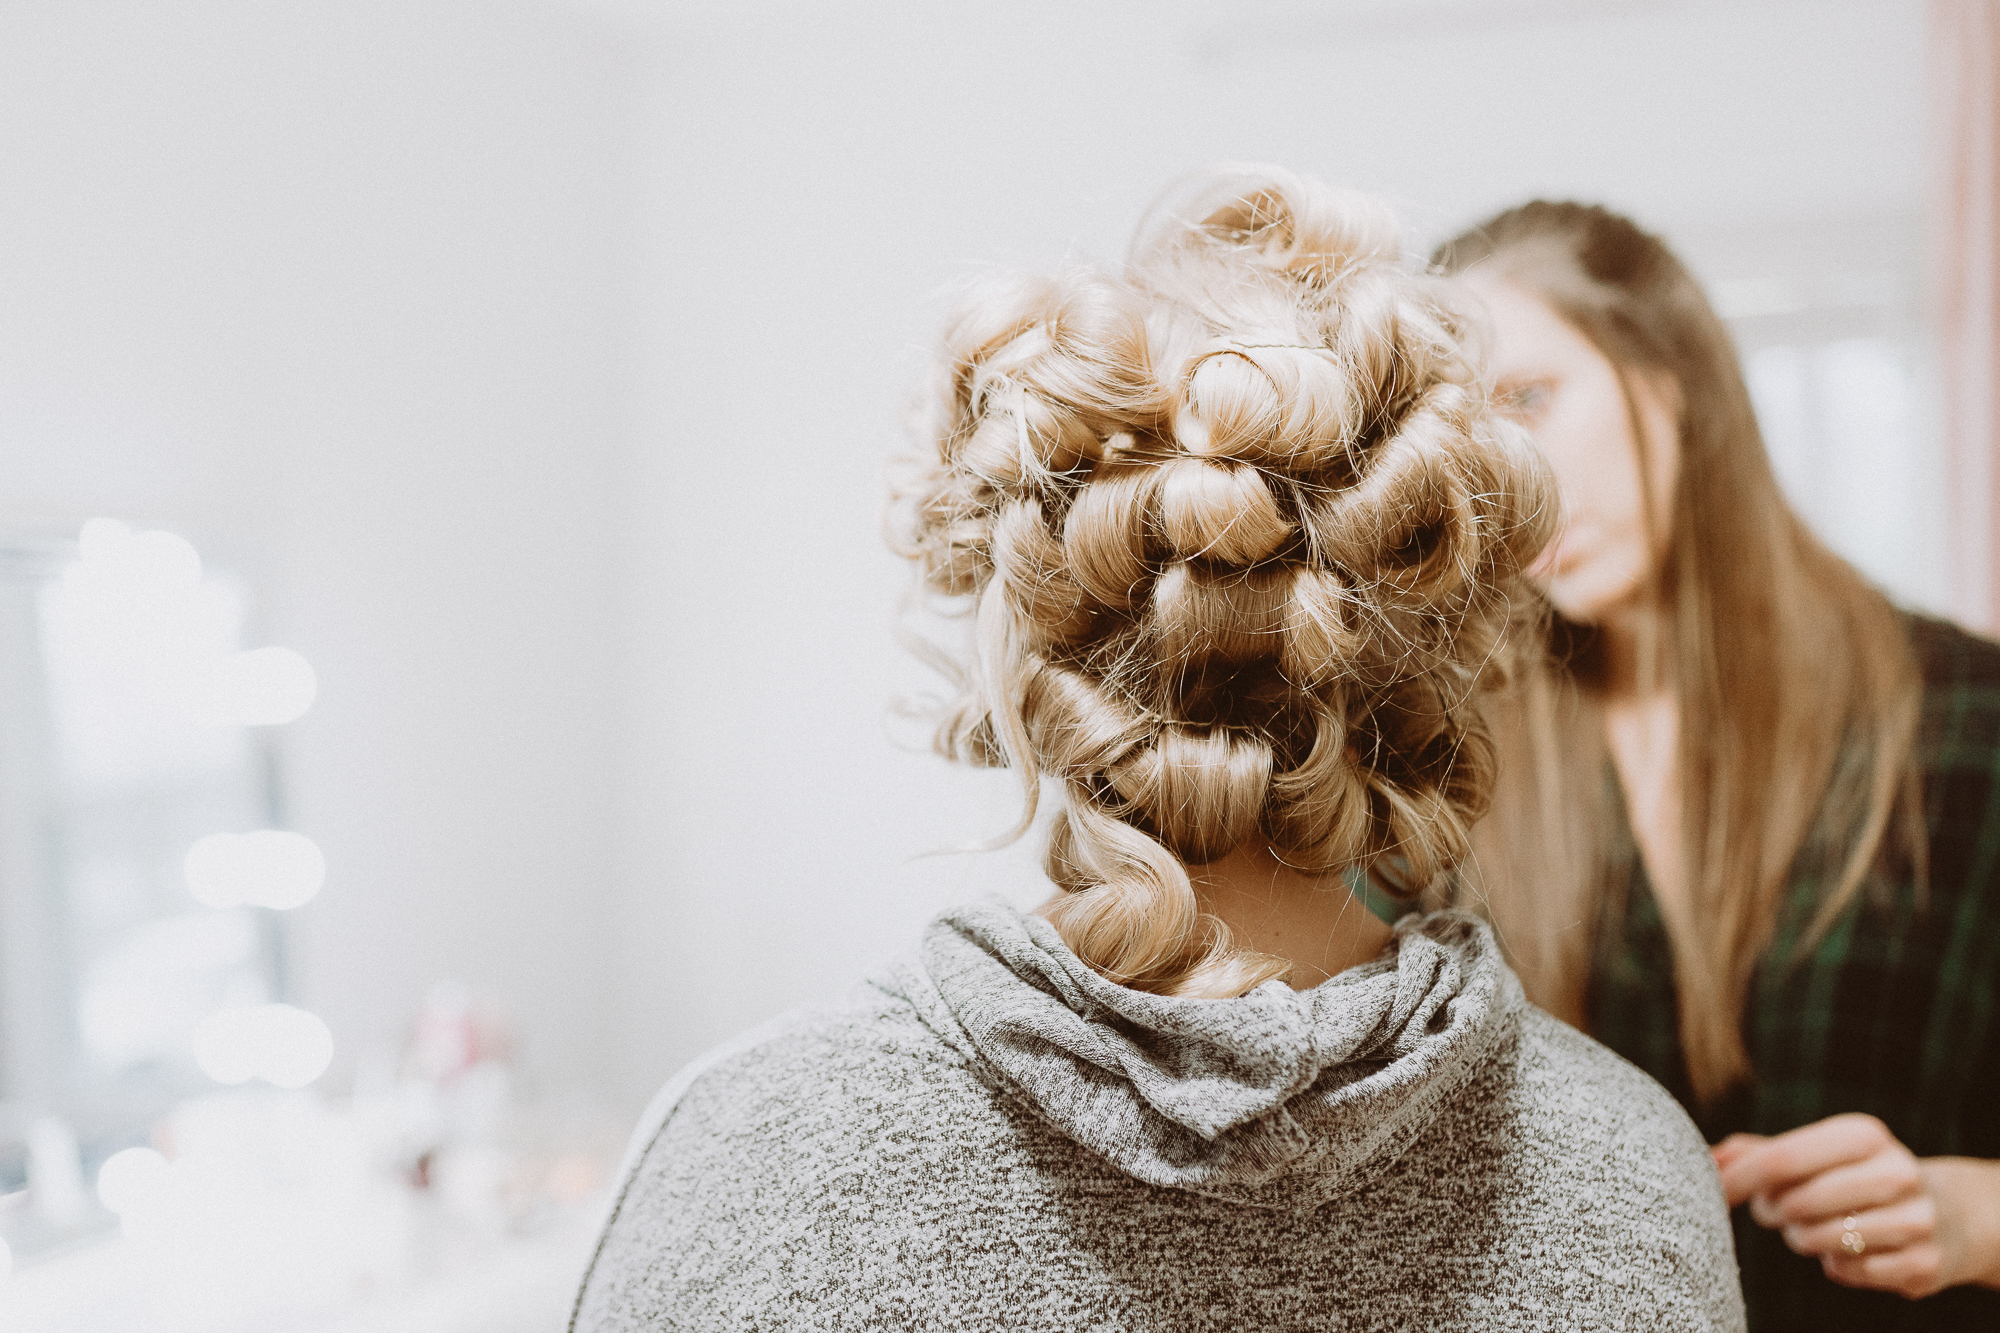
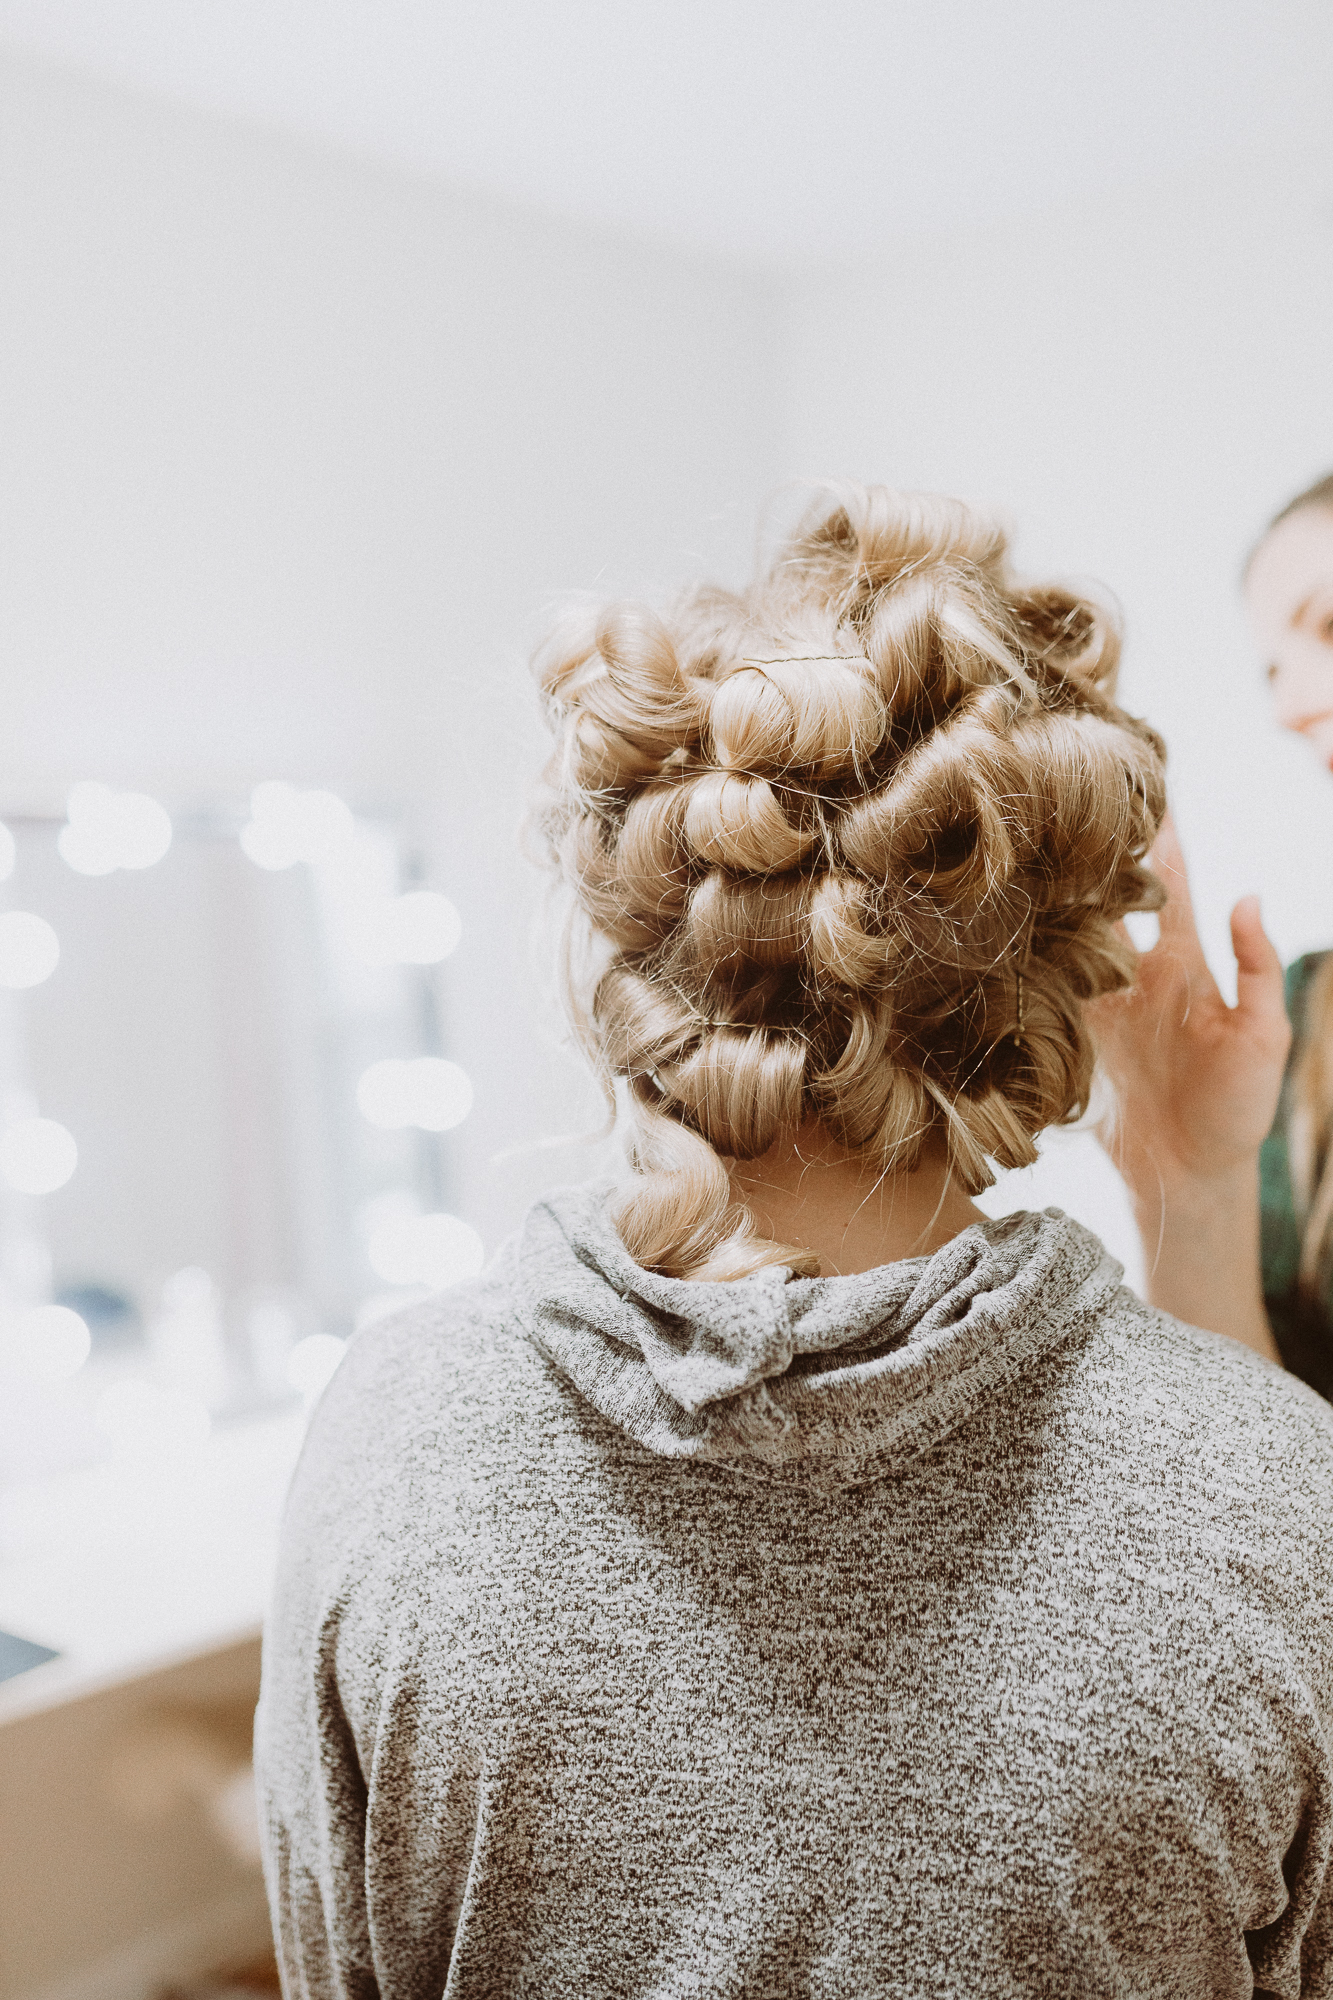
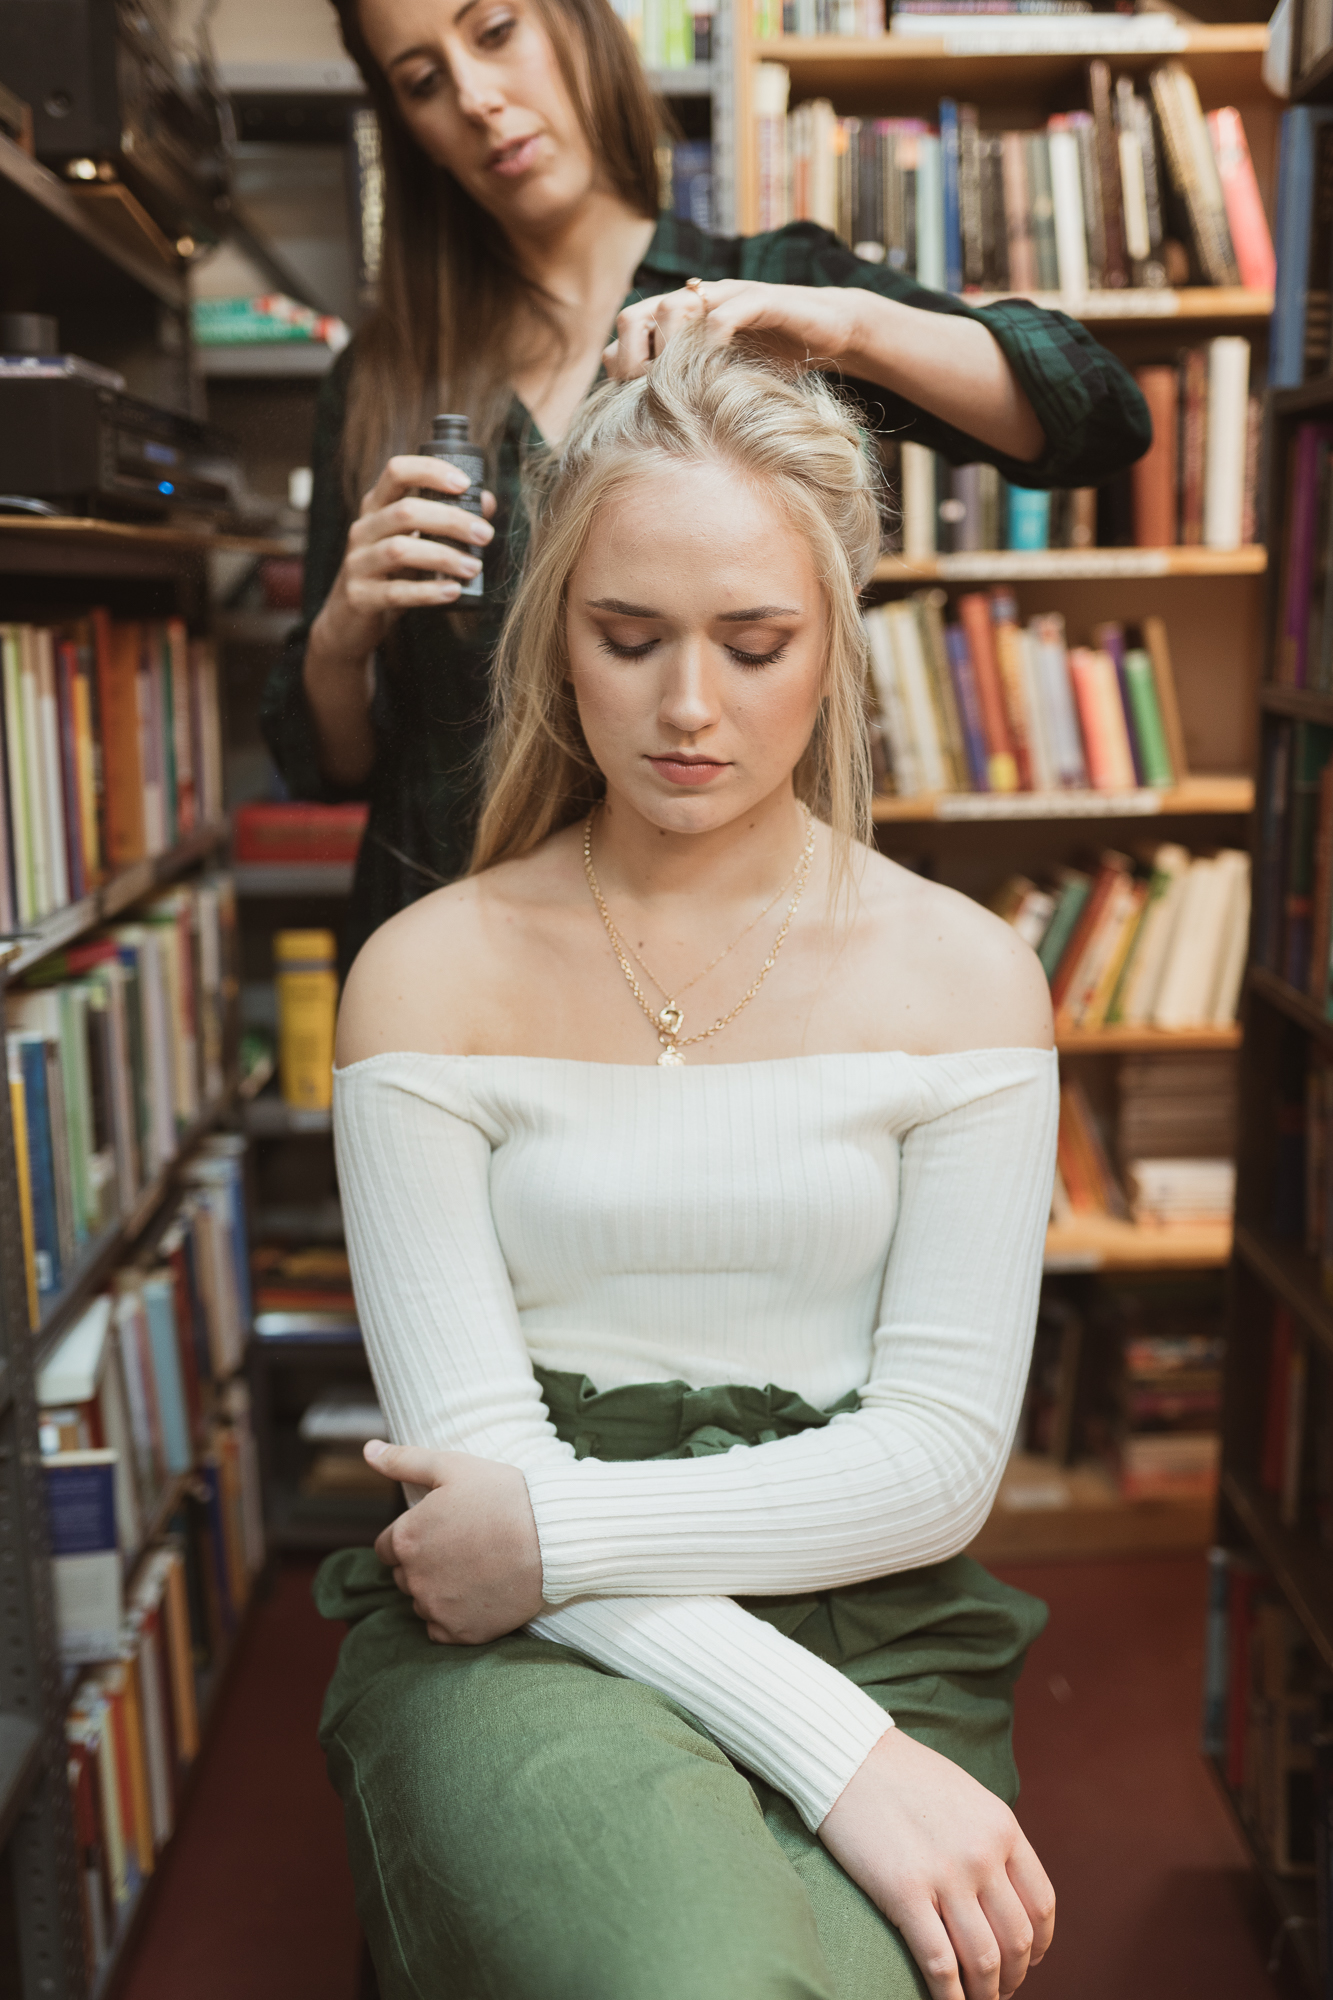
Curl! I like to tease the roots before curling to add volume along the crown. I used a 1-1/4 inch wand. For this look I focused holding the heat near the center of the hair, only bringing the wand to the ends for a moment to get the looser ends.
-
Pin up each curl to set. After each curl, I twisted it around my fingers loosely and pinned in place with a hair pin or clip. This gives the hair time to cool and set the curls on place. Wait at least 5-15 minutes before removing.
-
Shake it out. Take the clips out and gently run your hands through the curls to break them up and create a more tousled look. Be careful to not over do it, especially if you have fine straight hair. The curls will naturally relax as time goes on.
-
Finish with…texturizing spray! You can use hairspray but I like the body and lift texturizing spray gives.
-
Voila! Take some selfies and show off your gorgeous mane.

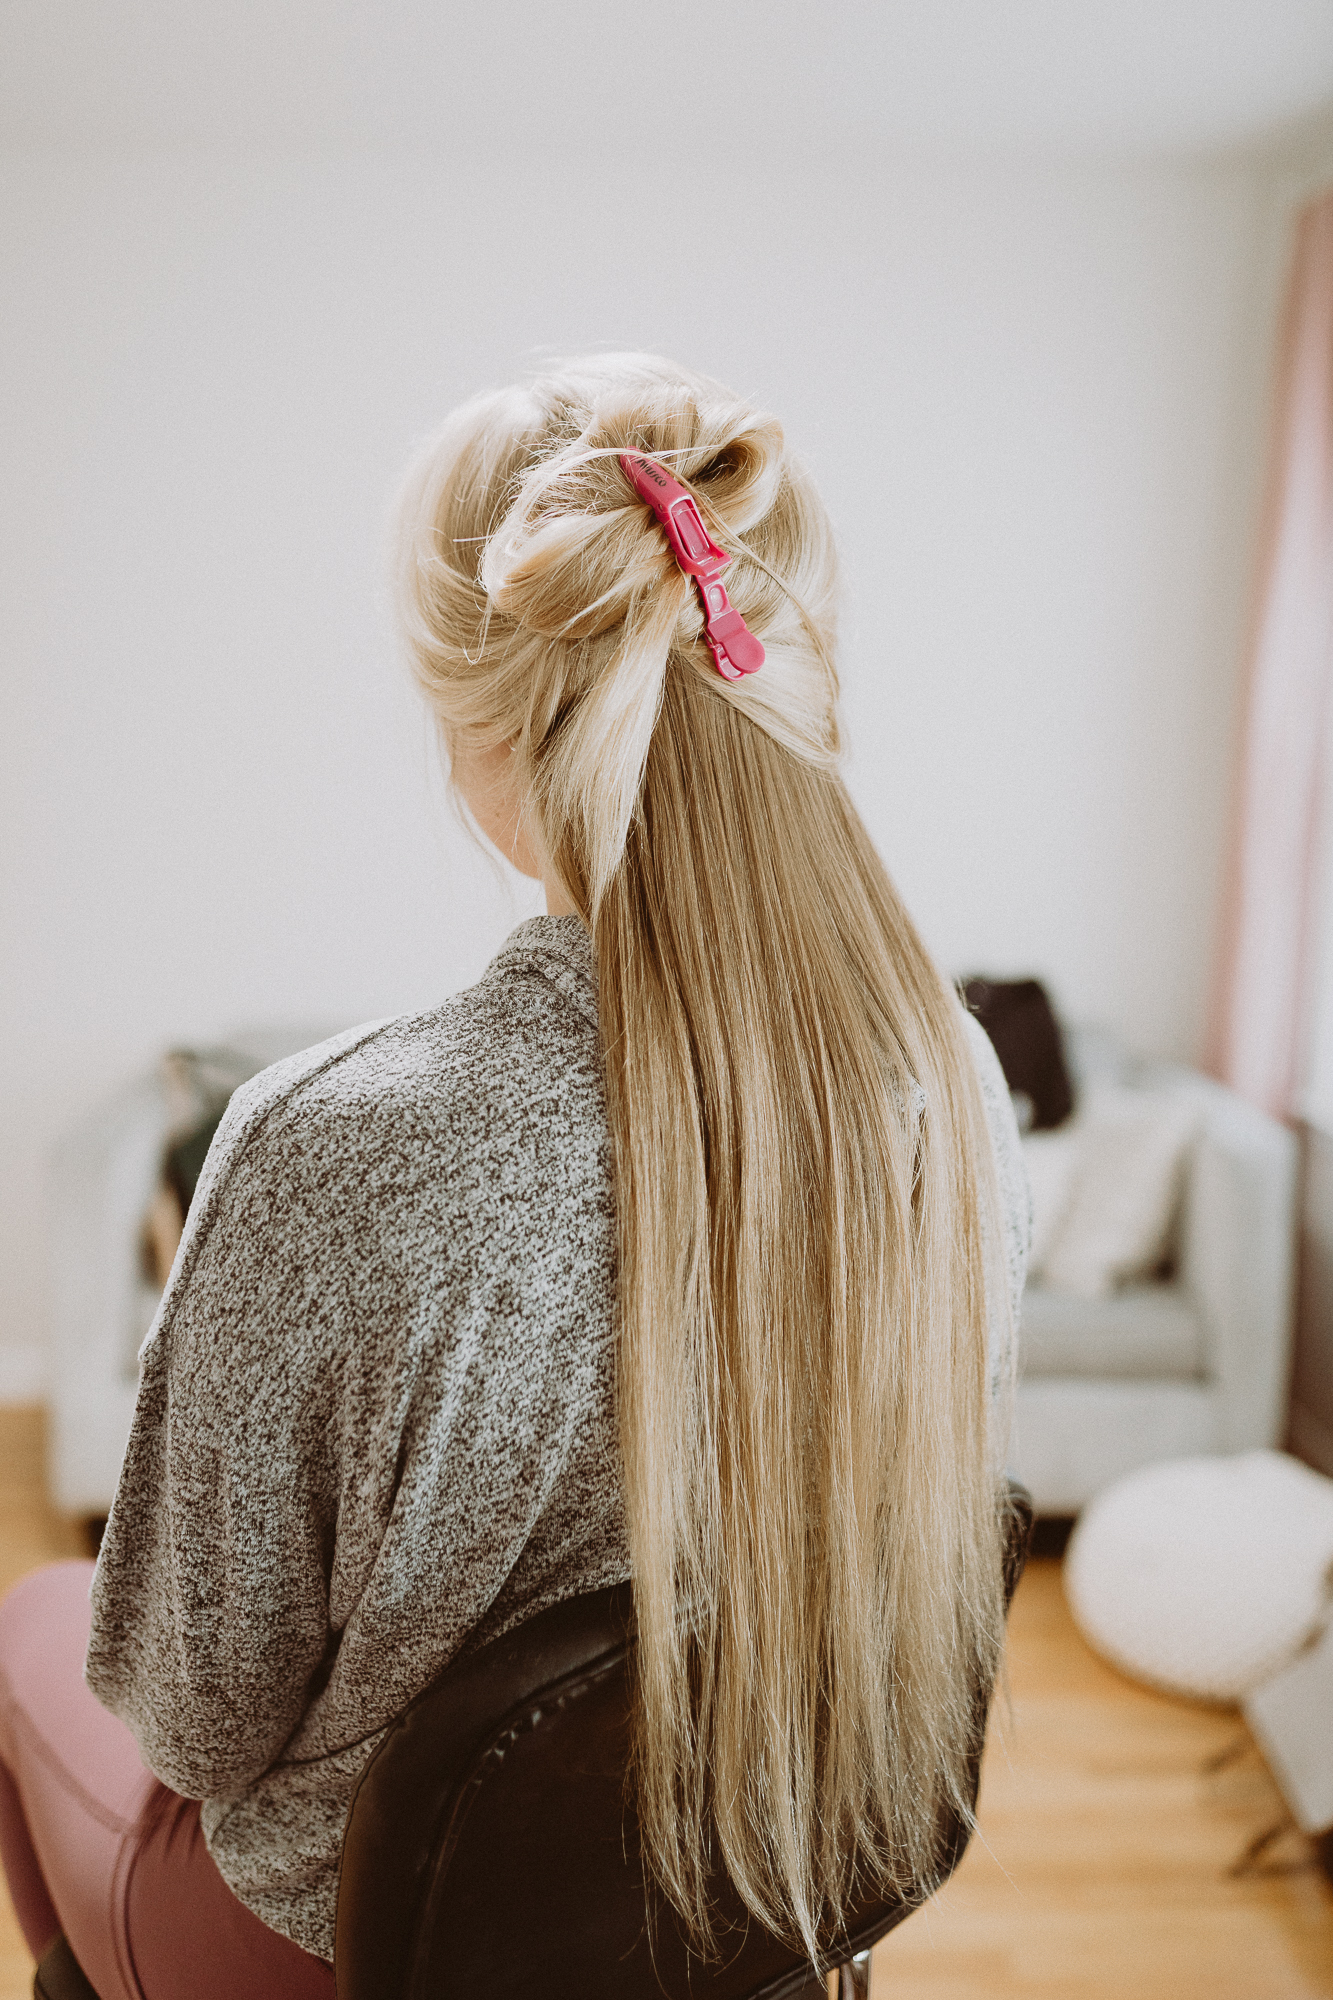
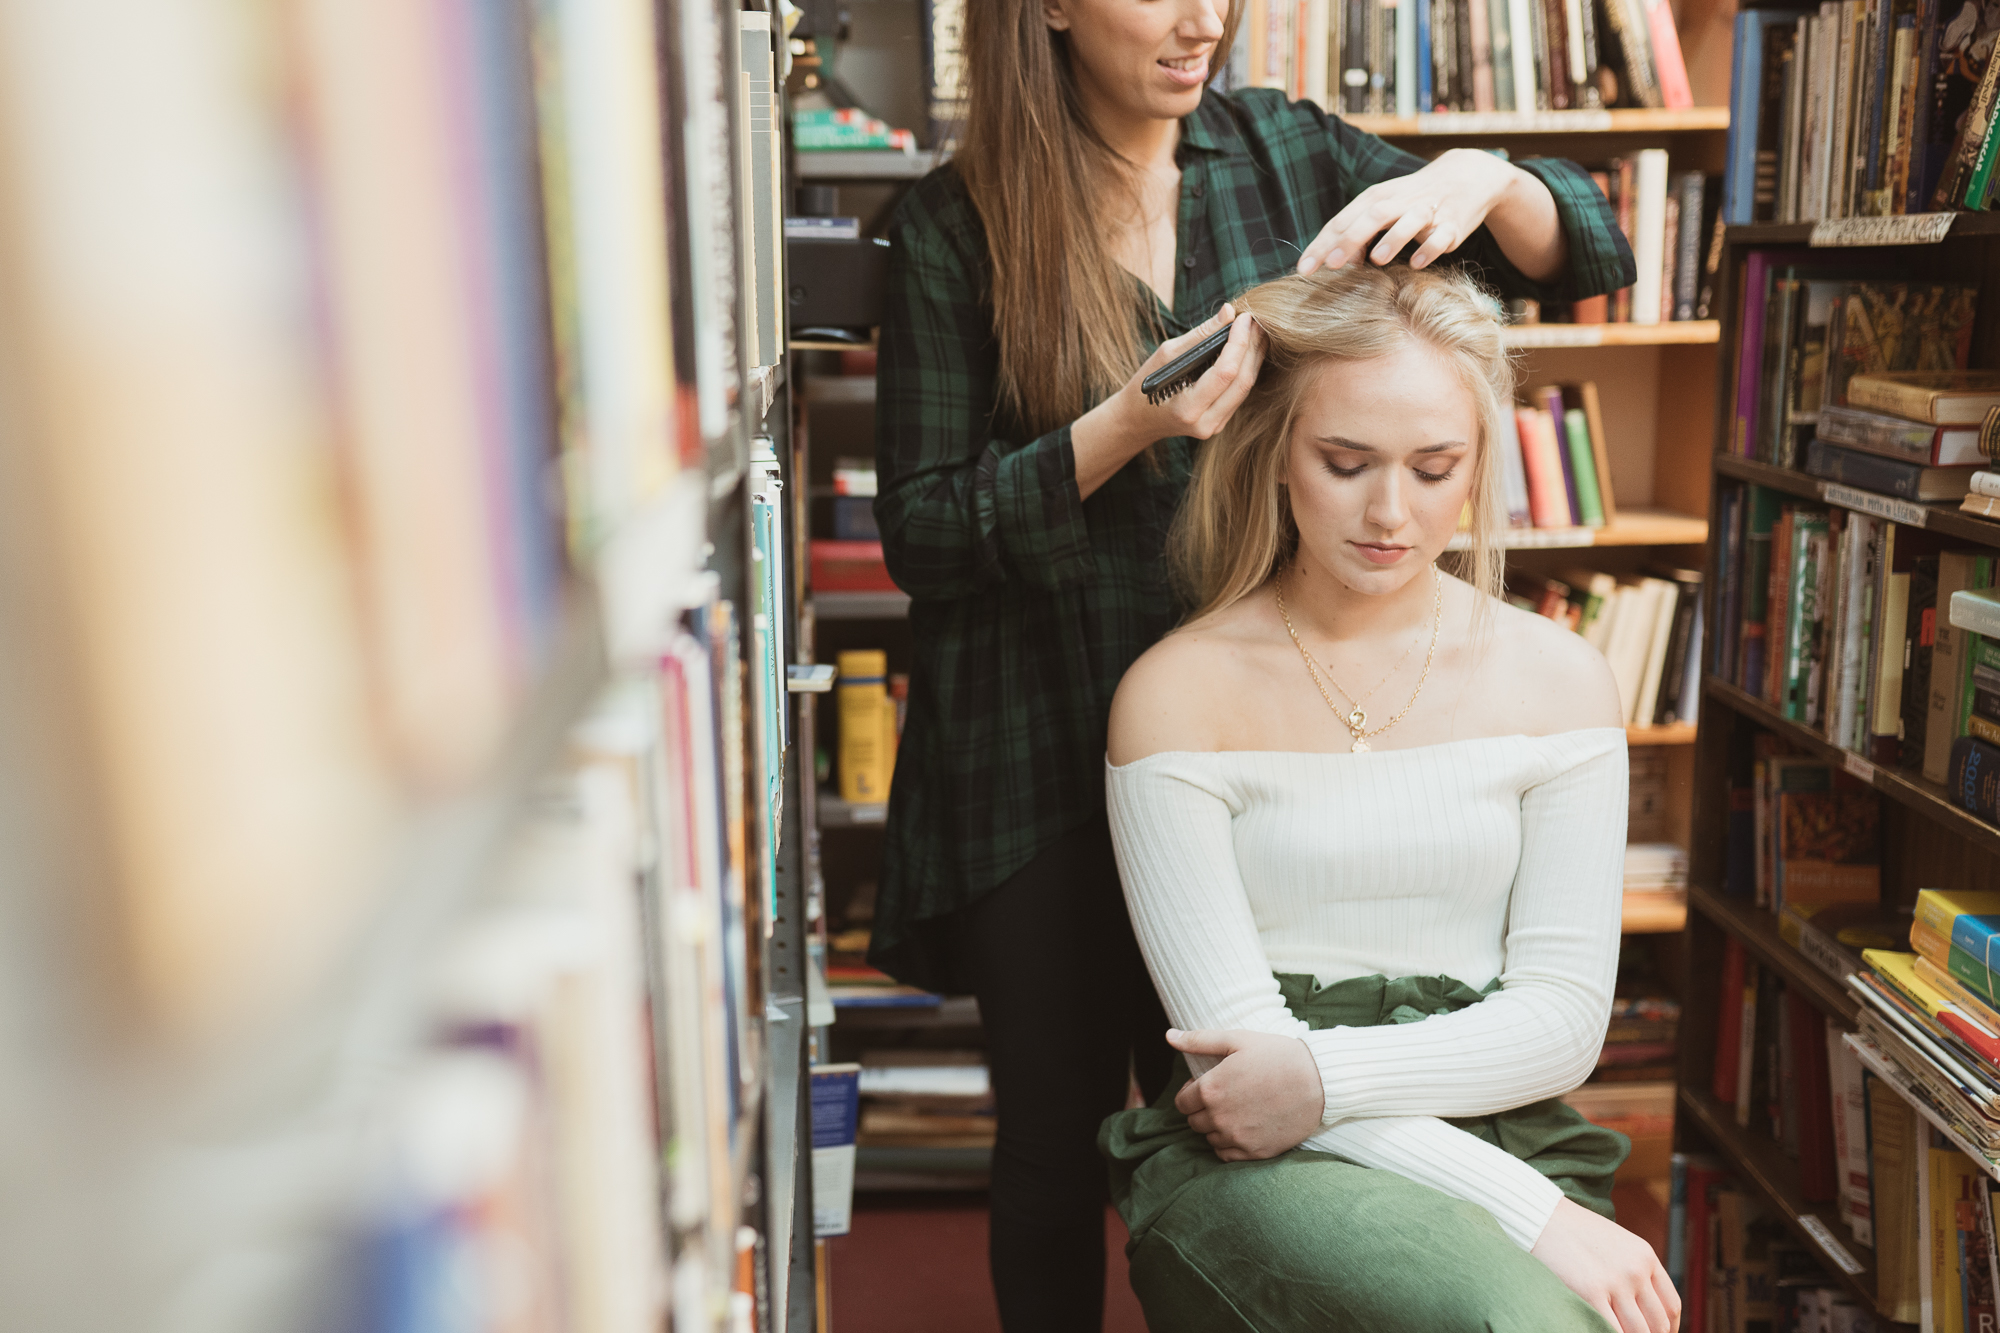
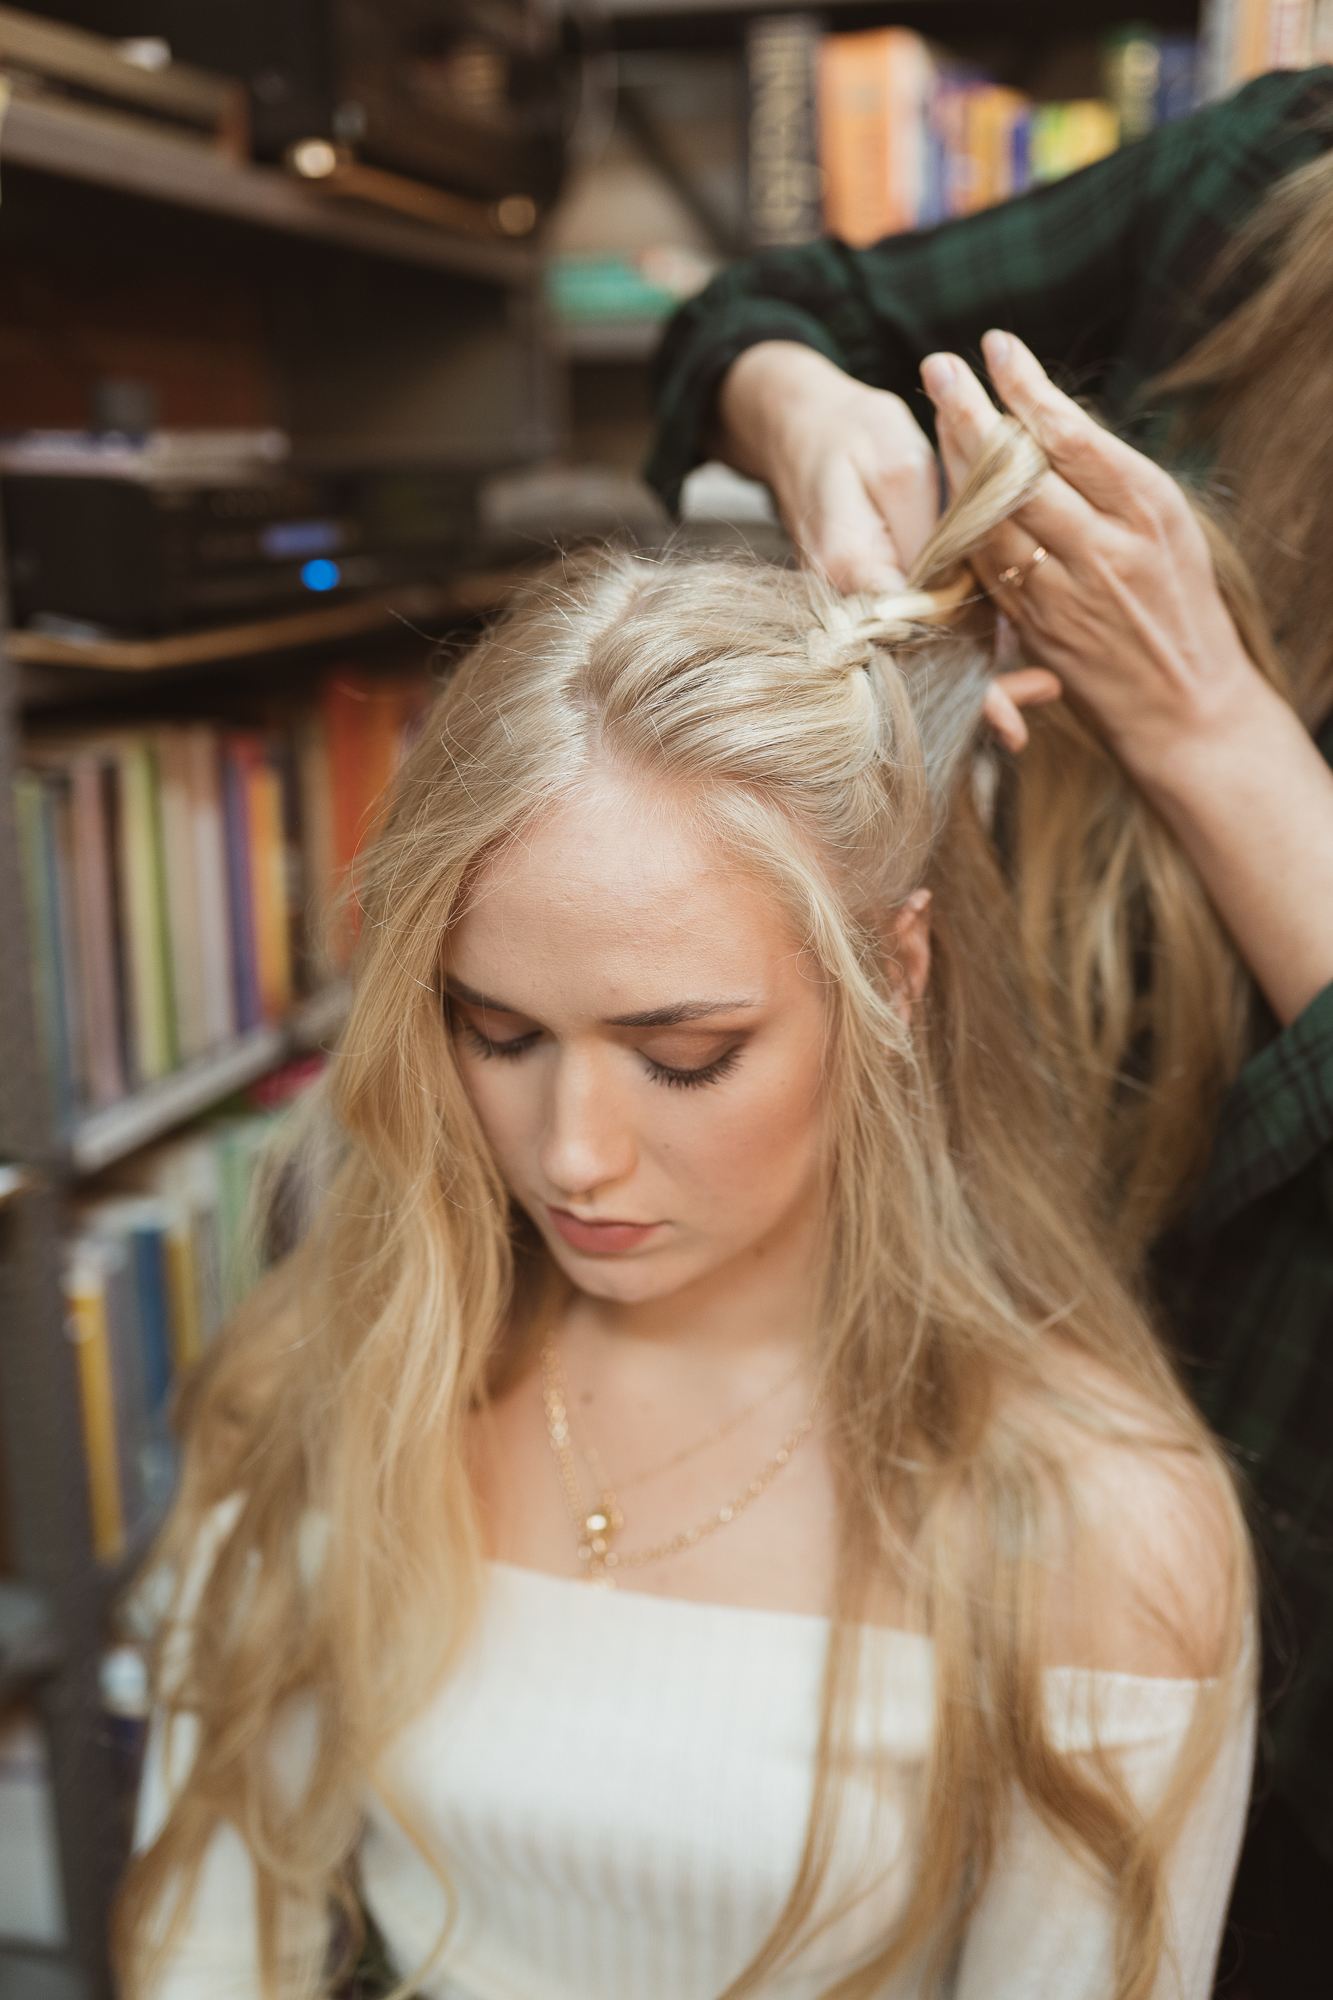
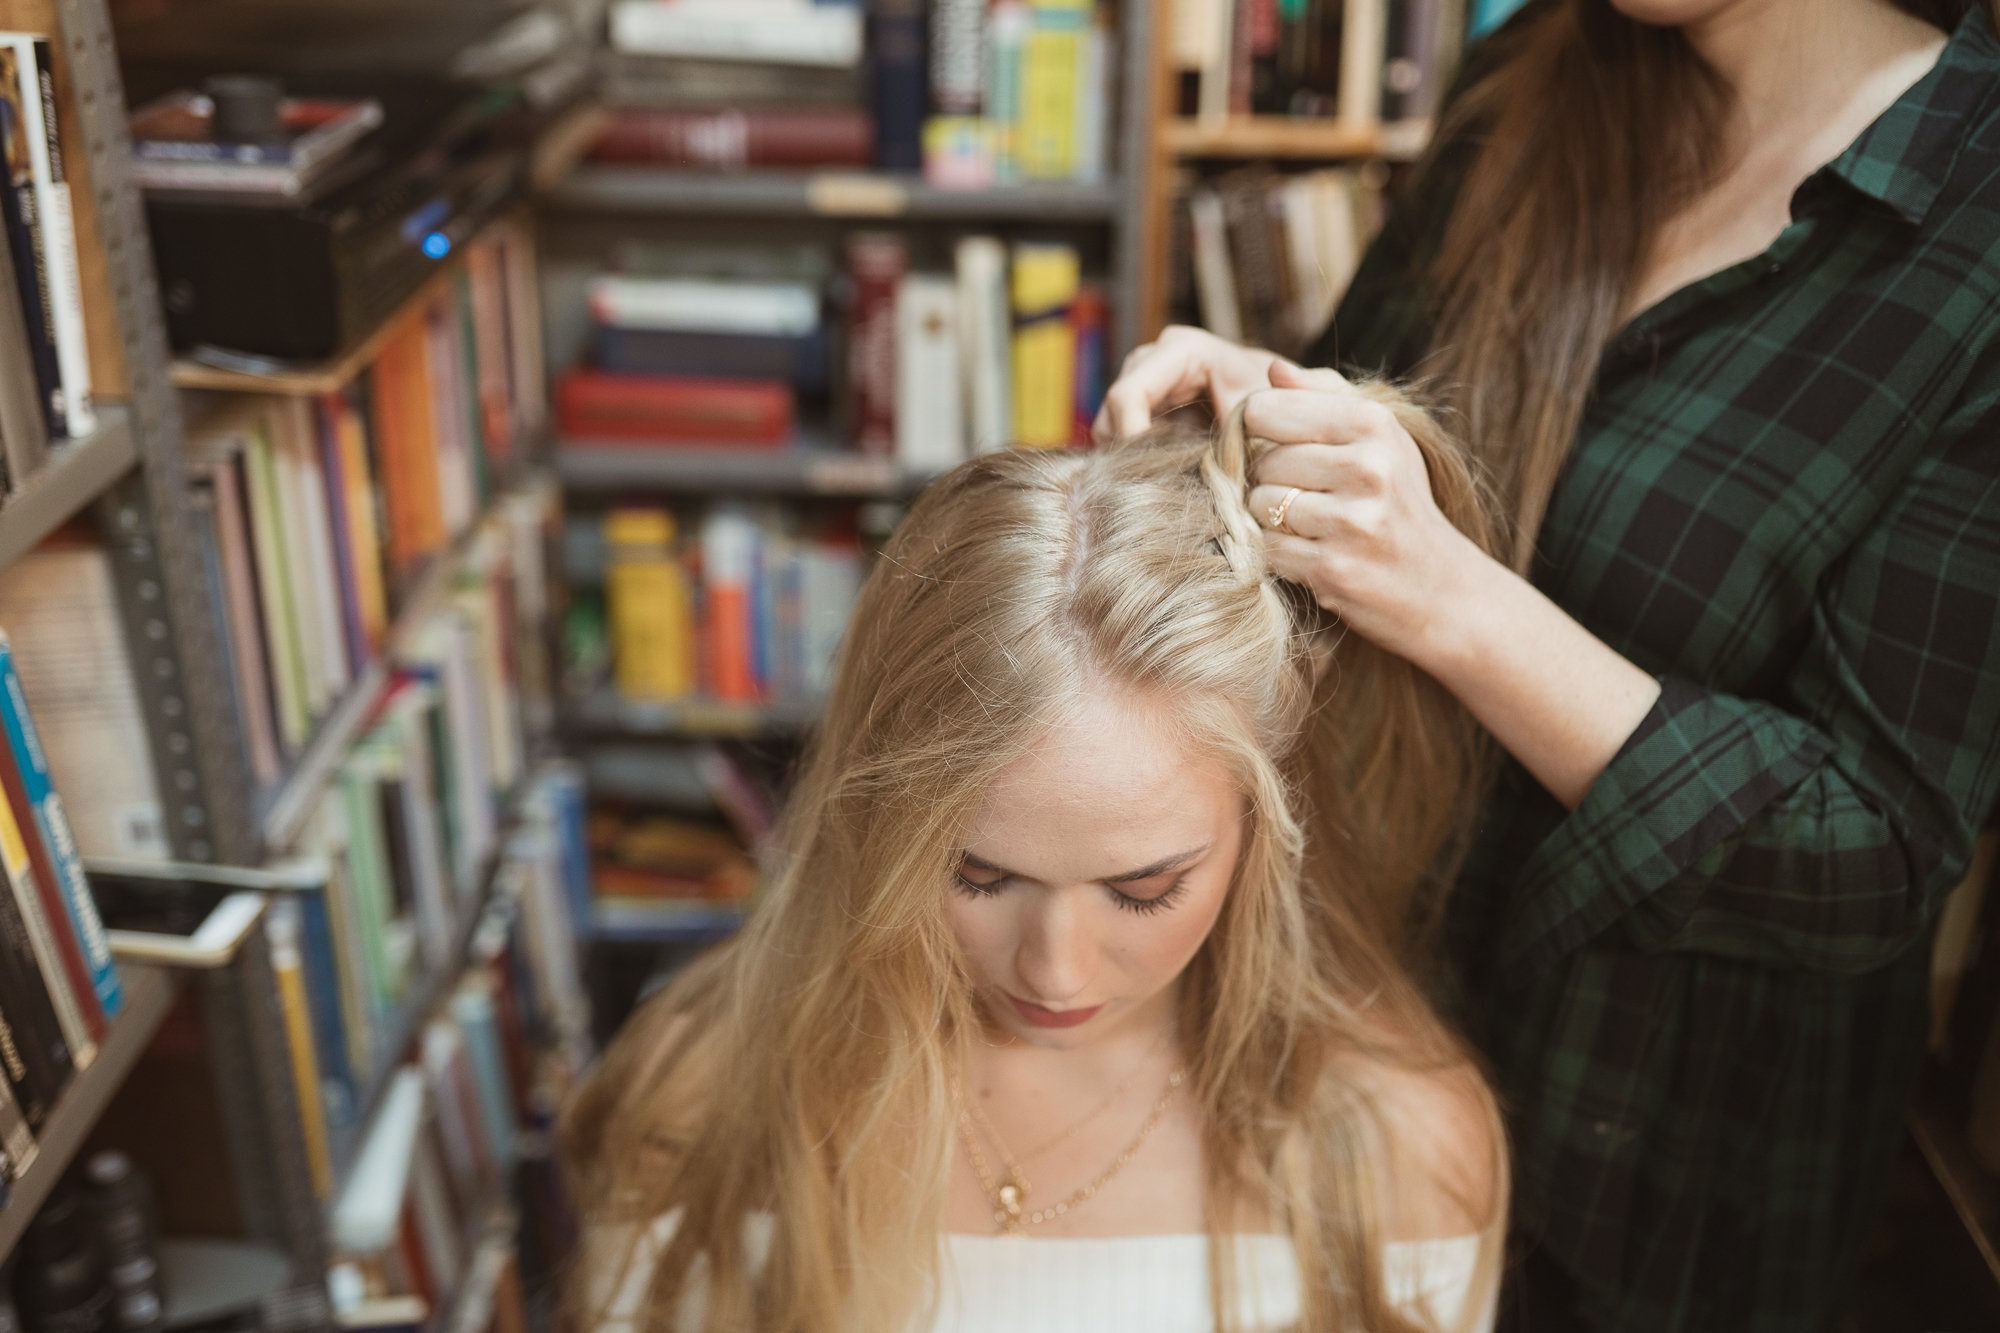
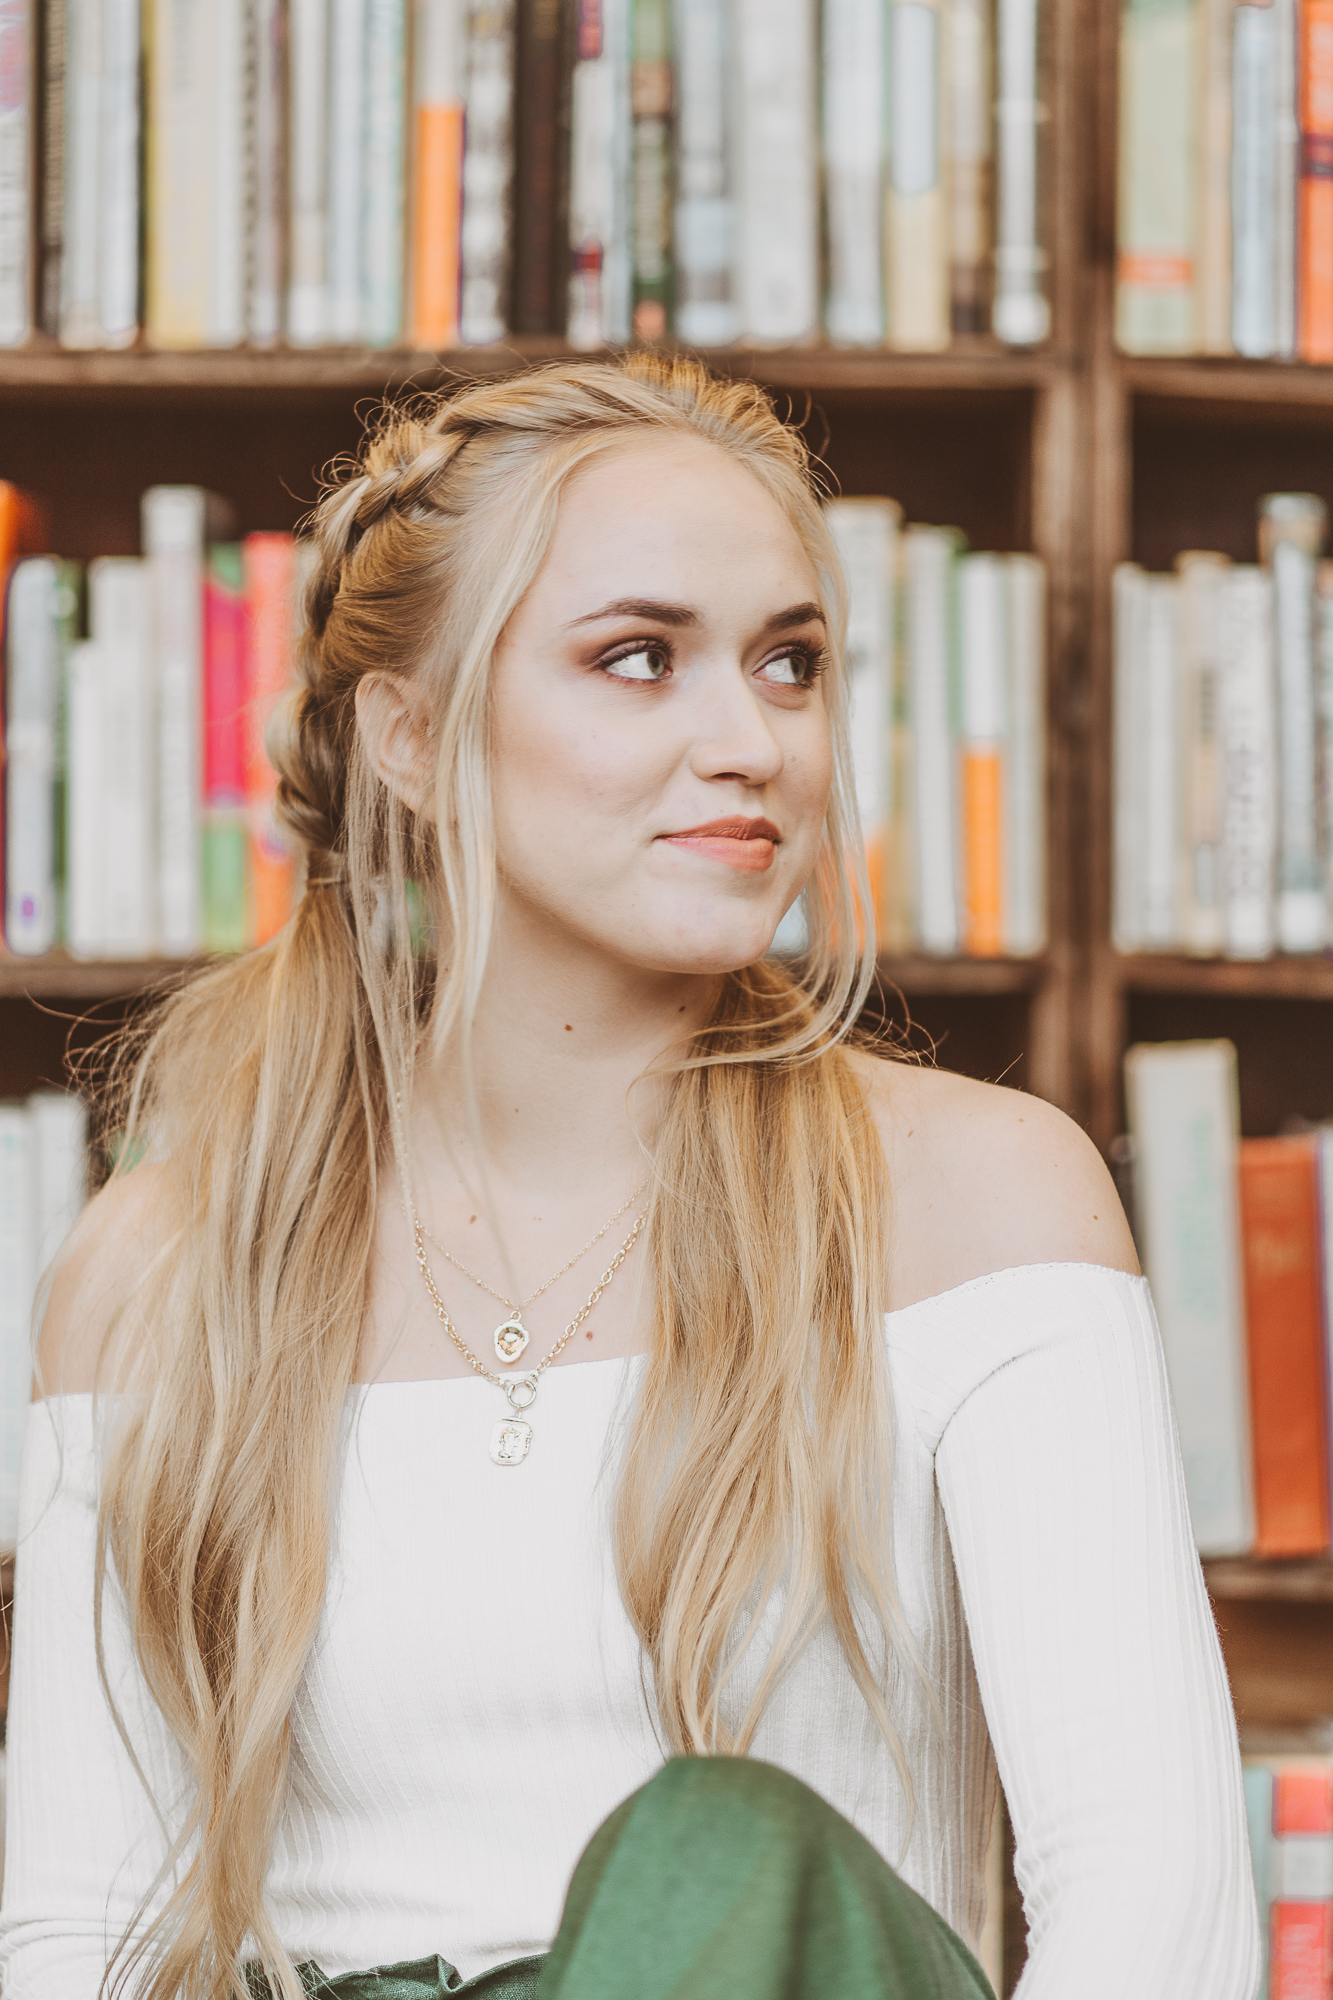
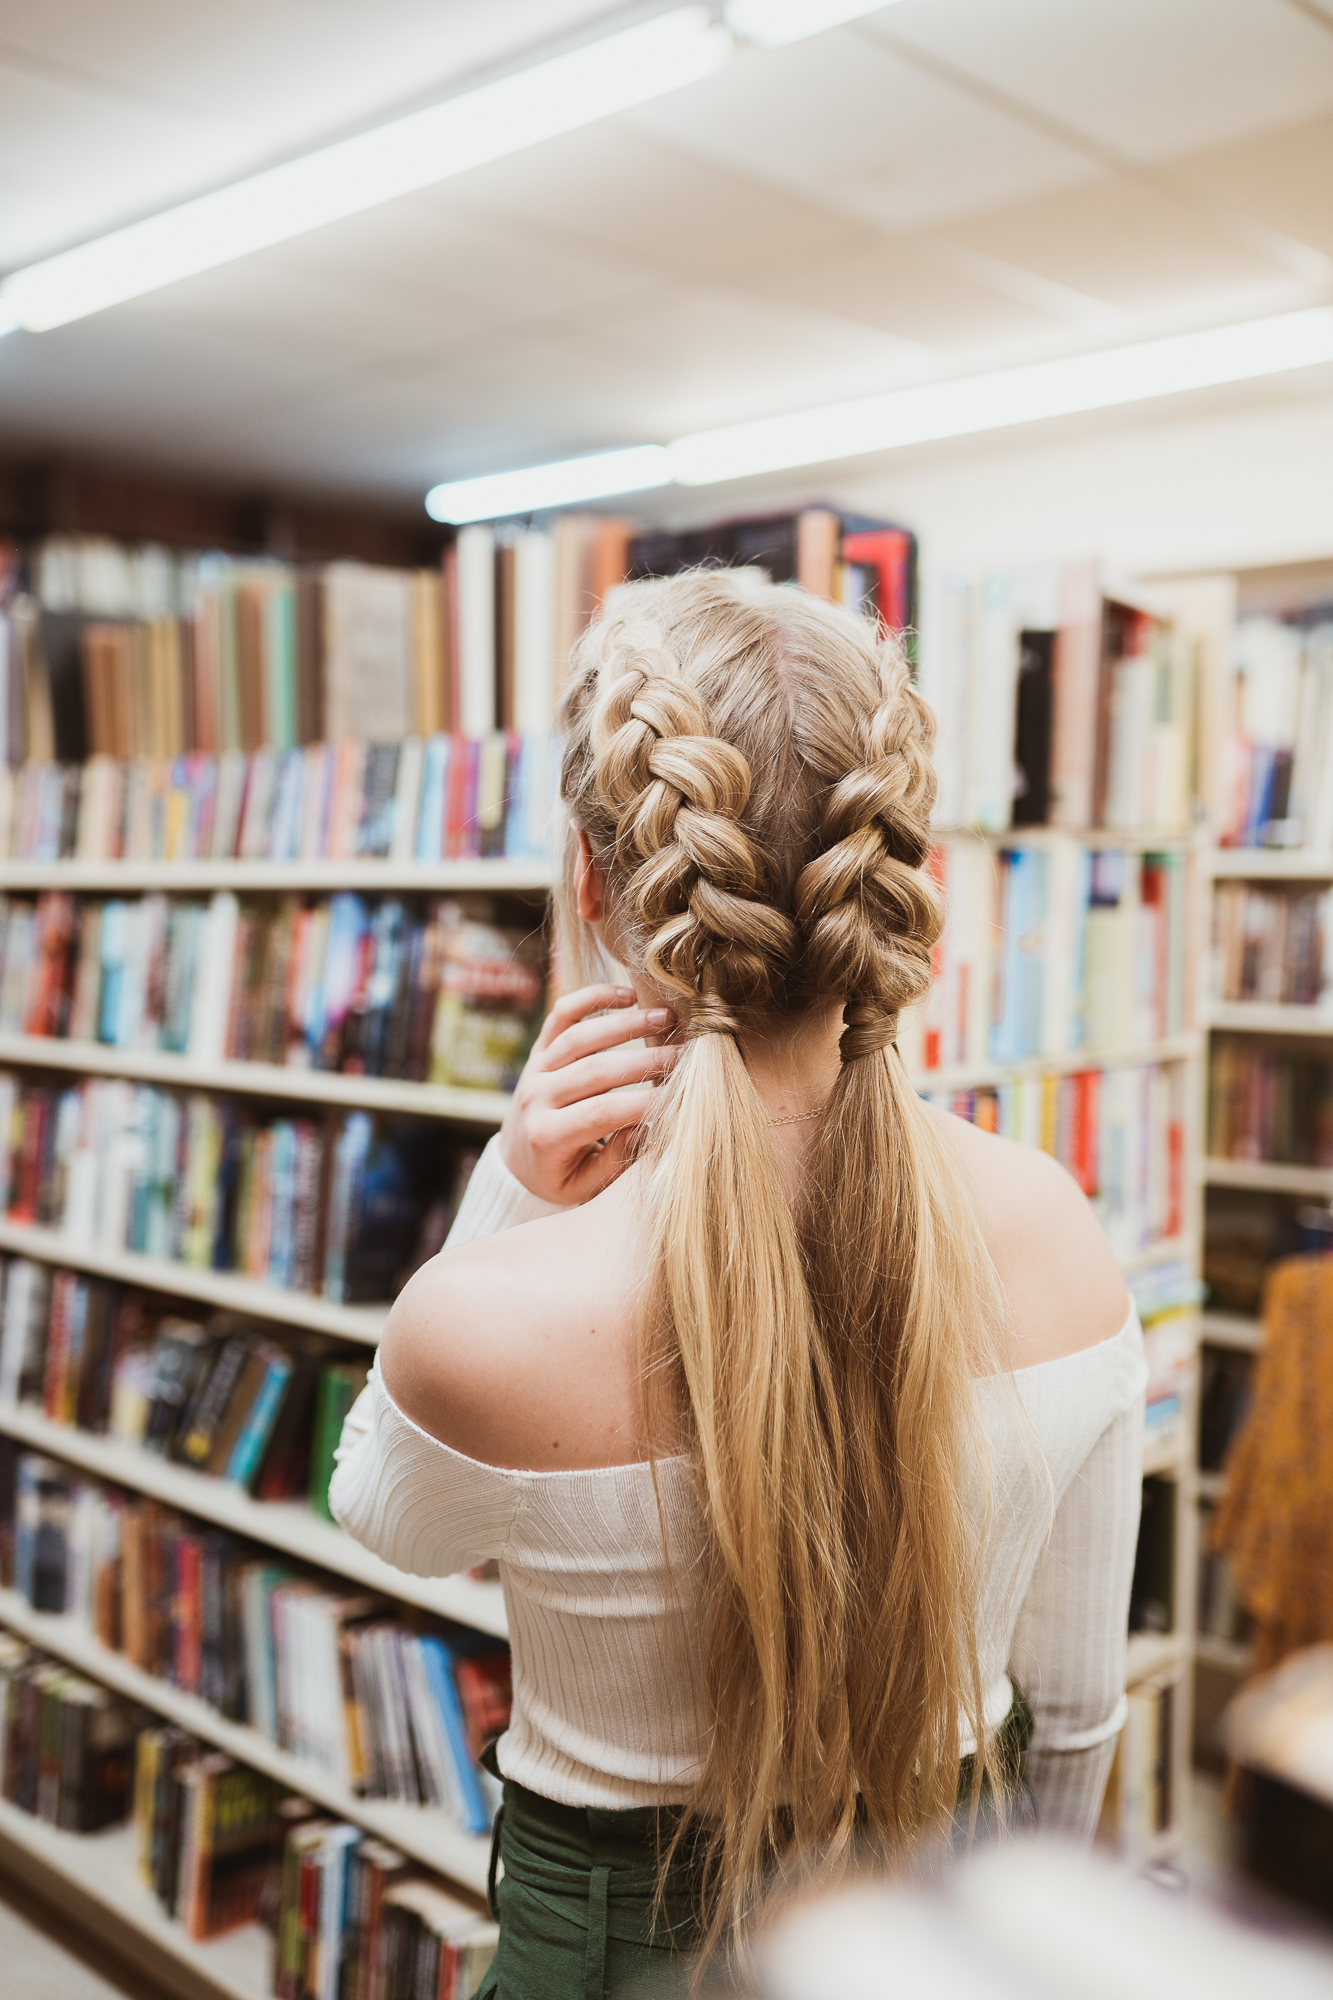
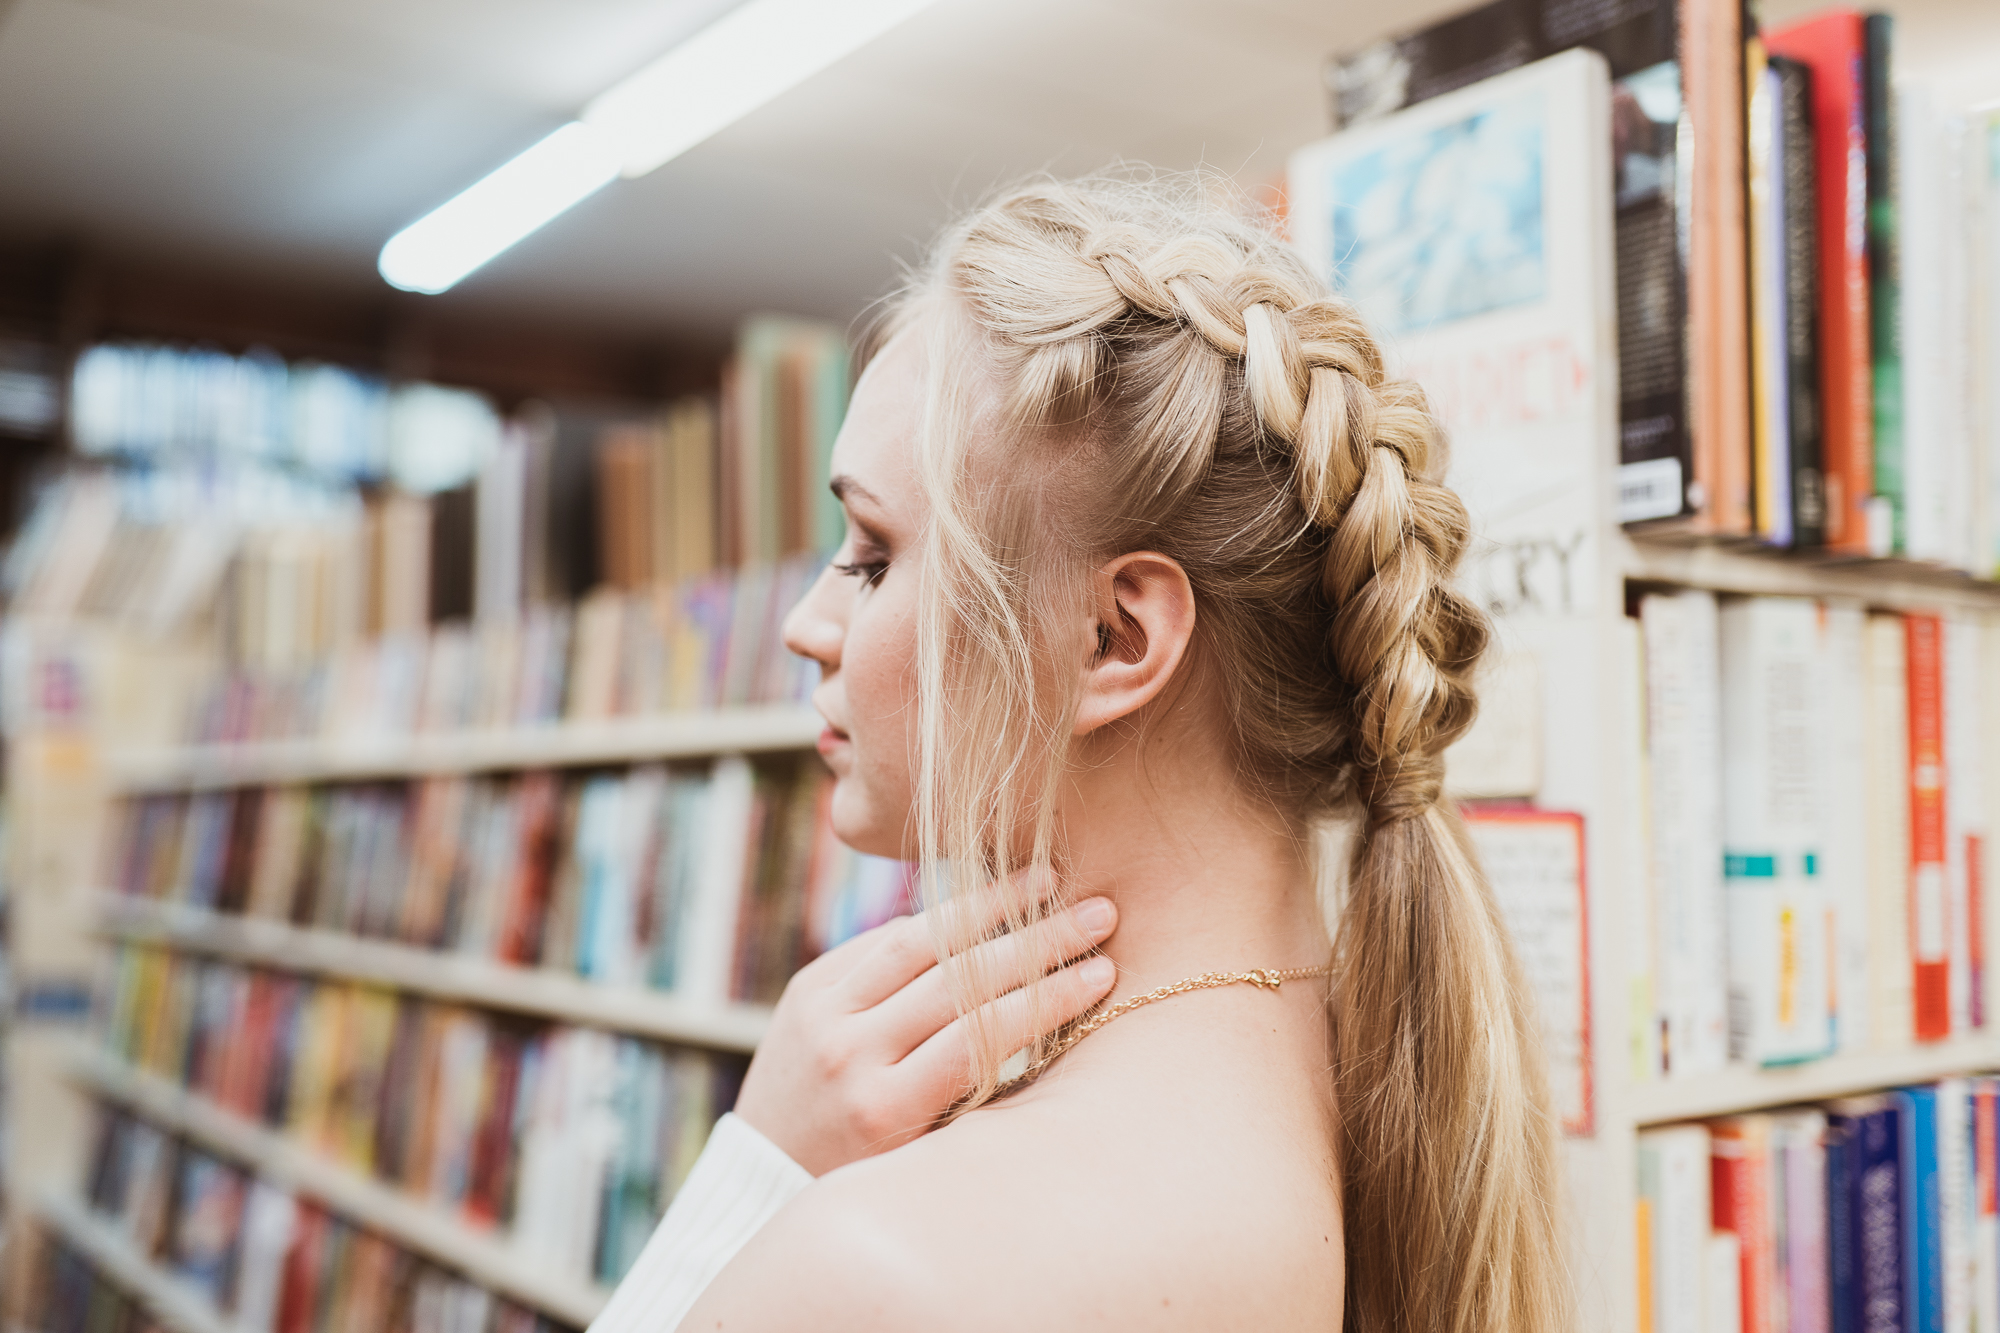
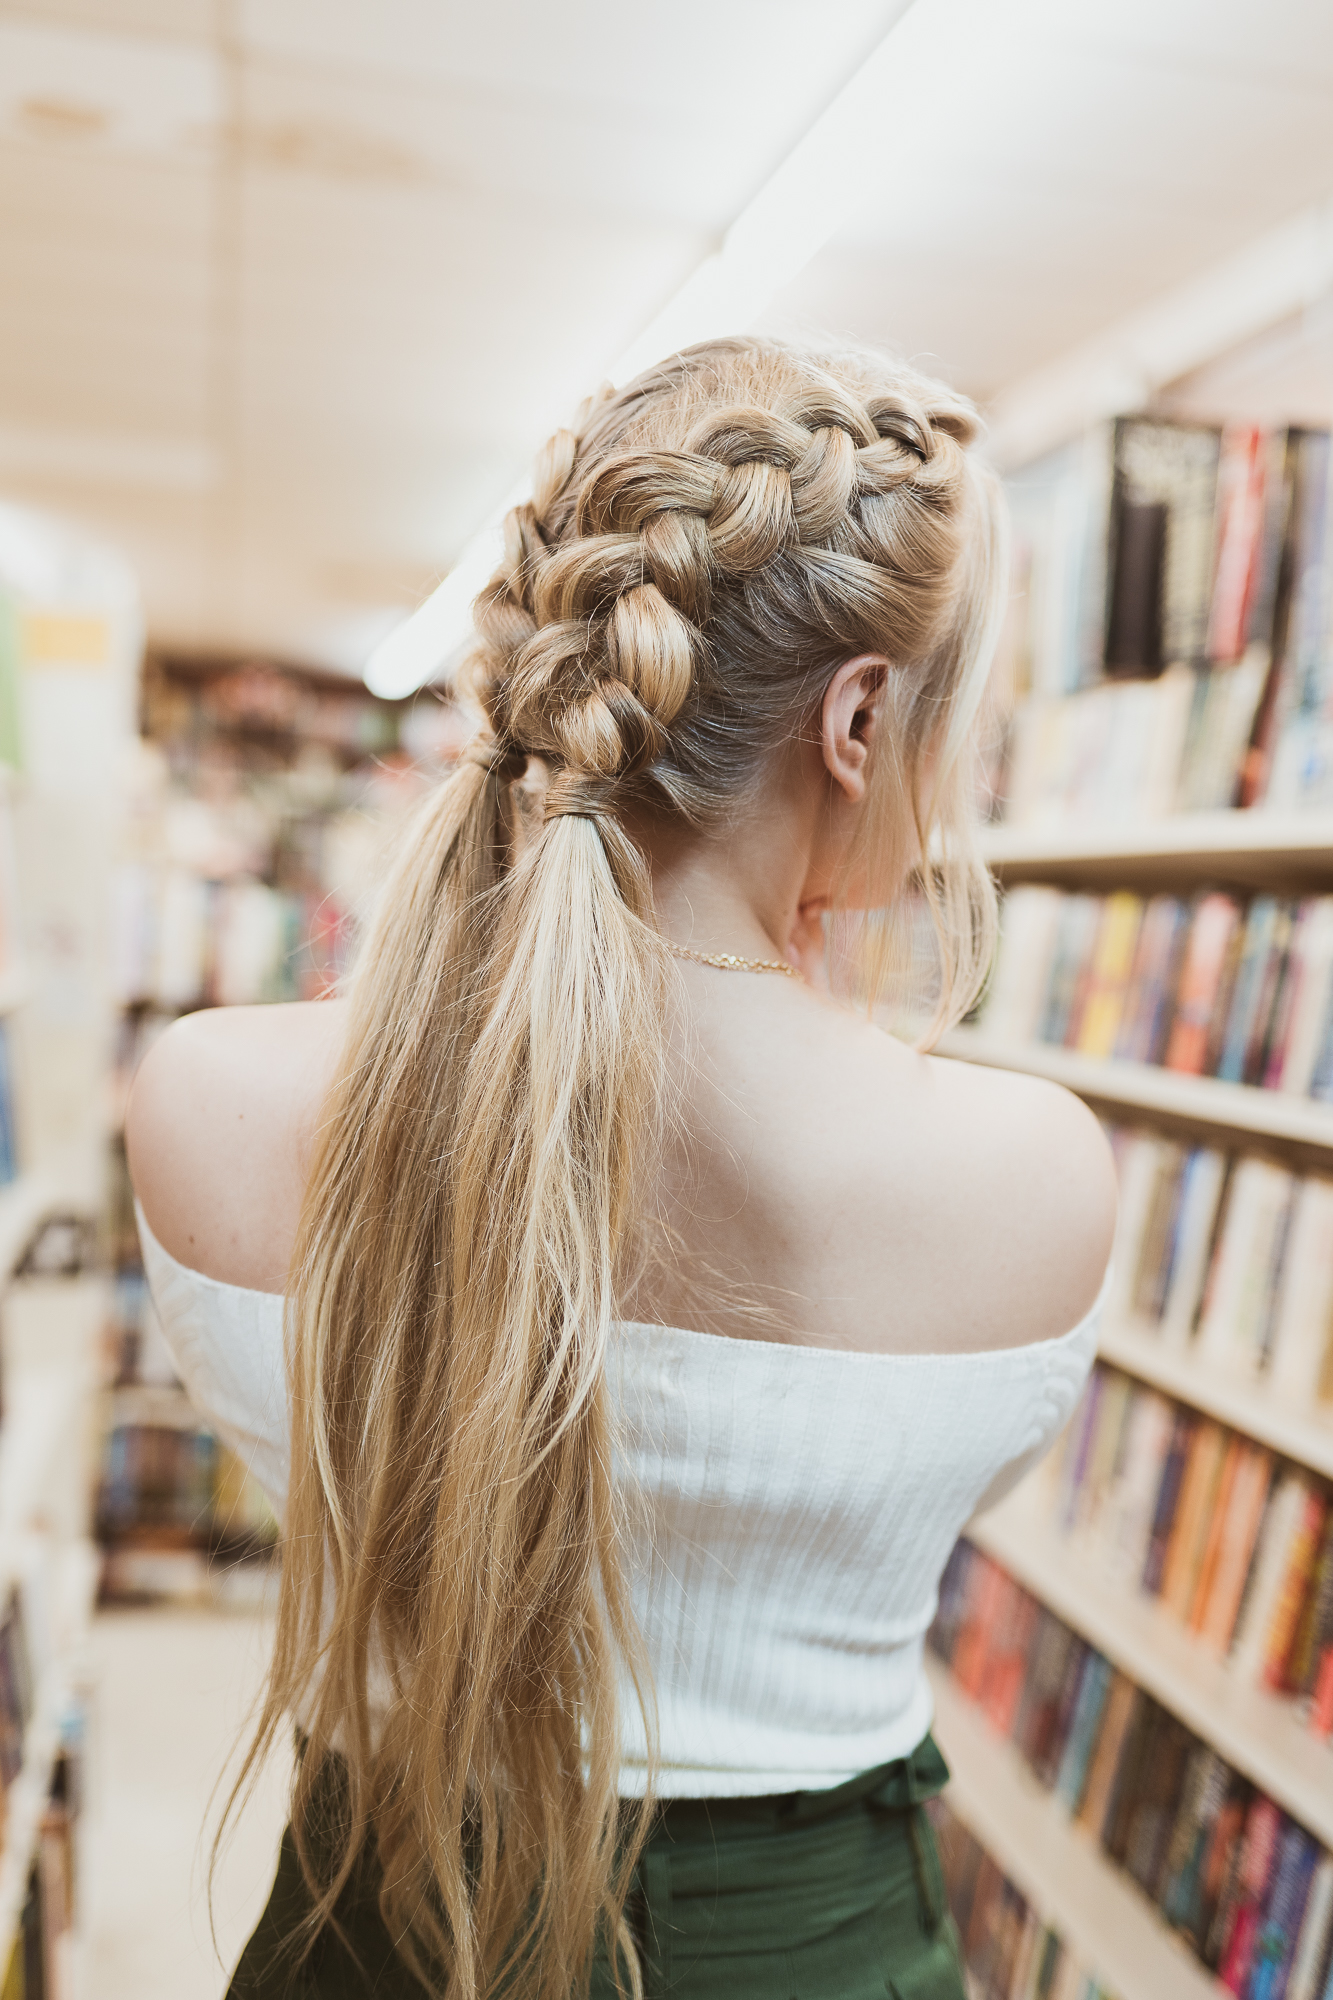
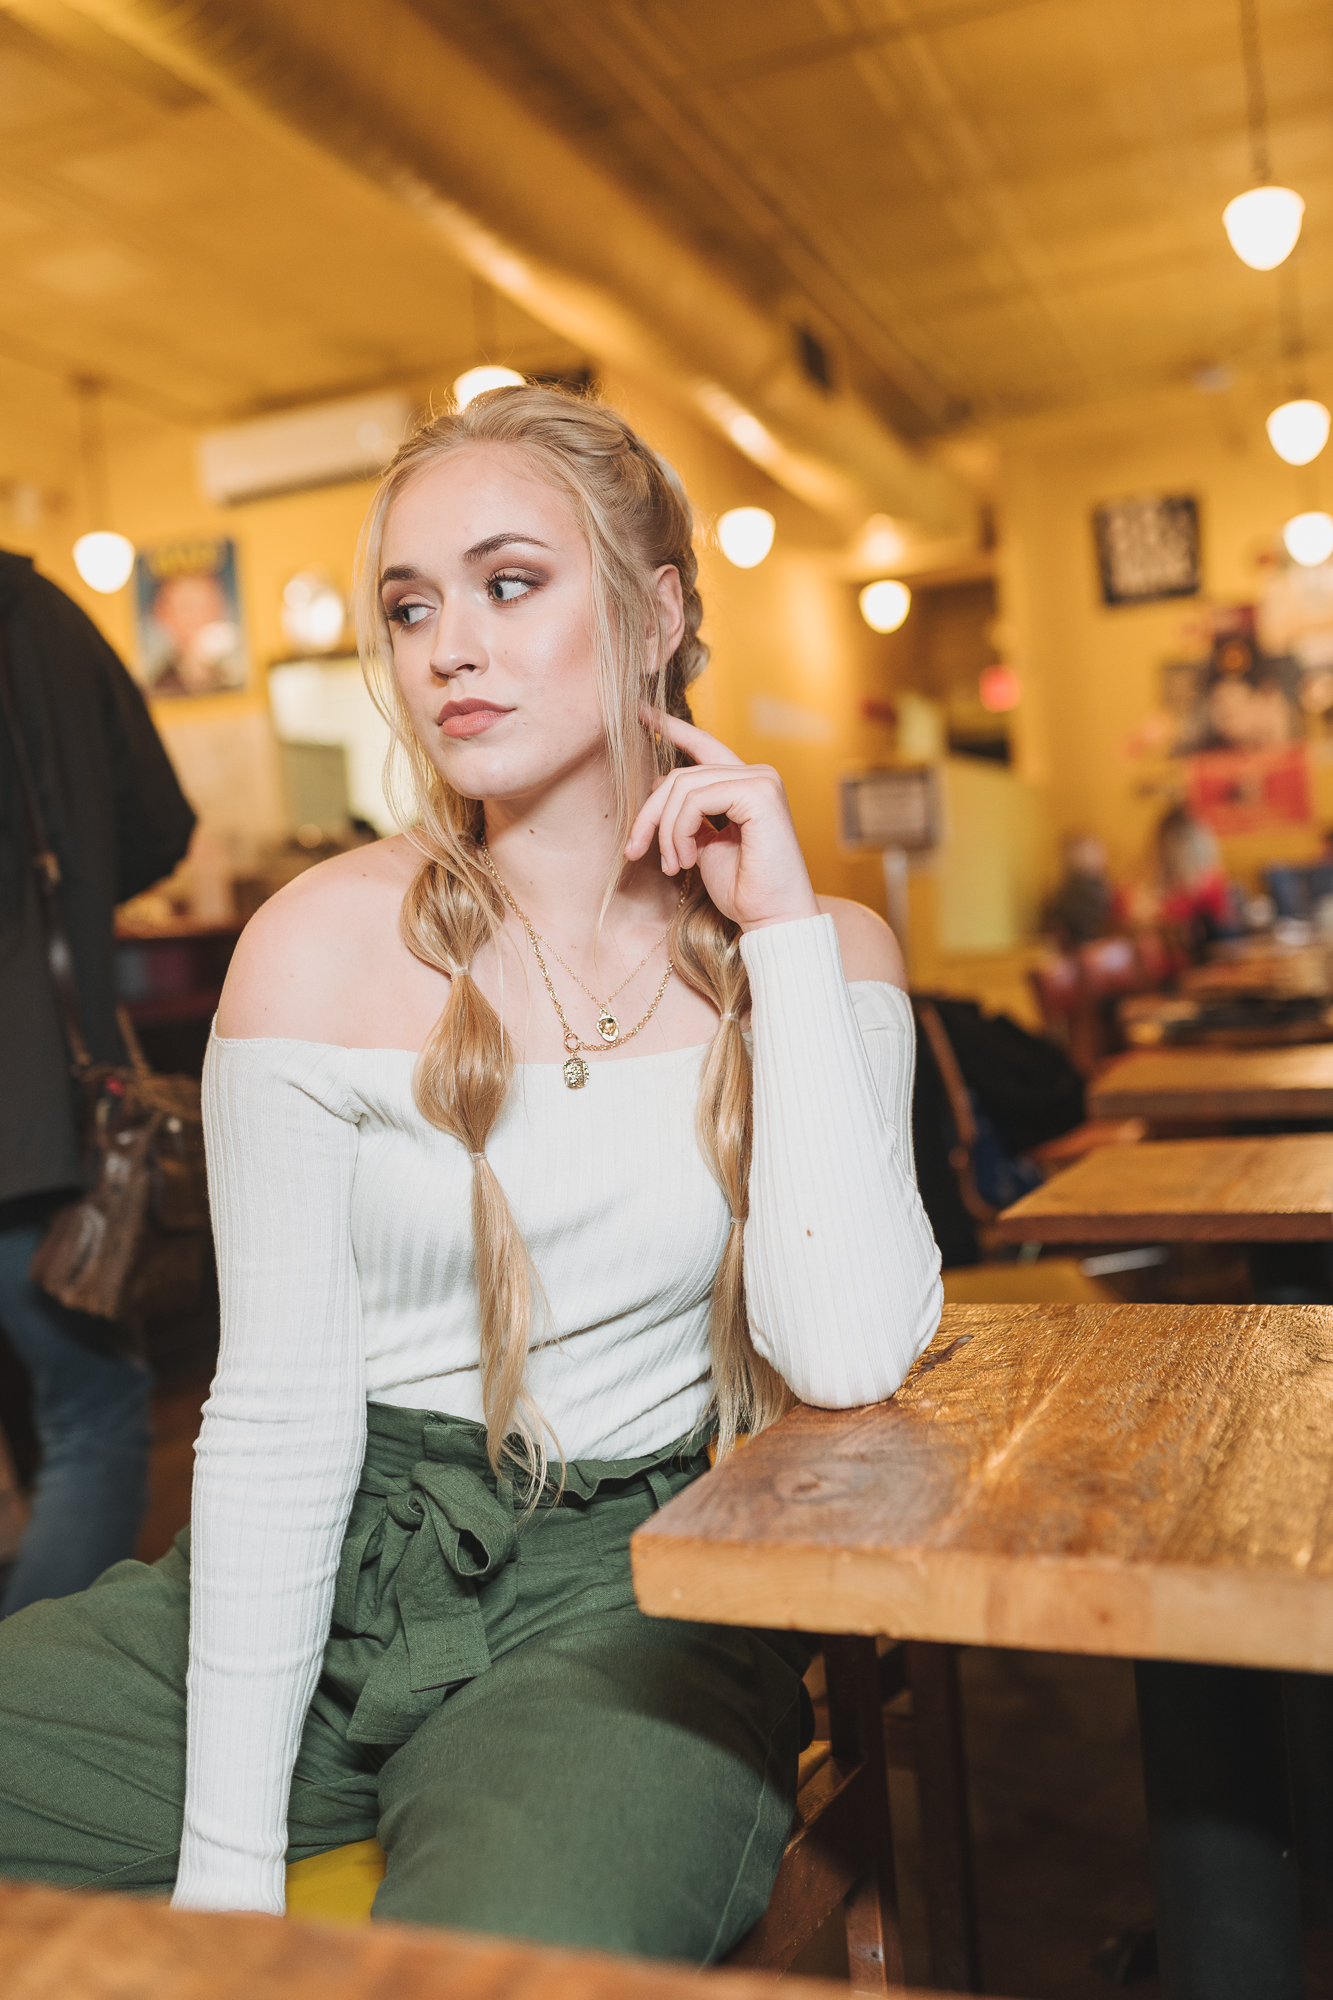
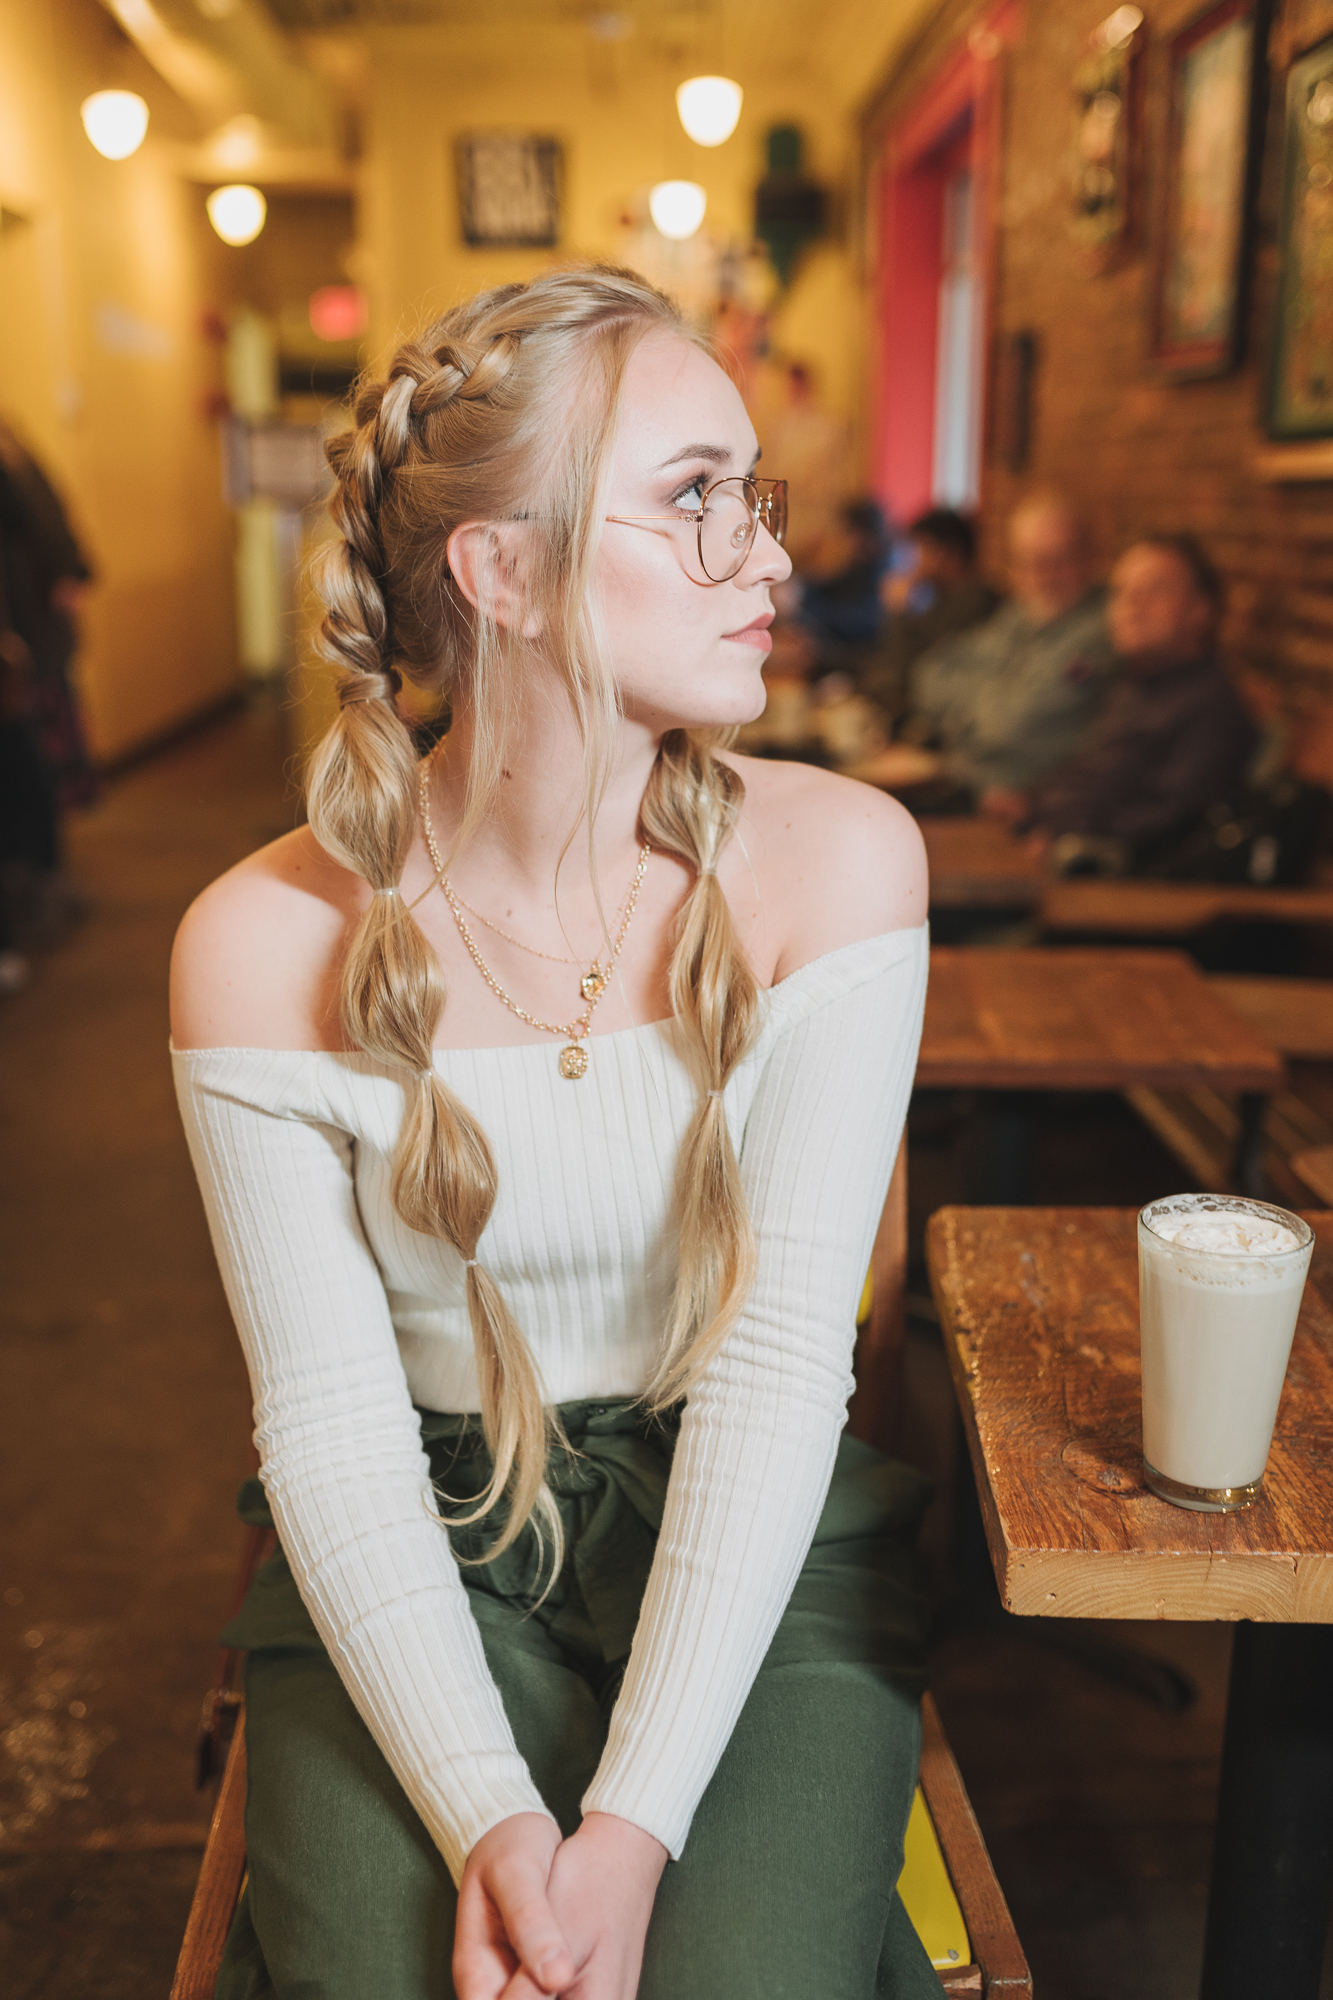
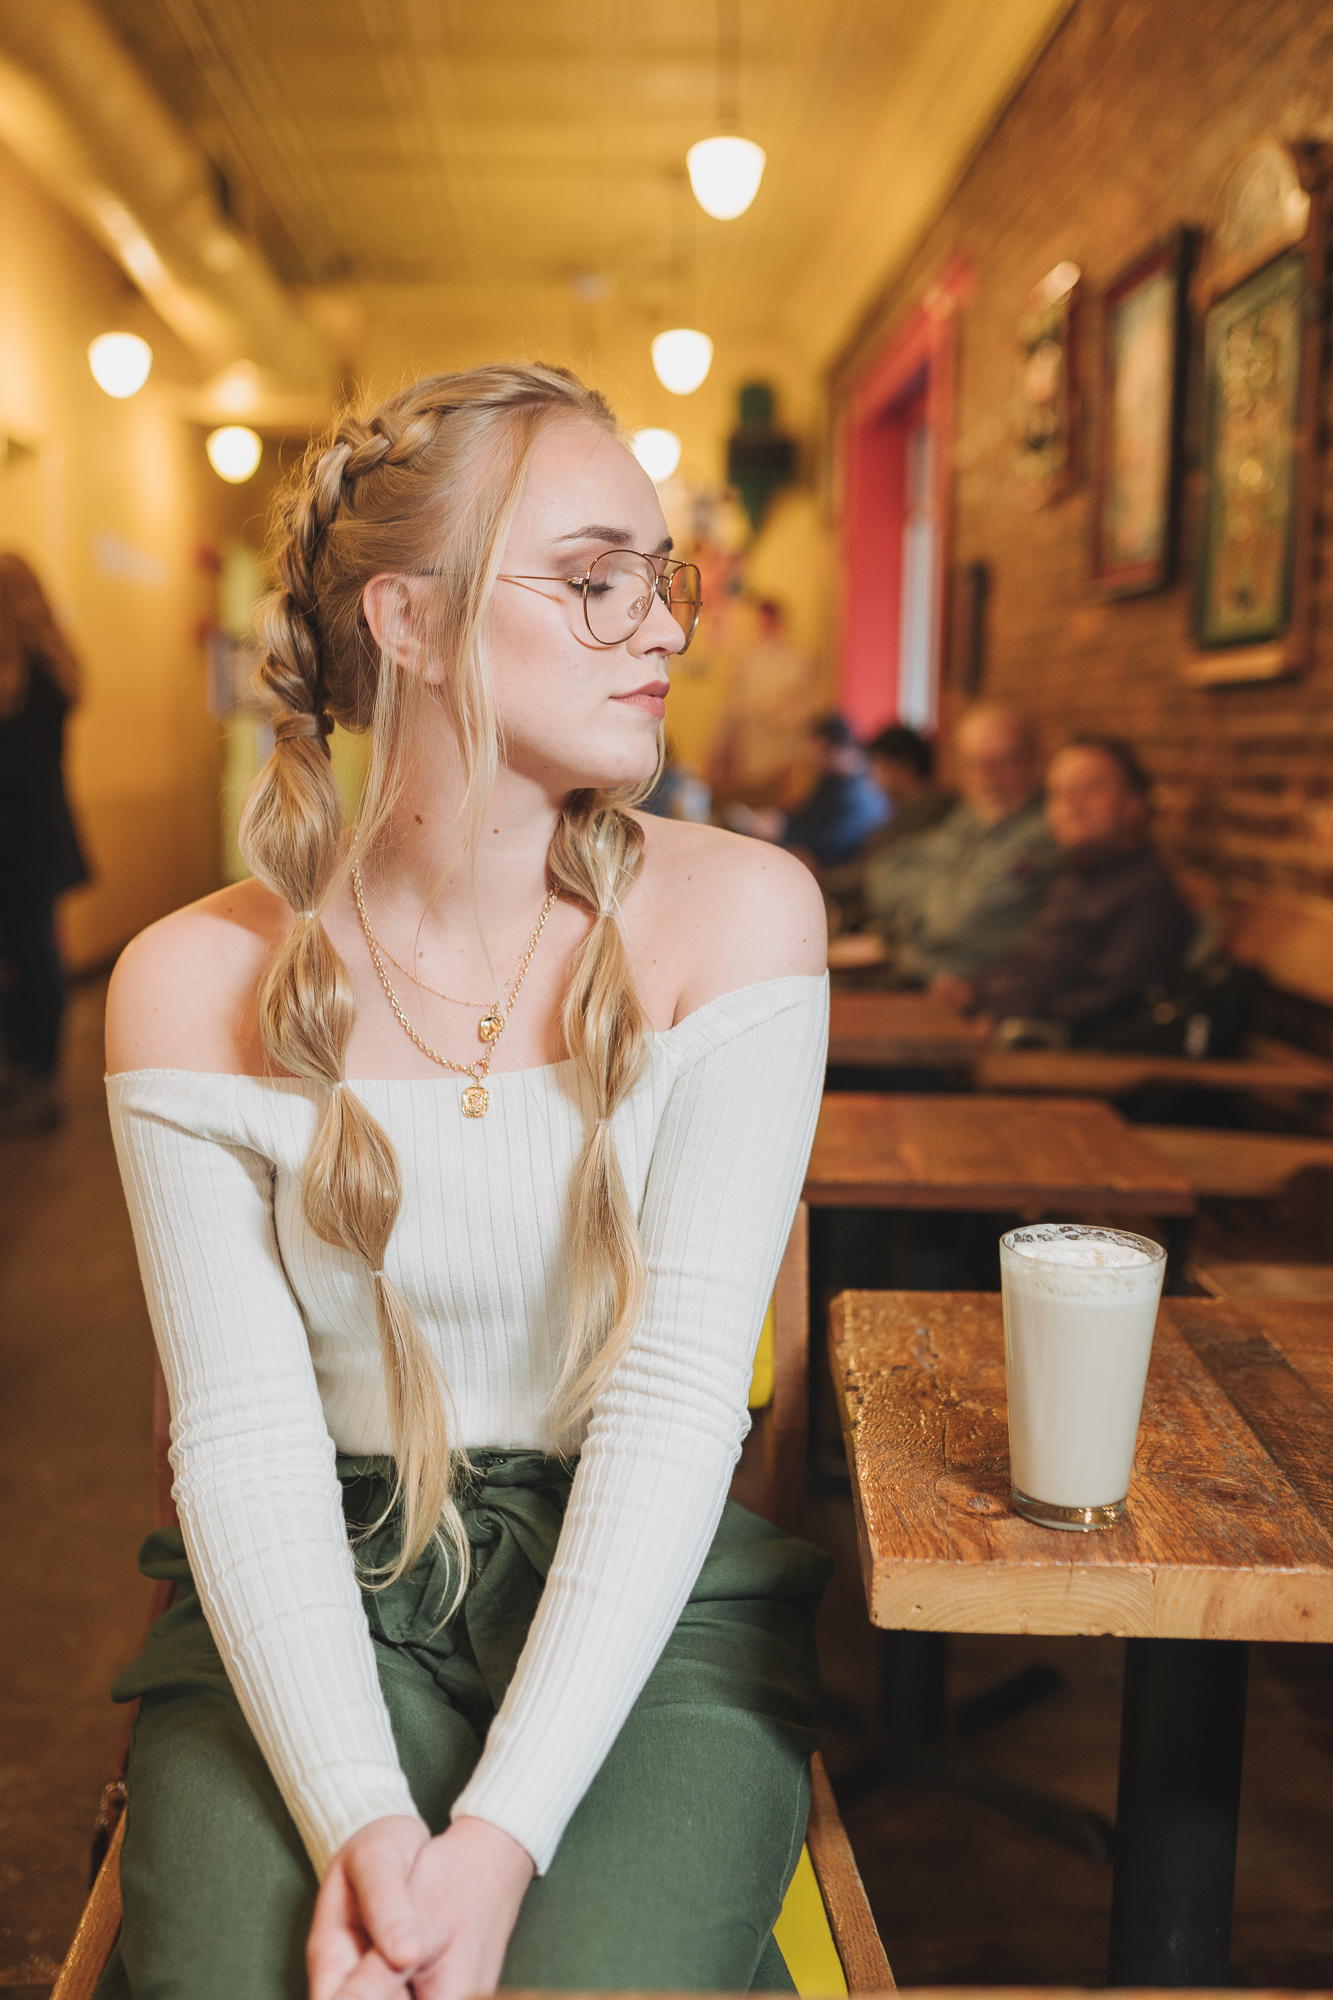
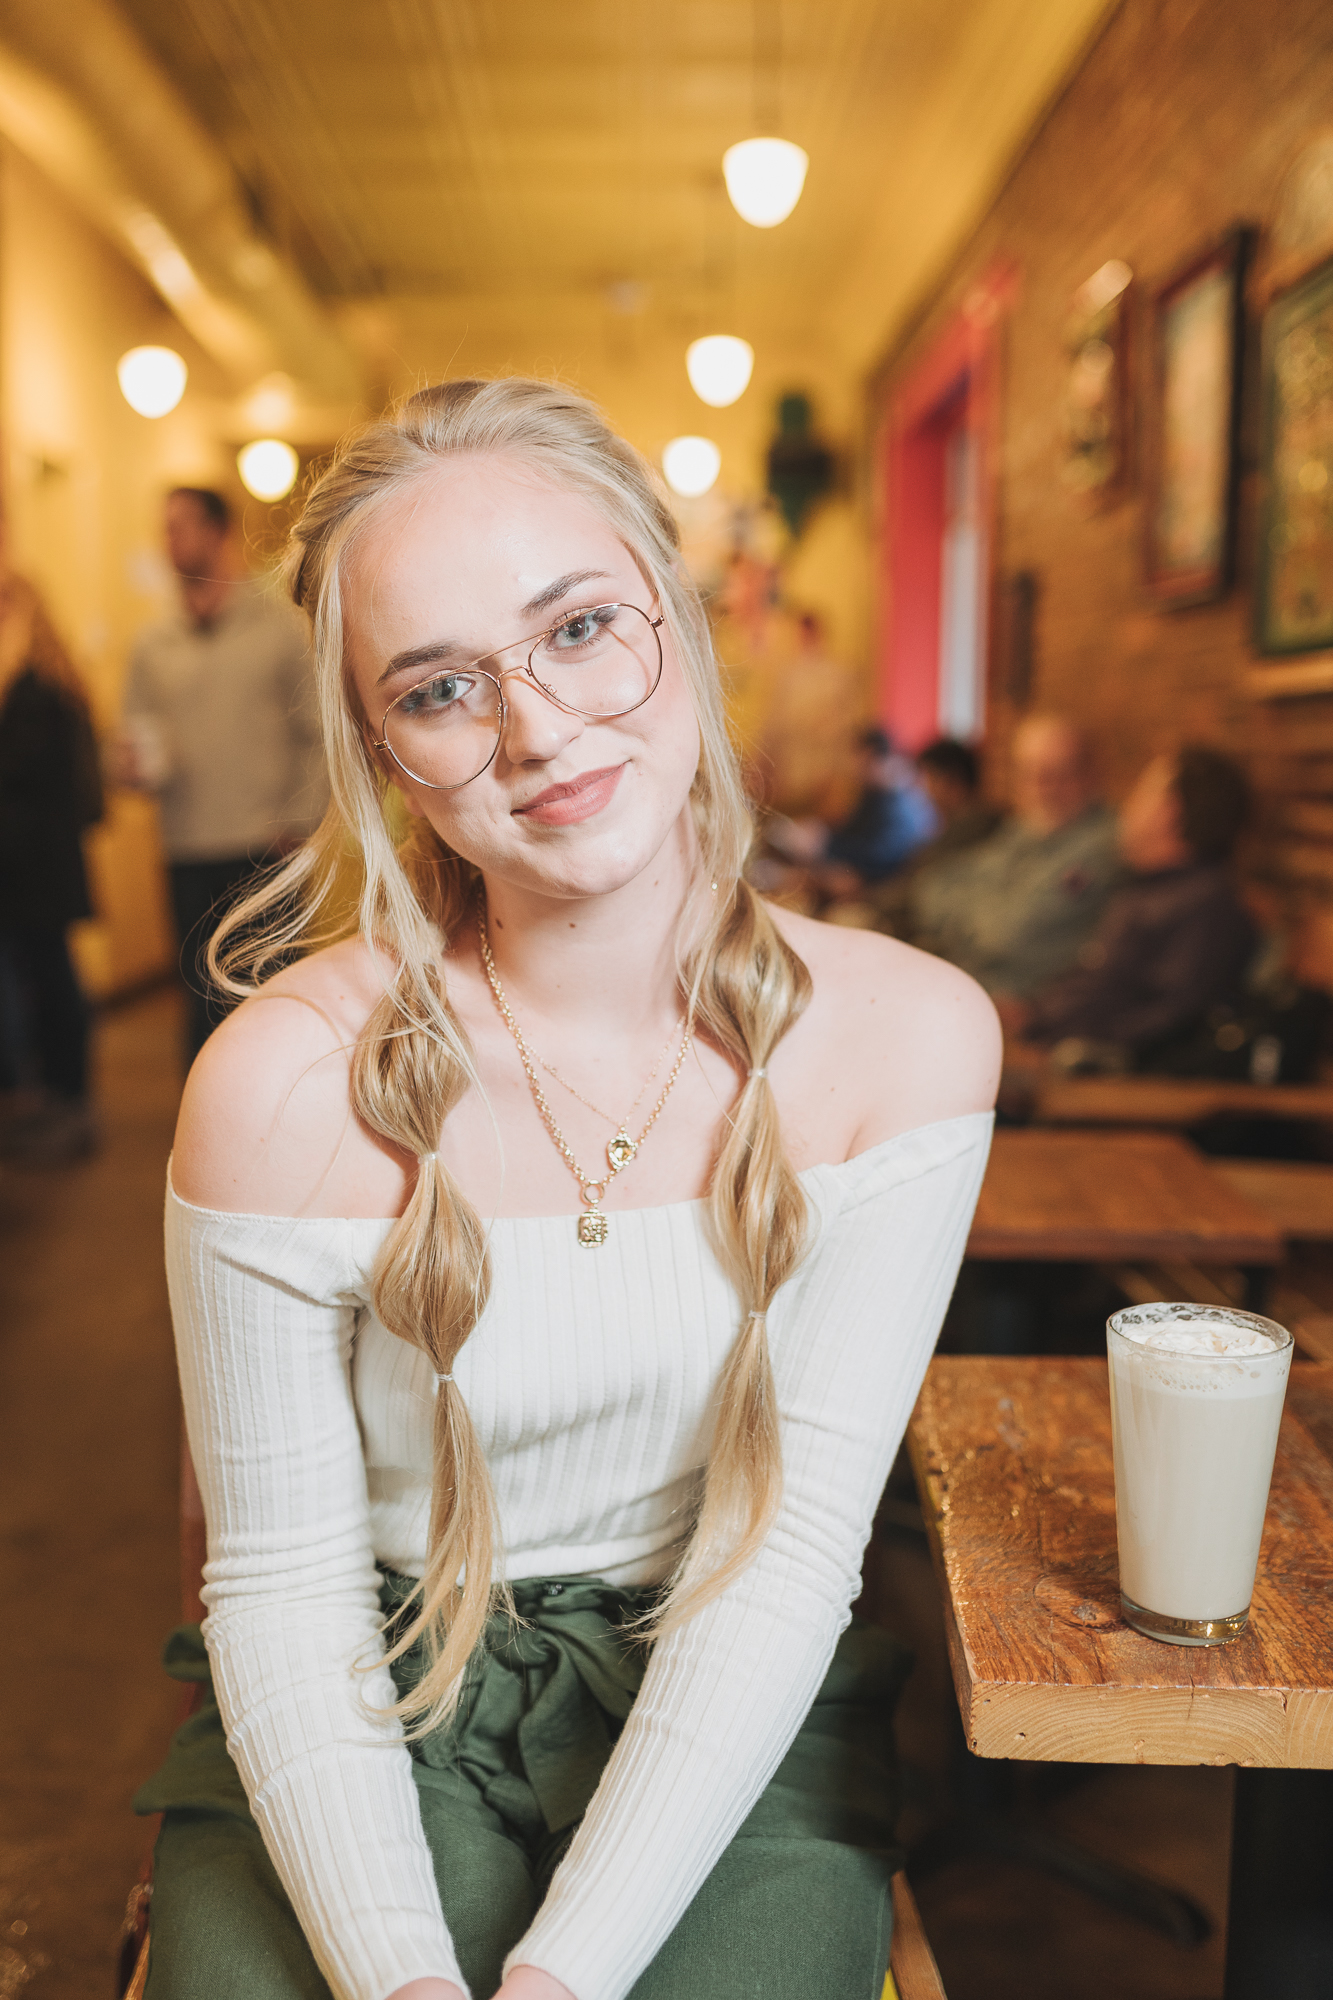
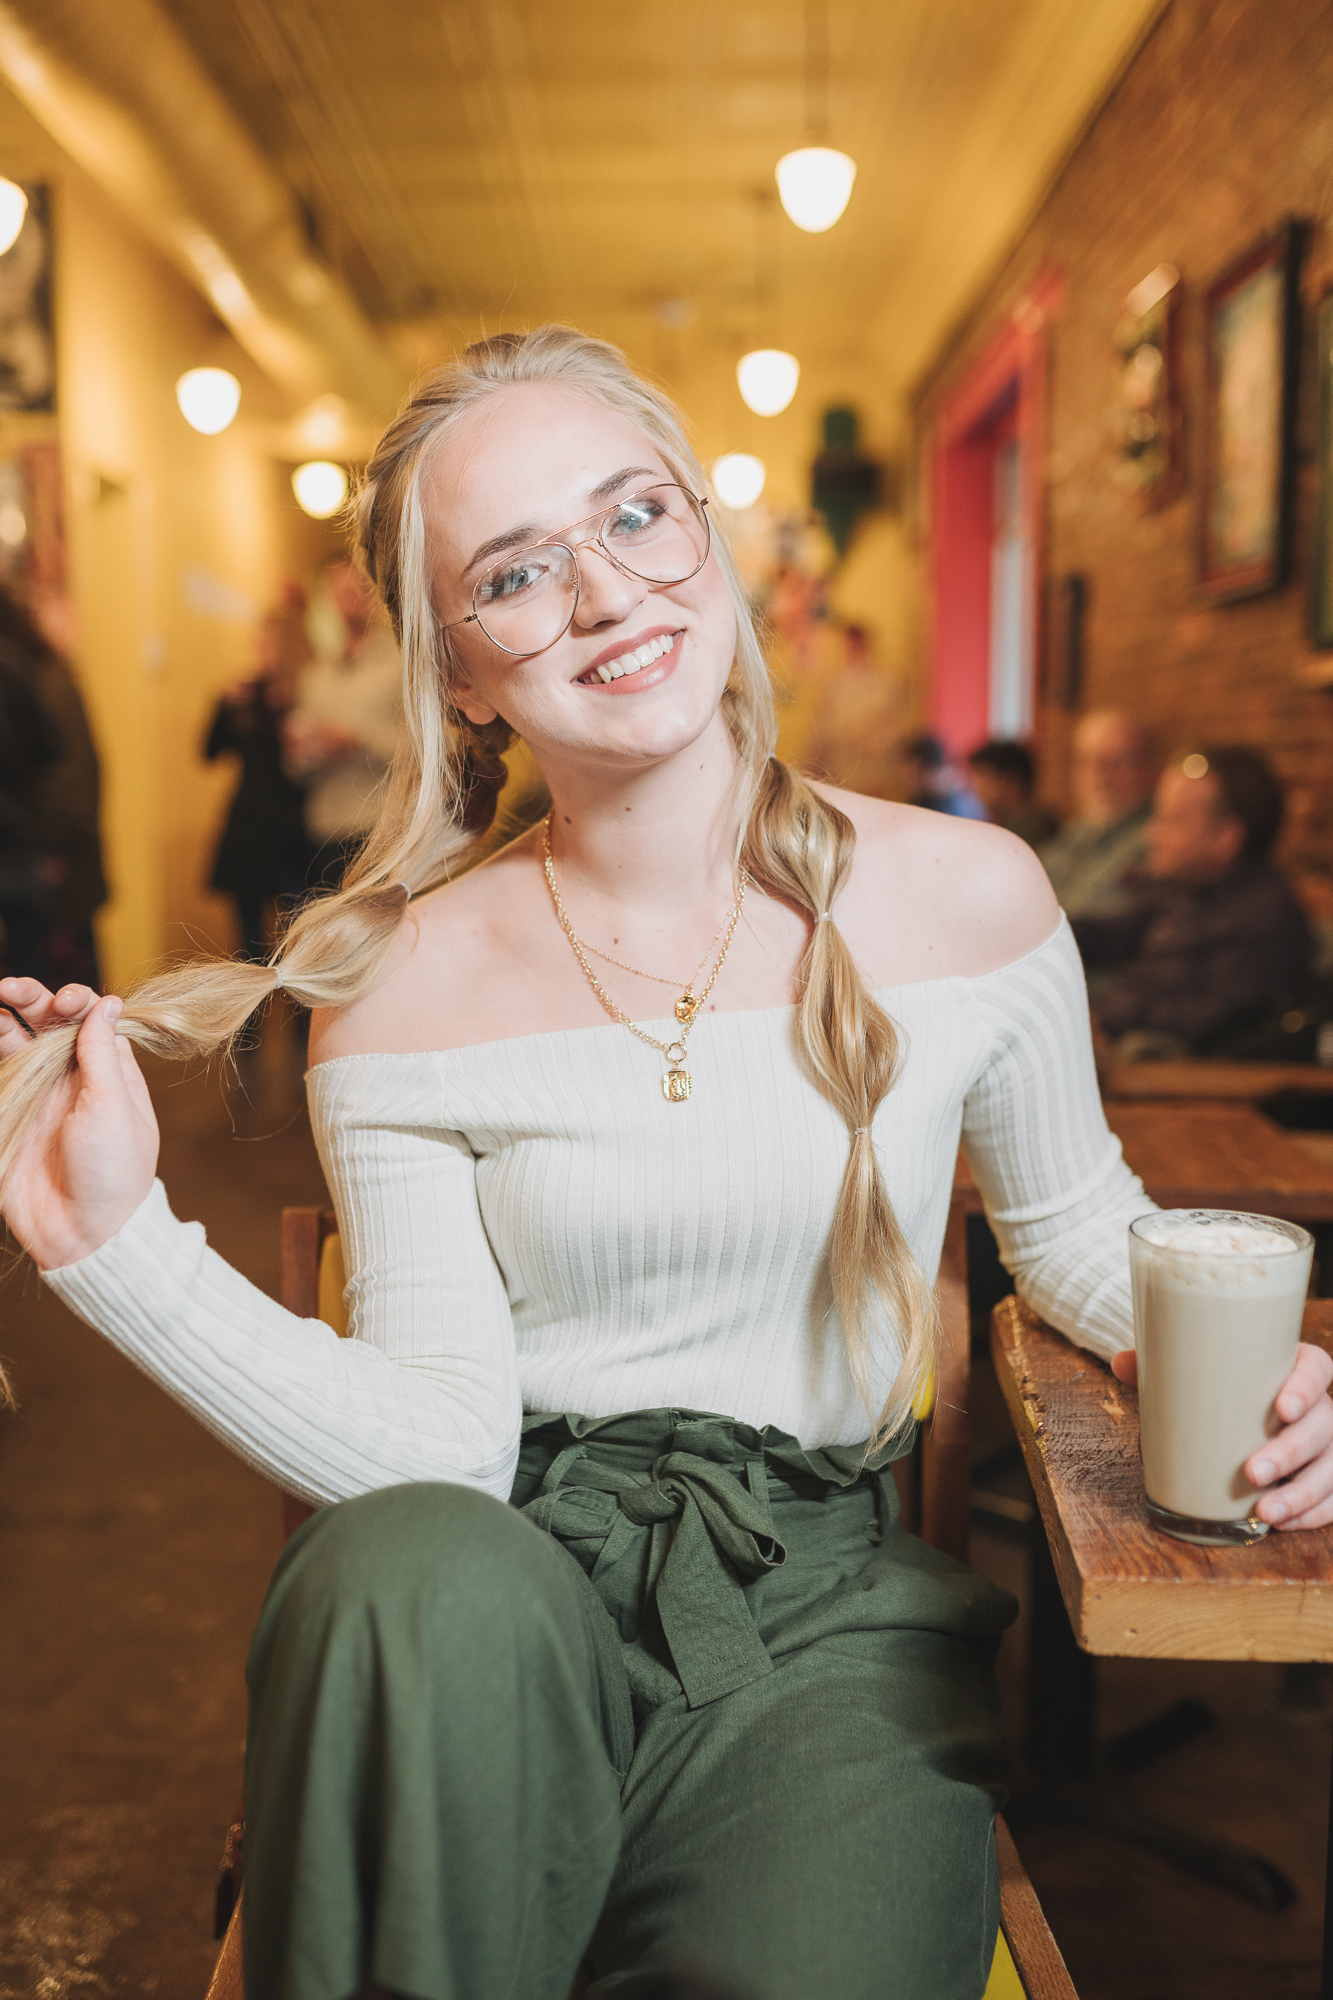
For our second look we wanted to try these super fun boho braids, and there is nothing like an on-location hair change! All we needed was stool and we were set to work to achieve this next look. It only took about 15 minutes and we had a completely new look! It’s also important to think about the order of how you would want to do your hair. Curl’s usually take the most time so moving from there to a braided look or a bun is a really good way to make sure you get each different hairstyle.

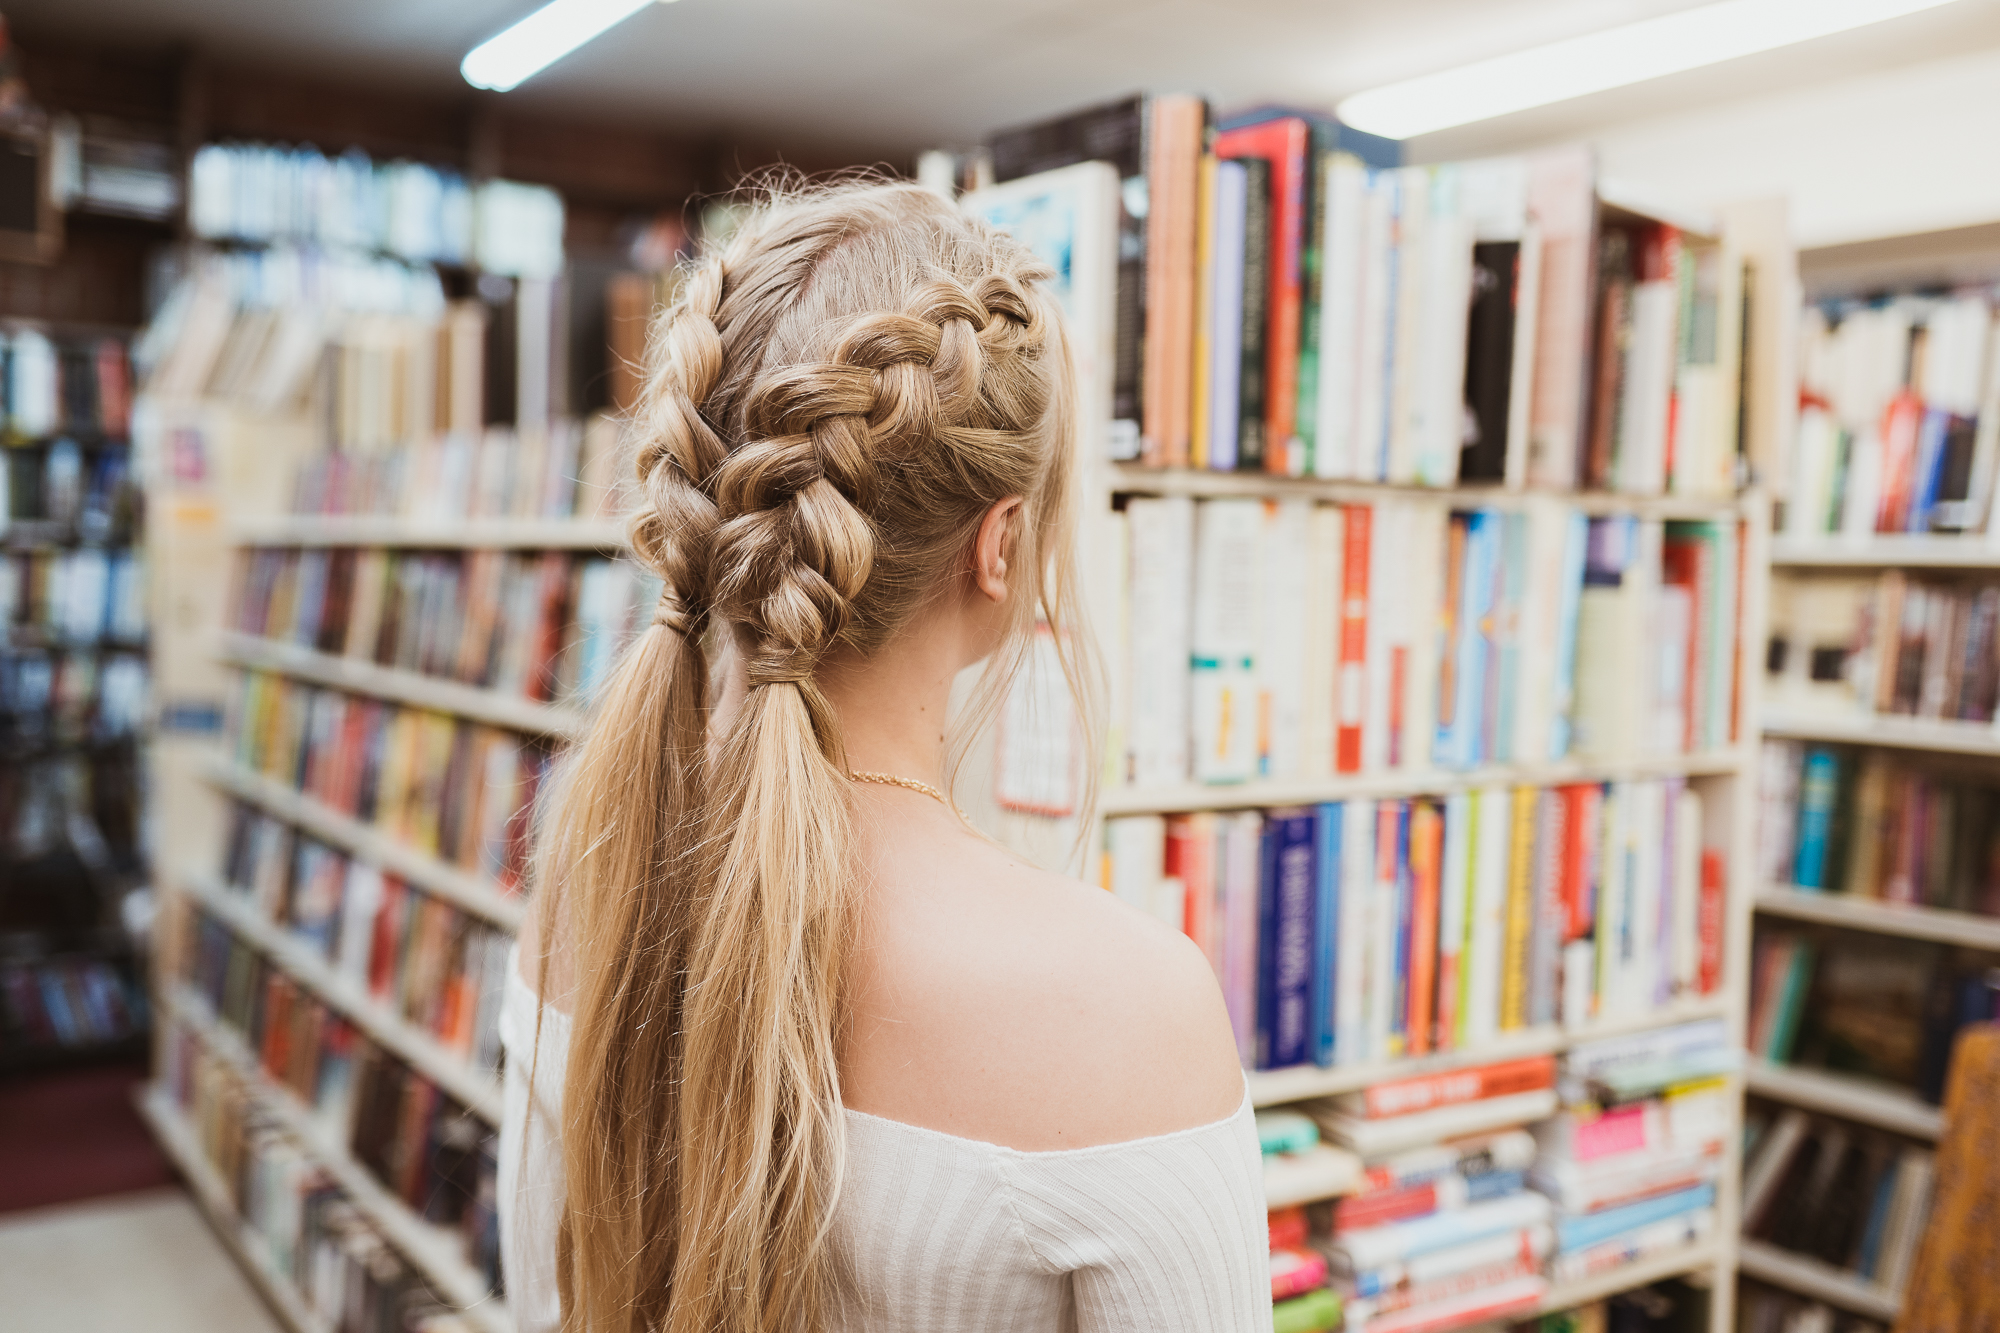
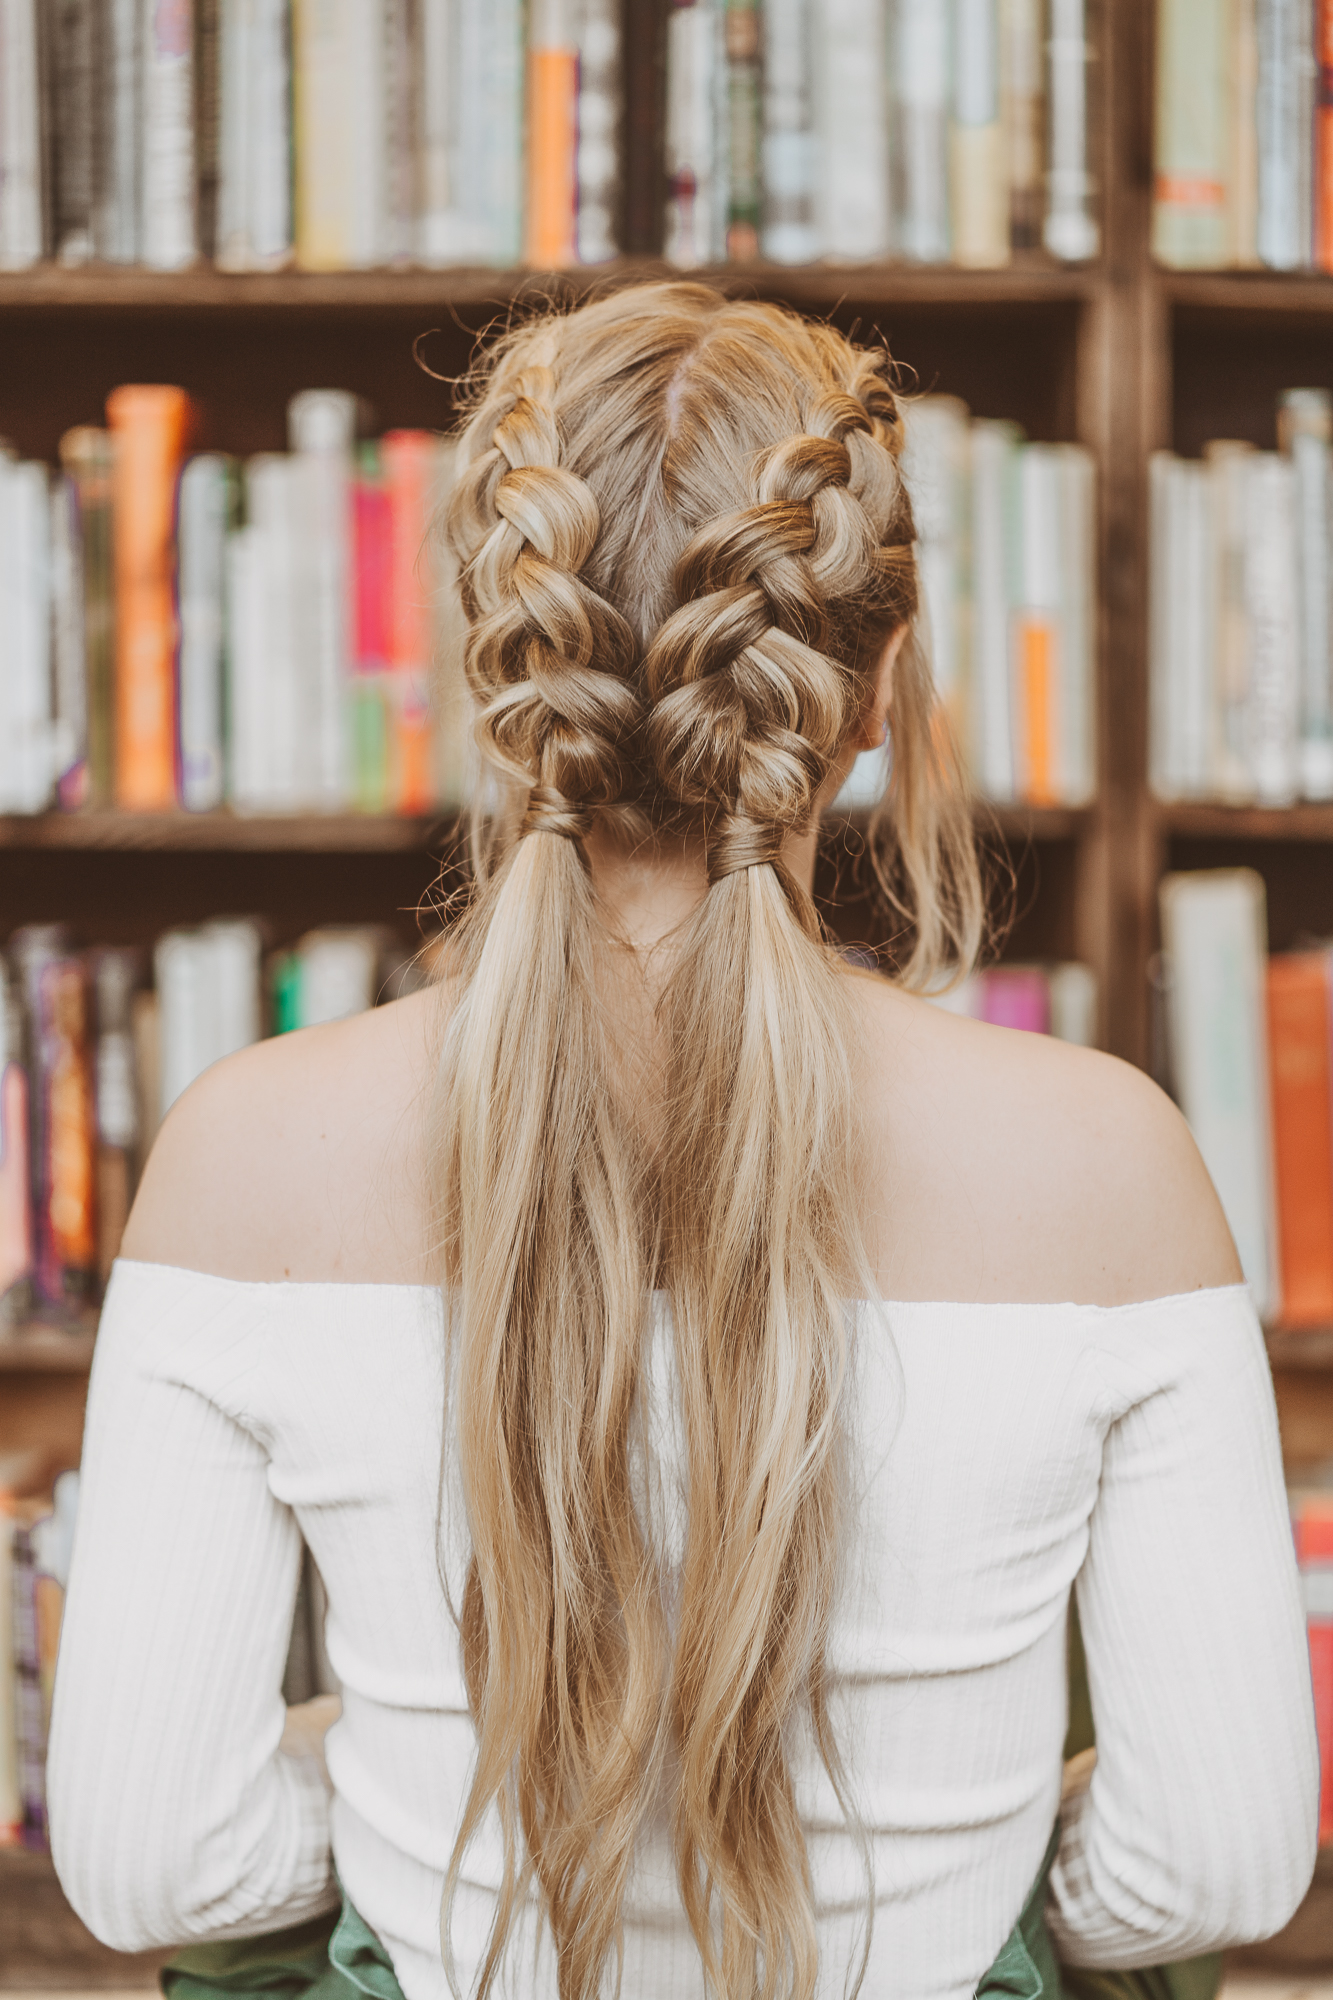
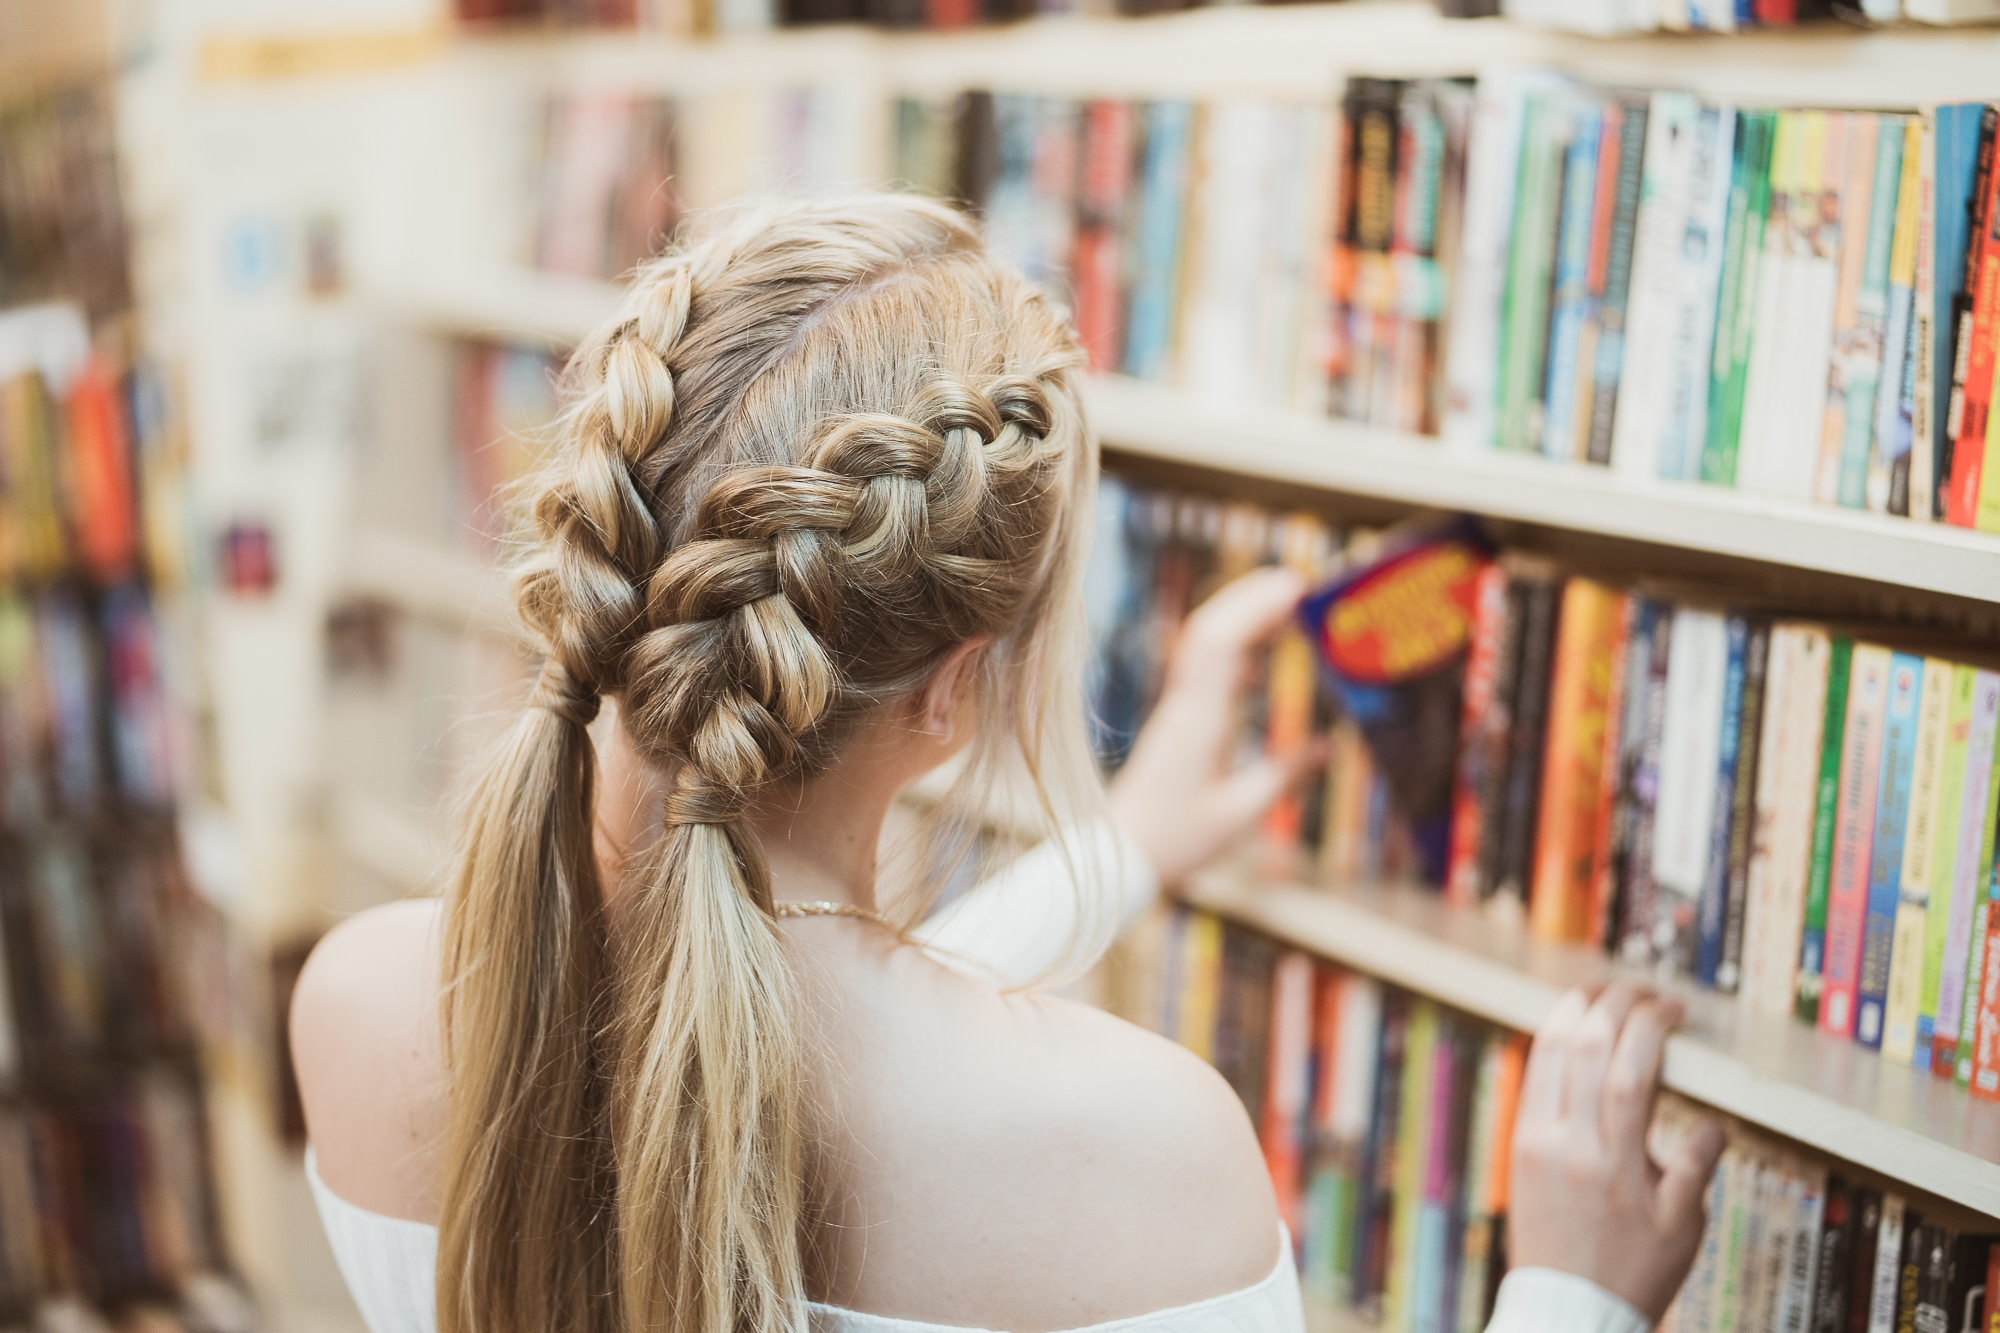
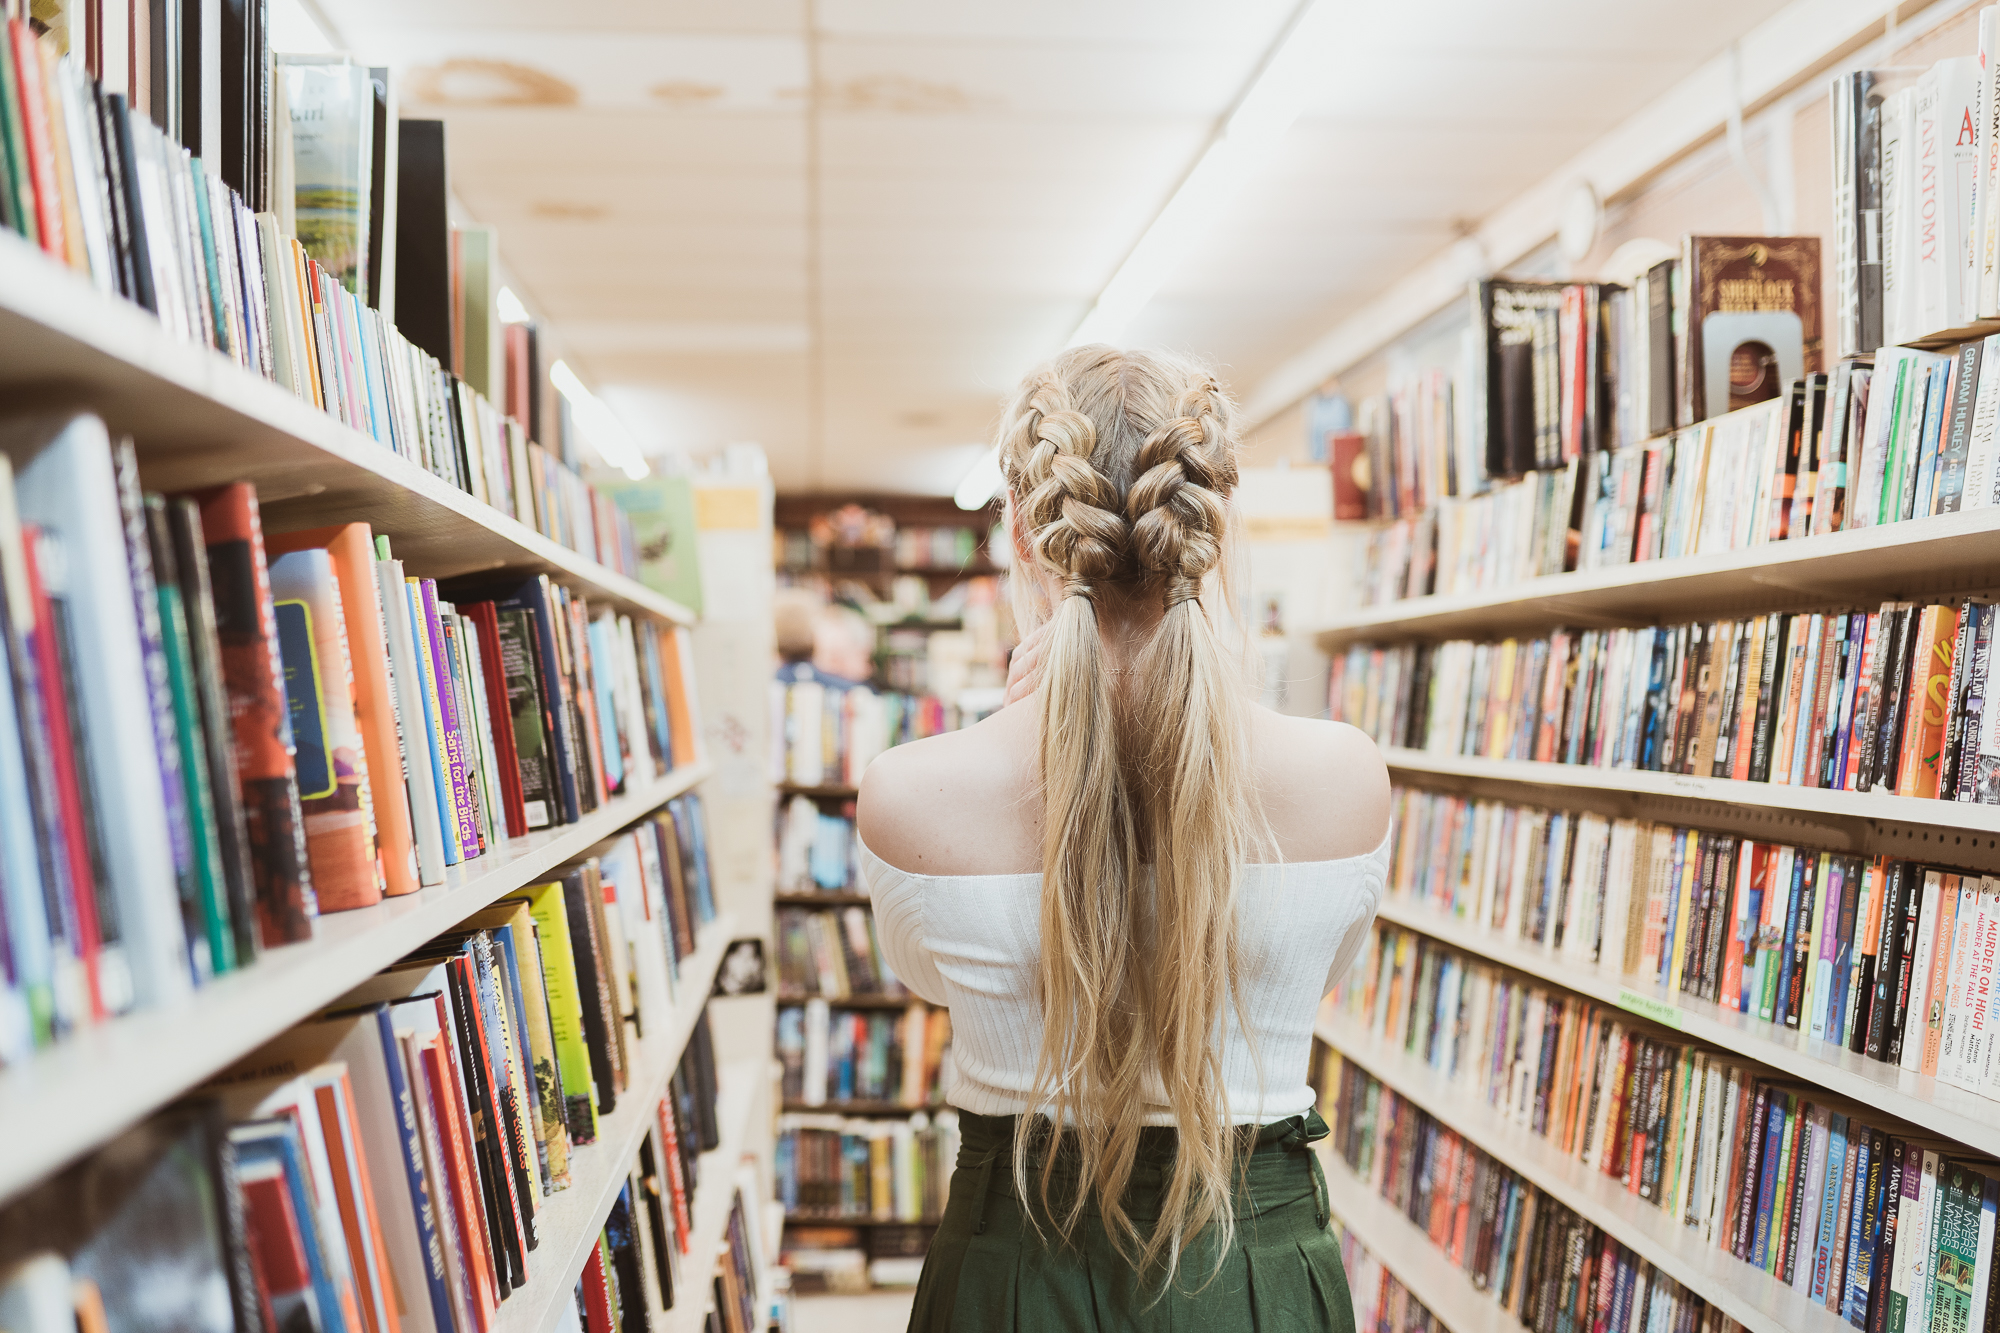
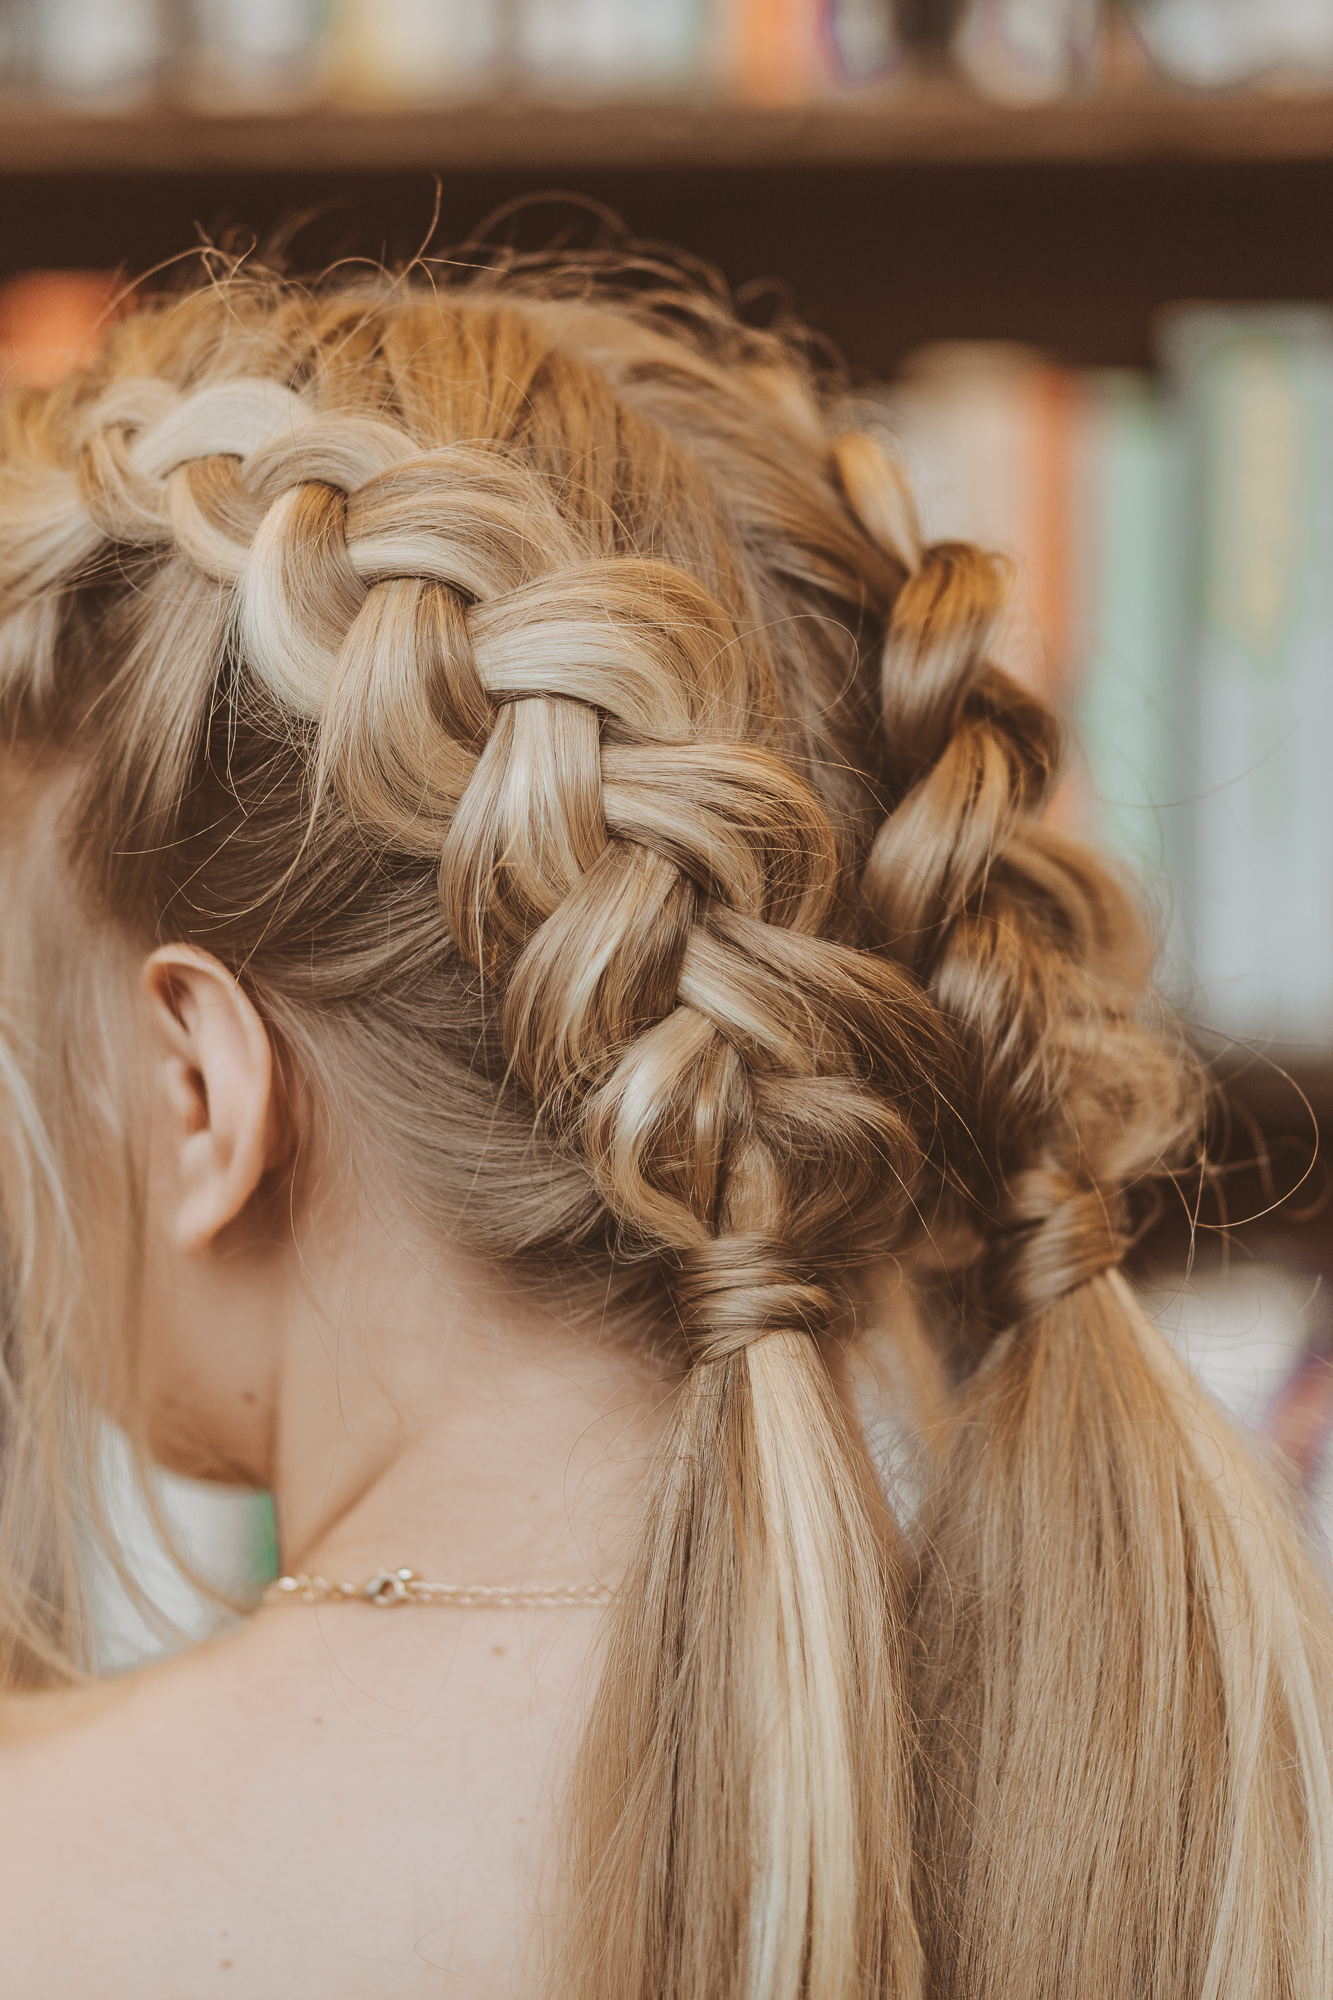
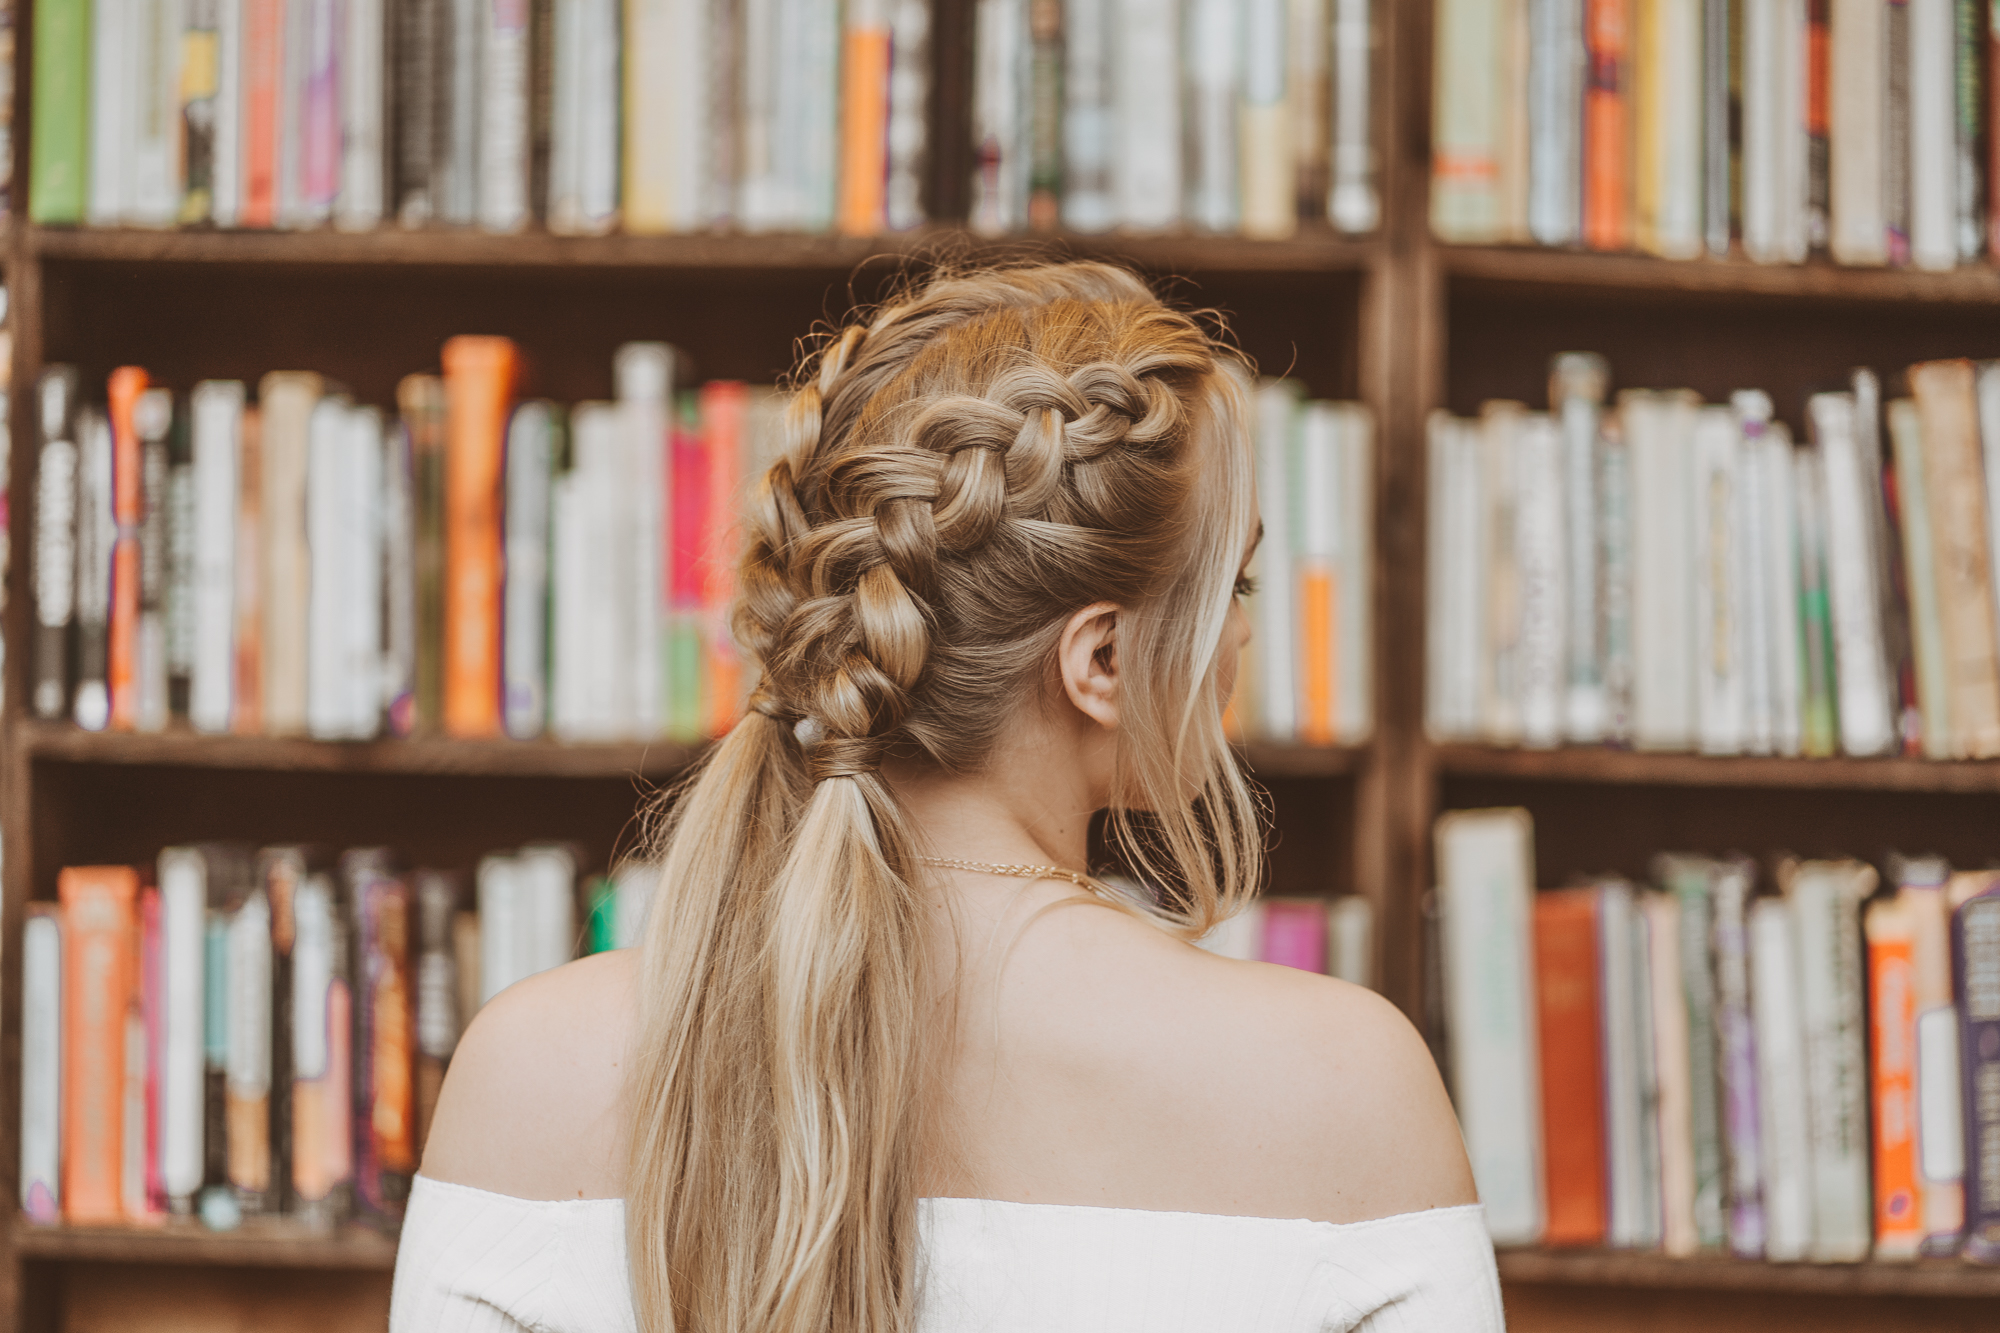
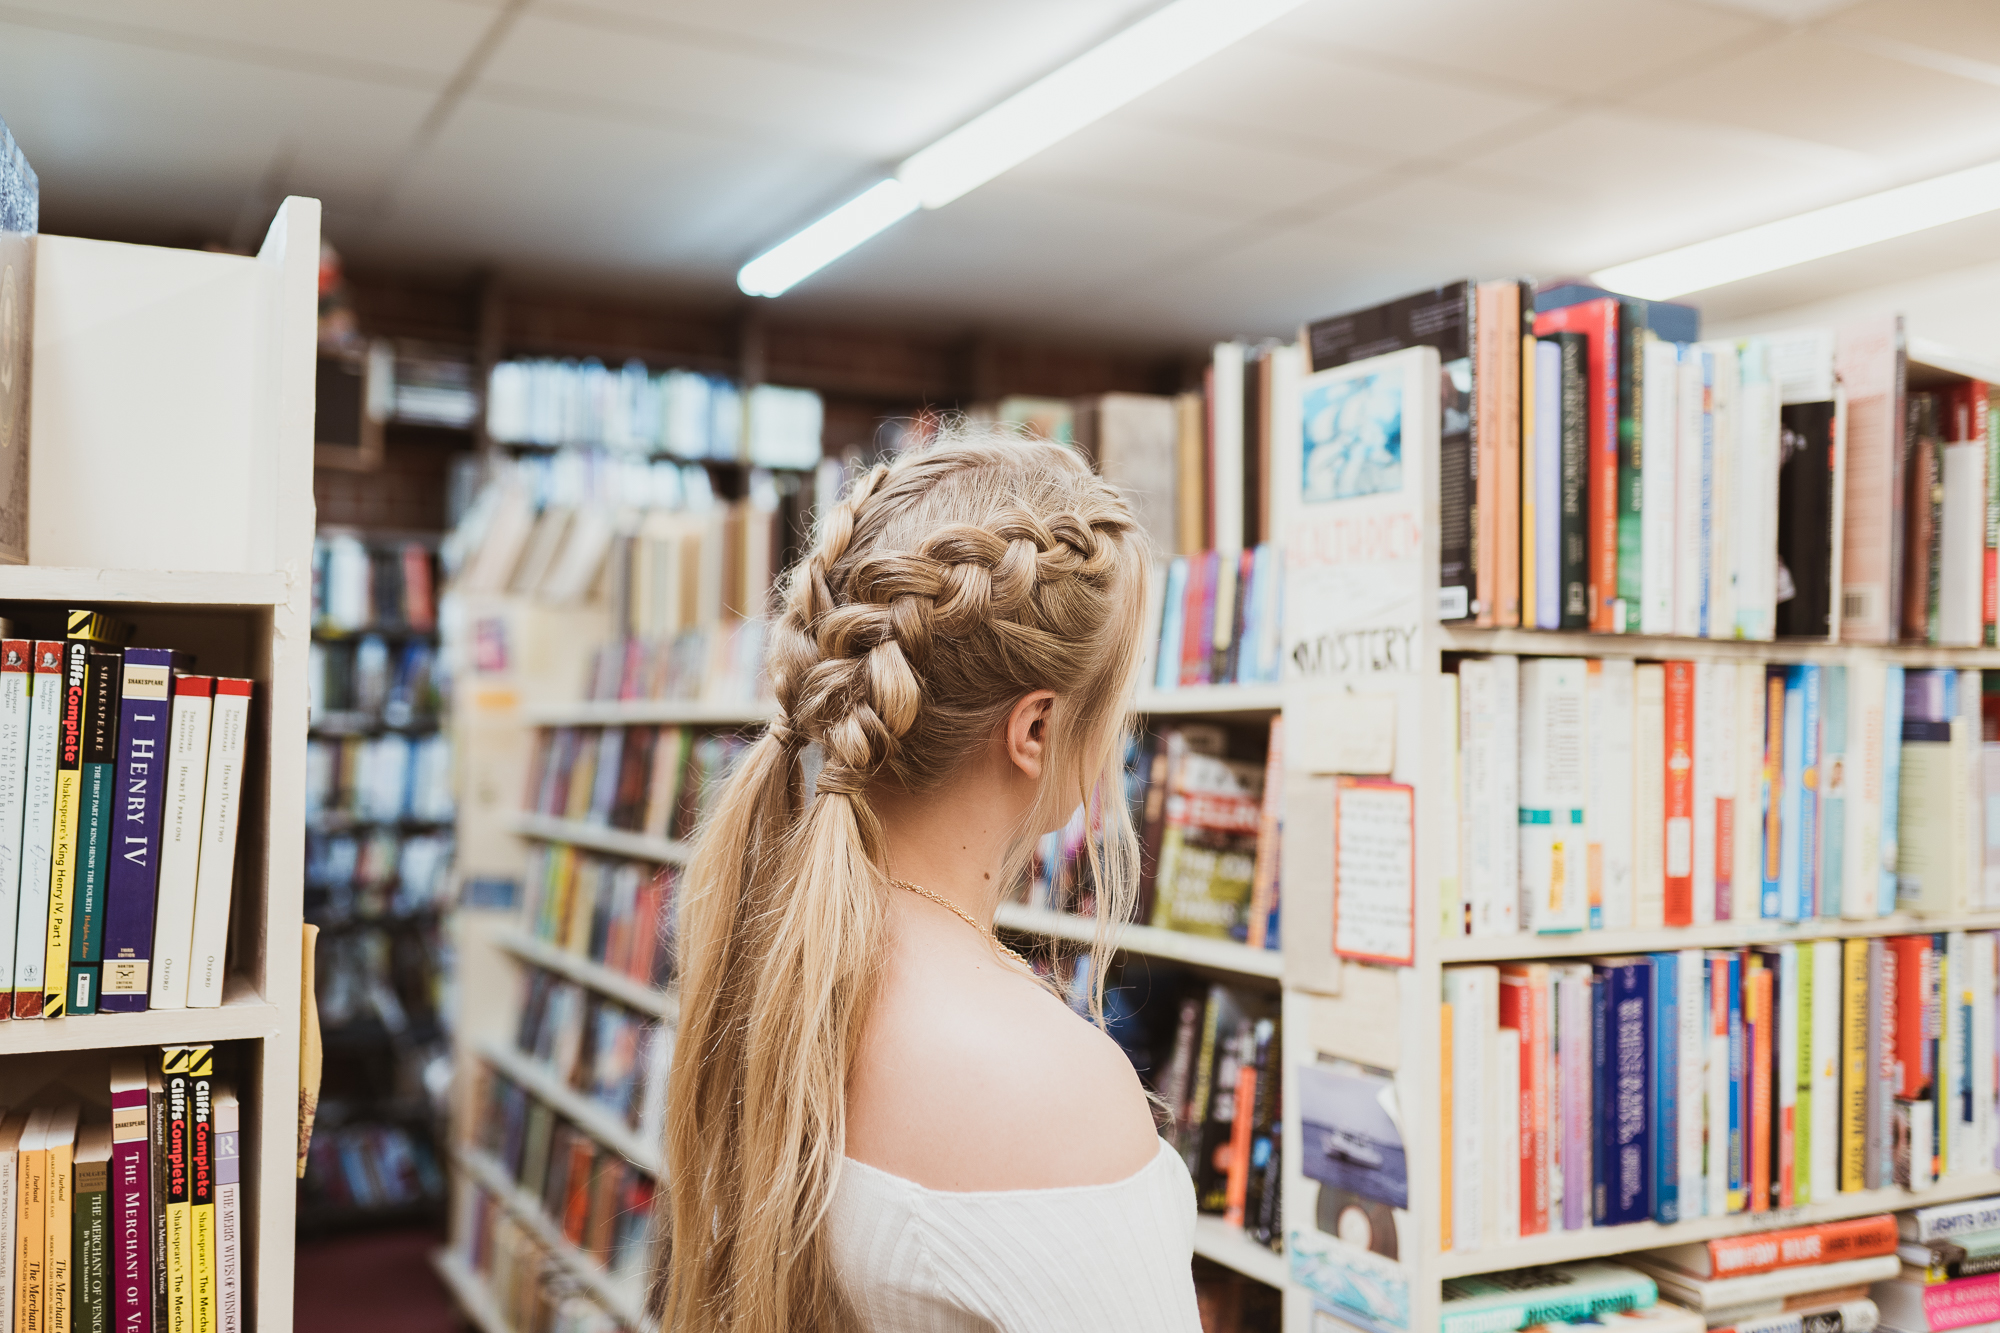
2. Boho Braids
Boho Braids
-
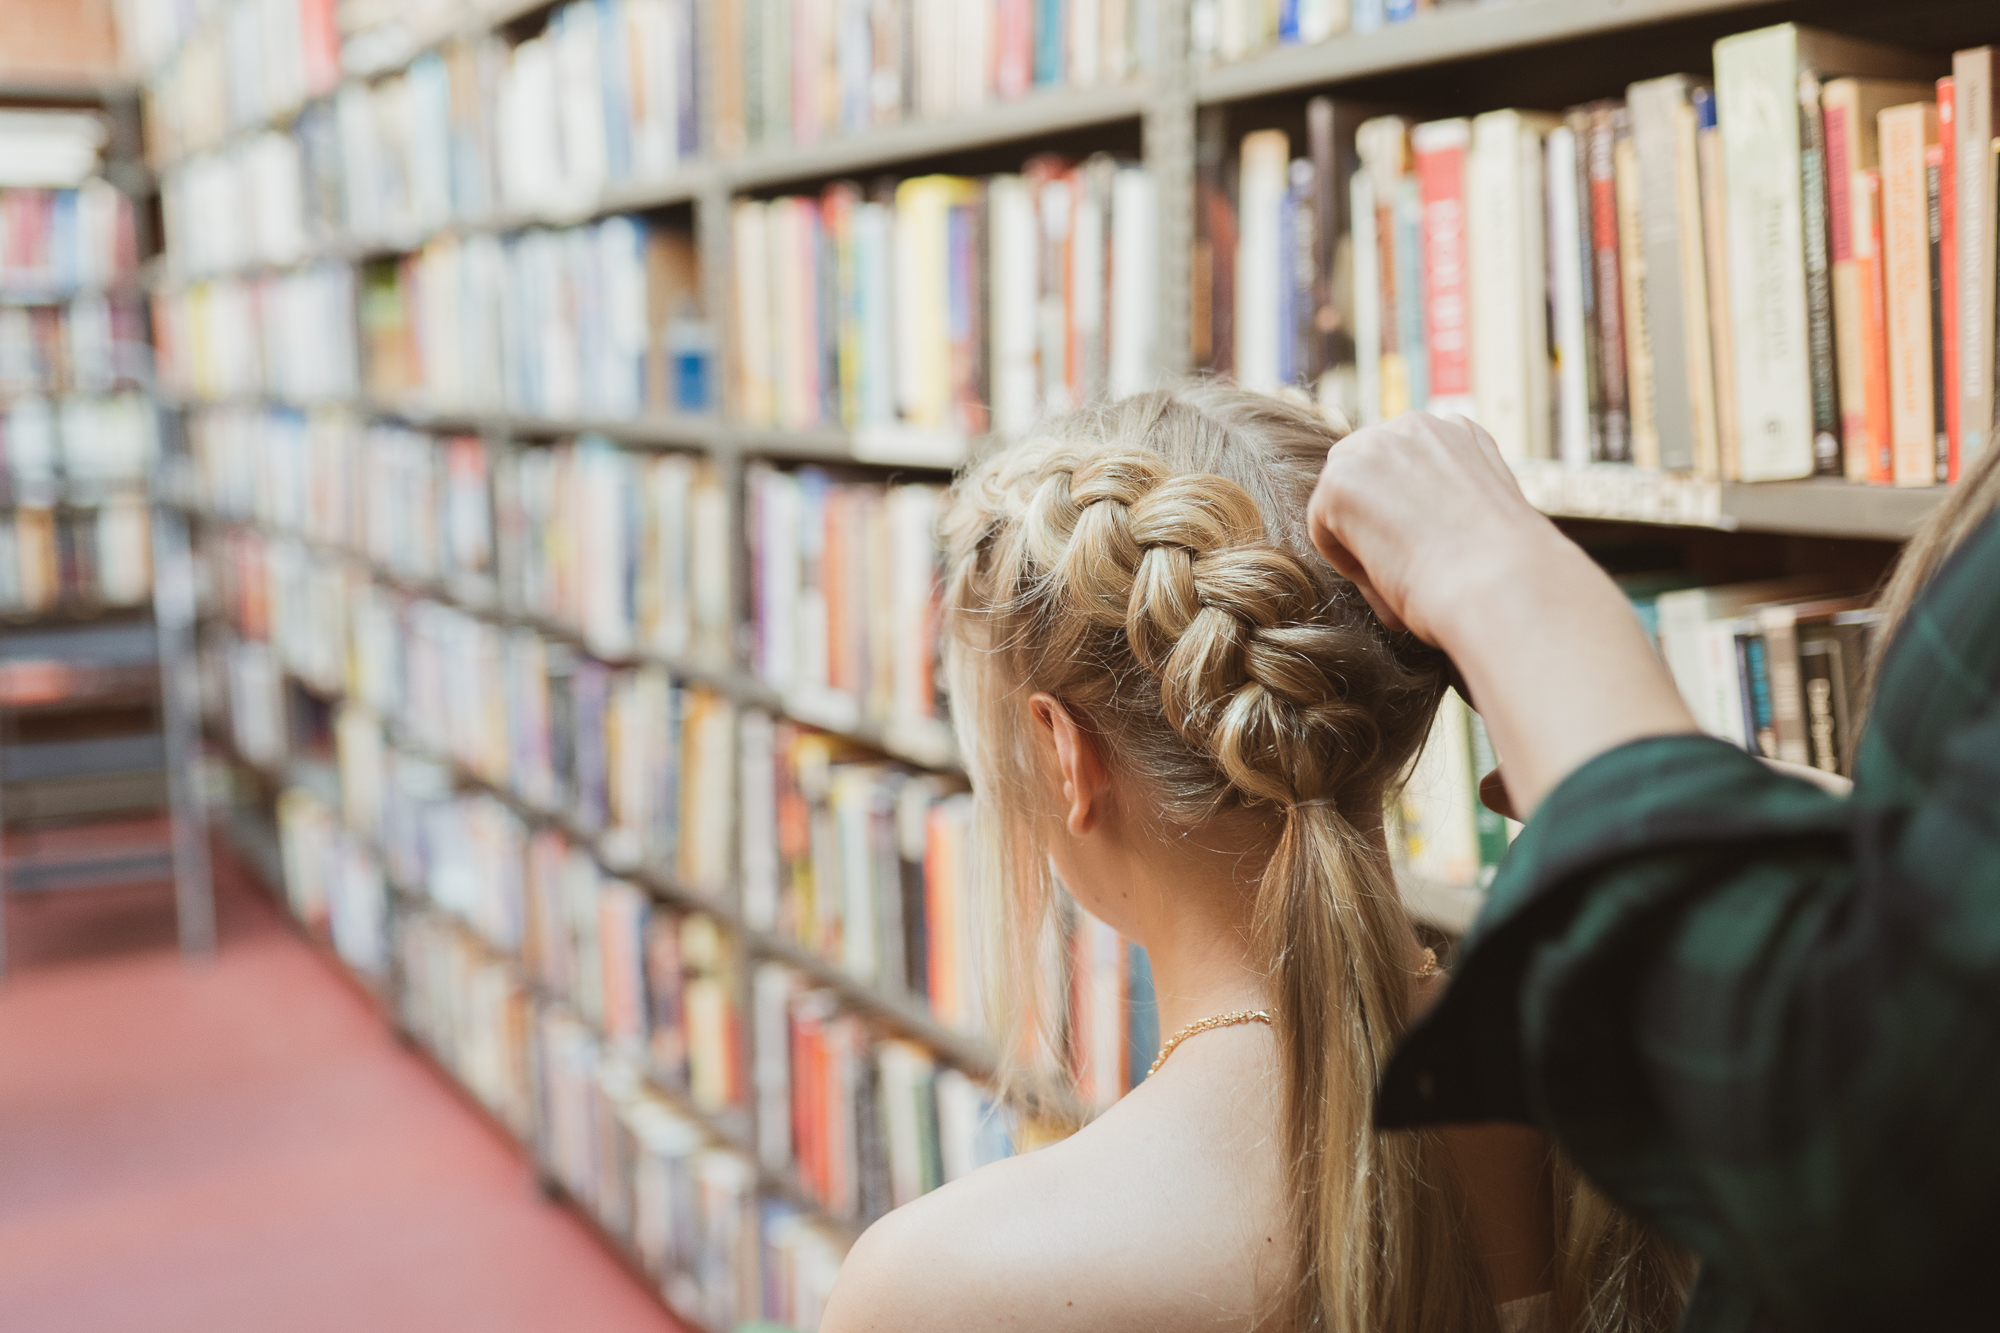
Part your hair where you like it. I created an uneven center part on Emma to keep it more boho.
-
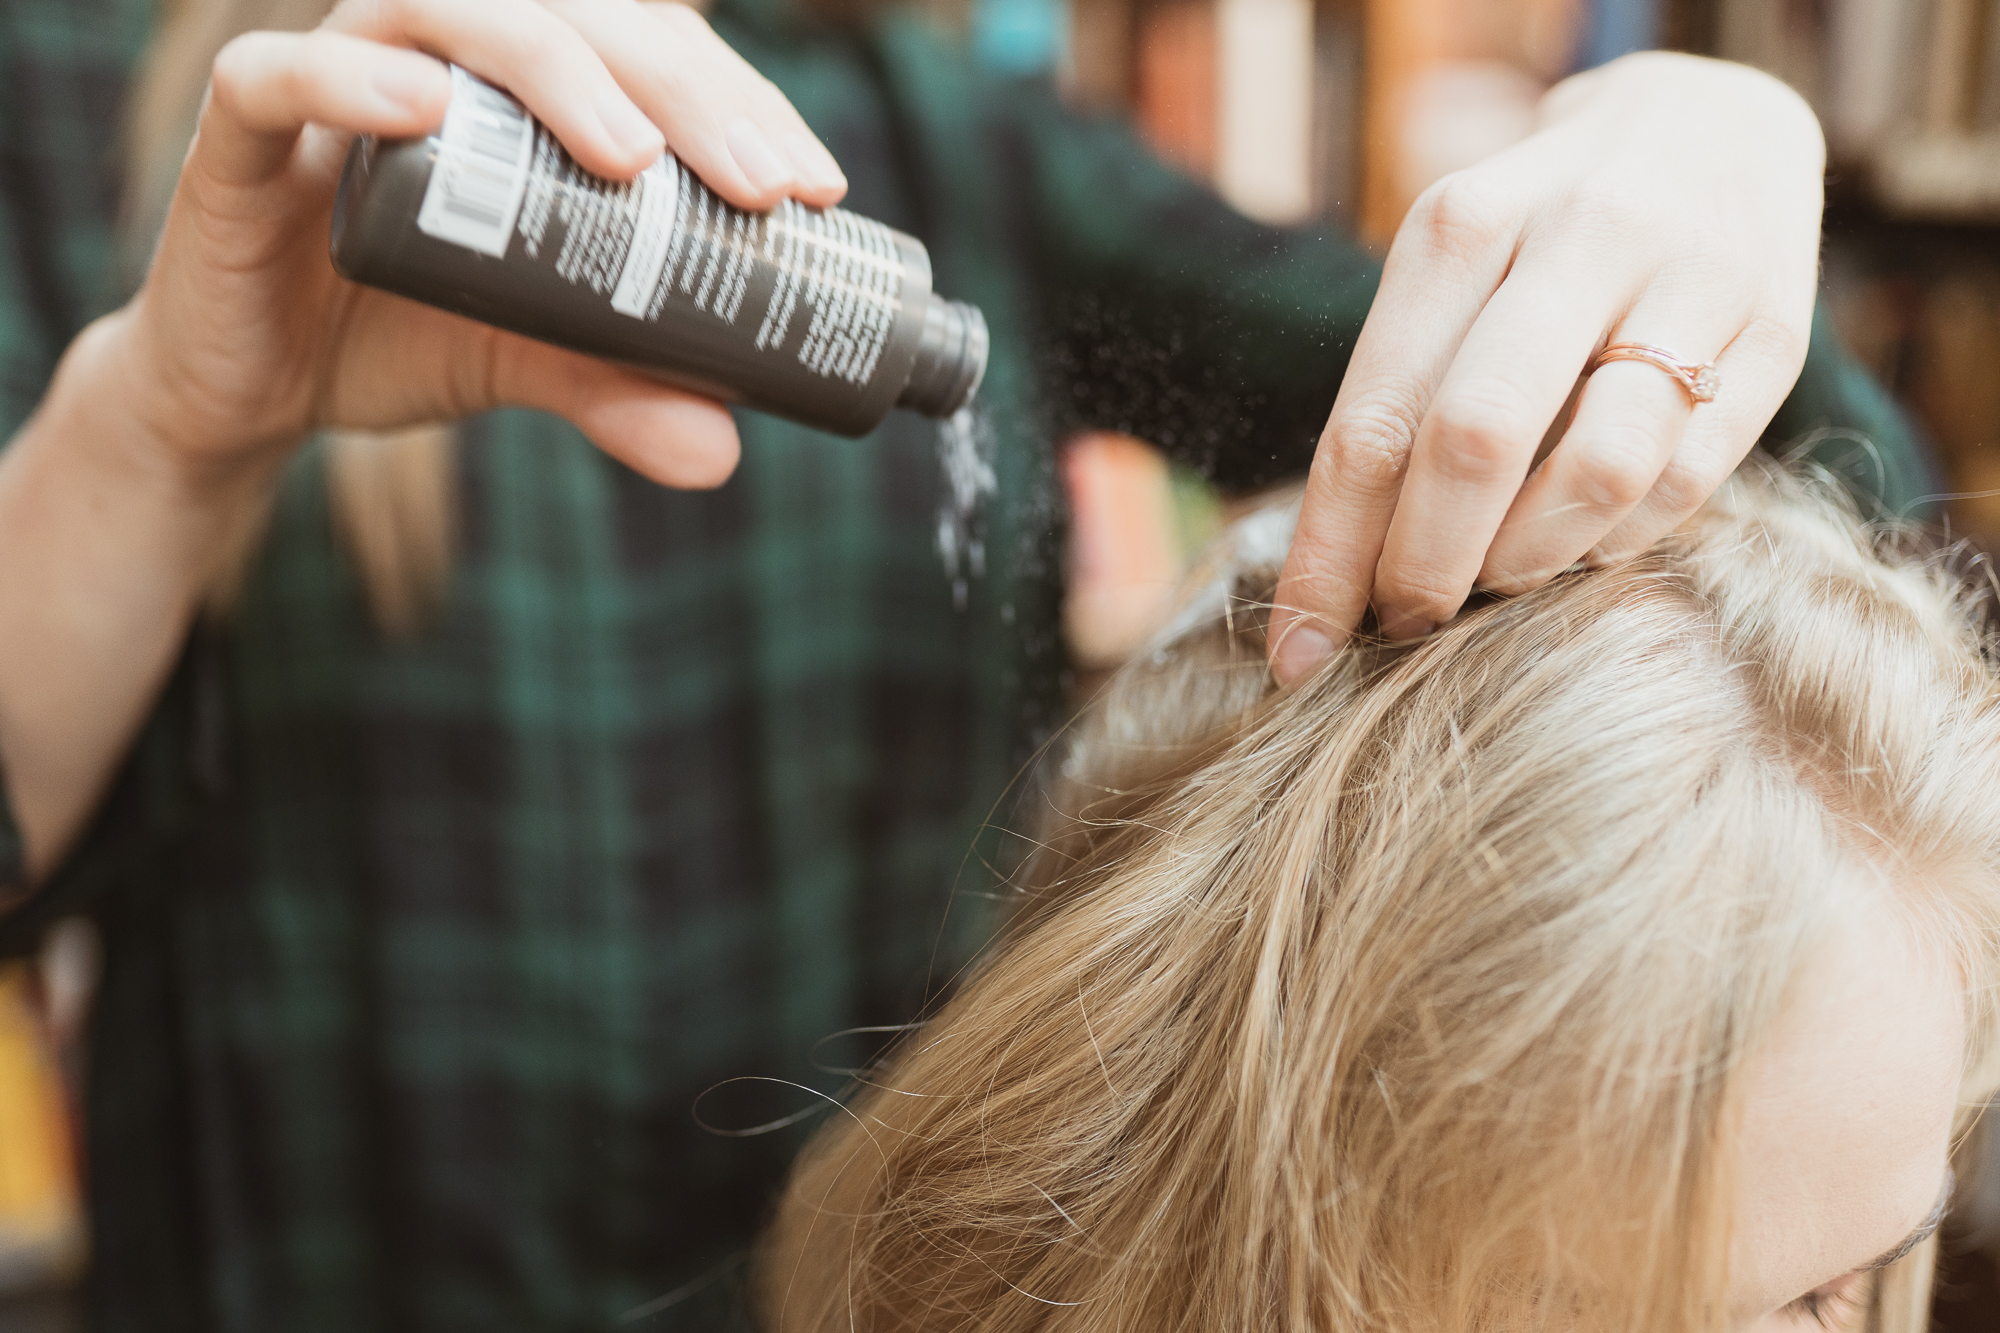
Add grit. I love using a styling powder like this one from Kristen Ess (kristin ess working texture loose styling powder). It adds grip and texture which helps the braids stay in place and also gives volume when fanning the braid. Dust the product into the hair near the roots and outwards a few inches. Then tousle it into the hair with your fingers to distribute it throughout the top of your hair where the braid will be. This will make it very gritty but the results are worth it!
-
Braid. I did the Dutch braid style (braiding under instead of over) gathering hair as I went. I stopped at the nape of the neck.
-
Fan the braid. This is the technique of gently pulling the loops out to create a more full look. I focused on the outside of the strands working from the bottom of the braid to the top and then back down until the look was cohesive. Play around and do what you like!
-
Secure with an elastic. I wanted to hide the elastic with a hair strand so took a small section of loose hair from the under side of the pony and wrapped it around twice, ending with the strand tucked inside the wrapped strand and pinned with one bobby pin.
-
You now have boho braids!
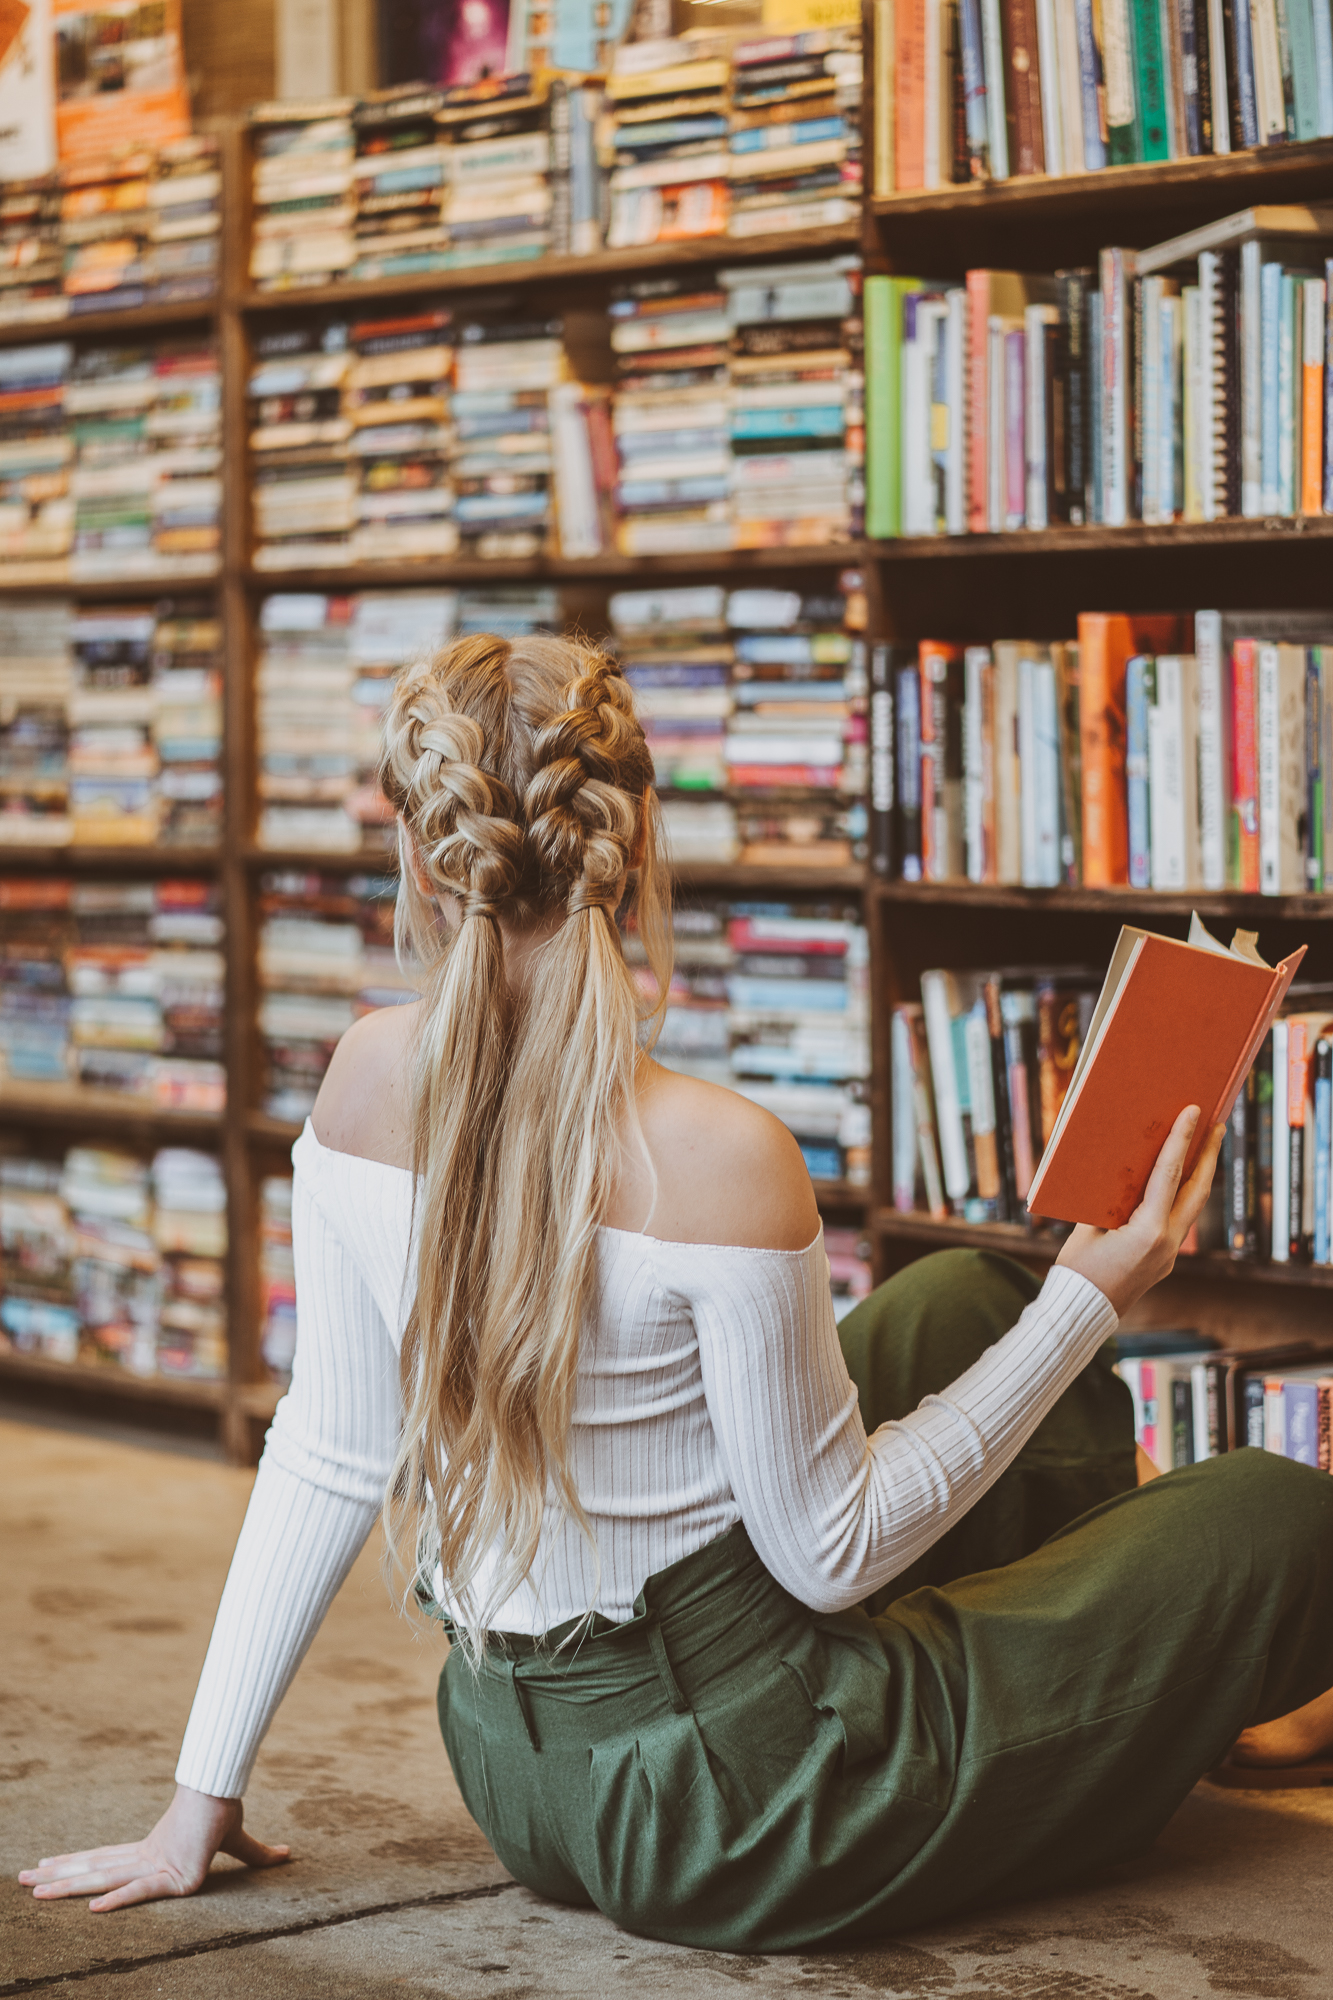
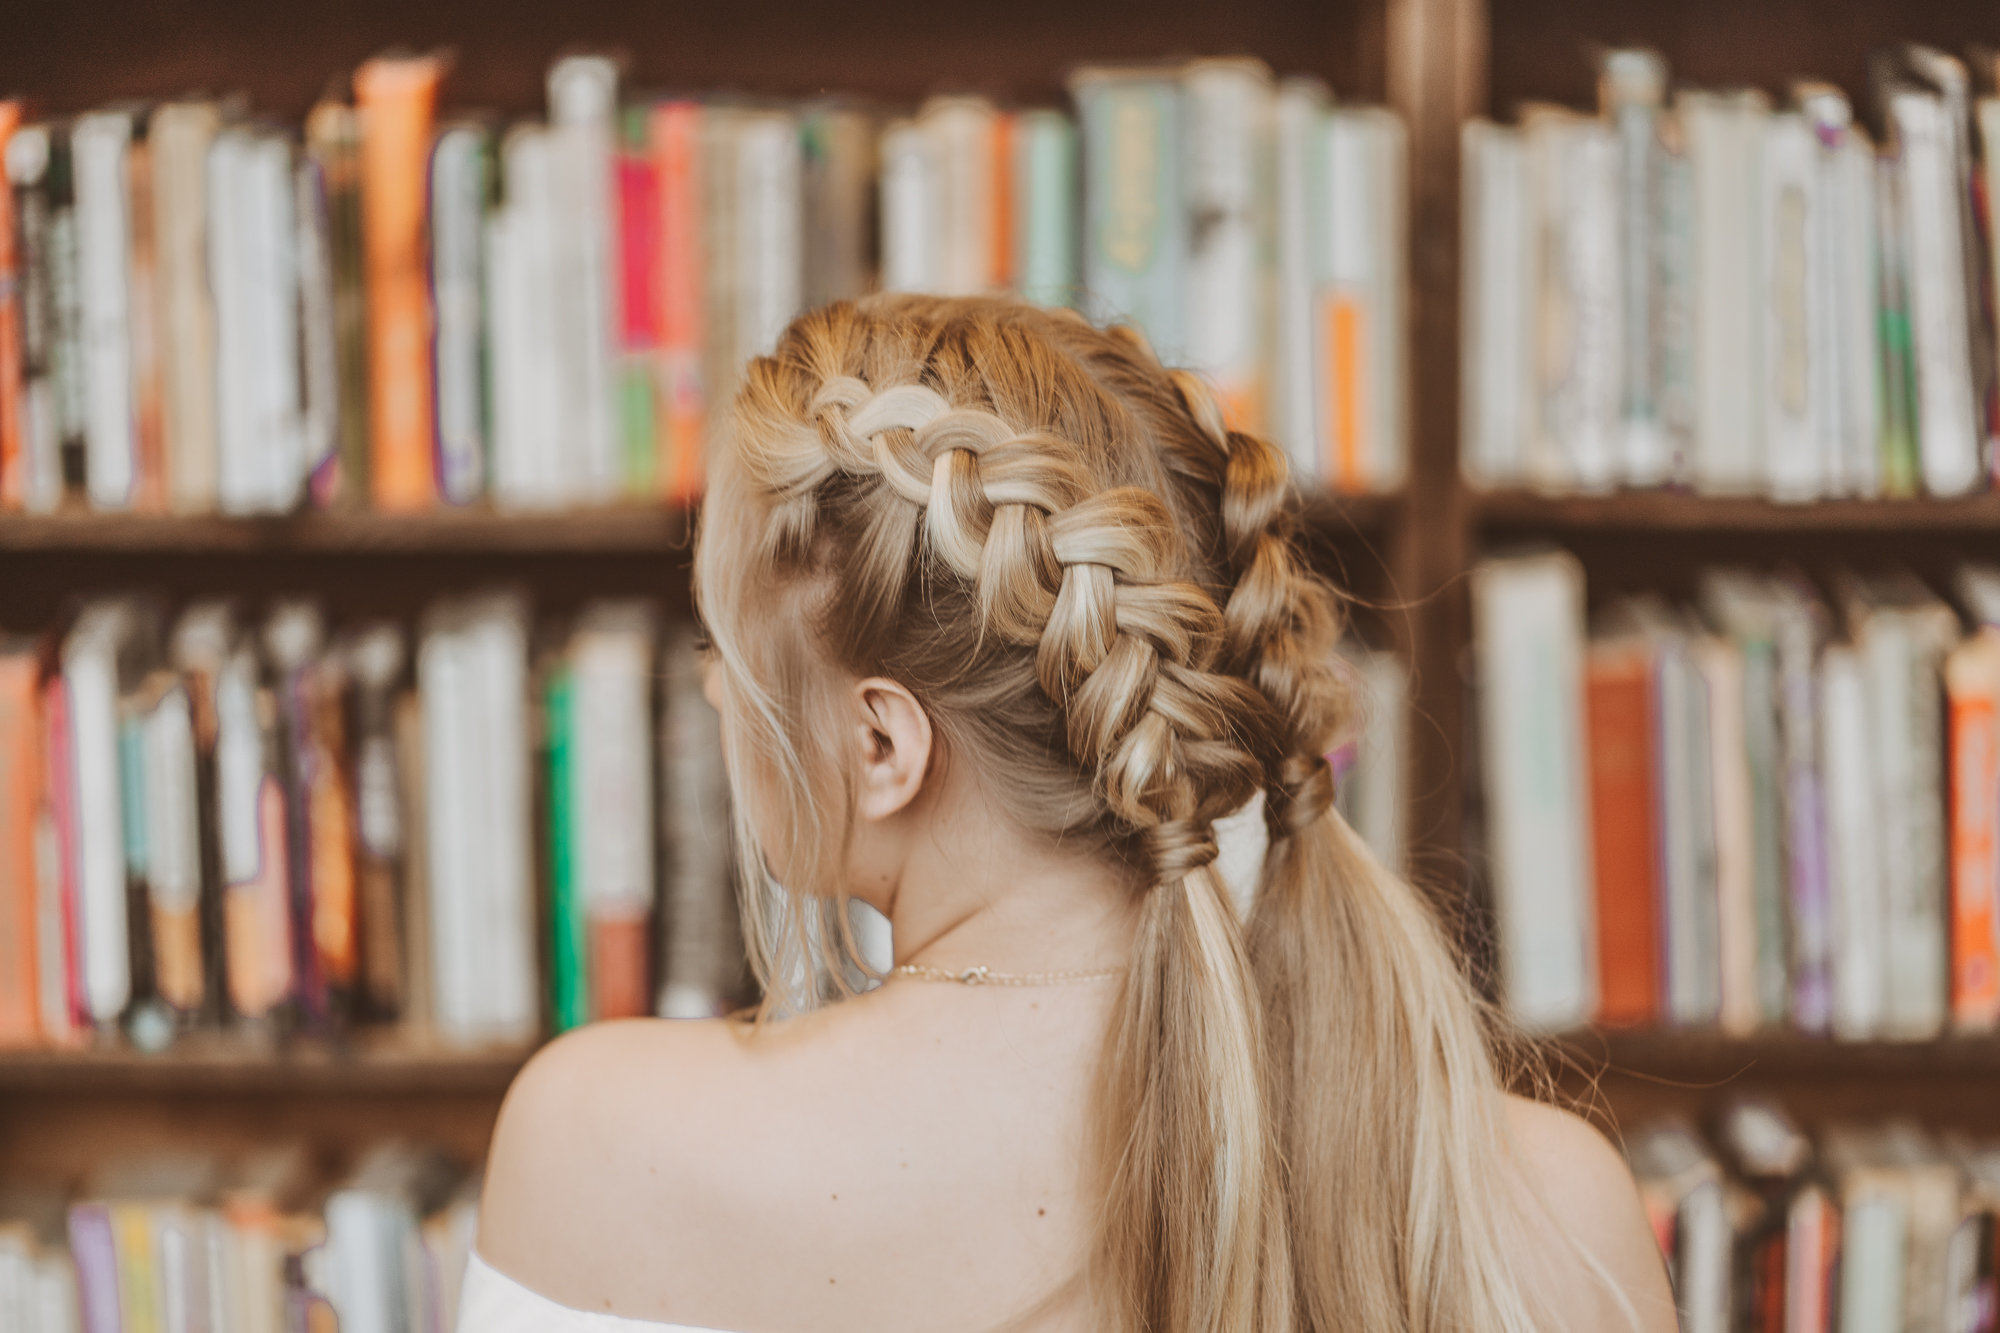
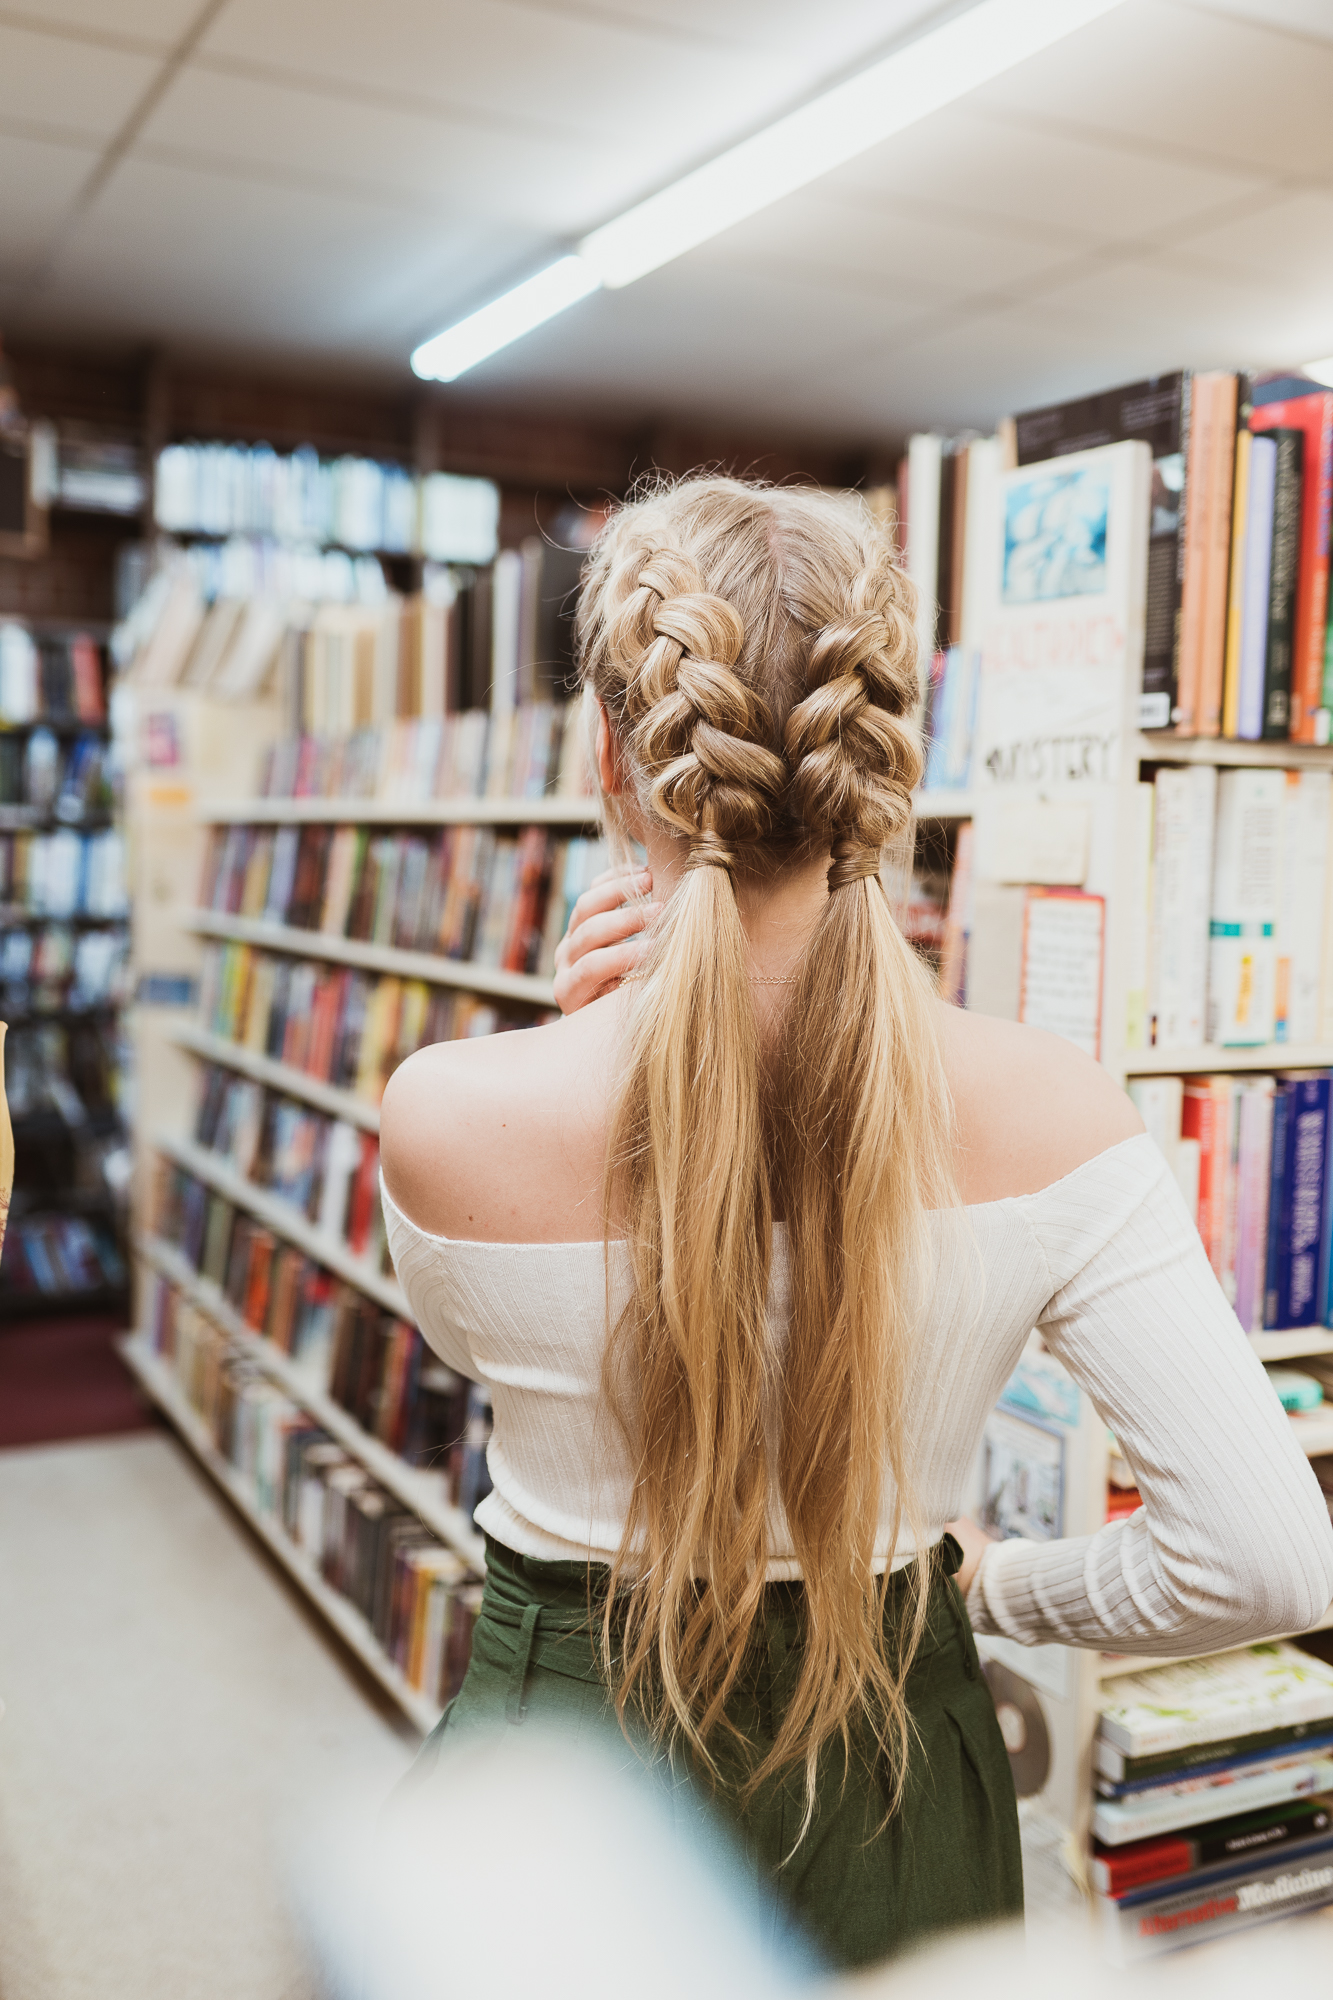

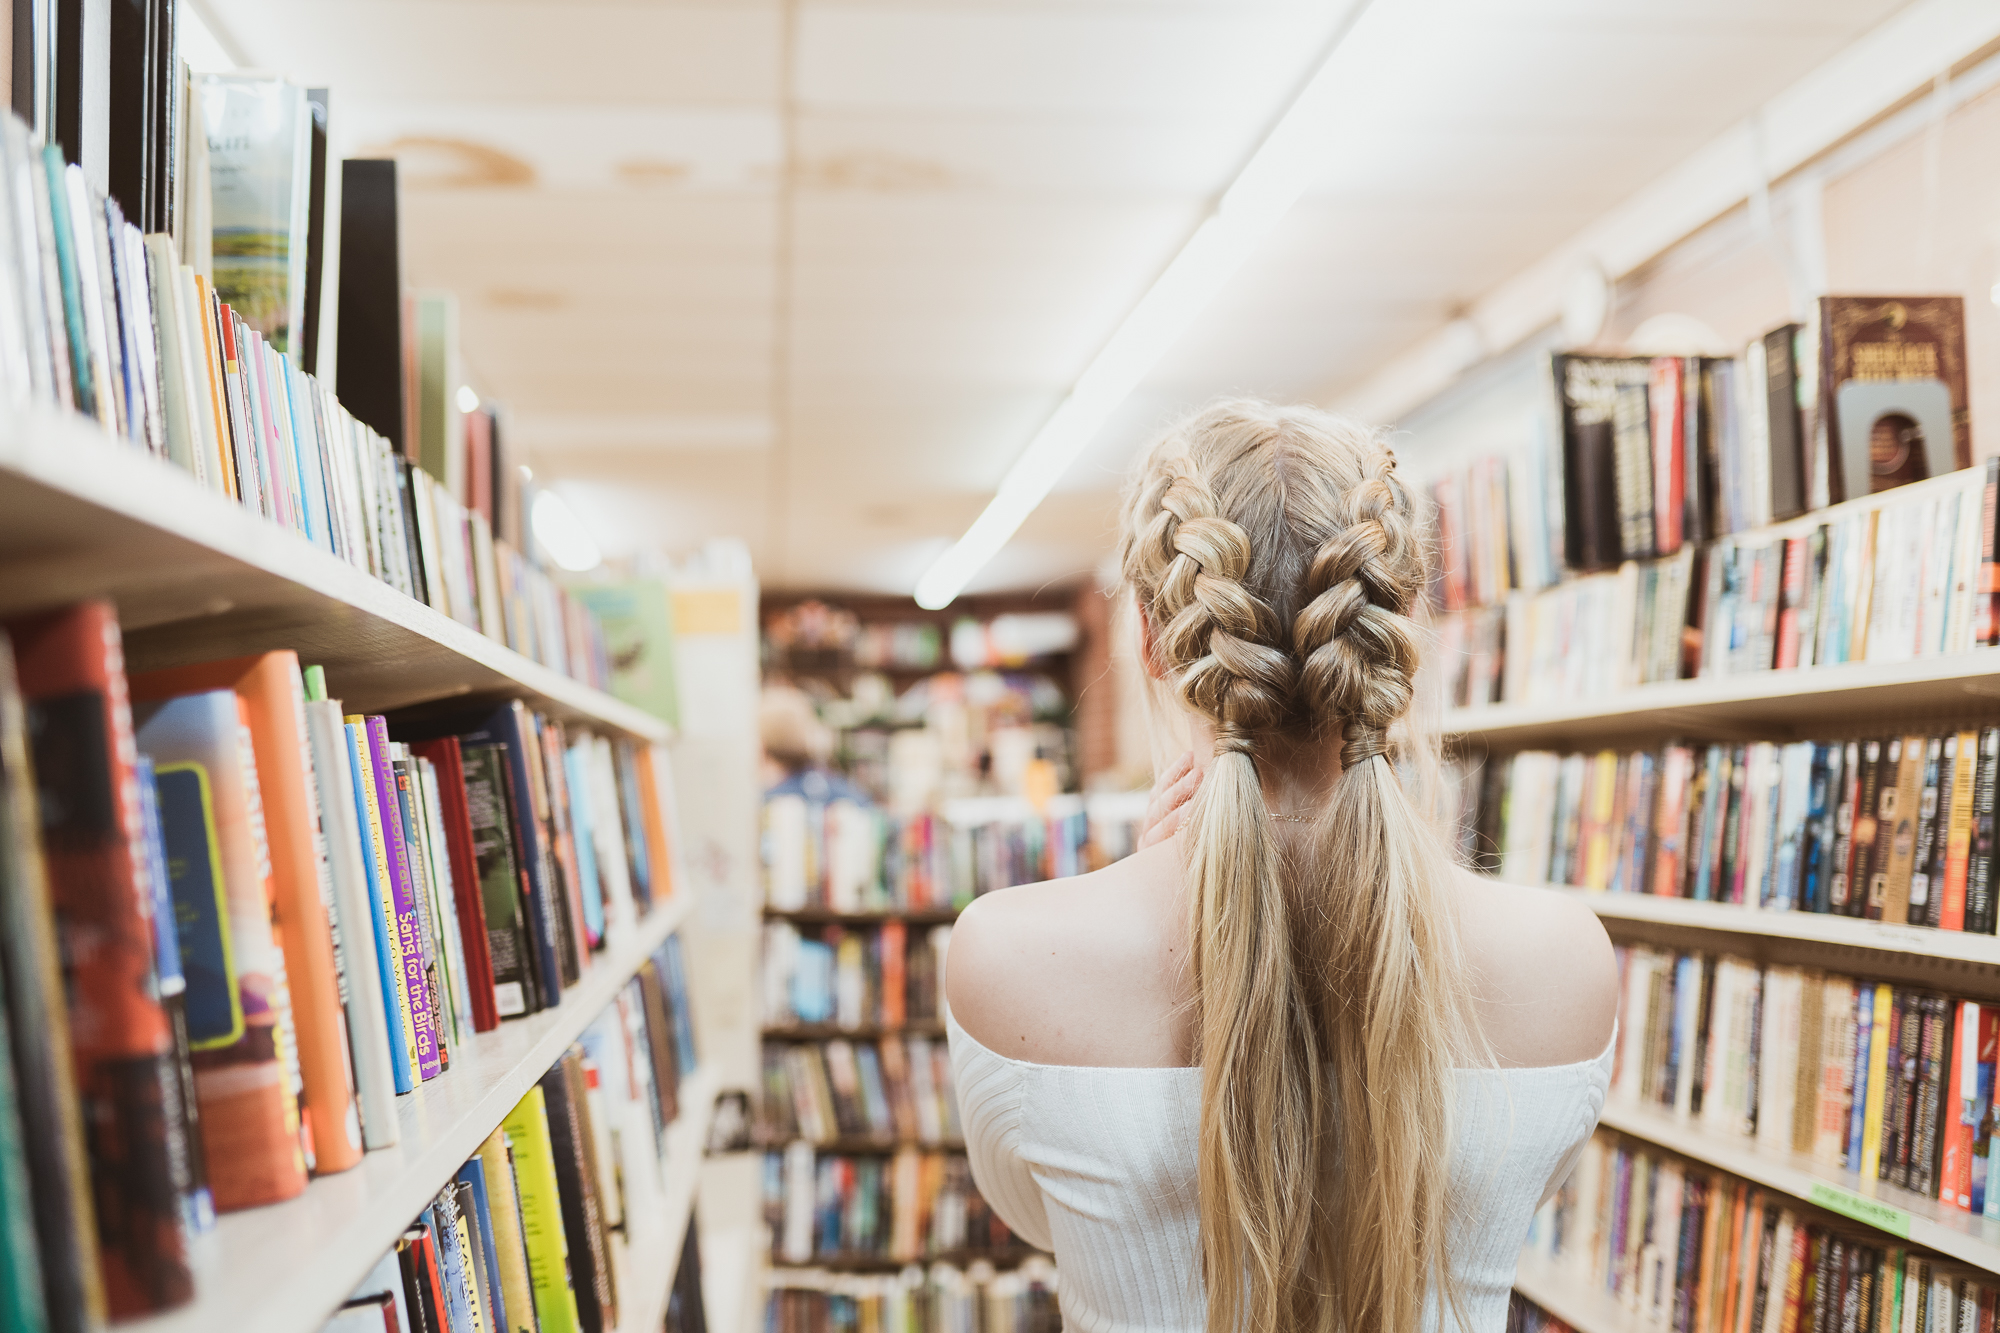


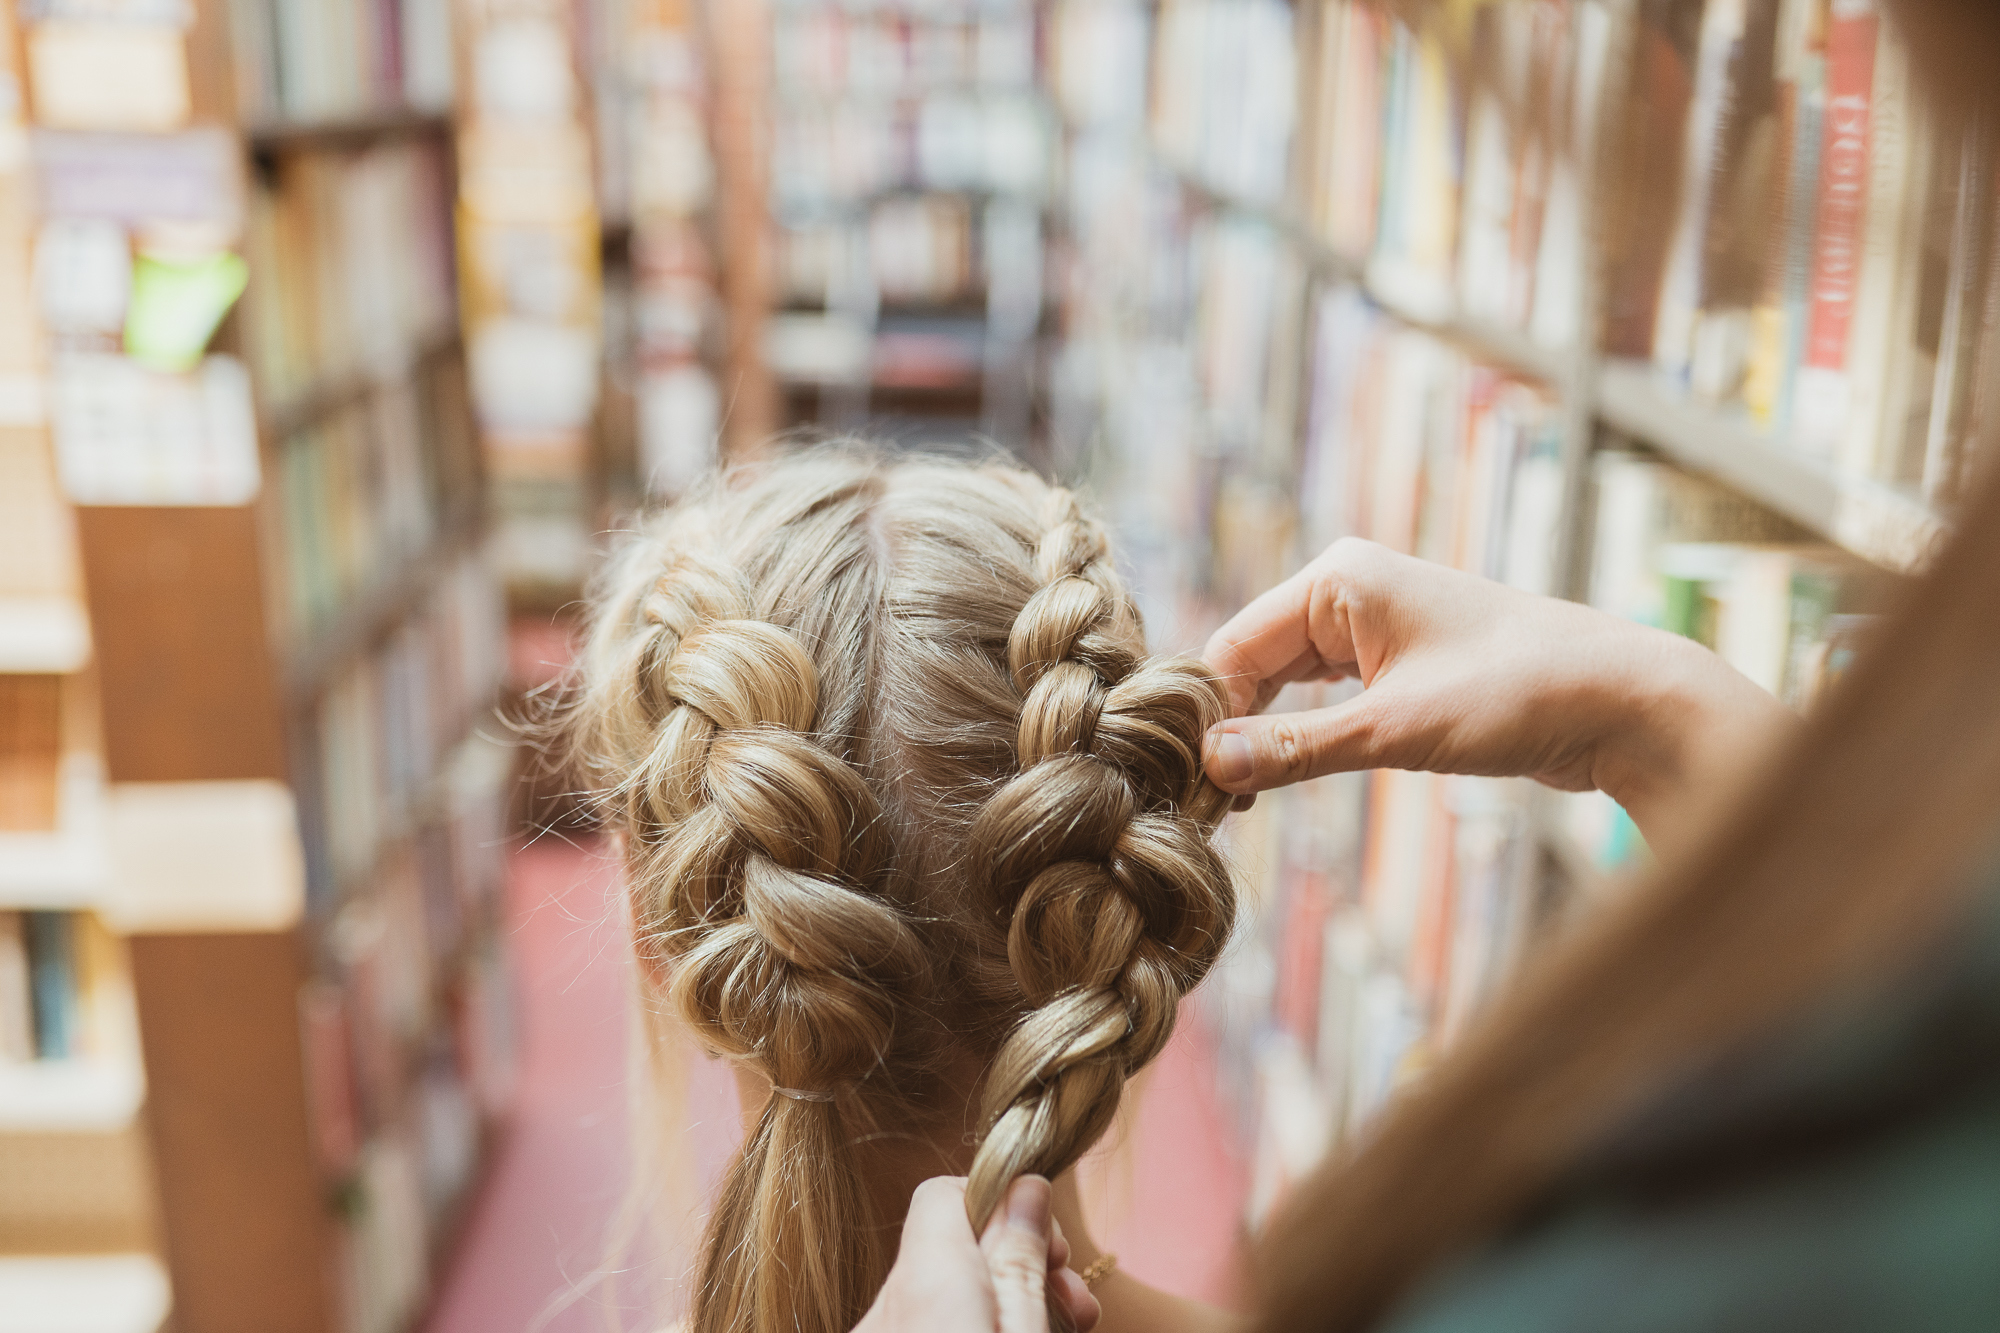
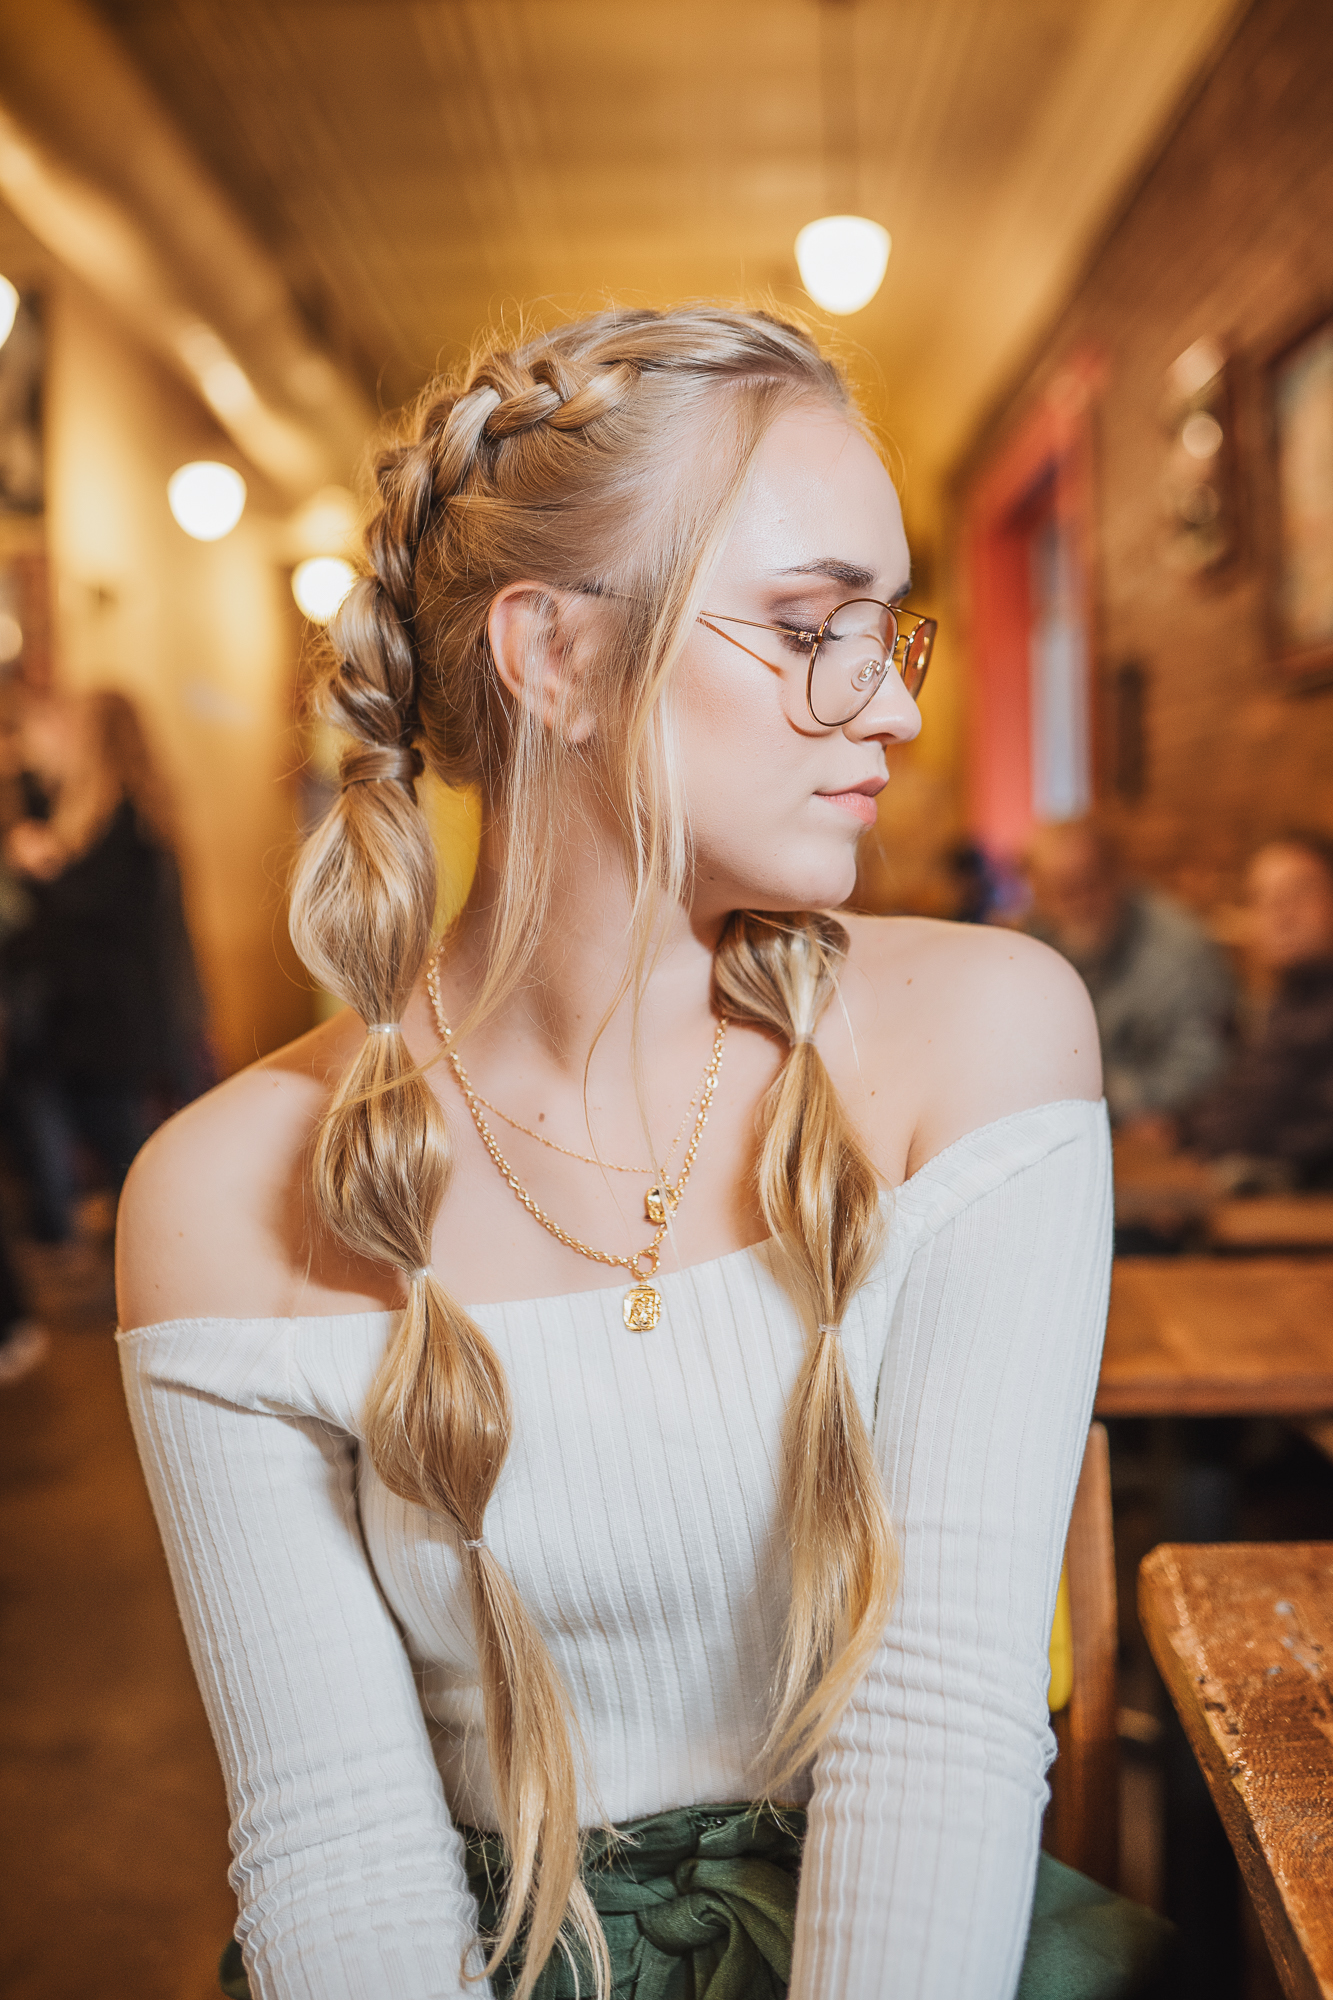
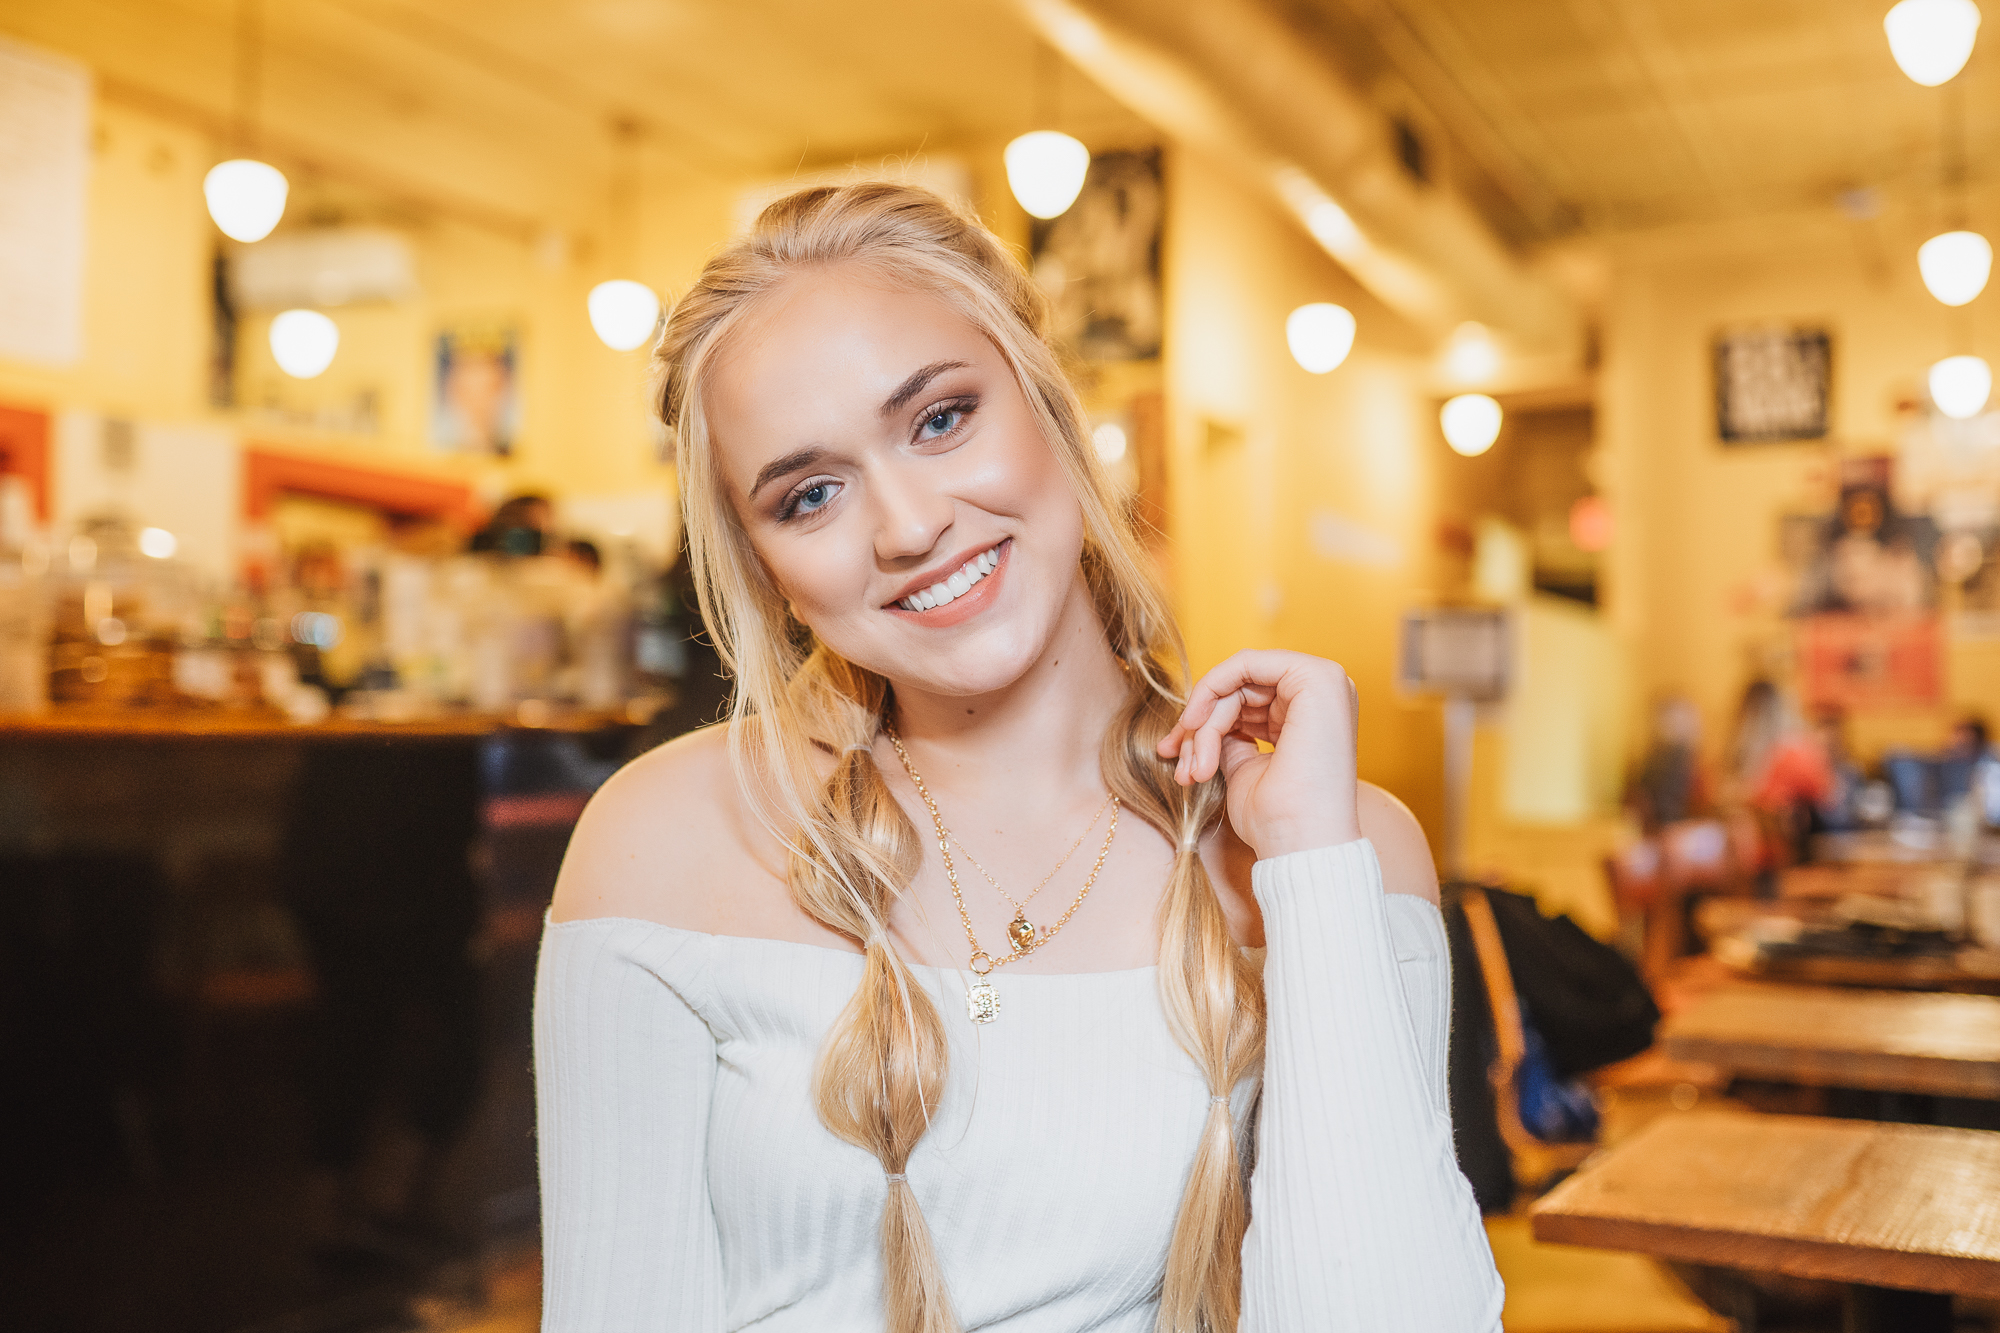
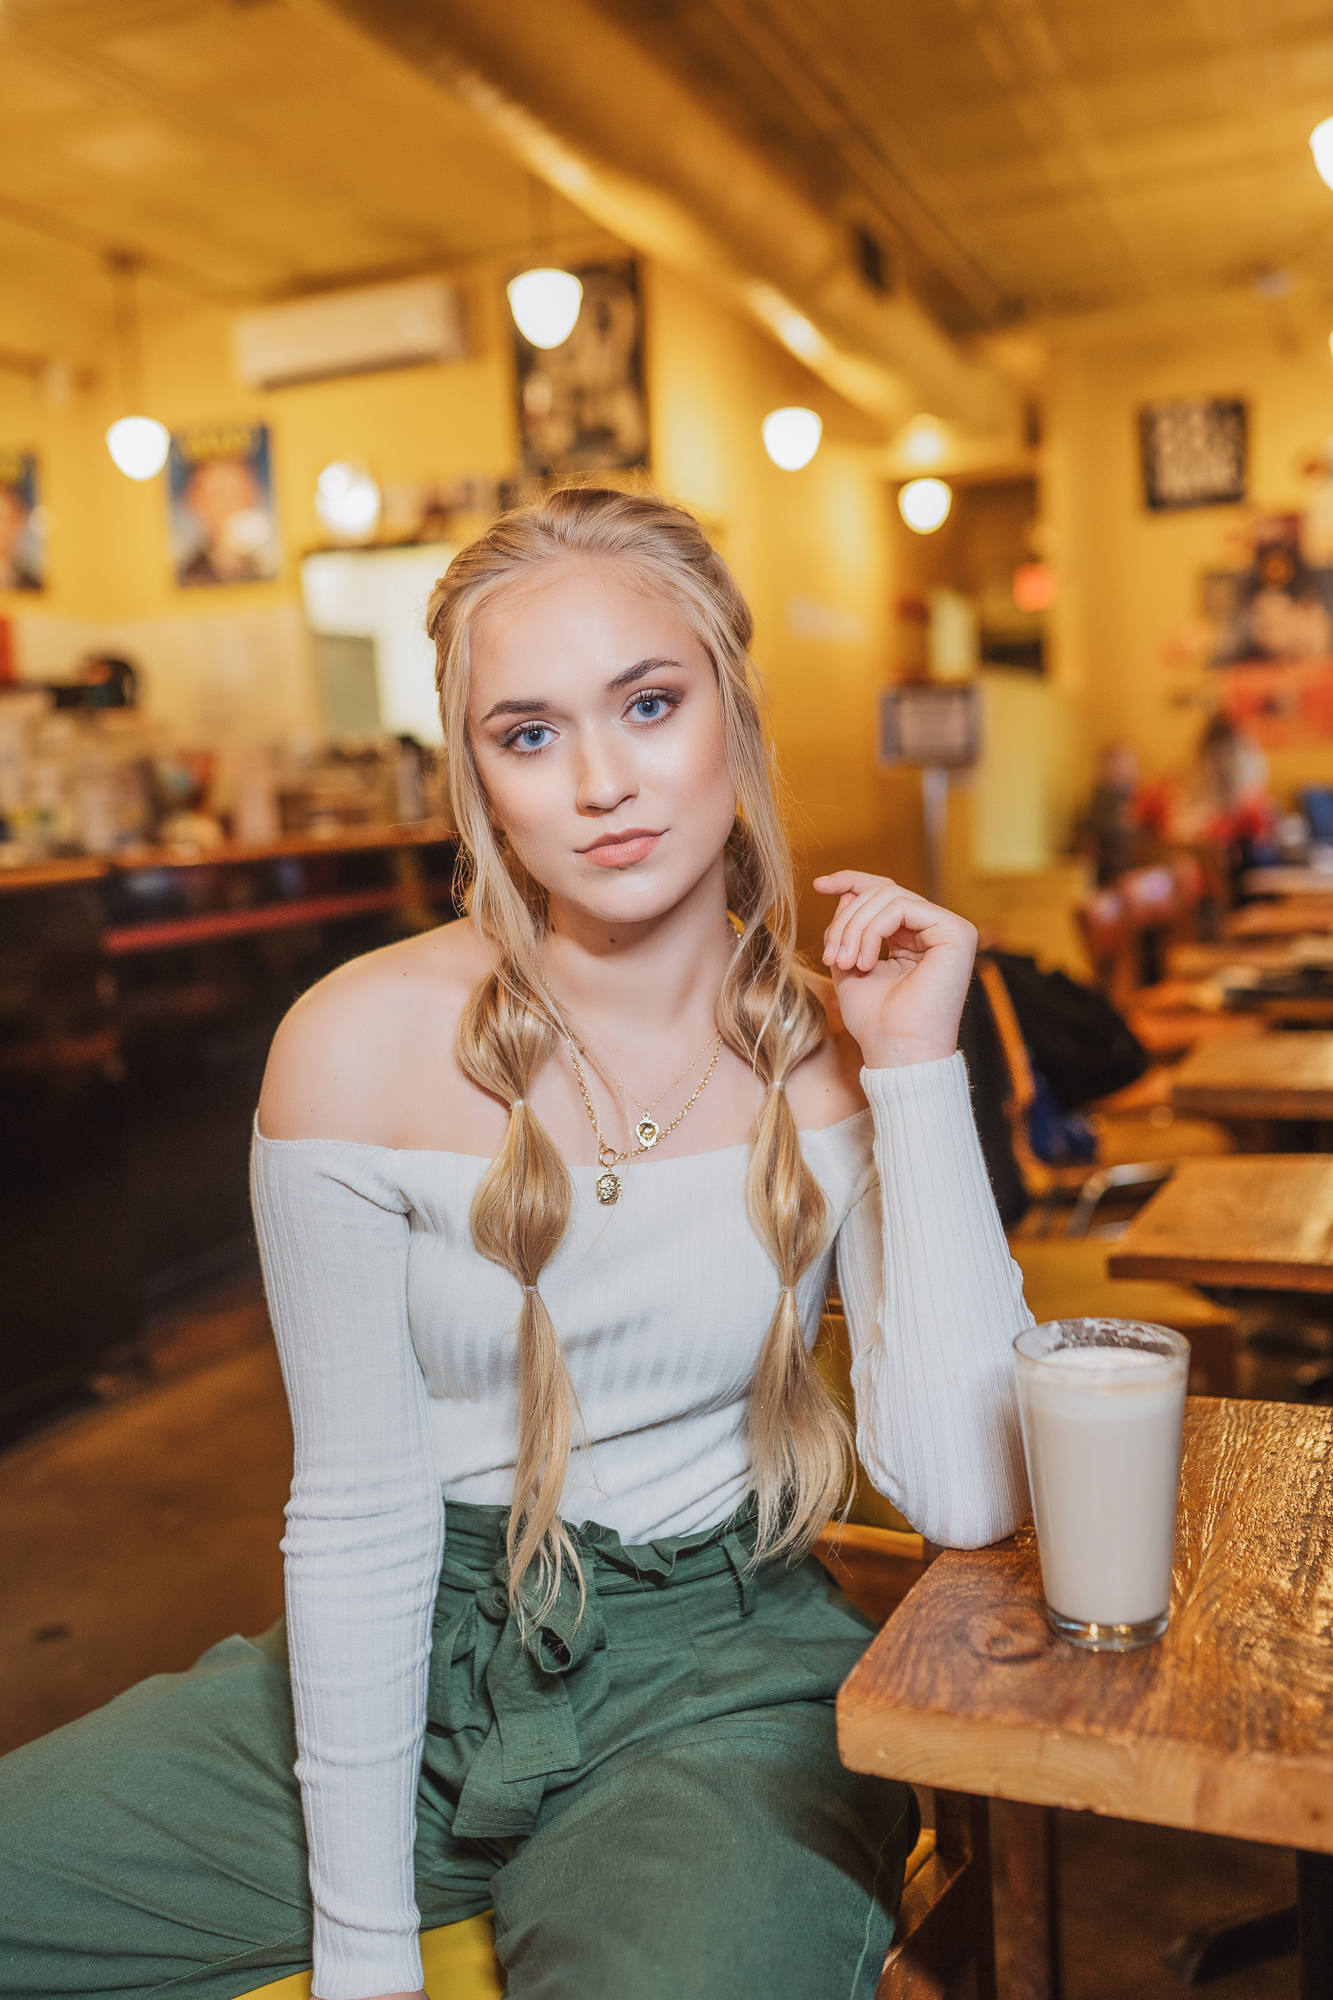
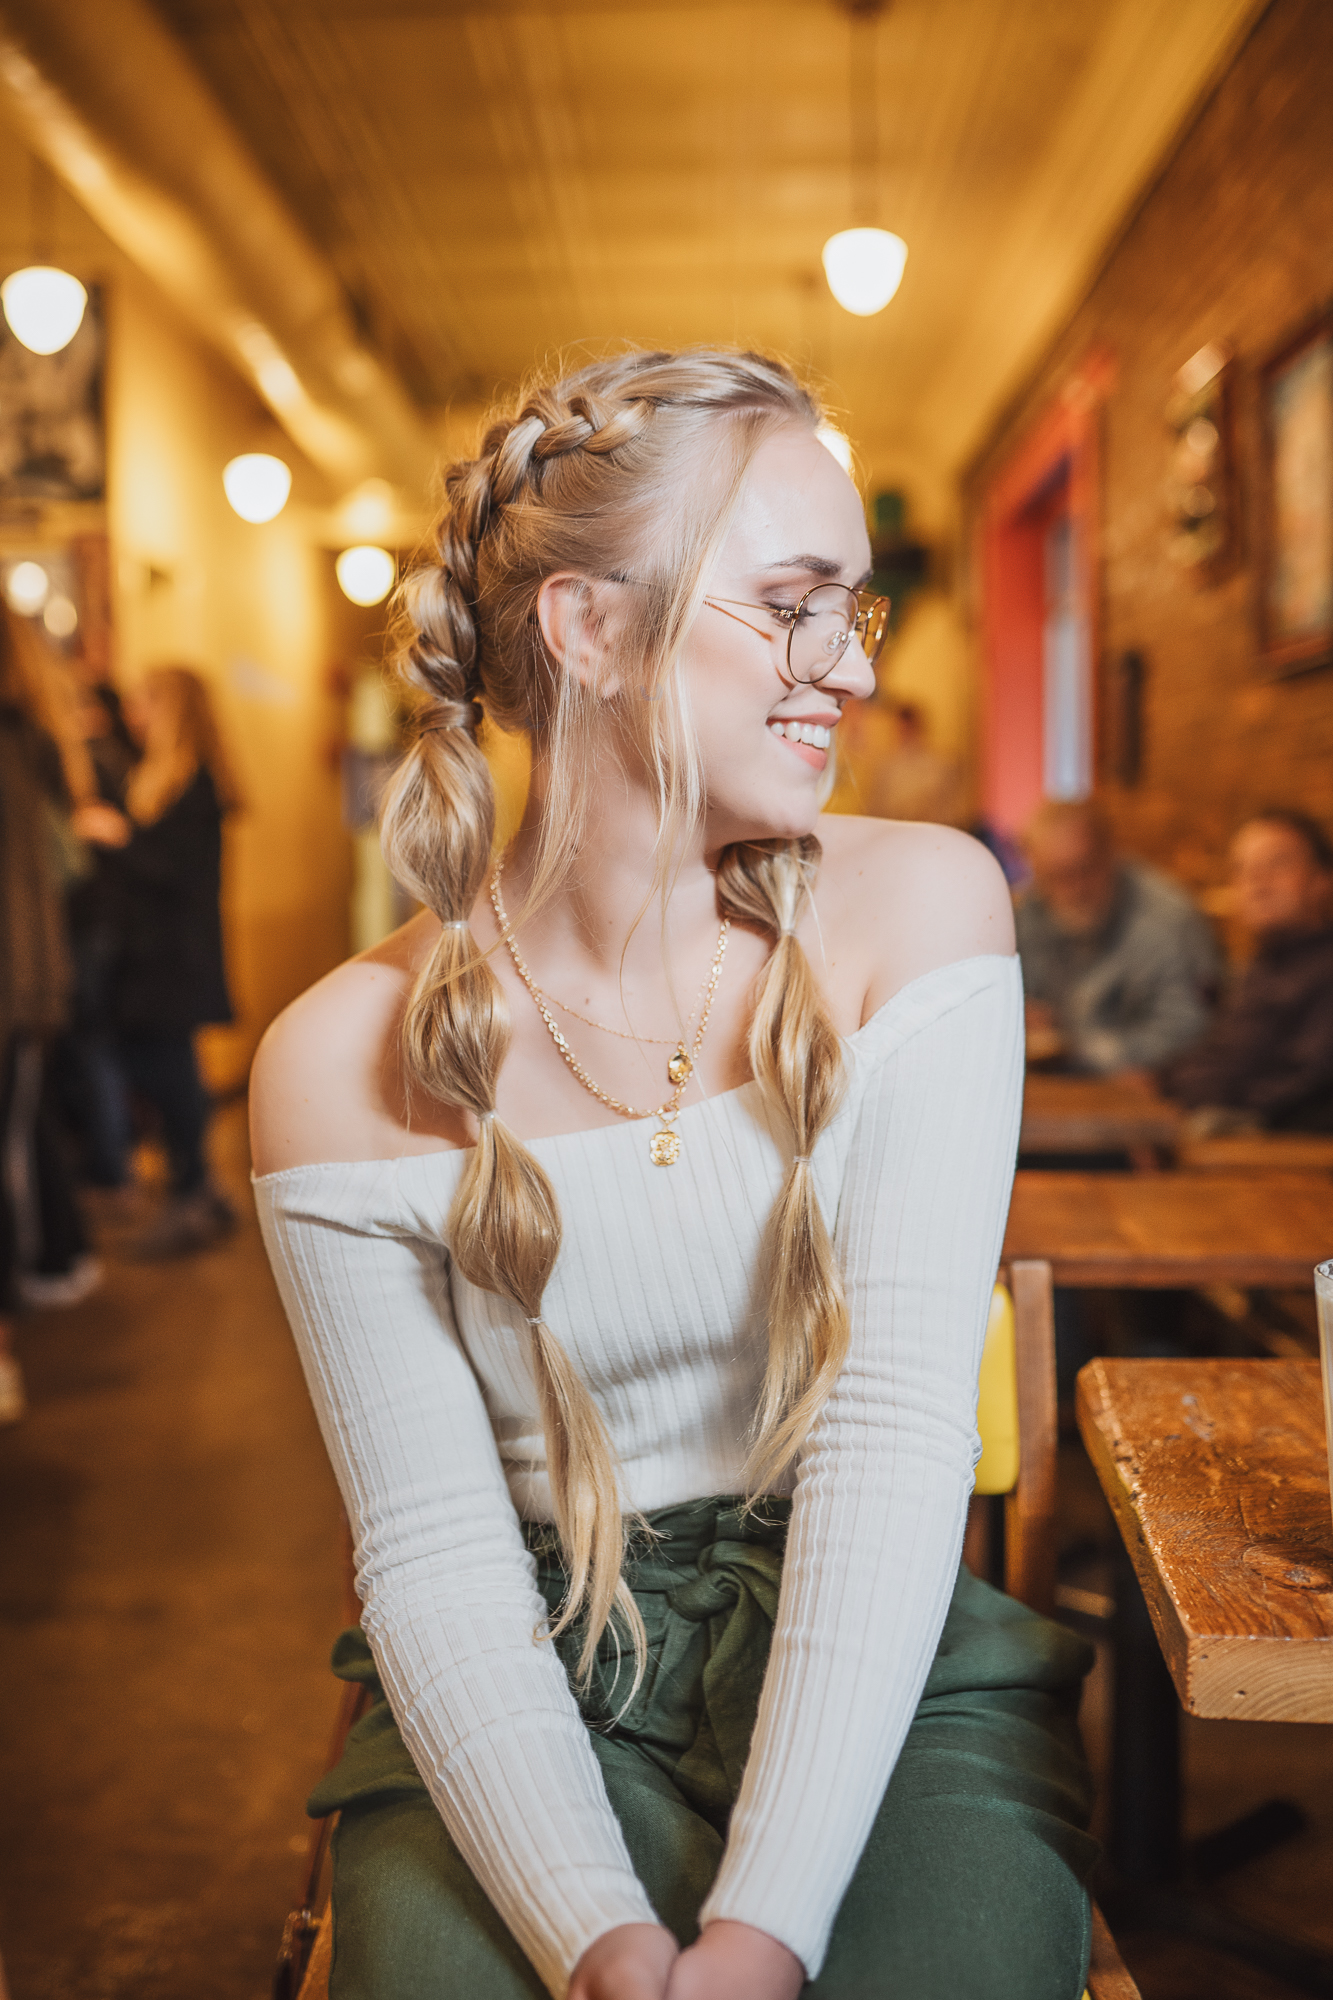
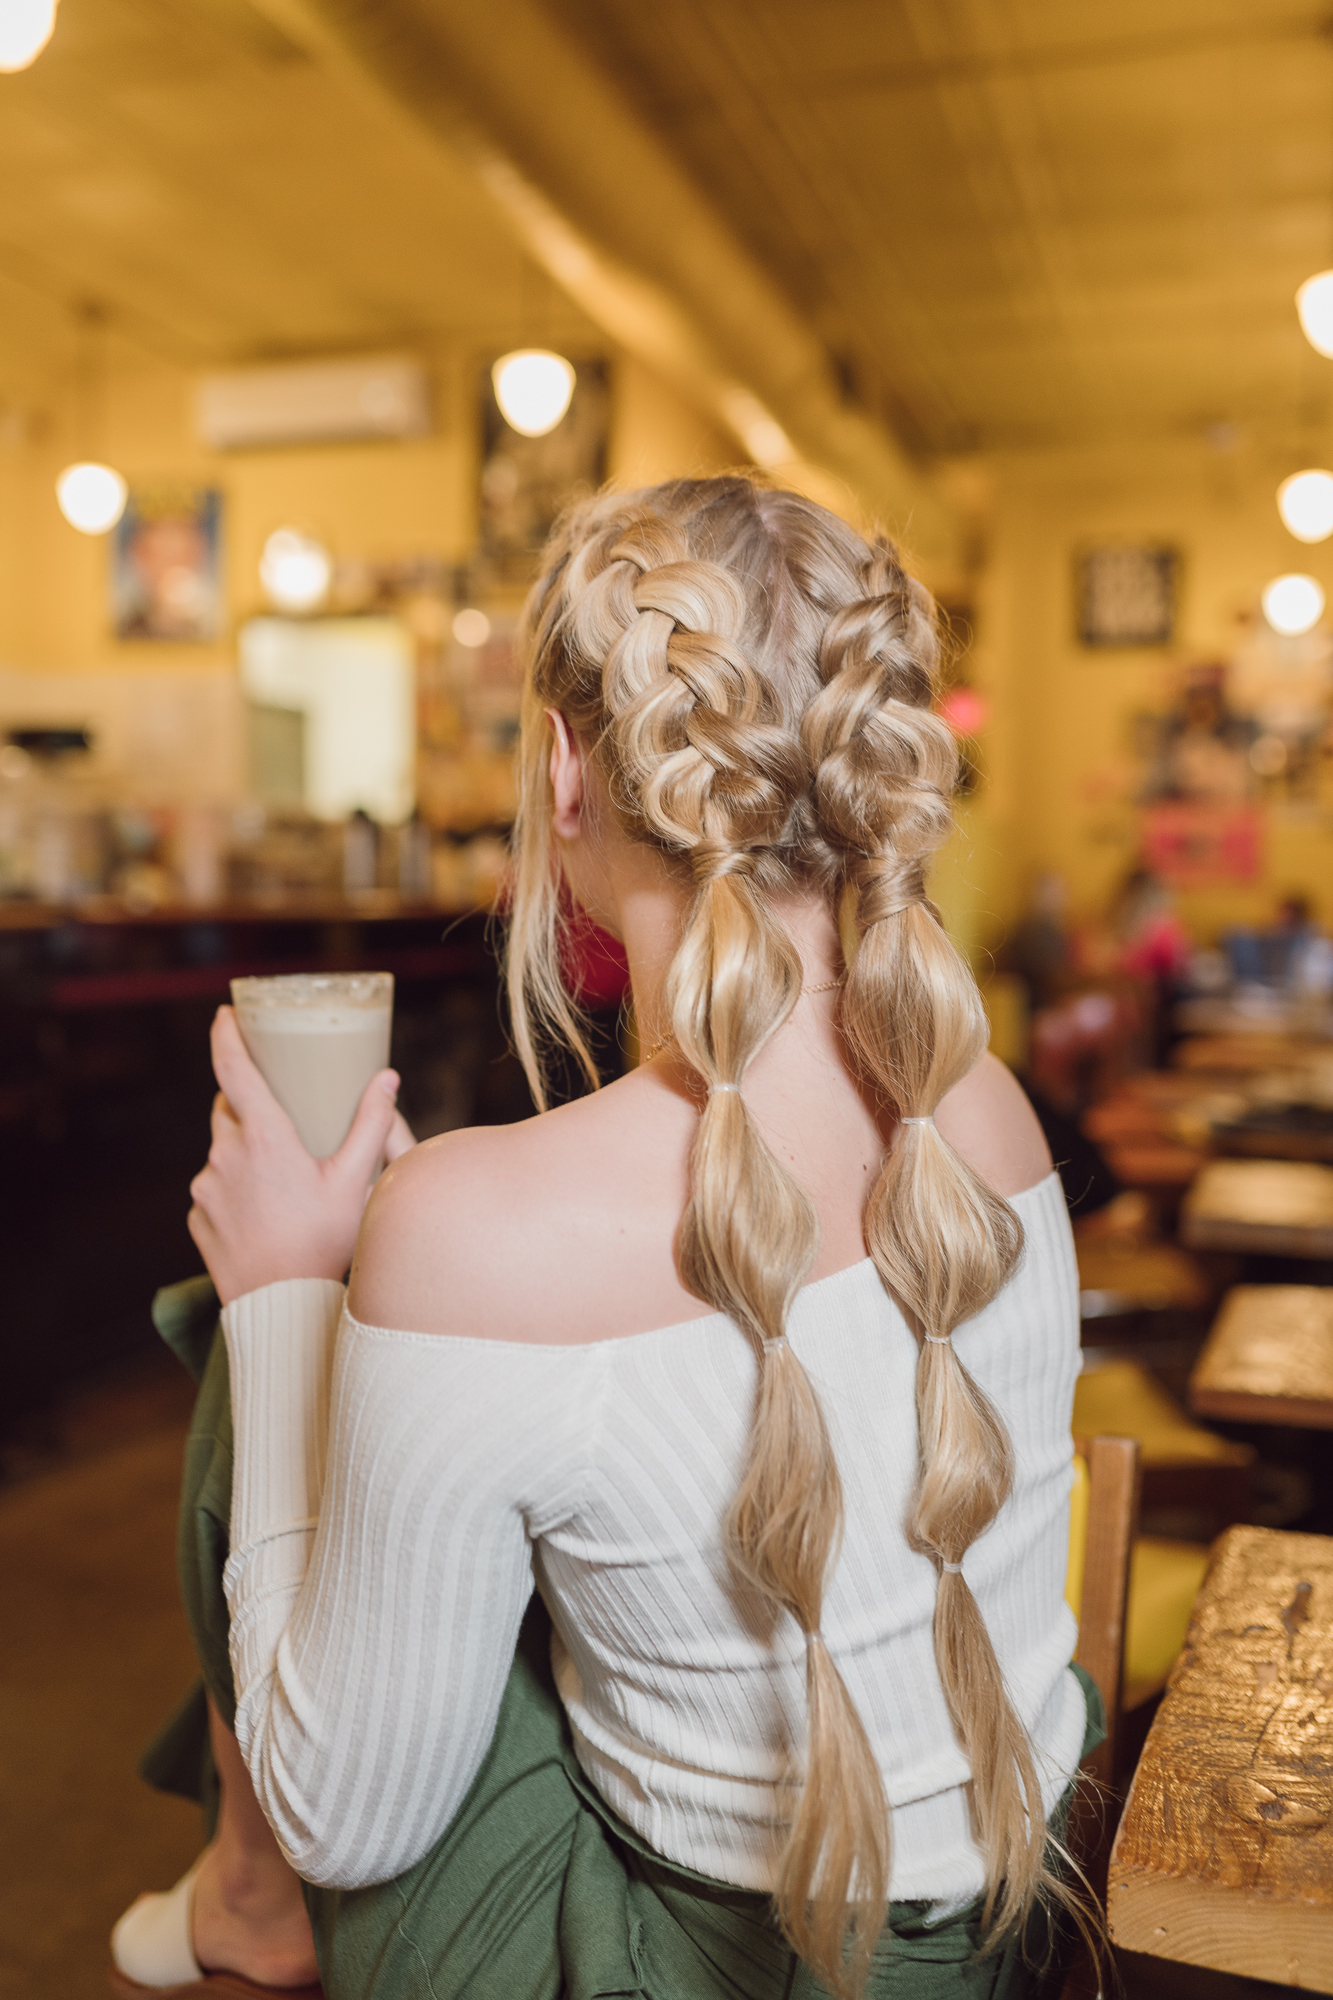
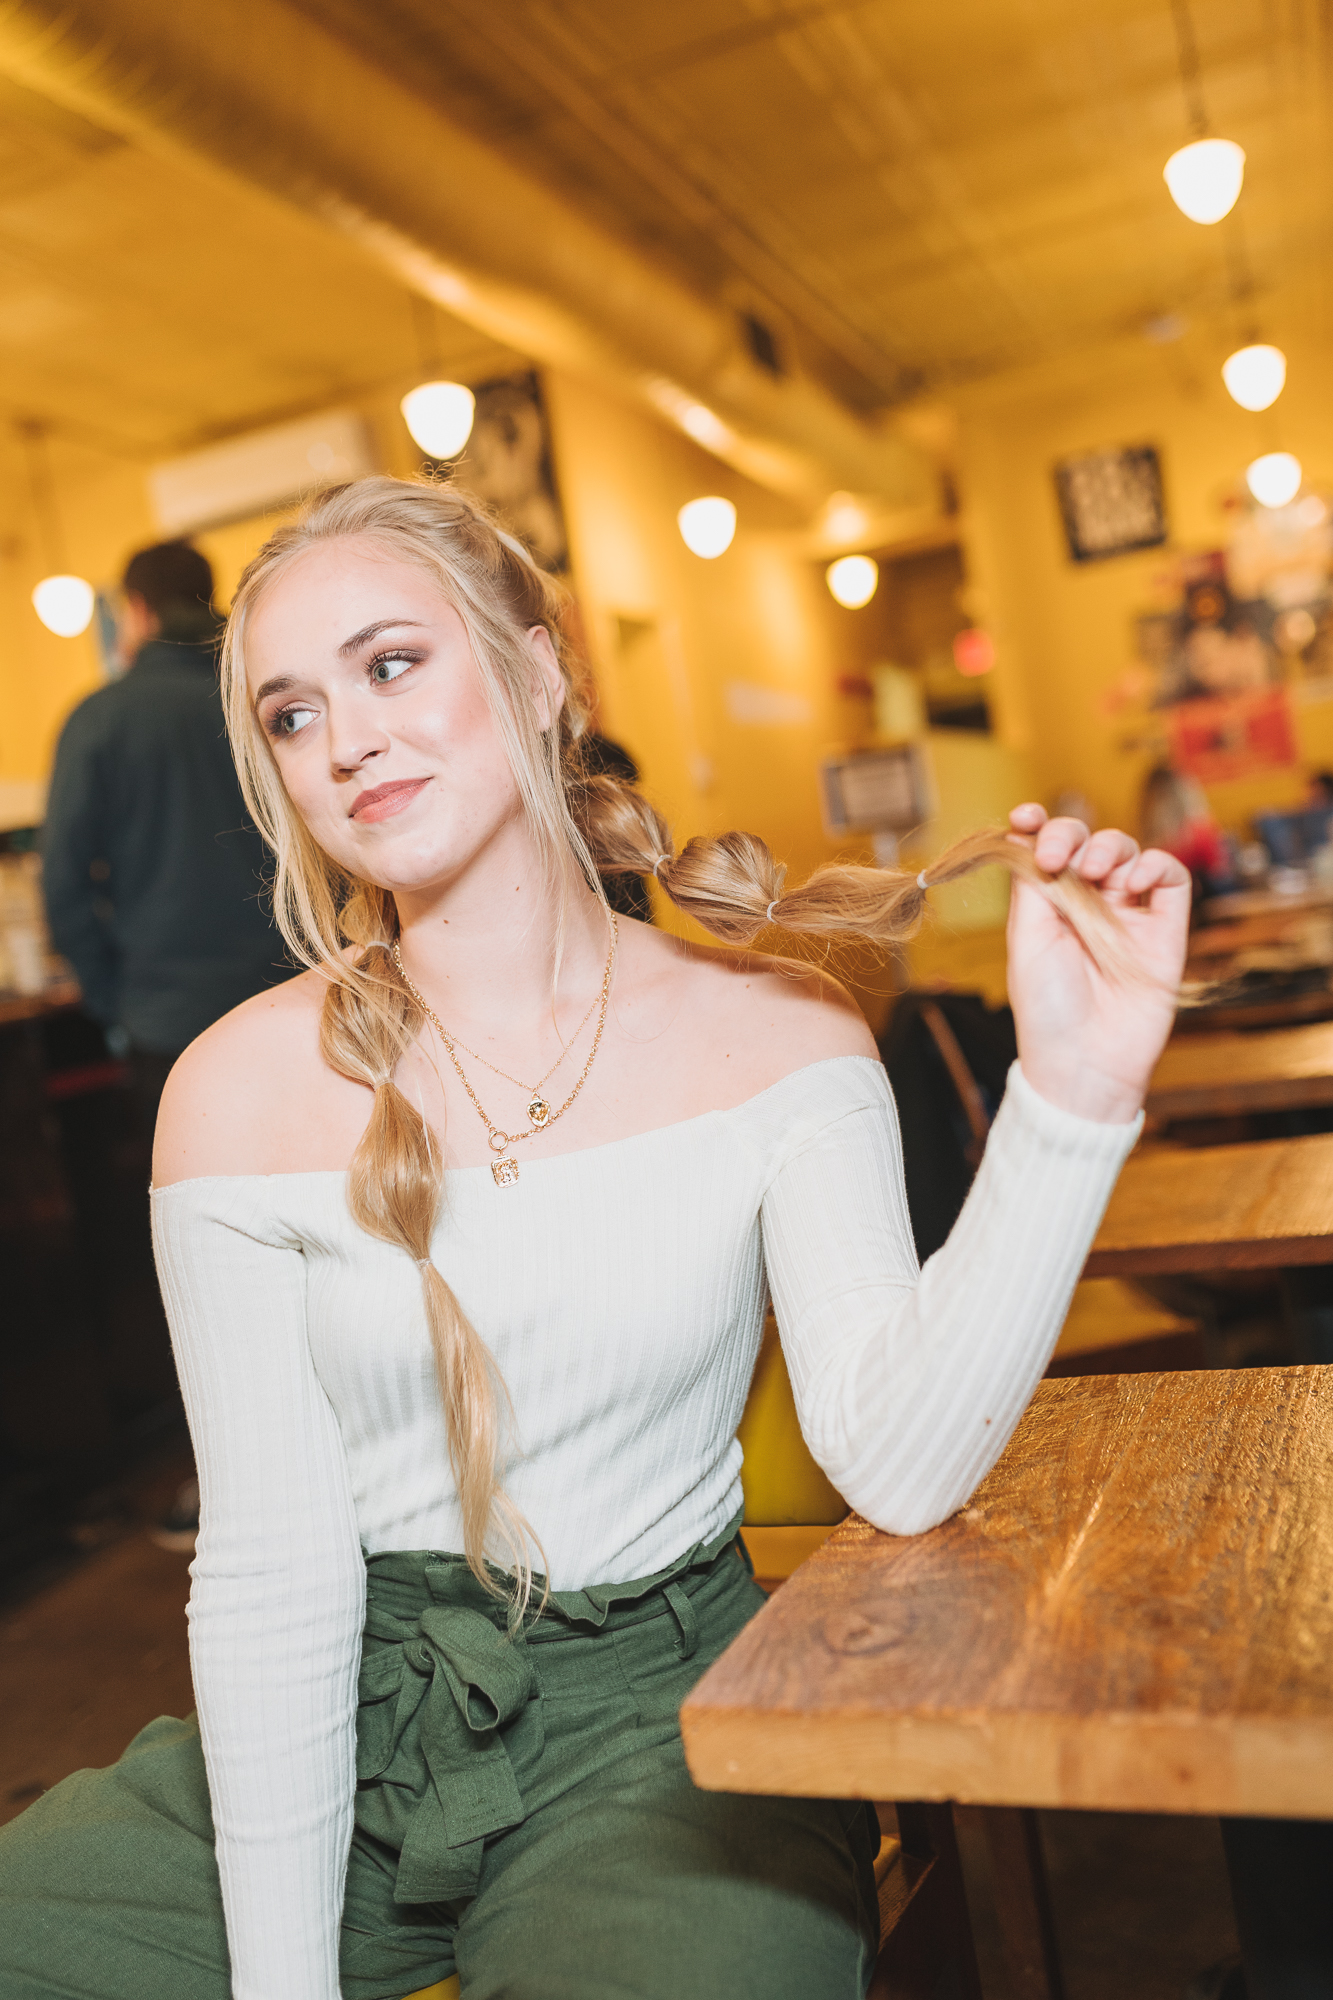
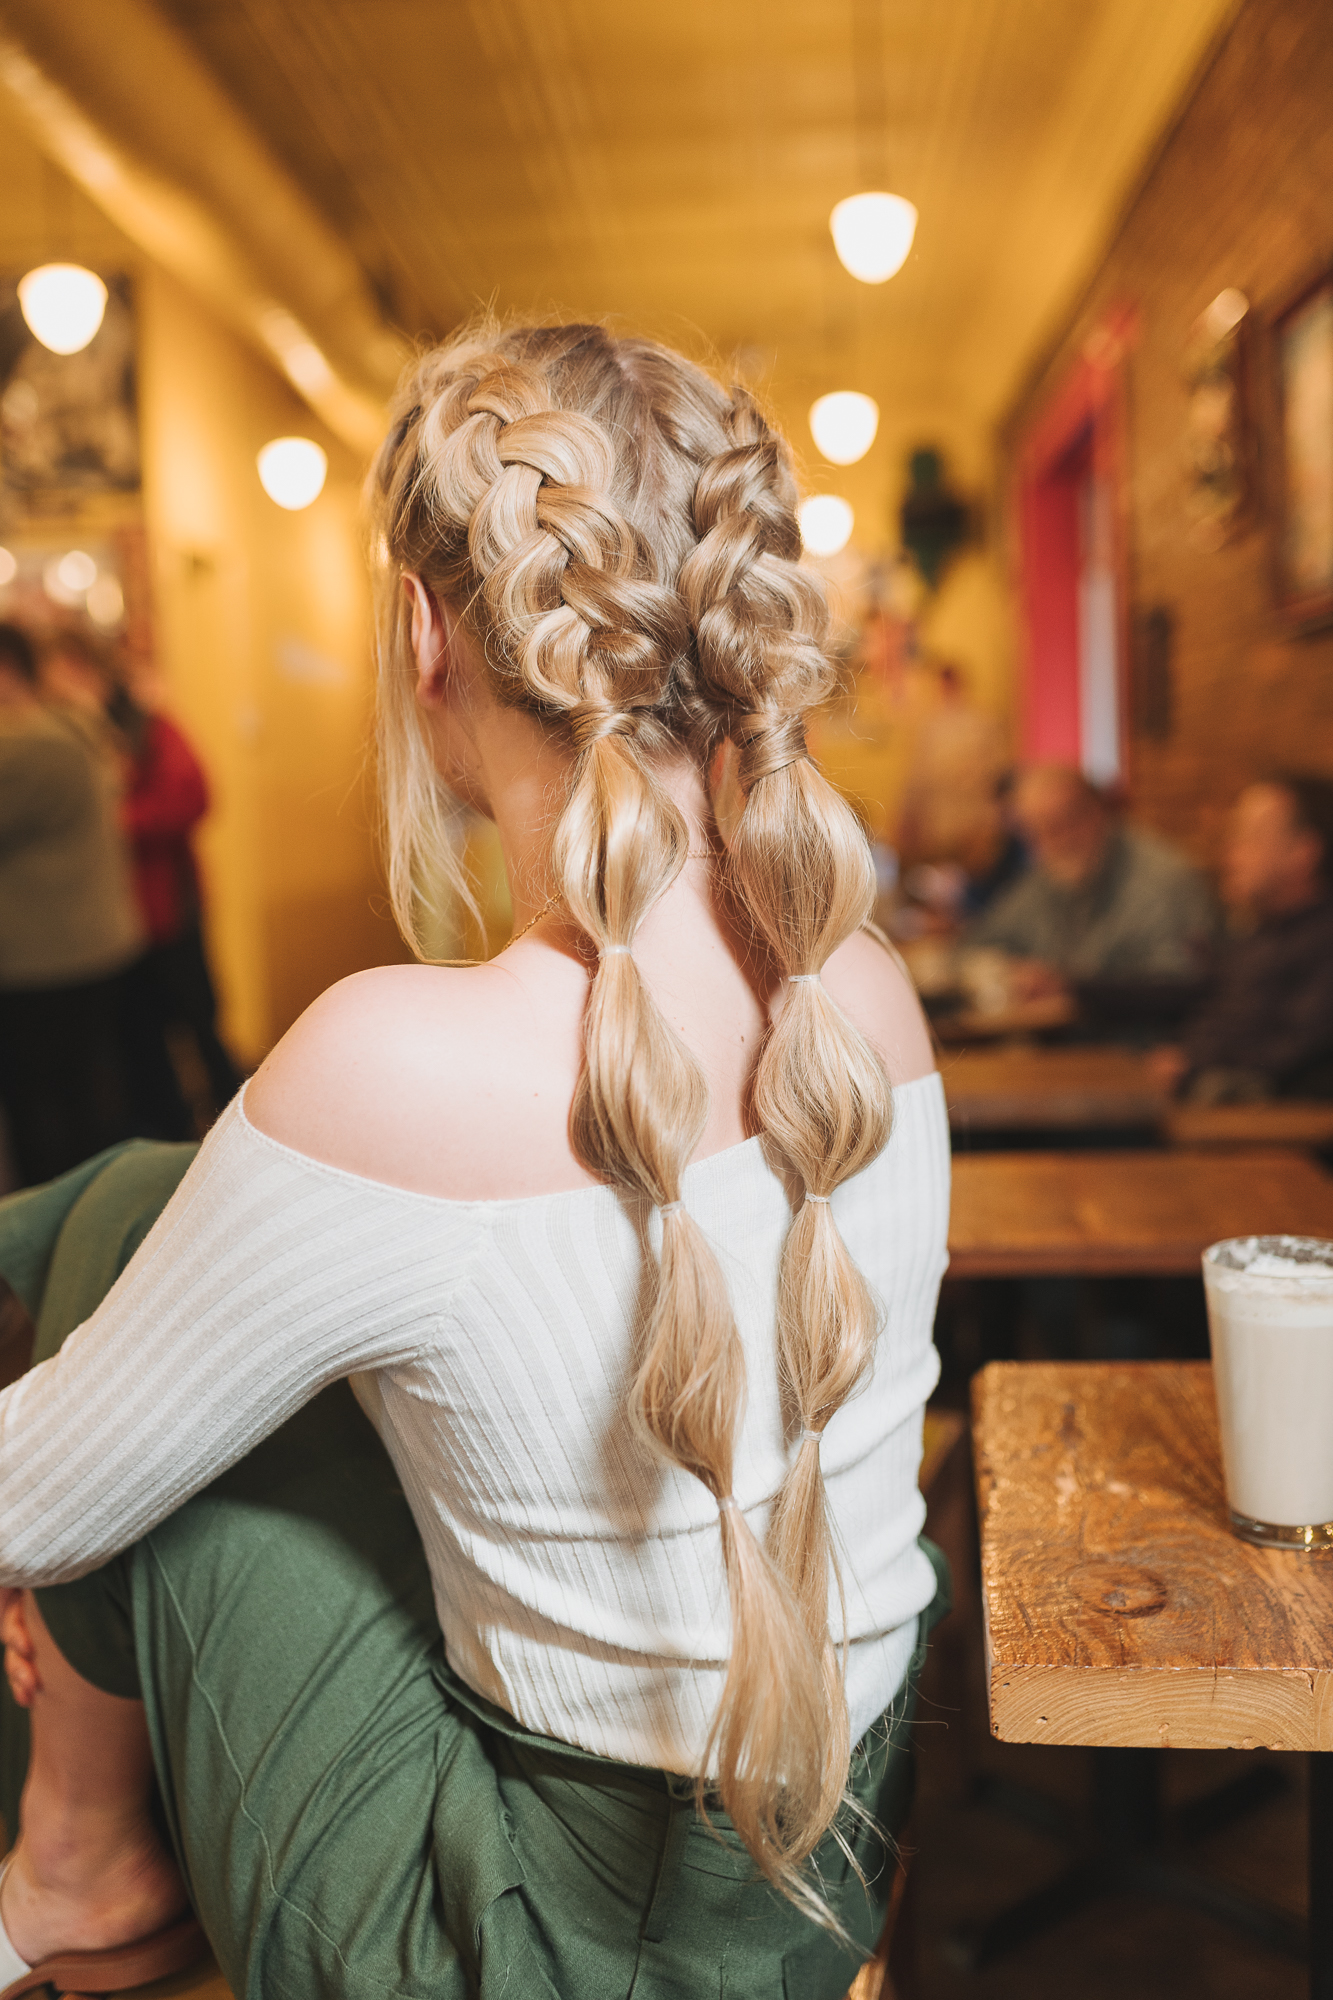
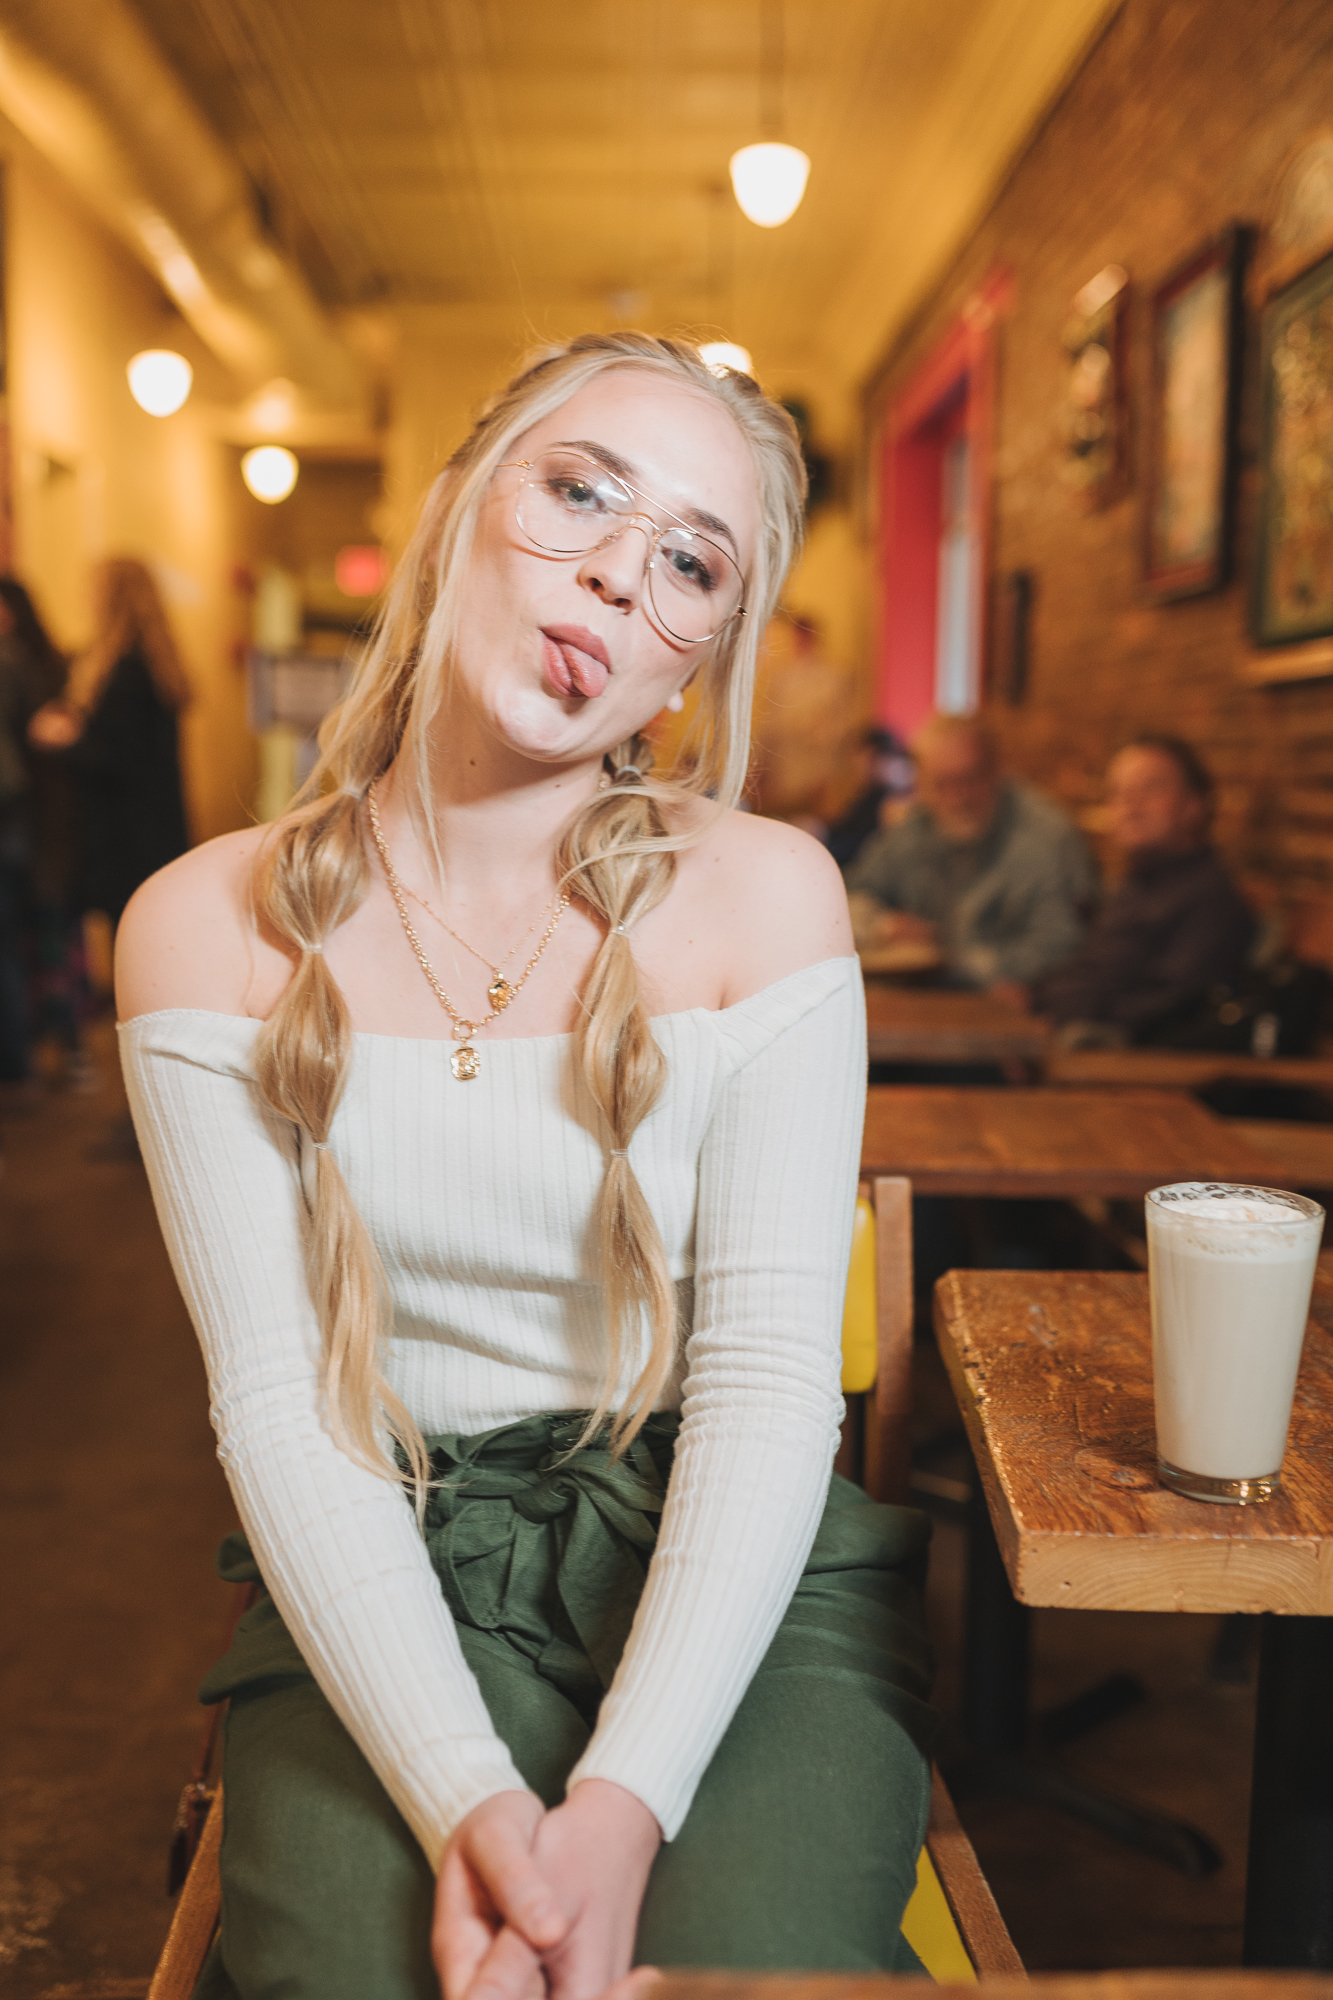
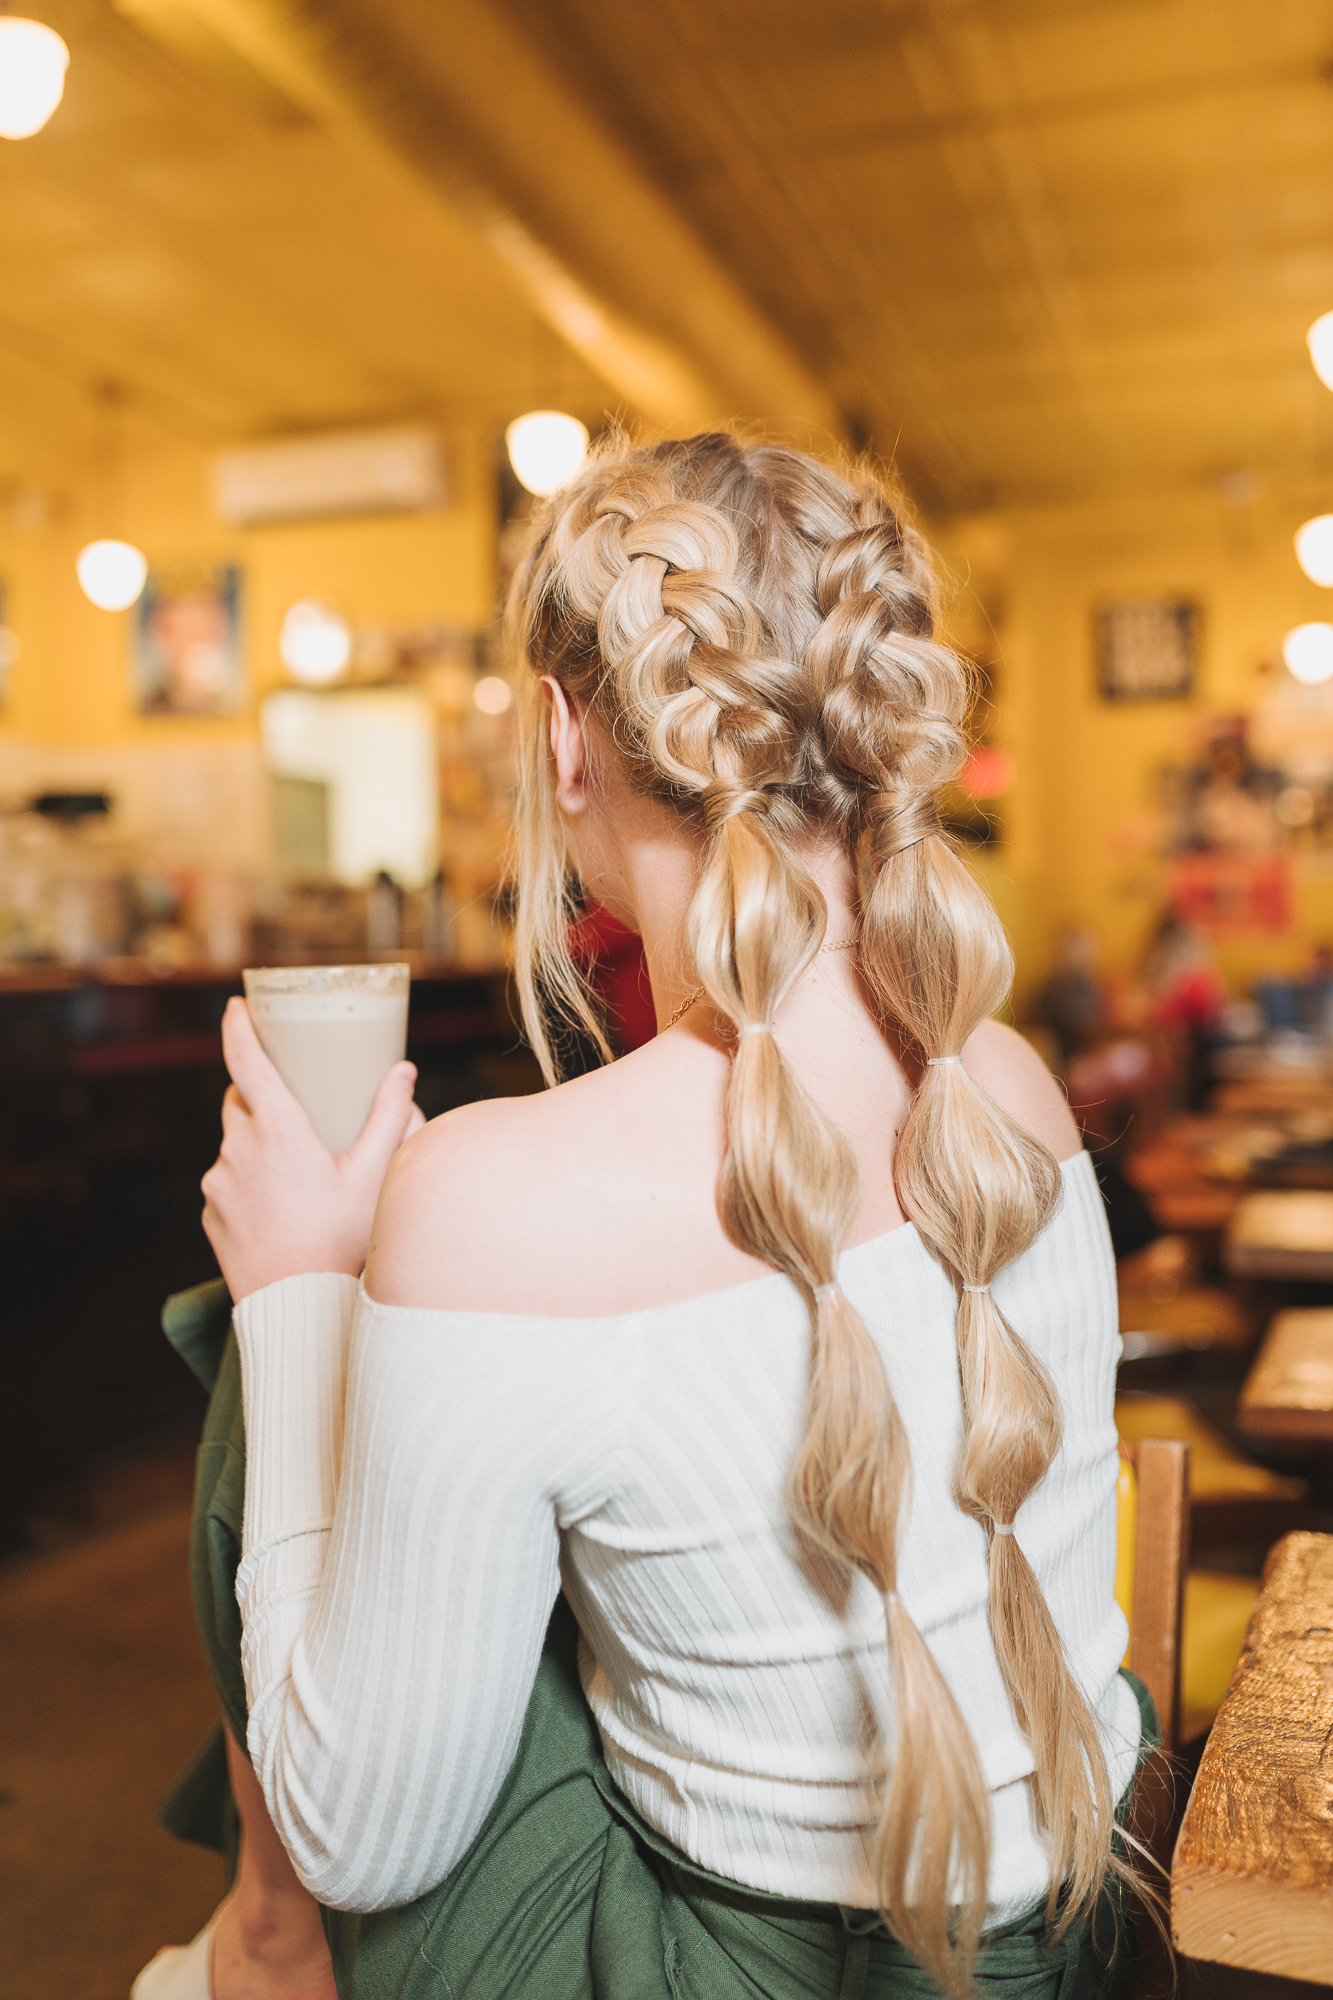
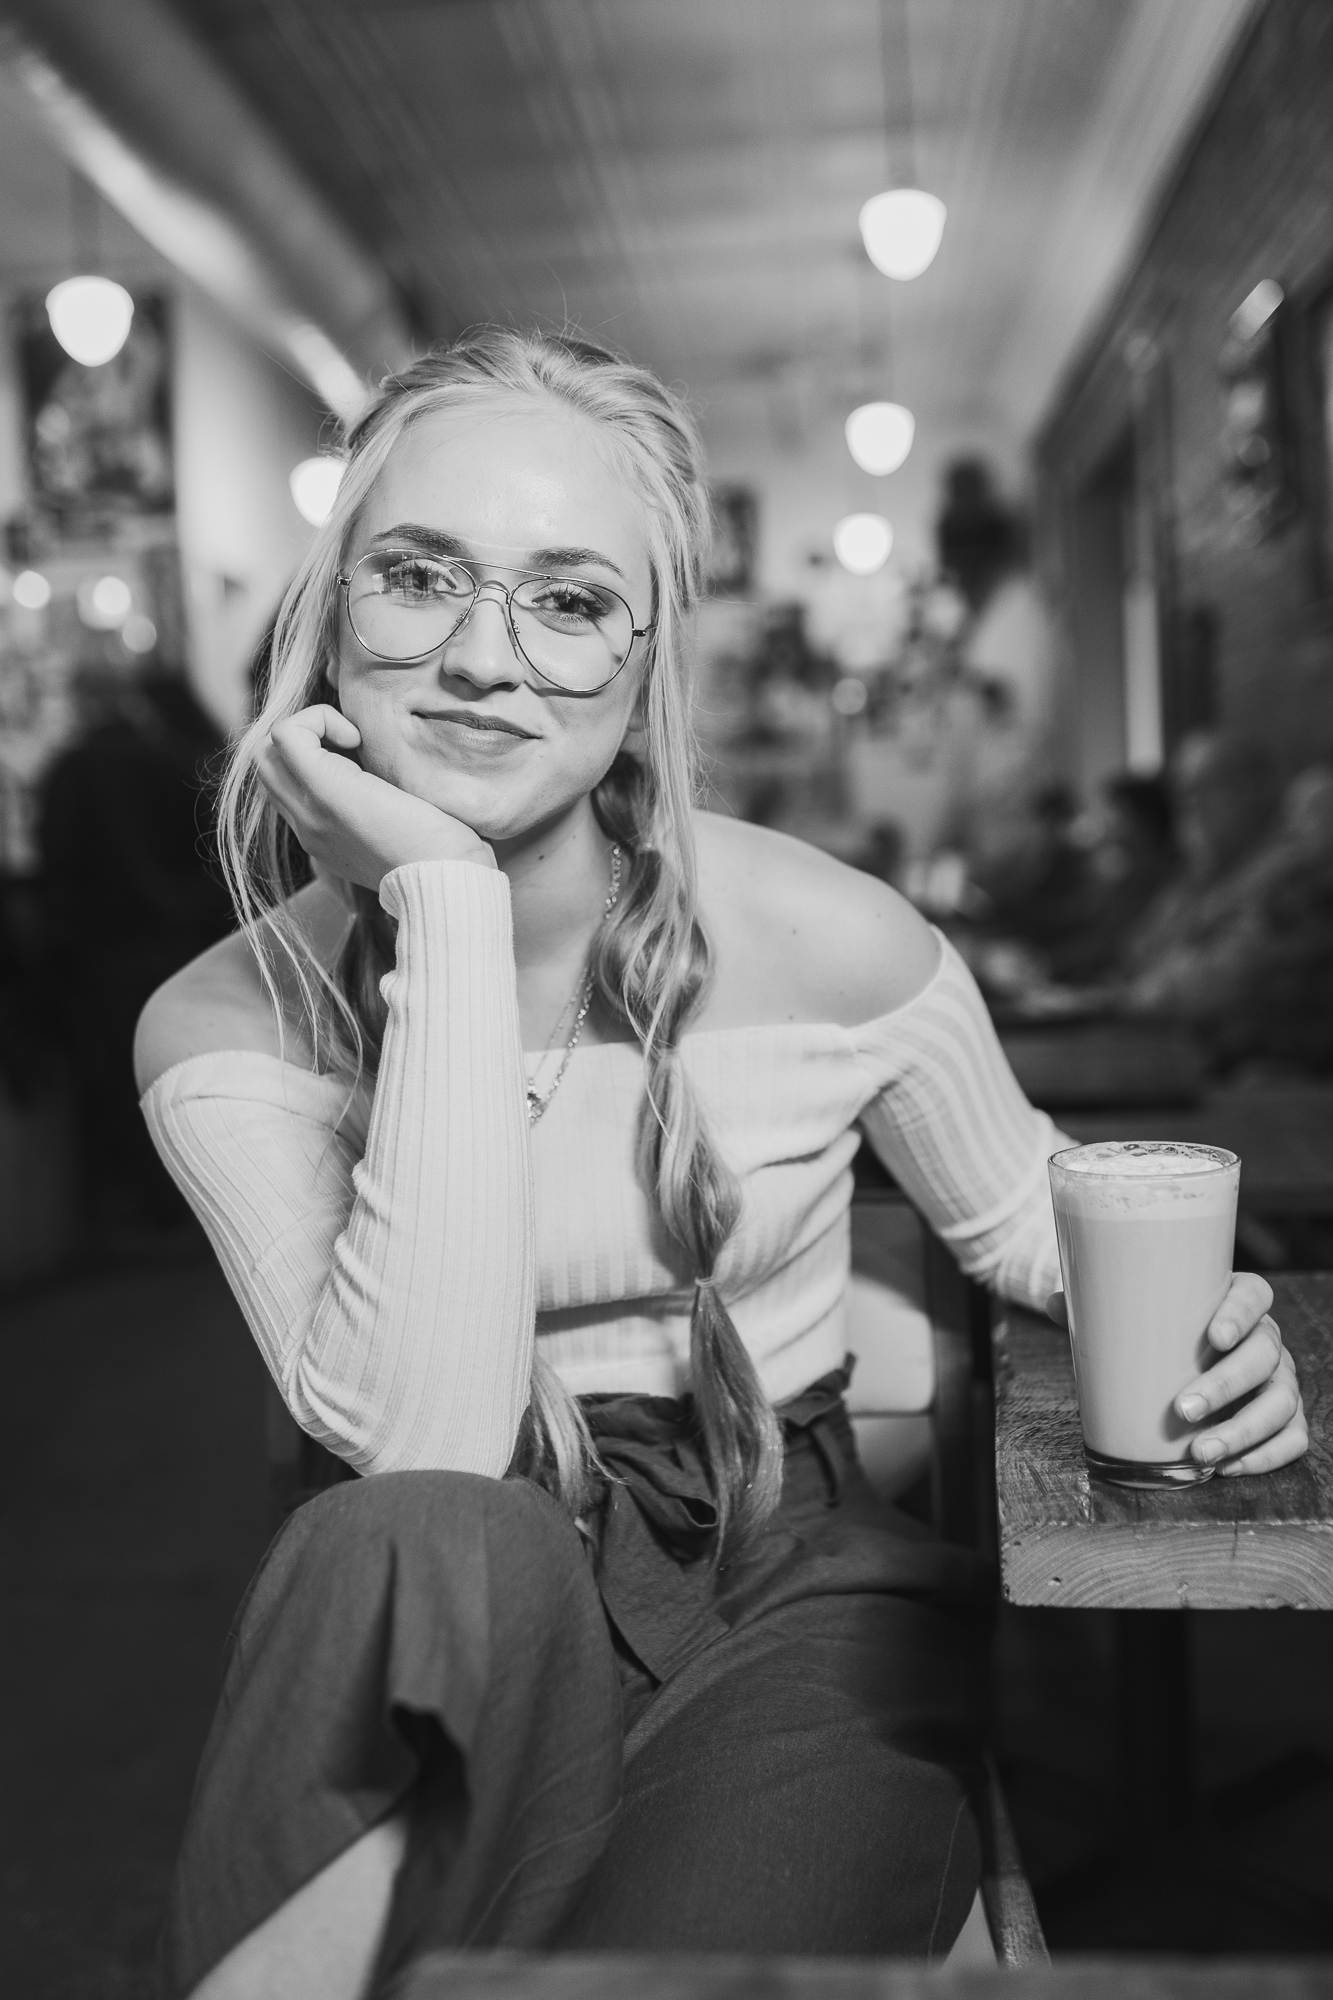
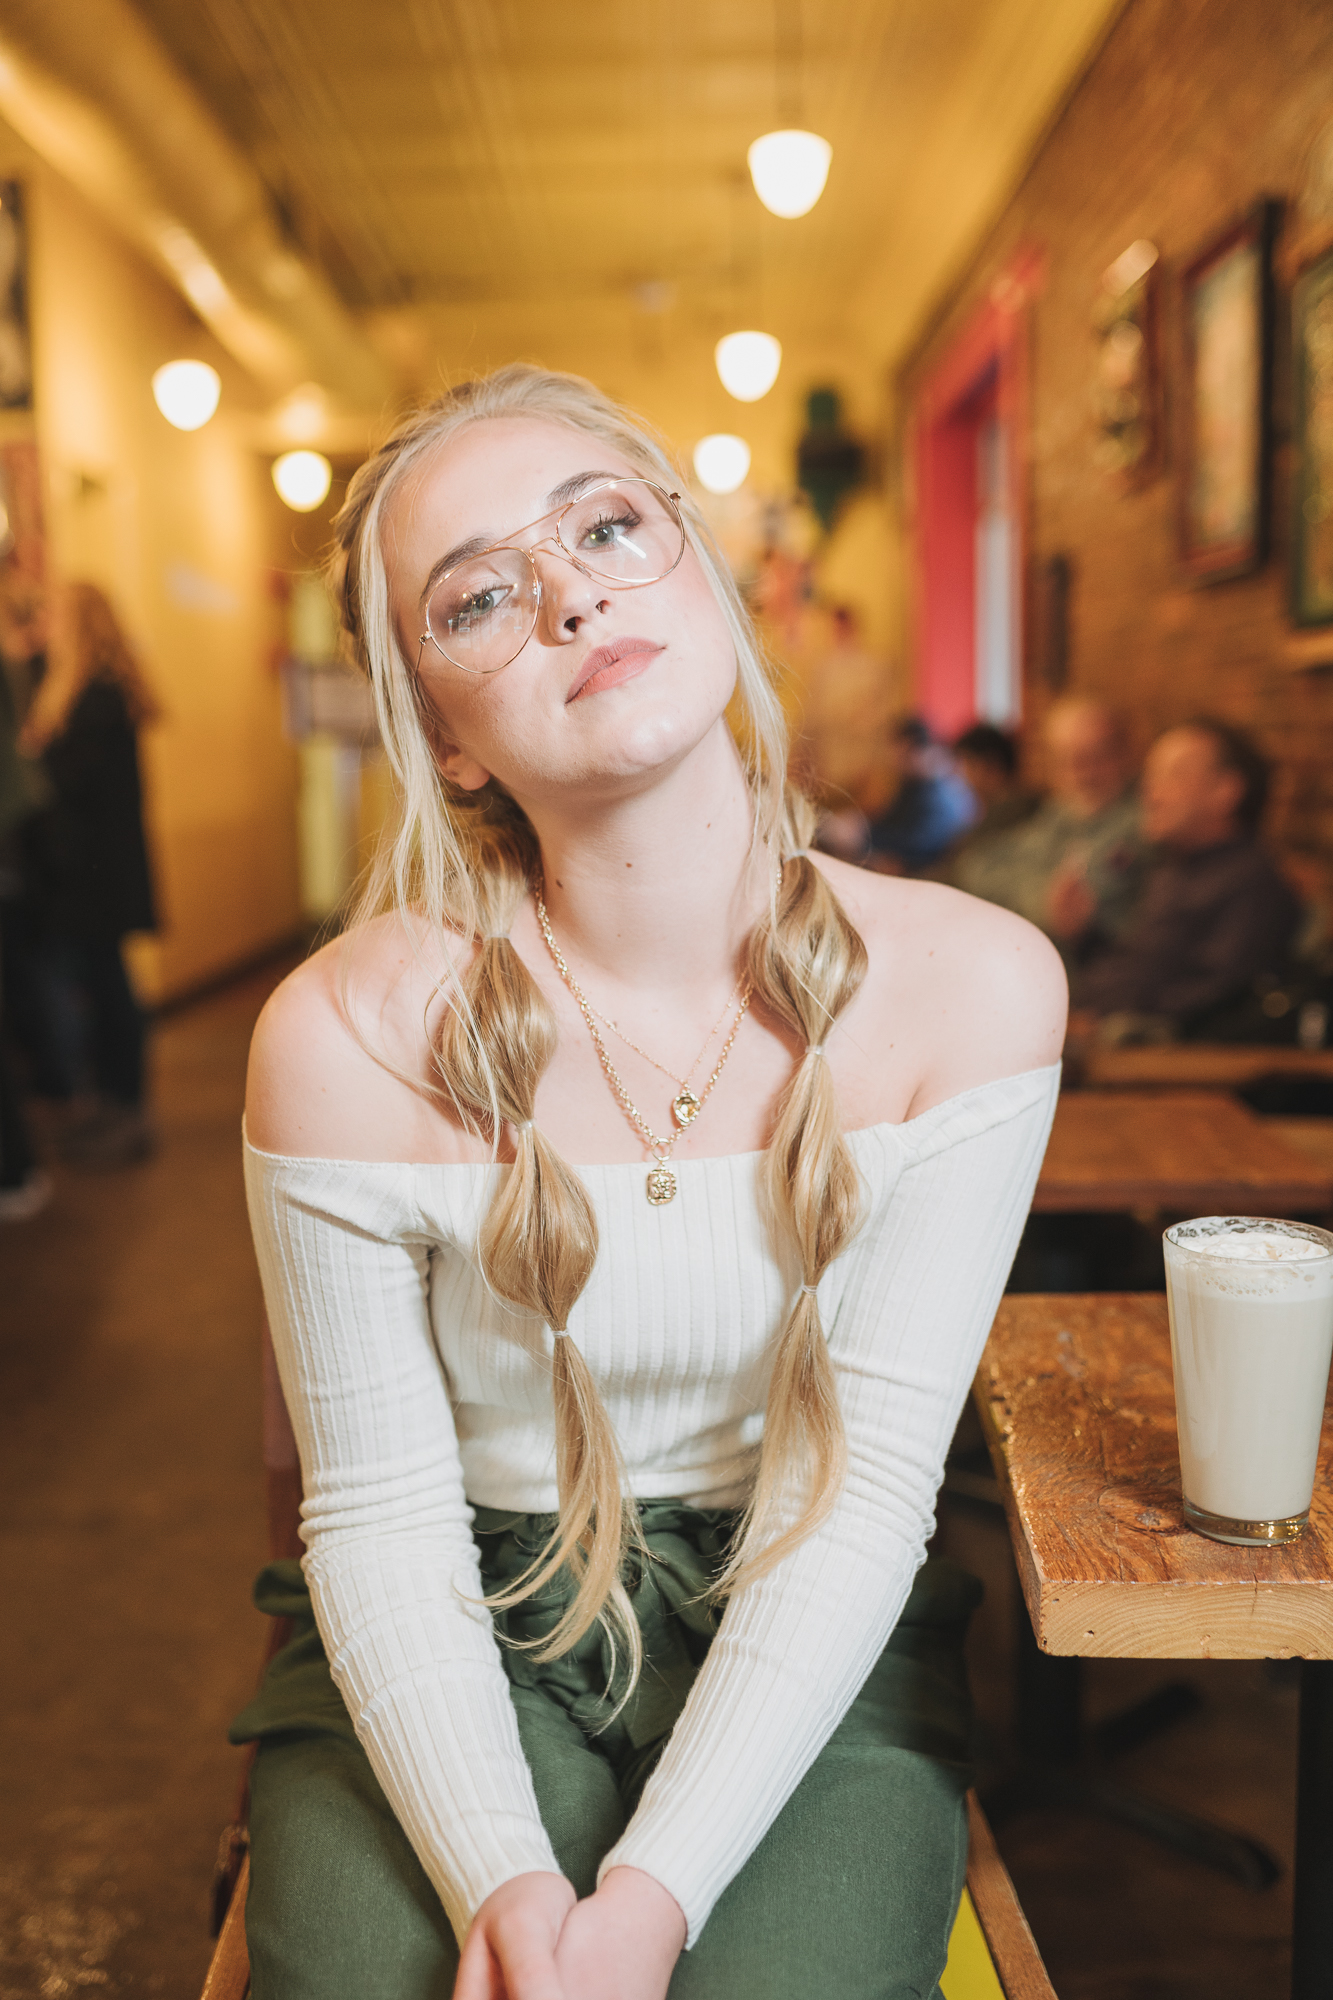
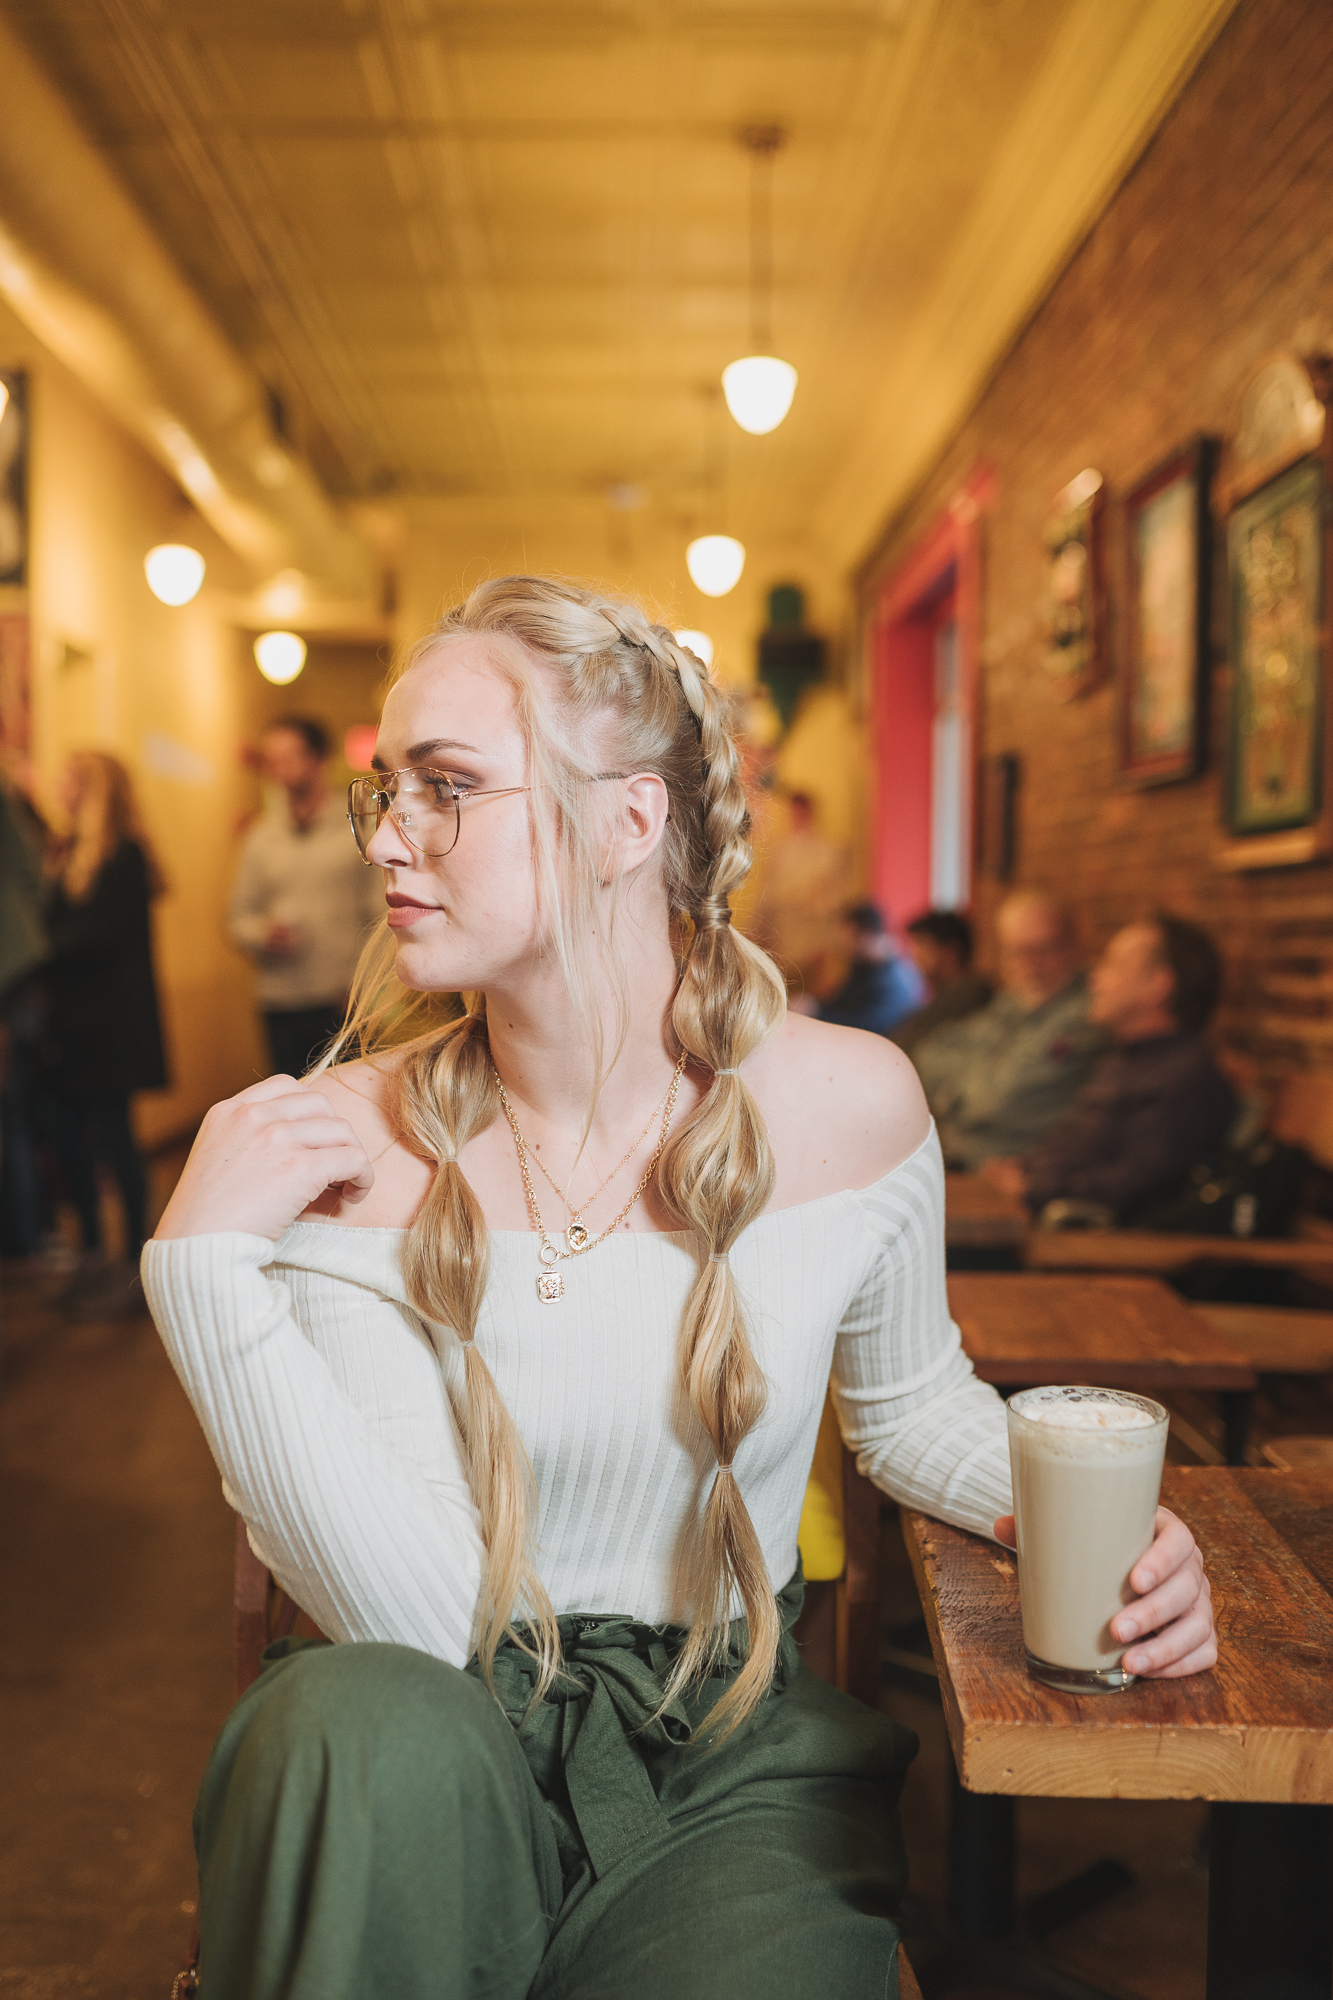
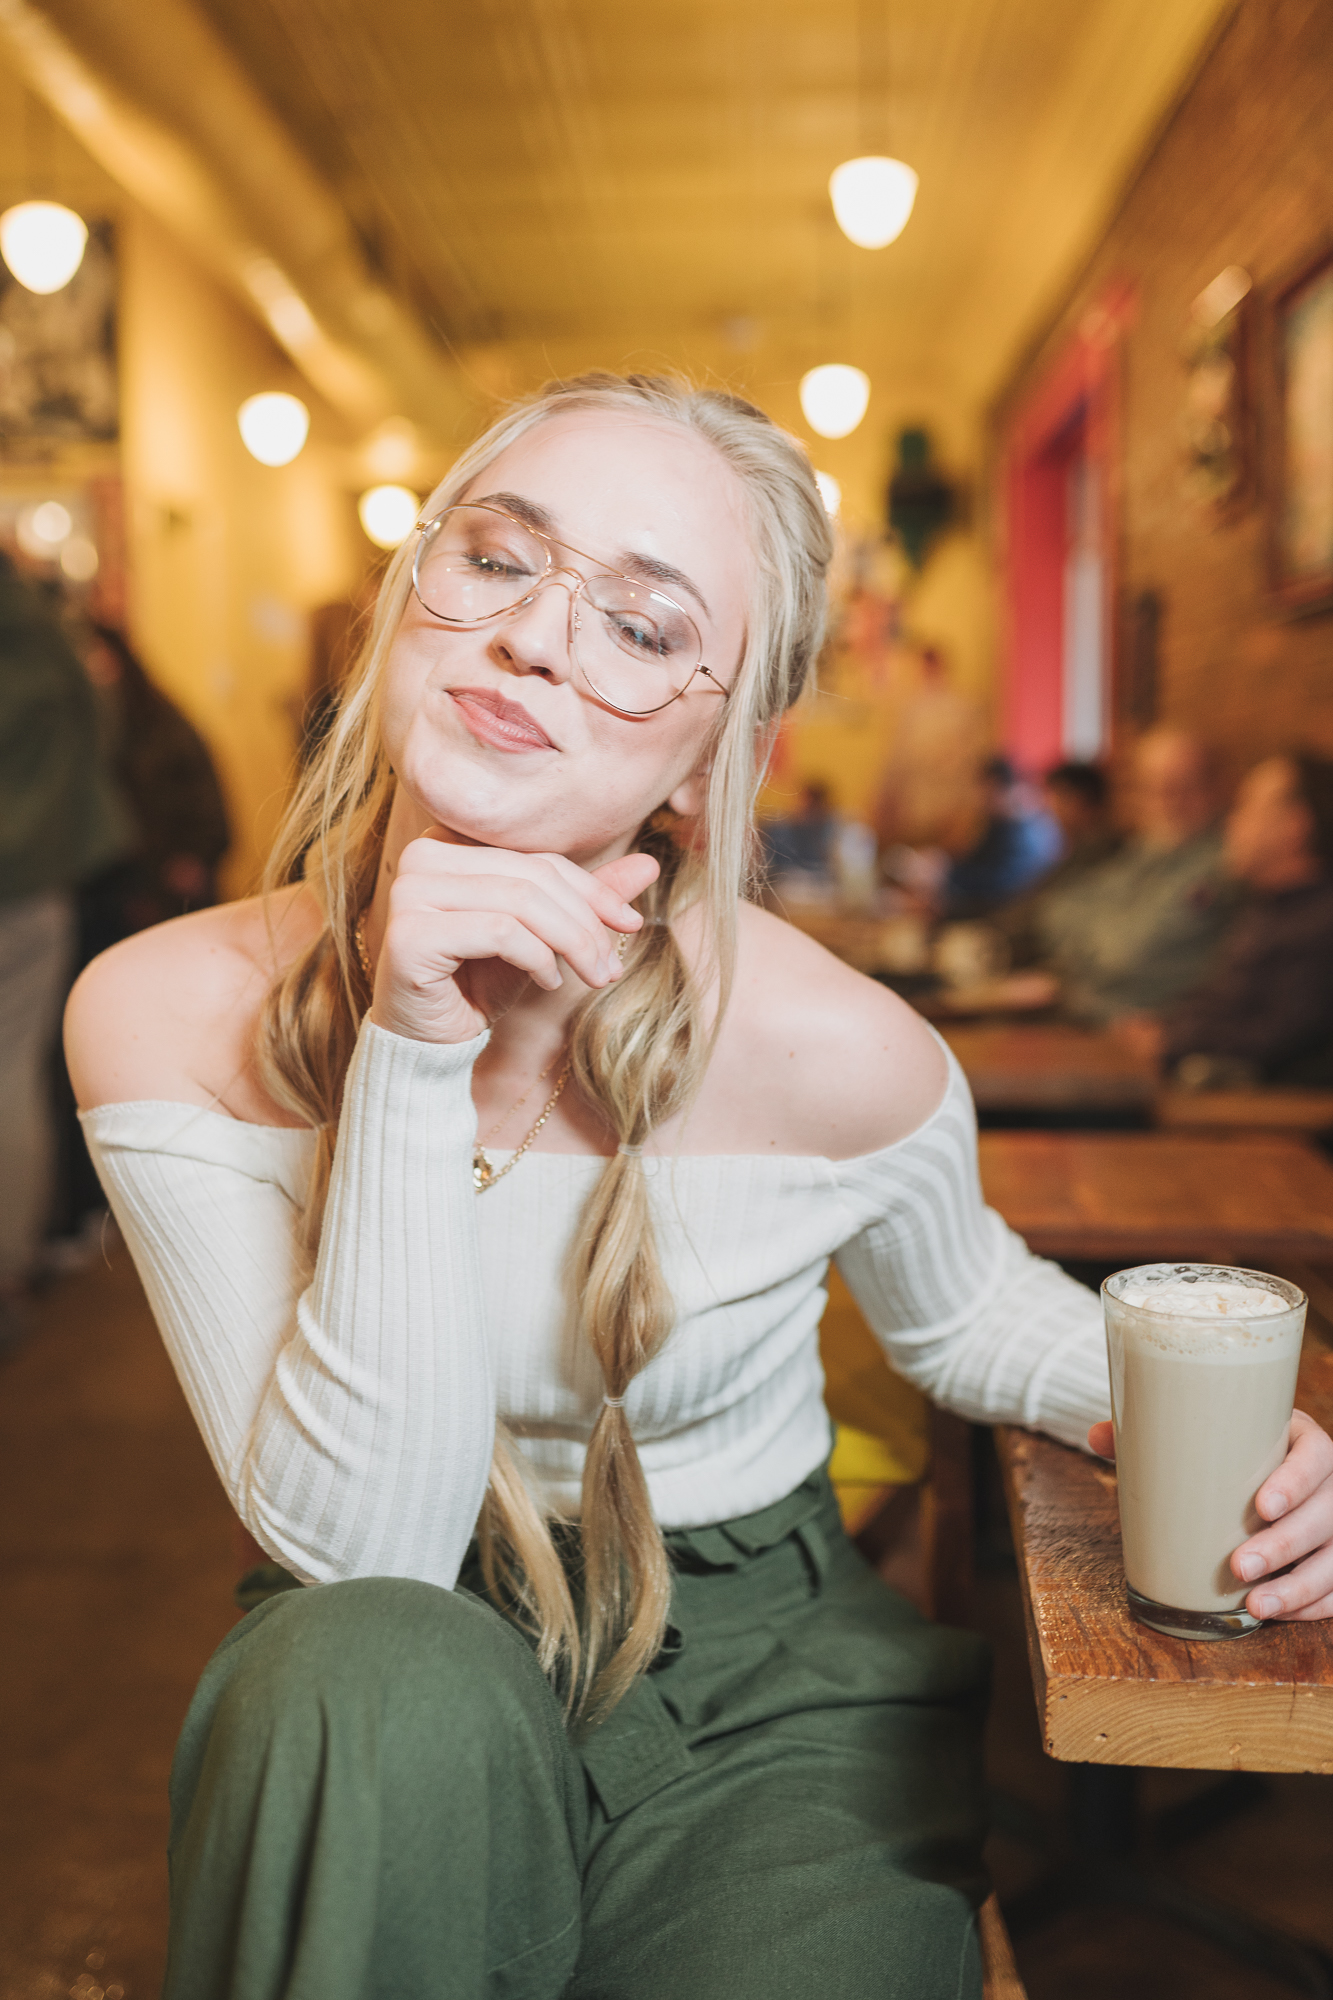
Our last look were these amazing BUBBLE braids. This might be my personal fave and the look just came out so stinking cute.

3. Bubble Pony
Bubble Ponytails
-
You can leave the braids in like we did or take them out, gathering your hair into two loose side ponytails.
-
Using a small clear elastic, make your first bubble. On Emma, I placed the elastics about 3-4 inches apart. If your hair is shorter, try 1-2 inches apart. Then I pulled on the strands gently all around to create a round loose bubble.
-
Repeat until you have a few inches of hair remaining at the bottom.
-
Go catch some likes with your unique chic hair!

Alright guys! I hope you enjoyed seeing all these different looks we achieved in the same shoot! If you want to start planning your own session or just have questions about how a Senior Shoot works please send me an email! I would love to hear from you and I cannot wait to plan your amazing shoot.


PLEASE COMMENT BELOW